Mold in shower grout is more than just an eyesore. It can trigger allergies, worsen asthma, create musty odors, and slowly damage your bathroom surfaces. The good news is you can usually tackle moldy grout yourself if you follow safe methods and use the right tools. This guide walks you through how to remove mold from shower grout safely, step by step, and how to keep it from coming back.
On this page(click to collapse)
- Is It Really Mold in Your Shower Grout?
- Safety First: Protect Yourself Before Cleaning Mold
- Supplies You Will Need to Remove Mold from Grout
- Method 1: Gentle Vinegar and Baking Soda Paste
- Method 2: Hydrogen Peroxide for Stubborn Mold Stains
- Method 3: Soap and Oxygen-Based Cleaner for Heavy Build-Up
- When to Replace Grout or Caulk Instead of Cleaning
- How to Prevent Mold from Returning in Shower Grout
- Safe Cleaning Tips for Households with Kids or Sensitive Lungs
- Step-by-Step Summary: Safe Mold Removal from Shower Grout
- Final Thoughts
- Related guides
We will cover how to recognize mold, what supplies you actually need, how to protect your health while cleaning, and several cleaning options ranging from gentle, low-fume methods to stronger approaches for stubborn stains. You will also learn simple prevention habits that make your weekly bathroom cleaning faster and easier. Whether you are dealing with a few dark spots or a heavily stained shower, you can use these tips to restore cleaner, fresher grout without harsh shortcuts.
Is It Really Mold in Your Shower Grout?
Before you start cleaning, it helps to understand what you are dealing with. The black or dark patches in grout are often mold, but sometimes they are mildew or just deep dirt stains.
Common signs of mold in grout
- Black, dark green, or very dark brown spots or streaks that spread over time
- Musty or earthy odor, especially after a hot shower
- Spots that return quickly after a basic wipe-down
- Growth in corners, along caulk lines, or on porous grout lines
Mildew tends to be lighter gray or brown and usually sits more on the surface, while mold often looks darker and more embedded in the grout. In practice, you will treat both in similar ways, but stubborn, dark patches usually need more attention and better ventilation.
Safety First: Protect Yourself Before Cleaning Mold
Even small amounts of mold can irritate your lungs, skin, and eyes. Cleaning moldy grout safely means limiting how much you breathe in and how much touches your skin.
Personal protective gear
Before you start, gather basic protective items:
- Gloves: Waterproof cleaning gloves to protect your skin from mold and cleaning solutions
- Mask or respirator: A well-fitting mask to reduce inhaling mold particles and fumes
- Eye protection: Safety glasses or goggles to prevent splashes from irritating your eyes
- Old clothing: Clothes you do not mind getting stained or that can be washed in hot water afterward
Ventilation and room prep
Good airflow is important when cleaning mold, especially in a small bathroom.
- Open windows and doors to create a cross-breeze if possible
- Turn on the bathroom exhaust fan
- Place a small fan outside the bathroom door blowing fresh air in, not blowing moldy air into the rest of the home
- Remove towels, bathmats, and personal items from the shower area
Place an old towel or plastic sheet on the bathroom floor to catch drips and debris, especially if you will be scrubbing aggressively.
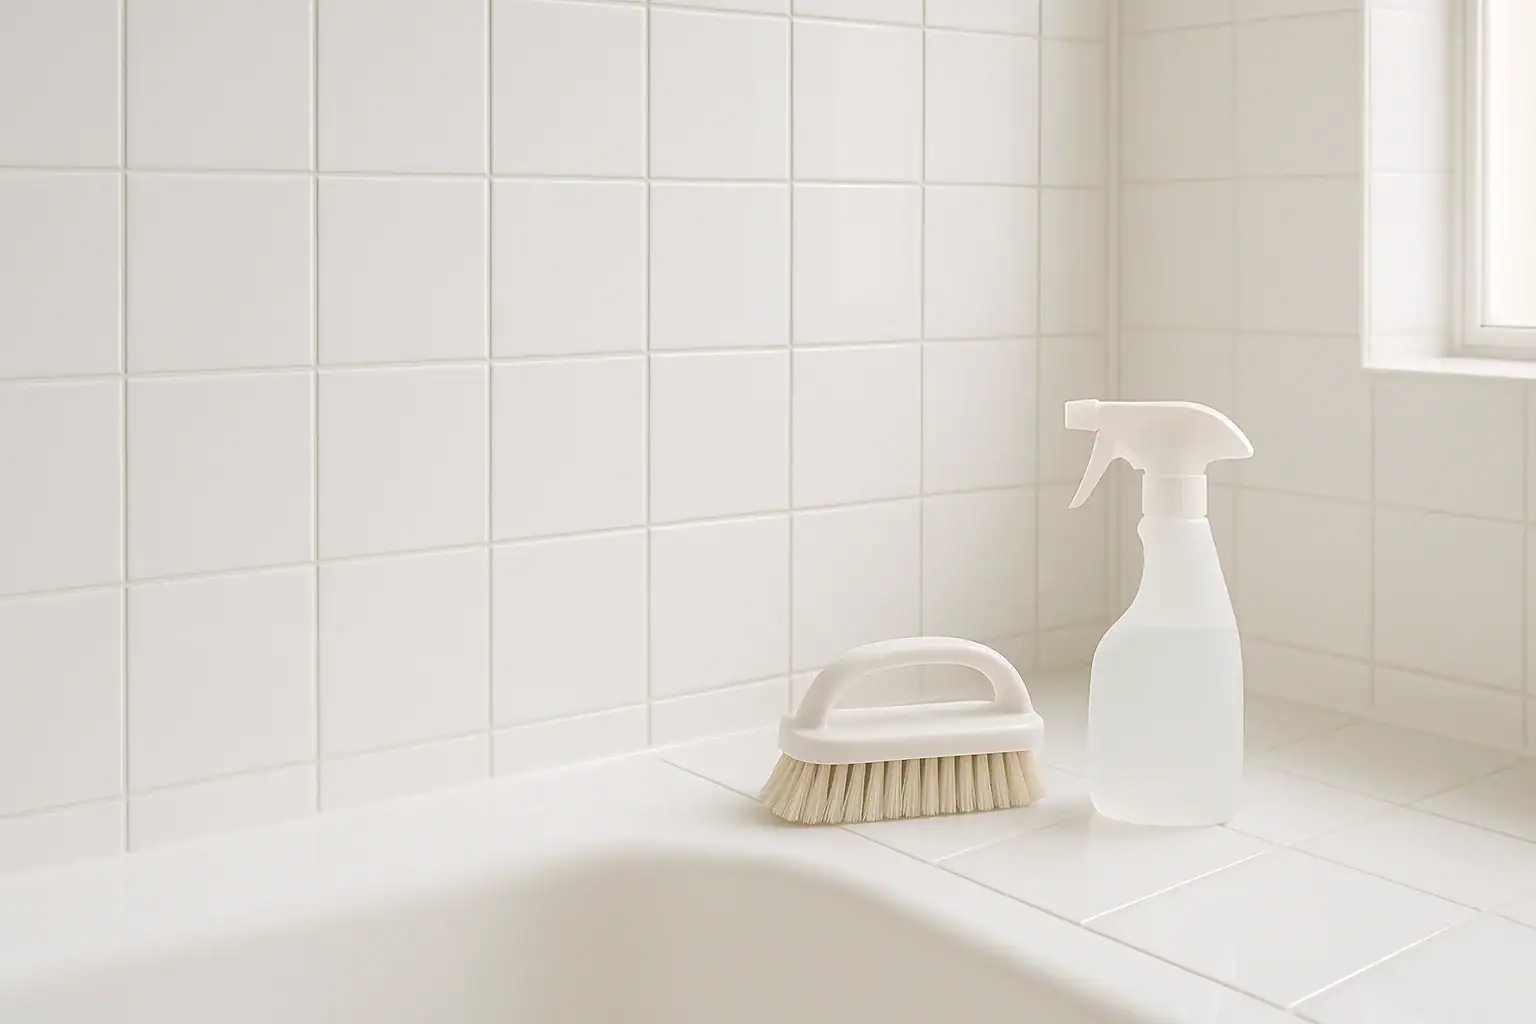
Supplies You Will Need to Remove Mold from Grout
You do not need complicated products to remove mold from shower grout safely. Many effective solutions can be mixed at home with items you may already have.
Basic cleaning tools
- Small stiff-bristled scrub brush or old toothbrush
- Soft cloths or non-scratch sponges
- Spray bottle for applying cleaning solutions
- Plastic bowl or measuring cup for mixing solutions
- Bucket of clean water for rinsing
Optional cleaning ingredients
Choose one or two methods from the list below. You do not need to use all of them at once.
- White vinegar: Mild acid that helps break down soap scum and light mold
- Baking soda: Gentle abrasive that helps lift stains when made into a paste
- Hydrogen peroxide (3%): Common household strength, helps lighten and disinfect moldy areas
- Dish soap: Helps cut through body oils and soap residue that feed mold
- Oxygen-based powdered cleaner: Can help with deep stains when used according to label directions
Avoid mixing different strong cleaners together, especially anything with ammonia and chlorine-based products. Combining the wrong chemicals can create dangerous fumes.
Method 1: Gentle Vinegar and Baking Soda Paste
This method is a good starting point if your mold problem is mild to moderate and you want to keep fumes low. It relies on common pantry items and some scrubbing effort.
Step-by-step instructions
-
Dry the shower walls.
Turn off the water and let the shower dry for at least 15 to 20 minutes, or wipe down the tiles and grout with a towel. Dry surfaces allow the cleaner to cling better.
-
Make a baking soda paste.
In a small bowl, mix baking soda with a small amount of water until it forms a thick, spreadable paste. Aim for a consistency similar to toothpaste.
-
Apply paste to moldy grout.
Use a gloved finger or an old toothbrush to spread the paste directly onto the moldy grout lines. Cover all discolored areas generously.
-
Spray with vinegar.
Pour white vinegar into a spray bottle. Lightly mist the baking soda paste. It will fizz as it reacts, which helps loosen grime and mold from the grout.
-
Let it sit.
Allow the mixture to sit on the grout for 10 to 15 minutes. For heavier staining, you can wait up to 30 minutes, making sure the paste does not completely dry out.
-
Scrub the grout.
Using a stiff-bristled brush or old toothbrush, scrub the grout lines in small, circular motions. Focus on the darkest spots and corners.
-
Rinse thoroughly.
Rinse the area with warm water, wiping away residue with a sponge or cloth. Repeat if necessary for remaining spots.
-
Dry the area.
Use a clean towel or squeegee to remove excess water from tiles and grout. Drying helps prevent mold from quickly returning.
Method 2: Hydrogen Peroxide for Stubborn Mold Stains
If the vinegar and baking soda method does not fully remove the mold, hydrogen peroxide can help lift deeper stains. Use standard 3% strength from the pharmacy or grocery aisle.
How to use hydrogen peroxide on shower grout
-
Test a small area first.
Choose an out-of-the-way spot of grout and apply a small amount of hydrogen peroxide. Let it sit for 10 minutes, then rinse. Make sure there is no damage or discoloration before treating the entire area.
-
Apply hydrogen peroxide.
Pour hydrogen peroxide into a spray bottle or apply it directly to a cloth. Generously wet the moldy grout lines.
-
Let it soak.
Allow the hydrogen peroxide to sit on the grout for 10 to 20 minutes. This contact time helps break down mold and lighten stains.
-
Scrub gently.
Use a scrub brush or toothbrush to work the solution into the grout. Focus on heavily stained areas and corners.
-
Rinse and repeat if needed.
Rinse thoroughly with warm water. For very stubborn spots, you can repeat the process once more, allowing full drying time between treatments.
-
Dry completely.
Use a towel or squeegee to remove water from the grout and tiles. Good drying is key to preventing mold from regrowing.
Do not mix hydrogen peroxide with other strong cleaners. Use it on its own, and rinse the area well before trying a different method.
Method 3: Soap and Oxygen-Based Cleaner for Heavy Build-Up
When mold has been growing for a long time, it often combines with layers of soap scum and body oils. In these cases, a combination of dish soap and an oxygen-based cleaner can help cut through the build-up.
Steps for deep-cleaning moldy grout
-
Pre-clean the surface.
Mix a few drops of dish soap with warm water in a bucket. Wipe down the shower tiles and grout to remove surface soap scum and residue. Rinse lightly.
-
Mix oxygen-based cleaner.
Follow the instructions on the product label to mix the cleaner with warm water. Stir until dissolved.
-
Apply to grout.
Use a sponge or spray bottle to apply the solution generously to the moldy grout lines. Make sure the grout is fully saturated.
-
Allow to soak.
Let the solution sit for 10 to 30 minutes, depending on the directions and the severity of the staining. Keep the area wet during this time.
-
Scrub and rinse.
Scrub the grout with a brush, then rinse thoroughly with warm water. Repeat on the worst areas if needed.
-
Dry the shower.
Finish by drying the tiles and grout with a towel or squeegee to remove as much moisture as possible.
When to Replace Grout or Caulk Instead of Cleaning
Sometimes mold grows so deeply into grout or caulk that cleaning only improves the appearance temporarily. In these cases, removal and replacement may be safer and more effective.
Signs it is time to replace grout or caulk
- Grout is crumbling, cracked, or missing in spots
- Caulk is peeling away from the wall or tub
- Dark mold stains remain even after repeated deep cleaning
- You notice a persistent musty smell that does not go away
If you are comfortable with basic home projects, you can carefully remove old caulk or grout and replace it, following product directions. For large areas of damage or suspected mold behind walls, consider consulting a professional to check for hidden moisture problems.
How to Prevent Mold from Returning in Shower Grout
Once you have done the work to remove mold, a few simple habits can dramatically slow its return. Mold thrives in warm, damp, poorly ventilated spaces, so your goal is to reduce moisture and improve airflow.
Daily and weekly habits
- Use a squeegee after showers: Run a squeegee over the tiles and glass to remove water before it sits on grout.
- Dry corners and grout lines: Keep a small towel in the bathroom to quickly wipe grout and corners that stay wet.
- Run the exhaust fan: Turn on the fan during showers and leave it running for at least 20 minutes afterward.
- Open doors and windows: When possible, open the bathroom door and a window to let steam escape.
- Wash towels and mats regularly: Damp fabrics can hold moisture and contribute to a musty smell.
- Do a quick weekly scrub: Once a week, lightly scrub grout with a mild cleaner to remove early buildup before it becomes moldy.
Longer-term moisture control
- Check for leaks around faucets, showerheads, and plumbing and repair them promptly.
- Consider a small dehumidifier nearby if your bathroom has no window and limited ventilation.
- Seal grout periodically with a grout sealer, following the product directions, to make it less porous and easier to clean.
Safe Cleaning Tips for Households with Kids or Sensitive Lungs
If someone in your home has asthma, allergies, or other breathing issues, you may want to lean toward gentler methods and take extra precautions when cleaning mold.
Lower-fume cleaning choices
- Start with baking soda and vinegar or mild soap solutions before trying stronger products.
- Clean when children and pets can stay out of the bathroom and nearby rooms until everything is rinsed and dry.
- Rinse surfaces thoroughly after cleaning to remove residues.
- Wash cleaning cloths and towels in hot water after use.
If you notice coughing, burning eyes, or strong odors while cleaning, stop, improve ventilation, and consider switching to a milder method or taking more frequent breaks.
Step-by-Step Summary: Safe Mold Removal from Shower Grout
To make everything easier to remember, here is a quick summary you can follow the next time you tackle mold in your shower grout.
- Ventilate the bathroom and put on gloves, a mask, and eye protection.
- Choose a cleaning method: baking soda and vinegar, hydrogen peroxide, or an oxygen-based cleaner.
- Dry the shower walls so the cleaner can cling to the grout.
- Apply your chosen cleaner directly to moldy grout lines.
- Let it sit for 10 to 20 minutes to loosen mold and stains.
- Scrub grout lines with a stiff brush or toothbrush.
- Rinse thoroughly with warm water and wipe away residue.
- Dry the tiles and grout with a towel or squeegee.
- Repeat on stubborn spots or consider grout or caulk replacement if stains remain.
- Adopt daily and weekly moisture-control habits to prevent mold from returning.
Final Thoughts
Learning how to remove mold from shower grout safely gives you more control over your home and indoor air quality. With basic protective gear, simple supplies, and a little patience, you can clear away mold and keep your bathroom fresher and healthier. Focus on both cleaning and prevention: remove existing mold carefully, then keep moisture down and surfaces dry so it has fewer chances to grow back.
If you ever suspect a larger moisture problem behind walls or ongoing health symptoms related to mold, consider reaching out to a qualified professional for an inspection. For most everyday shower grout issues, though, the methods in this guide are a practical way to restore cleaner grout and maintain a more comfortable bathroom.
Recommended next:
Related posts
Browse this topic →
How to Organize a Hall Closet for Coats, Tools, and Everyday Items

How to Remove Dust From Walls Before Painting: A Step-by-Step Guide
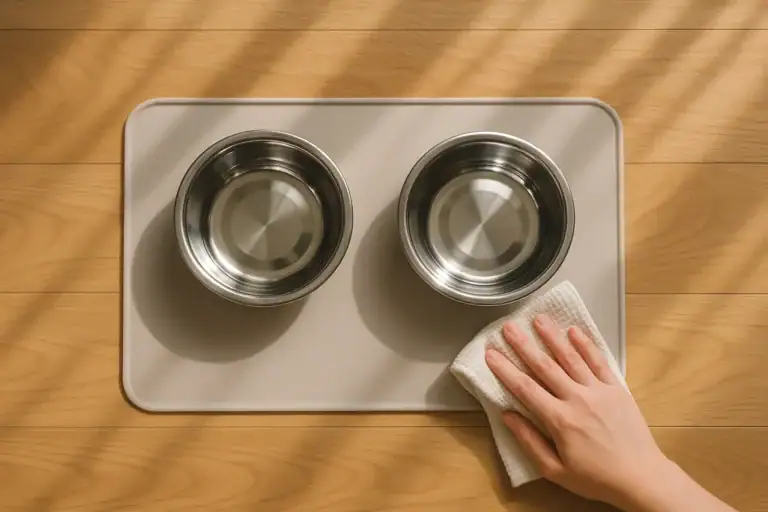
How to Clean Pet Bowls, Mats, and Feeding Areas Safely

How to Store Holiday Decorations Without Adding Basement Clutter

How to Create a Toy Rotation System for Small Living Rooms

How to Clean Lampshades and Fabric Light Fixtures: A Complete Guide
Keep reading

About this site
Signature Home Guide publishes practical, independent home guides. We aim to be clear, helpful, and transparent.
Affiliate disclosure
As an Amazon Associate, we earn from qualifying purchases. Some links on this site may be affiliate links. If you buy through these links, we may earn a small commission at no extra cost to you. This helps support our content. Learn more.