Bathroom mold is more than an eyesore. It can damage surfaces, create lingering odors, and contribute to poor indoor air quality. Because bathrooms are naturally humid, they are one of the first places in a home where mold shows up. The good news is that with a clear humidity control checklist, you can prevent most bathroom mold before it starts, and tackle small problems before they become big repairs.
On this page(click to collapse)
- Understanding Bathroom Mold and Humidity
- Bathroom Humidity Control Checklist: Quick Overview
- Step 1: Improve Bathroom Ventilation
- Step 2: Limit Moisture During Showers and Baths
- Step 3: Dry Surfaces Quickly After Use
- Step 4: Monitor Humidity Levels
- Step 5: Seal and Protect Surfaces
- Step 6: Store Bathroom Items for Better Airflow
- Step 7: Clean with Mold Prevention in Mind
- Step 8: Fix Leaks and Condensation Fast
- Step 9: Seasonal and Deep-Clean Mold Checks
- When Bathroom Mold Needs Extra Attention
- Putting Your Bathroom Humidity Checklist into Action
- Related guides
This guide walks you through a step-by-step checklist to reduce moisture, improve ventilation, and maintain a healthier bathroom. You will learn how to spot early signs of mold, what humidity levels to aim for, and which daily, weekly, and seasonal habits make the biggest difference. Use this as a practical reference you can revisit as you update your bathroom or adjust your home’s overall air and comfort strategy.
Understanding Bathroom Mold and Humidity
Mold thrives in warm, damp, and poorly ventilated spaces. Bathrooms often check all three boxes, especially after hot showers or baths. When moisture lingers on walls, ceilings, grout, and caulk, microscopic mold spores in the air find a perfect place to settle and grow.
Why Humidity Control Matters
Humidity is simply the amount of water vapor in the air. When humidity is too high for too long, surfaces stay damp and mold takes hold. Keeping humidity in a healthy range helps:
- Slow or stop mold growth on walls, ceilings, grout, and caulk
- Reduce musty odors and lingering damp smells
- Protect paint, drywall, wood trim, and cabinets from damage
- Improve overall indoor air quality throughout the home
For most homes, a relative humidity level between about 40% and 50% is a comfortable target. Bathrooms will spike higher during showers, but the goal is to bring the humidity back down quickly afterward.
Bathroom Humidity Control Checklist: Quick Overview
Use this overview as a snapshot, then read the detailed steps in the sections that follow.
- Improve ventilation with a properly sized exhaust fan and open doors or windows.
- Limit excess moisture during showers and baths.
- Dry surfaces quickly after use.
- Monitor humidity with a simple gauge.
- Seal and maintain grout, caulk, and paint.
- Store items so air can circulate freely.
- Clean regularly with mold-conscious habits.
- Address leaks and condensation immediately.
- Plan seasonal and deep-clean checks.
Step 1: Improve Bathroom Ventilation
Ventilation is the foundation of bathroom humidity control. Without a way for moist air to escape, even the best cleaning habits will struggle to keep mold away.
Exhaust Fan Checklist
- Confirm you have a working exhaust fan. If your bathroom has no fan, consider adding one. Relying on a window alone is usually not enough in humid climates.
- Check that the fan vents outside. The duct should lead outdoors, not into an attic or crawlspace, where moisture can create mold elsewhere in the home.
- Size the fan correctly. As a general rule, many bathrooms need around 1 cubic foot per minute (CFM) of fan capacity per square foot of floor space. Larger bathrooms or those with high ceilings may need more.
- Run the fan long enough. Turn it on before you shower and leave it running for at least 20 to 30 minutes afterward to clear moist air.
- Clean the fan cover. Dust buildup can reduce airflow. Gently remove the cover a few times a year and vacuum or wipe it clean.
Supplement with Natural Airflow
- Open a window during and after showers when weather allows.
- Keep the bathroom door slightly open after use to let moist air mix with drier air in the home.
- Avoid blocking the gap under the door with thick rugs that restrict airflow.
Step 2: Limit Moisture During Showers and Baths
Every shower adds moisture to the air. Small changes to your routine can noticeably reduce humidity spikes.
Shower and Bath Habits Checklist
- Use warm, not extremely hot, water. Very hot water creates more steam and raises humidity faster.
- Close the curtain or door while showering. This keeps water inside the tub or shower area, reducing splashes on walls and floors.
- Turn on the exhaust fan before the water starts. This helps capture steam from the beginning.
- Limit shower length when possible. Shorter showers mean less steam and faster drying surfaces.
- Use a shower curtain liner that dries quickly. Fabric or textured liners can hold moisture longer; look for ones that dry fast and are easy to wash.
Step 3: Dry Surfaces Quickly After Use
Lingering water on tile, grout, and fixtures is a direct invitation for mold. Removing that water is one of the most effective mold prevention steps.
Post-Shower Drying Checklist
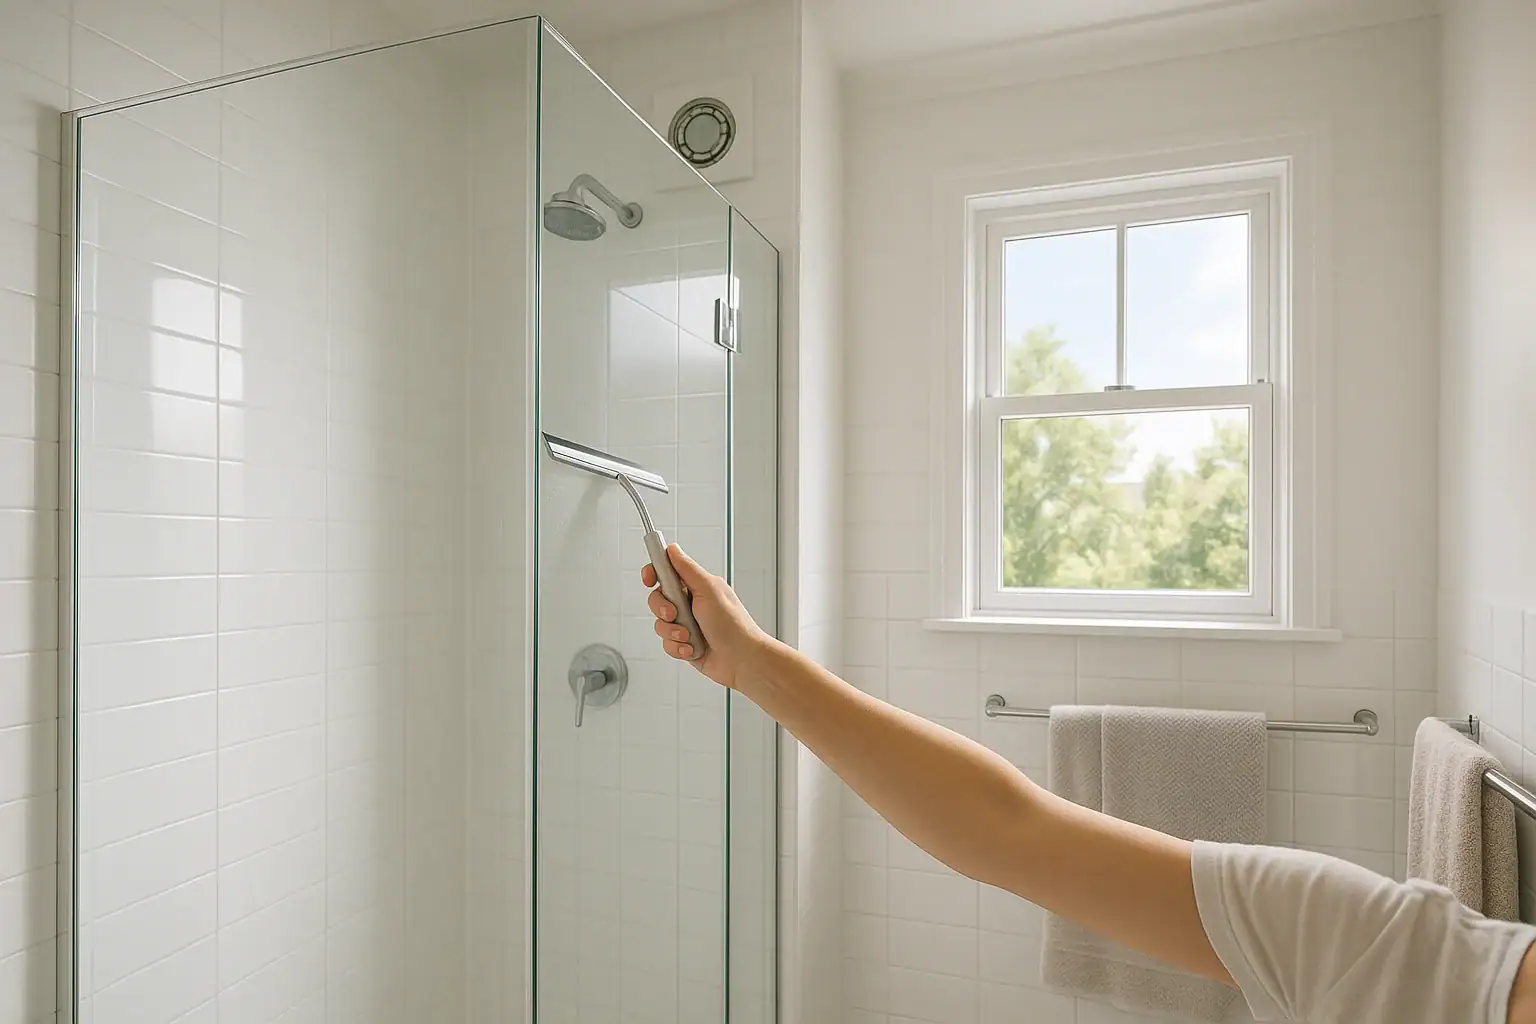
- Use a squeegee on walls and glass. Run it over shower walls, doors, and glass panels after each use to remove most of the water.
- Wipe down problem areas. Pay attention to corners, grout lines, window sills, and ledges where water tends to sit.
- Shake out the shower curtain or liner. Spread it fully open so it can dry instead of staying folded and damp.
- Hang towels to dry properly. Avoid piling damp towels on hooks or in hampers. Spread them out on bars or racks so they dry faster.
- Lift bath mats to air out. Hang them over the tub or a rail so the floor underneath can dry.
Step 4: Monitor Humidity Levels
Instead of guessing, use a simple humidity gauge to understand how your bathroom behaves after showers and throughout the day.
Humidity Monitoring Checklist
- Place a small humidity gauge nearby. You can keep it just outside the bathroom or in a spot where it will not get splashed.
- Check humidity before and after showers. Notice how high it climbs and how long it takes to return to a normal range.
- Aim for under about 50% most of the time. Brief spikes are normal, but humidity should drop back down within 30 to 60 minutes with good ventilation.
- Adjust habits if humidity stays high. Run the fan longer, crack a window, or shorten showers if readings remain elevated.
- Consider a whole-home approach. If humidity is consistently high throughout the house, you may need to address moisture beyond the bathroom.
Step 5: Seal and Protect Surfaces
Well-sealed surfaces are less likely to absorb moisture and grow mold. Regular maintenance of grout, caulk, and paint helps keep water where it belongs.
Grout and Caulk Checklist
- Inspect grout lines regularly. Look for cracks, missing sections, or dark spots that may indicate mold or water intrusion.
- Repair damaged grout. Scrape out loose or crumbling areas and re-grout as needed to keep water out of the wall behind the tile.
- Check caulk around tubs, sinks, and showers. Replace caulk that is peeling, cracked, or discolored.
- Use a mildew-resistant caulk in wet areas. This provides an extra layer of protection where water sits frequently.
- Seal grout if appropriate. Some grout benefits from a sealer that helps repel water and stains. Follow product directions for timing and application.
Walls, Ceilings, and Trim
- Use moisture-tolerant paint in bathrooms. Paints designed for humid spaces resist peeling and make surfaces easier to clean.
- Watch for peeling paint or bubbling. These can be signs of hidden moisture problems behind the surface.
- Inspect wood trim and cabinets. Look for swelling, soft spots, or discoloration that may indicate repeated moisture exposure.
Step 6: Store Bathroom Items for Better Airflow
Cluttered bathrooms trap moisture. Allowing air to move freely helps surfaces dry faster and discourages mold.
Storage and Organization Checklist
- Avoid packing shelves tightly. Leave space between bottles, containers, and baskets so air can circulate.
- Keep items off the shower floor when possible. Use a caddy or shelf that allows water to drain and air to flow.
- Choose breathable storage for linens. Avoid sealing damp towels or washcloths inside plastic bins.
- Rotate and wash shower accessories. Clean loofahs, brushes, and mats regularly and let them dry completely between uses.
- Do not store paper products near constant moisture. Keep extra toilet paper and tissue away from areas that frequently get damp.
Step 7: Clean with Mold Prevention in Mind
Regular cleaning interrupts mold growth and removes the film of soap and body oils that mold can cling to.
Weekly Cleaning Checklist
- Scrub shower walls and floors. Focus on grout lines, corners, and textured surfaces where residue builds up.
- Clean around faucets and fixtures. Remove mineral deposits and soap scum that hold moisture.
- Wipe down window sills and ledges. These often collect condensation and dust.
- Launder shower curtains and liners. Follow care instructions and wash them regularly to remove mildew.
- Wash bath mats and towels often. Do not let damp textiles sit for days without cleaning.
Spot-Cleaning Between Deep Cleans
- Wipe visible moisture from walls or ceilings after particularly steamy showers.
- Address any small dark spots in grout or caulk promptly rather than waiting for cleaning day.
- Use a gentle cleaner suitable for your surfaces to avoid damage while removing buildup.
Step 8: Fix Leaks and Condensation Fast
While steam from showers is a common moisture source, hidden leaks and ongoing condensation can also feed bathroom mold. Quick attention prevents long-term damage.
Leak and Condensation Checklist
- Inspect under sinks. Look for dampness, stains, or warped cabinet bottoms that may signal a slow leak.
- Check around the base of the toilet. Soft flooring, discoloration, or persistent dampness can indicate a seal or plumbing issue.
- Watch for dripping faucets or showerheads. Even small drips can keep surfaces wet and encourage mold.
- Look for water stains on ceilings below upstairs bathrooms. These can point to leaks behind tile or around tubs.
- Address window condensation. If windows fog heavily, improve ventilation and wipe the glass and frames dry.
If you suspect a leak behind walls or under floors, consider contacting a qualified professional to investigate before the problem spreads.
Step 9: Seasonal and Deep-Clean Mold Checks
In addition to daily and weekly habits, plan a deeper mold and humidity review a few times each year. This helps you catch slow-developing issues.
Seasonal Mold Inspection Checklist
- Examine corners and ceilings. Look closely where walls meet ceilings, especially above the shower.
- Check behind and under furniture. Move hampers, storage cabinets, and small shelves to inspect the walls and floor.
- Inspect around vents and fans. Make sure there is no discoloration or moisture damage near exhaust openings.
- Review caulk and grout again. Seasonal temperature changes can cause small cracks to appear.
- Clean or replace any items that smell musty. Persistent odor often signals hidden mold or moisture.
If you discover a large area of mold, significant water damage, or mold that keeps returning despite your efforts, consider consulting a professional for a more thorough assessment and remediation plan.
When Bathroom Mold Needs Extra Attention
Some mold problems go beyond routine cleaning. Pay attention to the size, location, and persistence of mold growth.
Signs You May Need Professional Help
- Mold covers a large area or keeps returning in the same spot.
- You notice a strong, musty odor that does not go away after cleaning.
- There are signs of structural damage, such as soft walls, sagging ceilings, or warped flooring.
- You suspect mold inside walls, under flooring, or in ceiling cavities.
- Household members are sensitive to indoor air quality and you want a thorough evaluation.
For many households, though, consistent humidity control and maintenance will keep bathroom mold limited to small, manageable spots that can be handled with routine cleaning and minor repairs.
Putting Your Bathroom Humidity Checklist into Action
Preventing mold in the bathroom is not about one big project. It is about small, steady habits that keep moisture under control and surfaces dry. Start with the steps that are easiest for you to implement, such as running the exhaust fan longer, using a squeegee after showers, and hanging towels to dry properly.
Over time, add in deeper maintenance tasks like inspecting grout and caulk, monitoring humidity levels, and performing seasonal mold checks. By following this humidity control checklist, you can create a bathroom that feels fresher, looks cleaner, and supports a healthier home environment. For more ideas on improving air and comfort throughout your home, explore additional resources and guides focused on ventilation, humidity balance, and indoor air quality.
Recommended next:
Related posts
Browse this topic →
HVAC Filter Arrow Direction: Common Installation Mistakes and How to Fix Them

How to Reduce Heat From Sunny Windows Without Blocking Natural Light

Door Sweep and Weatherstripping Comfort Upgrade Guide

Why Your Home Feels Dry Even When Humidity Is Normal

Window AC Maintenance Checklist Before Summer Heat Arrives

Washable vs Disposable HVAC Filters: Which Is Best for Your Home?
Keep reading


About this site
Signature Home Guide publishes practical, independent home guides. We aim to be clear, helpful, and transparent.
Affiliate disclosure
As an Amazon Associate, we earn from qualifying purchases. Some links on this site may be affiliate links. If you buy through these links, we may earn a small commission at no extra cost to you. This helps support our content. Learn more.