Opening the refrigerator and wondering if something is still safe to eat is a common moment in most homes. Dates on packages can be confusing, leftovers get pushed to the back, and busy schedules make it easy to forget how long food has been sitting. Understanding how your refrigerator works, which zones are coldest, and realistic timelines for different foods can dramatically cut down on waste and reduce the risk of foodborne illness.
On this page(click to collapse)
- Why Fridge Zones Matter for Food Safety
- Set the Right Fridge and Freezer Temperatures
- Understanding Your Fridge Zones
- How Long Common Foods Really Last in the Fridge
- Freezer Storage: Extending Food Life Safely
- Safe Thawing and Reheating Practices
- Labeling, Organization, and Simple Habits
- When to Toss Food: Signs It Is No Longer Safe
- Putting It All Together for a Safer Kitchen
- Related guides
This guide walks through the main fridge zones, ideal temperatures, and practical storage times for common foods. You will learn how to organize your refrigerator for safety, how to tell when food should be tossed, and simple habits that make it easier to track what is in your fridge. All tips are geared toward a typical home kitchen in the United States.
Why Fridge Zones Matter for Food Safety
The inside of a refrigerator is not the same temperature everywhere. Some areas stay colder and more stable, while others warm up each time the door opens. Storing food in the wrong zone can shorten its safe life and increase the chance of harmful bacteria growing.
Two key ideas drive safe storage:
- Temperature control: Most harmful bacteria grow rapidly between 40°F and 140°F. Your goal is to keep perishable food at or below 40°F.
- Cross-contamination prevention: Raw meat, poultry, and seafood can leak juices that carry bacteria. They must be stored where they cannot drip onto ready-to-eat foods.
When you understand where the coldest and warmest spots are, you can match each food to the right zone and get closer to the storage times listed later in this guide.
Set the Right Fridge and Freezer Temperatures
Before organizing zones, make sure your refrigerator and freezer are actually cold enough. Built-in dials are often vague, so a simple appliance thermometer can be helpful.
Recommended temperatures
- Refrigerator: 37°F to 40°F (around 3°C to 4°C)
- Freezer: 0°F (-18°C) or below
Placing a thermometer on a middle shelf gives a good sense of the average temperature. Adjust the dial as needed and recheck after 24 hours.
Tips to keep temperatures stable
- Do not pack shelves so tightly that cold air cannot circulate.
- Allow hot foods to cool slightly on the counter (no more than 1 hour) before refrigerating to avoid warming the interior.
- Limit how long the door stays open, especially in hot weather.
- Check door seals for gaps and clean them so they close tightly.
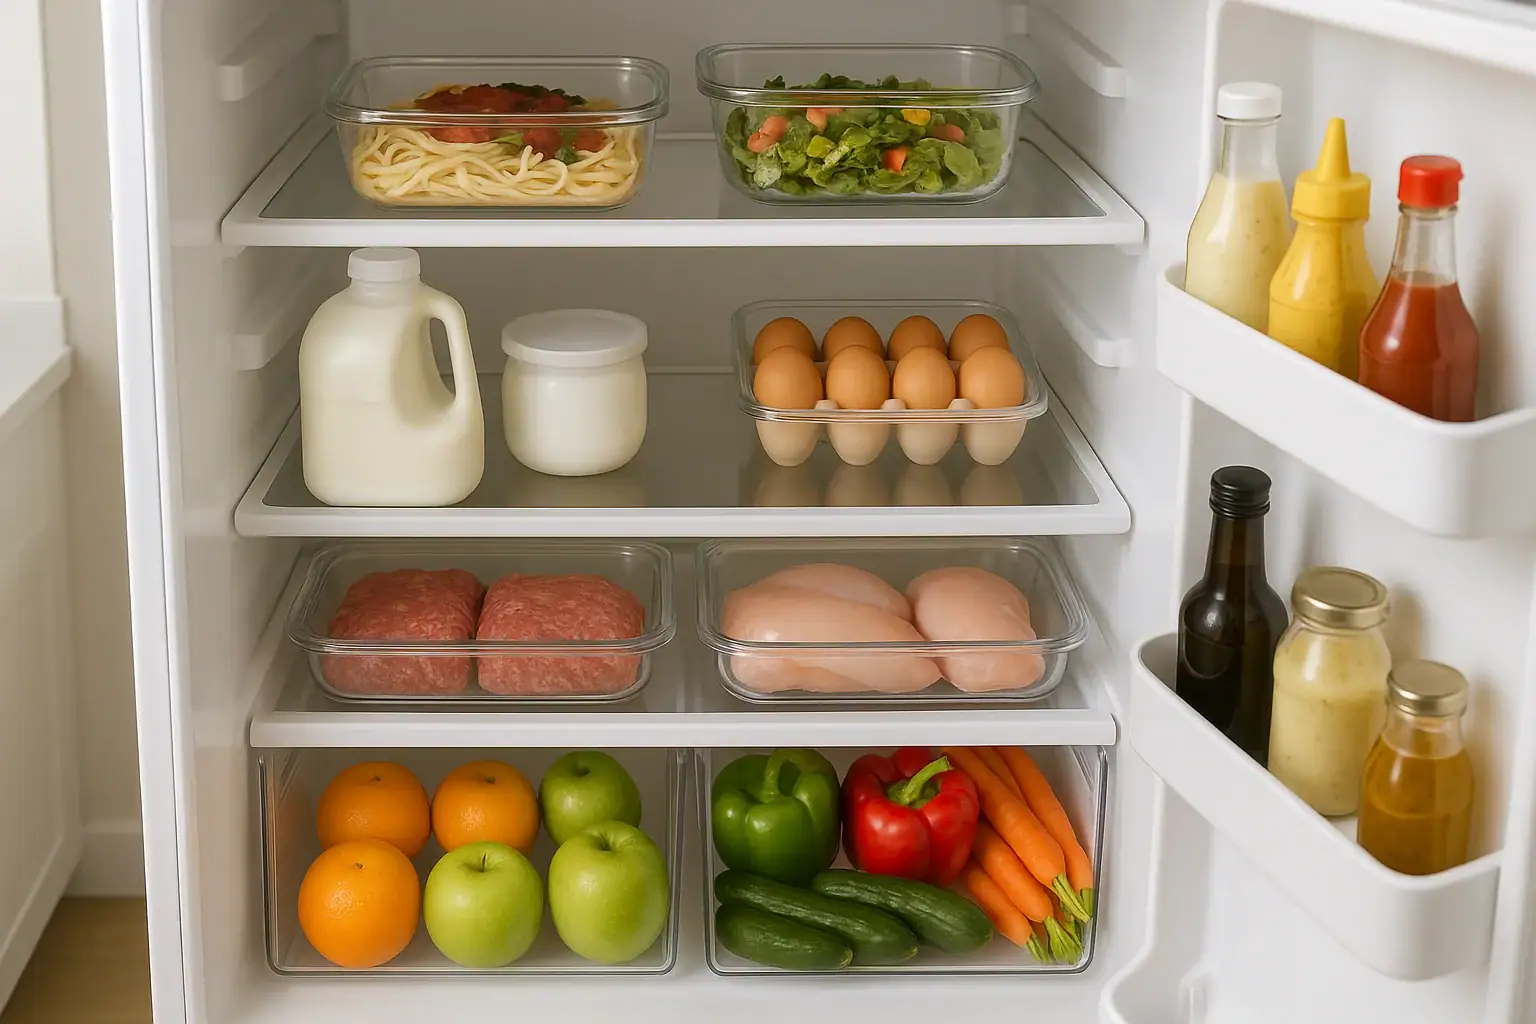
Understanding Your Fridge Zones
Every refrigerator model is a bit different, but most share similar zones. Use these as a general guide and adjust based on where your appliance runs coldest.
Top shelf: Ready-to-eat foods
The upper shelves usually have the most stable temperature. This makes them ideal for foods that will not be cooked again before eating.
Best items for the top shelf:
- Leftovers and cooked dishes
- Ready-to-eat deli items
- Yogurt, pudding, and similar snacks
- Prepared salads and cut fruit stored in sealed containers
Middle shelves: Dairy and everyday items
Middle shelves stay fairly cold and are easy to see and reach. This is a good spot for foods you use frequently.
Best items for the middle shelves:
- Milk, if it fits here instead of in the door
- Cream, half-and-half, and other dairy drinks
- Cheese and butter
- Eggs in their original carton
- Open jars and containers that require refrigeration
Bottom shelf: Raw meat, poultry, and seafood
The bottom shelf is often the coldest area and is also safest for containing potential leaks. Always store raw meat, poultry, and seafood here.
Safety tips for the bottom shelf:
- Keep raw items in leakproof containers or on a tray to catch drips.
- Separate raw poultry, red meat, and seafood if possible.
- Do not place ready-to-eat foods directly above raw items.
Crisper drawers: Produce zones
Most refrigerators have one or two crisper drawers with adjustable humidity. These are designed for fruits and vegetables.
- High-humidity drawer: Great for leafy greens, broccoli, carrots, and produce that wilts easily.
- Low-humidity drawer: Better for fruits that tend to rot faster, such as apples, berries, and grapes.
Keep produce in breathable bags or containers and avoid washing until just before use, unless you dry it very thoroughly.
Door shelves: Condiments and less-perishable items
The door is the warmest and most temperature-fluctuating part of the refrigerator. Avoid storing highly perishable items here.
Best items for the door:
- Condiments, sauces, and dressings
- Pickled items and jars with preservatives
- Juices that are consumed quickly
- Butter or spreads if used often
Try to avoid storing milk and eggs in the door, even if there are built-in holders, because they stay safer in colder, more stable zones.
How Long Common Foods Really Last in the Fridge
Printed dates on packages can be confusing. Many labels refer to quality rather than safety. In general, follow the shorter of these two guides: the date on the package or the safe storage times below. When in doubt, do not taste food to check it; if it looks or smells off, discard it.
Cooked leftovers
- Cooked meat, poultry, and casseroles: about 3 to 4 days
- Cooked pasta, rice, and grains: about 3 to 4 days
- Soups and stews: about 3 to 4 days
- Cooked vegetables: about 3 to 4 days
Store leftovers in shallow containers so they cool quickly. Label each container with the date it was cooked or stored.
Raw meat, poultry, and seafood
- Raw ground meat and ground poultry: 1 to 2 days
- Raw steaks, roasts, and chops: 3 to 5 days
- Raw poultry pieces: 1 to 2 days
- Whole raw poultry: 1 to 2 days
- Raw fish and shellfish: 1 to 2 days
- Smoked fish: about 5 to 7 days once opened
If you will not cook raw meat or seafood within these time frames, freeze it instead. Freezing stops bacterial growth but does not improve food that is already past its prime.
Dairy and eggs
- Milk: about 5 to 7 days after opening, or until the date on the package, whichever comes first
- Yogurt: about 1 to 2 weeks, or until the date on the package
- Hard cheese (blocks): 3 to 4 weeks after opening if kept wrapped
- Shredded cheese: about 1 week after opening
- Soft cheese: about 1 week after opening
- Eggs in shell: about 3 to 5 weeks from purchase when refrigerated
- Hard-cooked eggs: about 1 week
Always keep dairy in the main body of the refrigerator, not in the door. If cheese grows mold that is not part of its normal appearance, discard soft cheeses entirely. For firm cheese, you may be able to cut off the mold plus an extra margin, but if you are unsure, throw it out.
Produce
Produce life varies widely. These are general guidelines when stored properly in the crisper drawers:
- Leafy greens: about 3 to 7 days
- Broccoli and cauliflower: about 3 to 5 days
- Carrots: several weeks if kept dry and cool
- Bell peppers: about 1 to 2 weeks
- Apples: several weeks in the fridge
- Berries: about 3 to 5 days
- Grapes: about 1 to 2 weeks
- Citrus fruits: about 2 to 3 weeks
Some fruits, such as bananas and tomatoes, do better at room temperature until fully ripe. Once cut, however, they should be refrigerated and used within a few days.
Condiments and sauces
Many condiments are high in salt, sugar, or acid, which slows bacterial growth. Still, they do not last forever once opened.
- Most salad dressings: about 1 to 3 months after opening, refrigerated
- Pickles and similar items: about 1 to 3 months after opening
- Jams and jellies: about 1 to 3 months after opening
- Spreads and dips made with dairy: about 1 week after opening
Always use clean utensils when scooping from jars and close lids tightly. If you see mold, bubbling, or smell sour or yeasty odors, discard the item.
Freezer Storage: Extending Food Life Safely
The freezer is your best tool for extending the life of food without sacrificing safety. While frozen food stays safe indefinitely at 0°F or below, quality declines over time. Ice crystals, freezer burn, and changes in texture are common signs of aging.
General freezer storage times for best quality
- Raw steaks, roasts, and chops: about 4 to 12 months
- Raw ground meat and poultry: about 3 to 4 months
- Raw poultry pieces: about 9 months; whole birds about 1 year
- Cooked meat and leftovers: about 2 to 3 months
- Bread and baked goods: about 2 to 3 months
- Fruits and vegetables (blanched): about 8 to 12 months
Freezer safety tips
- Use airtight, freezer-safe containers or bags to reduce freezer burn.
- Label each item with the name and date before freezing.
- Freeze foods in flat portions when possible so they thaw faster and more evenly.
- Do not refreeze raw foods that have fully thawed in the refrigerator unless you cook them first.
Safe Thawing and Reheating Practices
How you thaw and reheat food is just as important as how you store it. Poor thawing methods can move food into the temperature danger zone where bacteria multiply quickly.
Safe ways to thaw food
- In the refrigerator: The safest method. Place frozen food on a plate or tray on the bottom shelf. Small items may thaw overnight; large items can take a day or more.
- In cold water: Submerge the sealed package in cold tap water, changing the water every 30 minutes. Cook immediately after thawing.
- In the microwave: Use the defrost setting and cook the food right away after thawing.
Avoid thawing food on the counter at room temperature, because the outer layers can enter the danger zone while the inside is still frozen.
Reheating leftovers safely
- Reheat leftovers to at least 165°F until steaming hot throughout.
- Stir or rotate food during reheating to avoid cold spots.
- Only reheat what you plan to eat; repeated cooling and reheating increases risk.
- Discard leftovers that have been at room temperature for more than 2 hours (or 1 hour in very warm conditions).
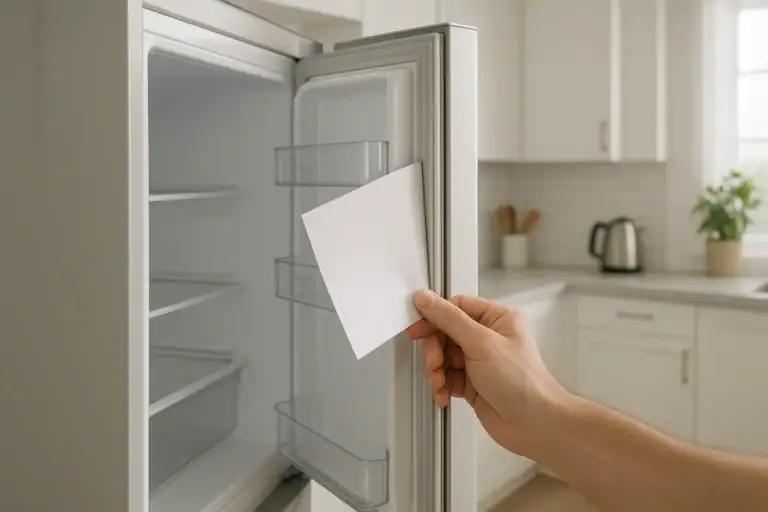
Labeling, Organization, and Simple Habits
Even with good knowledge of fridge zones and storage times, it is easy to lose track of when something went in. A few simple habits can make your refrigerator safer and more efficient.
Label everything
- Use masking tape or freezer labels and a permanent marker.
- Write the name of the food and the date it was cooked, opened, or frozen.
- Place labels where they are easy to read without moving everything around.
Use the “first in, first out” rule
Arrange shelves so older items are in front and newer ones are behind.
- When you add groceries, slide older items forward instead of stacking new ones in front.
- Keep a small “eat soon” section for items that are close to their safe limit.
Keep a simple fridge cleaning routine
- Do a quick check once a week to remove expired or questionable items.
- Wipe spills right away, especially from raw meat or eggs.
- Every month or so, remove contents shelf by shelf and wipe with warm, soapy water, followed by a clean water rinse.
When to Toss Food: Signs It Is No Longer Safe
Storage times are guidelines, not guarantees. Use them together with your senses and common safety rules. If you are unsure, it is safer to discard the item than to risk illness.
Warning signs to look for
- Unpleasant or sour odors that do not match the food’s normal smell
- Visible mold on foods that are not meant to be moldy
- Slime or sticky film on meats or produce
- Unusual color changes, especially graying or greenish tones on meat
- Bubbling, foaming, or bulging containers without obvious reason
Never taste food to see if it is still good. Some harmful bacteria do not change the smell, taste, or appearance of food, yet can still cause illness.
Putting It All Together for a Safer Kitchen
Safe food storage is less about memorizing every rule and more about building a few steady habits. Keep your refrigerator at or below 40°F, store raw meats on the bottom shelf, use crisper drawers for produce, and reserve the door for condiments. Combine this with basic timelines for leftovers, meats, dairy, and produce, and you will dramatically cut down on guesswork and reduce waste.
As you restock your kitchen, take a few minutes to label items, rotate older foods forward, and place each item in the right zone. Over time, these steps become automatic, and you will feel more confident that the meals you serve are both fresh and safe.
If you want to go further, consider keeping a simple list on the fridge door noting when you cooked large batches of food or when you opened certain items. A clear system makes it easier to enjoy what you buy, protect your family’s health, and keep your kitchen running smoothly.
For more home and kitchen guidance, you can explore additional resources at this home and kitchen hub.
Recommended next:
Related posts
Browse this topic →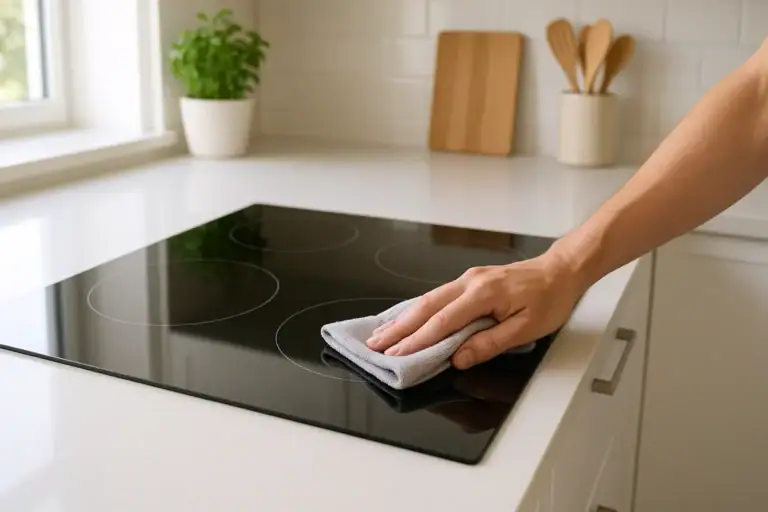
How to Clean an Induction Cooktop Without Scratches: Step-by-Step Guide
How to Tame Kitchen Countertop Clutter Zones for Coffee Prep and Drop Areas
Fridge Door Seal Test Checklist for Better Energy Use and Food Safety
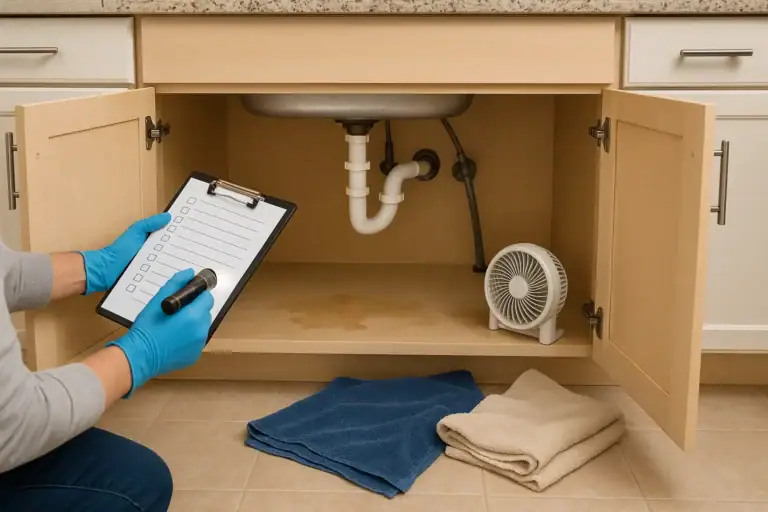
Under Sink Cabinet Water Damage: What To Check Before It Gets Worse
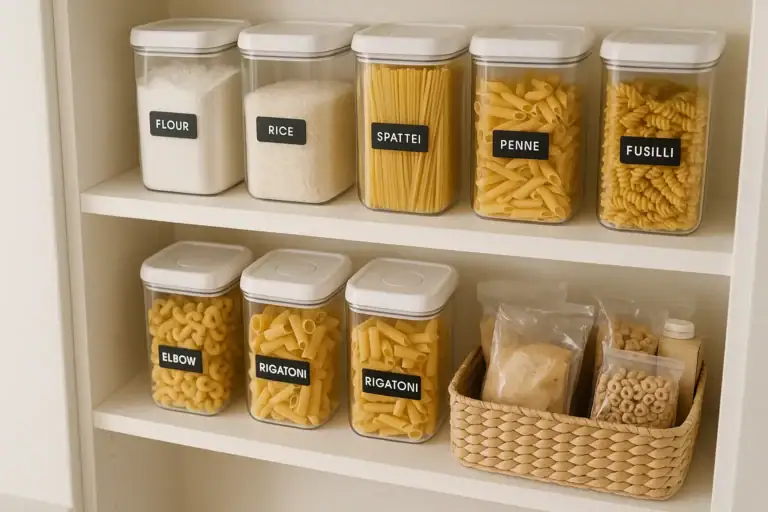
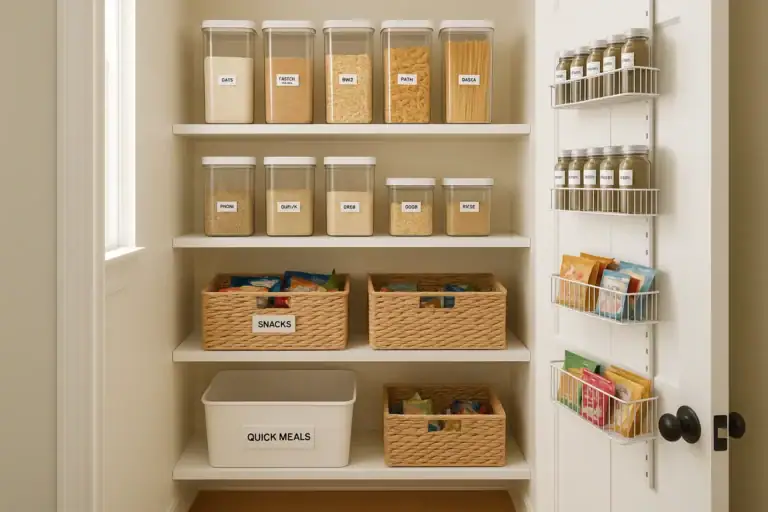
How to Store Flour, Rice, and Pasta to Prevent Pests at Home
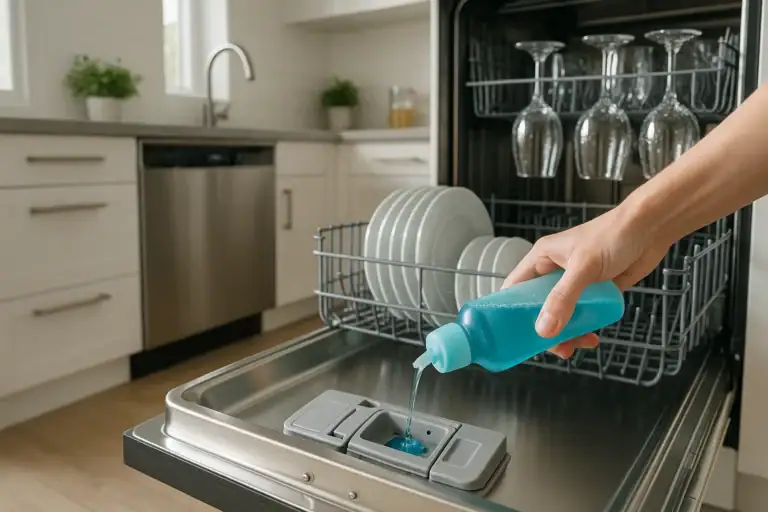
Dishwasher Rinse Aid Basics: What It Does and When It Actually Helps
Keep reading
About this site
Signature Home Guide publishes practical, independent home guides. We aim to be clear, helpful, and transparent.
Affiliate disclosure
As an Amazon Associate, we earn from qualifying purchases. Some links on this site may be affiliate links. If you buy through these links, we may earn a small commission at no extra cost to you. This helps support our content. Learn more.