A bathroom deep clean can feel overwhelming, especially when soap scum, hard water spots, and dingy grout seem to appear overnight. Instead of trying to tackle everything at once without a plan, use a clear checklist to move from top to bottom. This approach keeps you focused, saves time, and helps you avoid missing those hidden problem spots that collect grime and germs. In this guide, you will find a practical bathroom deep clean checklist that walks you through every major area: shower, grout, mirrors, toilet, sink, floors, and more. You will also see how to break the job into manageable steps, what to do first, and how to keep your bathroom cleaner for longer so deep cleans are less frequent and far less stressful.
On this page(click to collapse)
- How to Use This Bathroom Deep Clean Checklist
- Bathroom Deep Clean Checklist: Overview
- Step 1: Declutter and Clear All Surfaces
- Step 2: Dust and Clean High Surfaces
- Step 3: Deep Clean the Shower and Tub
- Step 4: Scrub and Refresh Grout
- Step 5: Clean Bathroom Mirrors and Glass
- Step 6: Deep Clean the Toilet
- Step 7: Clean the Sink, Faucet, and Vanity
- Step 8: Wipe Cabinets, Doors, and Baseboards
- Step 9: Empty Trash and Clean the Trash Can
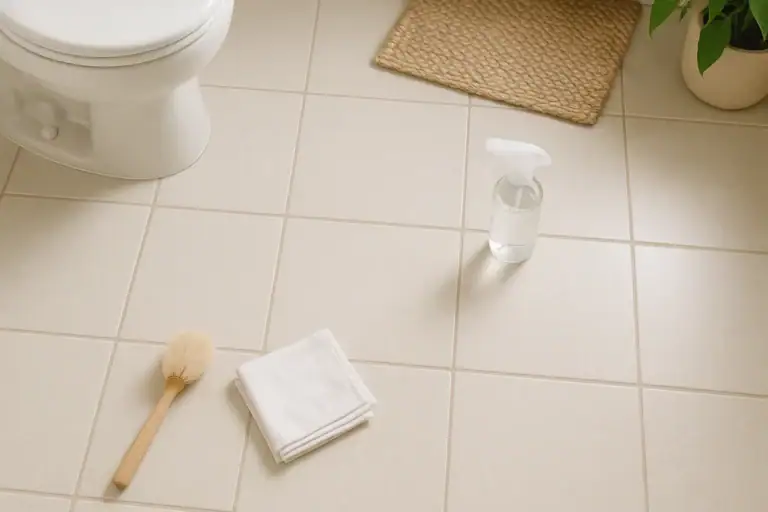
- Step 10: Vacuum and Mop the Floor
- Step 11: Wash Textiles and Replace Essentials
- Quick Maintenance Tips Between Deep Cleans
- Printable-Style Bathroom Deep Clean Checklist
- Related guides
How to Use This Bathroom Deep Clean Checklist
This checklist is designed for a complete bathroom reset. You can follow it step by step in one session or split it into smaller chunks over a couple of days. The key is to work from top to bottom and from the least dirty areas to the dirtiest so you are not spreading grime around.
Before You Start: Quick Prep
Set yourself up for success by getting the bathroom ready before you begin scrubbing.
- Open a window or turn on the fan for ventilation.
- Gather all cleaning tools and products in a caddy or bin.
- Put on cleaning gloves and, if needed, a mask for strong fumes.
- Turn on bright overhead lighting to spot buildup and streaks.
Once you are prepped, you can move through the checklist in order without stopping to search for supplies or clear space.
Bathroom Deep Clean Checklist: Overview
Here is the full bathroom deep clean checklist at a glance. Detailed steps for each area follow in later sections.
- Declutter and remove items from all surfaces.
- Dust light fixtures, vents, and high surfaces.
- Pre-treat shower walls, tub, and glass doors.
- Scrub grout and tile.
- Clean shower fixtures and drain area.
- Wash mirrors and glass surfaces.
- Clean the vanity, sink, and faucet.
- Disinfect the toilet (tank, handle, seat, and bowl).
- Wipe cabinets, doors, baseboards, and hardware.
- Empty trash and clean the trash can.
- Vacuum and mop the floor.
- Wash or replace textiles (towels, mats, shower curtain).
- Restock essentials and organize storage.
Step 1: Declutter and Clear All Surfaces
Start by removing anything that is not permanently attached. This gives you full access to every surface and prevents products from getting in the way while you clean.
- Take all products out of the shower and tub area.
- Clear the vanity of toothbrushes, makeup, and containers.
- Remove rugs, bath mats, and towels.
- Take down the shower curtain and liner if washable.
- Empty the trash can and set it aside for cleaning.
Place items in a laundry basket or bin outside the bathroom so you have a blank slate to work with.
Step 2: Dust and Clean High Surfaces
Working from the top down keeps dust and debris from falling onto already cleaned areas.
- Dust light fixtures and bulbs when cool.
- Wipe the exhaust fan cover and vent grates.
- Dust the tops of door frames, mirrors, and cabinets.
- Use a long-handled duster for corners and ceiling cobwebs.
If fixtures are very dirty, lightly dampen a cloth to remove stuck-on grime, then dry to avoid water spots.
Step 3: Deep Clean the Shower and Tub
The shower and tub usually collect the most buildup. Pre-treating gives cleaners time to break down soap scum, hard water deposits, and body oils.
Pre-Treat Shower Walls, Tub, and Doors
- Spray cleaner generously on shower walls, tub, and glass doors.
- Pay extra attention to corners, ledges, and areas with visible buildup.
- Let the cleaner sit according to the product directions, usually several minutes.
While the cleaner works, you can move on to other tasks such as scrubbing grout or wiping the vanity.
Scrub Shower Walls and Tub
- Use a non-scratch scrub brush or sponge for walls and tub.
- Work from top to bottom in small sections.
- Use circular motions on stubborn soap scum and stains.
- Rinse thoroughly with warm water to remove residue.
Clean Shower Glass and Doors
Clear glass and streak-free doors make the whole bathroom feel cleaner.
- After pre-treating, scrub glass with a non-abrasive pad.
- Rinse well with warm water.
- Dry with a squeegee or lint-free cloth to prevent water spots.
Detail the Shower Fixtures and Drain
- Wipe showerhead, faucet, and handles with cleaner.
- Use a small brush or old toothbrush around seams and edges.
- Remove hair and debris from the drain cover.
- Wipe soap dishes, shelves, and built-in niches.
Step 4: Scrub and Refresh Grout
Grout lines can make a bathroom look older and dirtier than it is. A focused grout cleaning step brightens the entire room.
Inspect and Pre-Treat Grout
- Look for discolored lines, mold, or mildew spots.
- Apply grout-safe cleaner or a mild solution to affected areas.
- Allow it to sit for several minutes to loosen buildup.
Scrub Grout Lines
- Use a stiff grout brush or old toothbrush.
- Scrub in short back-and-forth motions along each line.
- Focus on corners, floor joints, and around the base of the toilet.
- Rinse or wipe away loosened grime with a damp cloth.
Rinse and Dry Tile and Grout
- Rinse shower and floor tile with clean water or a damp mop.
- Wipe excess moisture with a towel to prevent new mildew.
- Allow grout to dry fully before applying any sealer in the future.
Step 5: Clean Bathroom Mirrors and Glass
Mirrors collect toothpaste splatter, fingerprints, and streaks. A clear mirror instantly makes the bathroom feel fresher.
Prepare the Mirror
- Dust the top edge and corners with a dry cloth.
- Check for heavy spots of hairspray or splatter.
Wash the Mirror
- Spray glass cleaner lightly across the surface.
- Wipe with a microfiber cloth in an S-shaped pattern from top to bottom.
- Buff with a dry section of the cloth for a streak-free finish.
- Repeat on any additional glass surfaces or small mirrors.
Step 6: Deep Clean the Toilet
The toilet needs both visible cleaning and thorough disinfection. Work from the outside in, saving the bowl for last.
Exterior Toilet Cleaning Checklist
- Spray the outside of the tank, lid, and base with bathroom cleaner or disinfectant.
- Wipe from top to bottom with a clean cloth.
- Pay attention to the flush handle, sides, and back of the base.
- Use a small brush or cloth for tight spaces and bolt covers.
Seat, Hinges, and Rim
- Lift the seat and lid and spray both sides.
- Wipe the top and bottom of the seat, lid, and rim thoroughly.
- Clean around hinges and attachment points where grime collects.
Toilet Bowl Deep Clean
- Apply toilet bowl cleaner under the rim and around the bowl.
- Let it sit for several minutes to break down stains.
- Scrub the entire bowl with a toilet brush, including under the rim.
- Flush to rinse, then check for any remaining marks.
- Repeat scrubbing if mineral rings or stains remain.
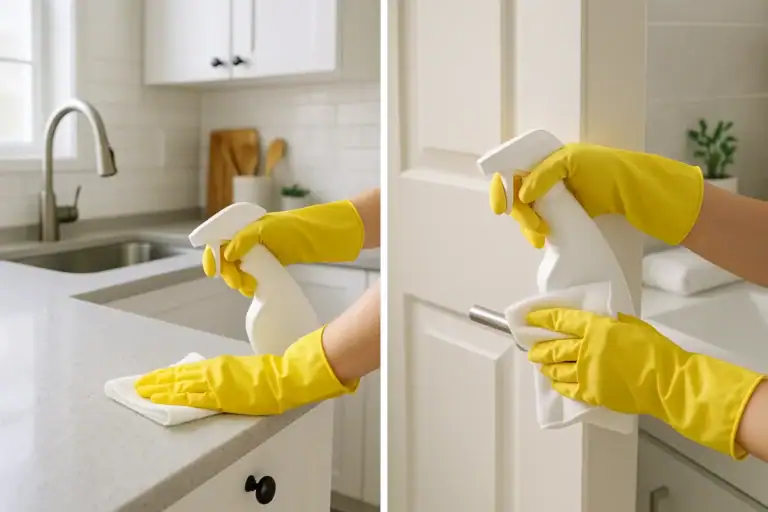
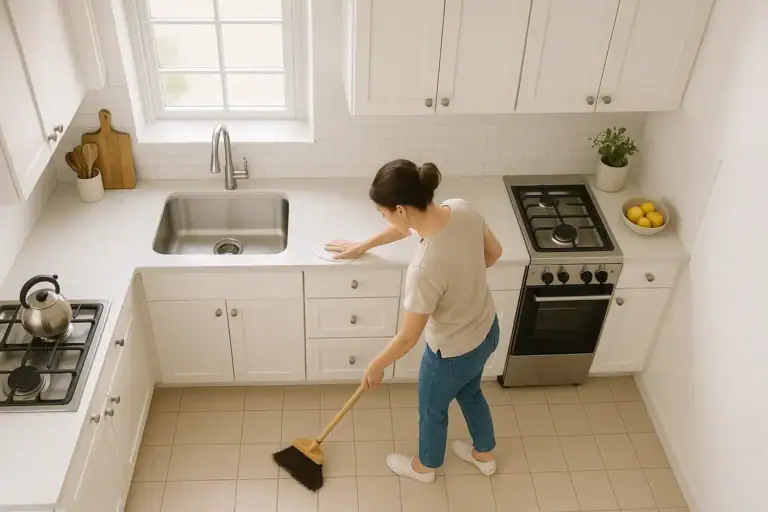
Step 7: Clean the Sink, Faucet, and Vanity
The sink area is used multiple times a day and can quickly collect toothpaste, soap, and water spots. A targeted deep clean keeps it looking polished.
Clear and Wipe the Countertop
- Remove any remaining items from the vanity top.
- Wipe loose debris and hair into the trash.
- Spray the countertop with bathroom-safe cleaner.
- Wipe thoroughly, paying attention to corners and backsplash.
Scrub the Sink Basin
- Apply cleaner to the sink basin and drain area.
- Use a non-scratch scrub pad or sponge to remove buildup.
- Scrub around the drain, overflow hole, and faucet base.
- Rinse well with warm water and dry with a soft cloth.
Polish the Faucet and Handles
- Spray or wipe cleaner on the faucet and handles.
- Use a small brush around seams and the base.
- Wipe dry with a microfiber cloth to remove water spots.
Step 8: Wipe Cabinets, Doors, and Baseboards
These areas often collect dust, splashes, and fingerprints but are easy to overlook during quick cleanups.
- Wipe the front and sides of vanity cabinets with a damp cloth.
- Clean cabinet pulls, knobs, and drawer fronts.
- Wipe the bathroom door, especially around the handle.
- Dust and wipe baseboards around the entire room.
- Clean light switches and outlet covers with a lightly damp cloth.
Step 9: Empty Trash and Clean the Trash Can
A clean trash can helps control odors and keeps the bathroom feeling fresh.
- Remove the trash bag and discard it.
- Rinse the inside of the can if needed.
- Spray the inside and outside with cleaner or disinfectant.
- Wipe dry and insert a fresh liner.
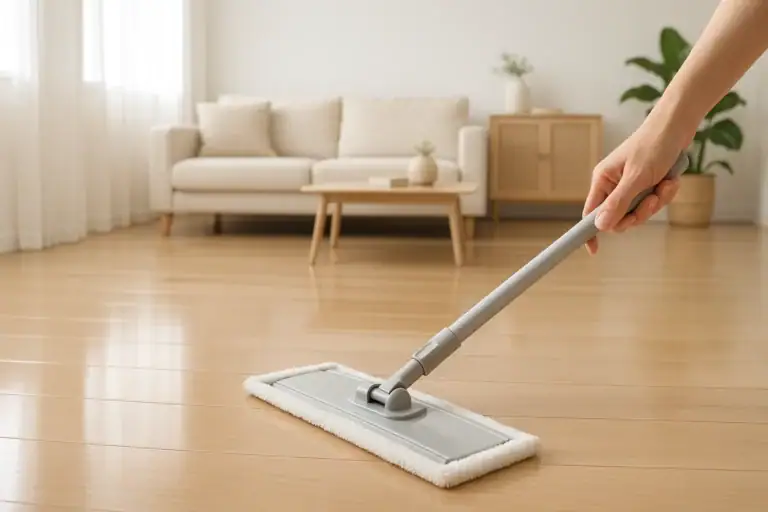
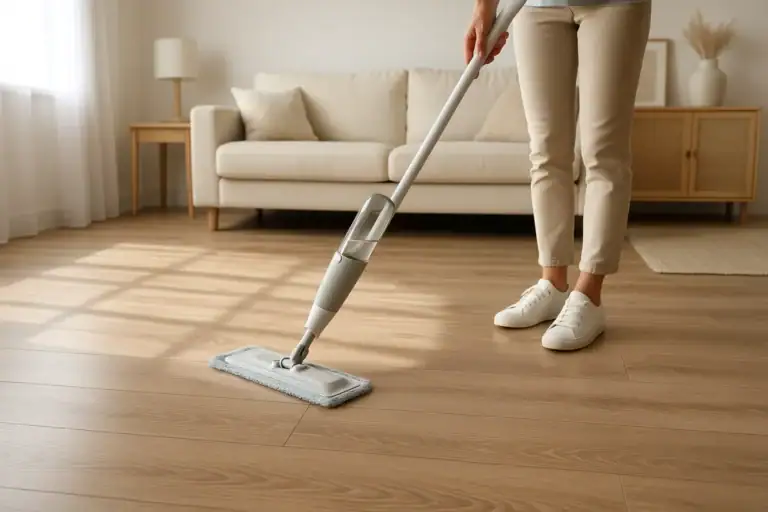
Step 10: Vacuum and Mop the Floor
Save the floor for last so you can pick up all dust and debris that fell during earlier steps.
Prepare the Floor
- Make sure rugs and mats are removed.
- Check for hair, bobby pins, and small items.
Vacuum and Mop
- Vacuum or sweep thoroughly, including behind the toilet and under the vanity.
- Use a crevice tool along edges and corners if available.
- Mop with a bathroom-safe floor cleaner.
- Start at the farthest corner and work toward the door.
- Allow the floor to dry fully before replacing rugs.
Step 11: Wash Textiles and Replace Essentials
Fresh textiles and organized products are the finishing touch on your bathroom deep clean.
Launder Bathroom Textiles
- Wash bath towels, hand towels, and washcloths.
- Wash bath mats according to care labels.
- Wash or replace the shower curtain liner as needed.
- Dry items completely before returning them to the bathroom.
Restock and Organize
- Return only the products you use regularly to the shower and vanity.
- Group similar items together in bins or baskets.
- Restock toilet paper, tissues, soap, and other essentials.
- Place clean towels neatly on racks or hooks.
Quick Maintenance Tips Between Deep Cleans
A full bathroom deep clean doesn’t need to happen every week if you maintain a few simple habits. These small steps keep buildup under control and make the next deep clean much easier.
- Use a squeegee on shower walls and doors after each use to reduce water spots and soap scum.
- Wipe the sink and faucet daily with a damp cloth to remove toothpaste and splashes.
- Do a quick toilet wipe-down several times a week.
- Hang towels to dry fully between uses to prevent odors.
- Empty bathroom trash regularly, especially if it contains tissues or hygiene products.
- Keep cleaning wipes or a small caddy under the sink for fast touch-ups.
For most households, a full bathroom deep clean every four to six weeks works well, with light weekly cleaning in between. Adjust the schedule based on how heavily the bathroom is used.
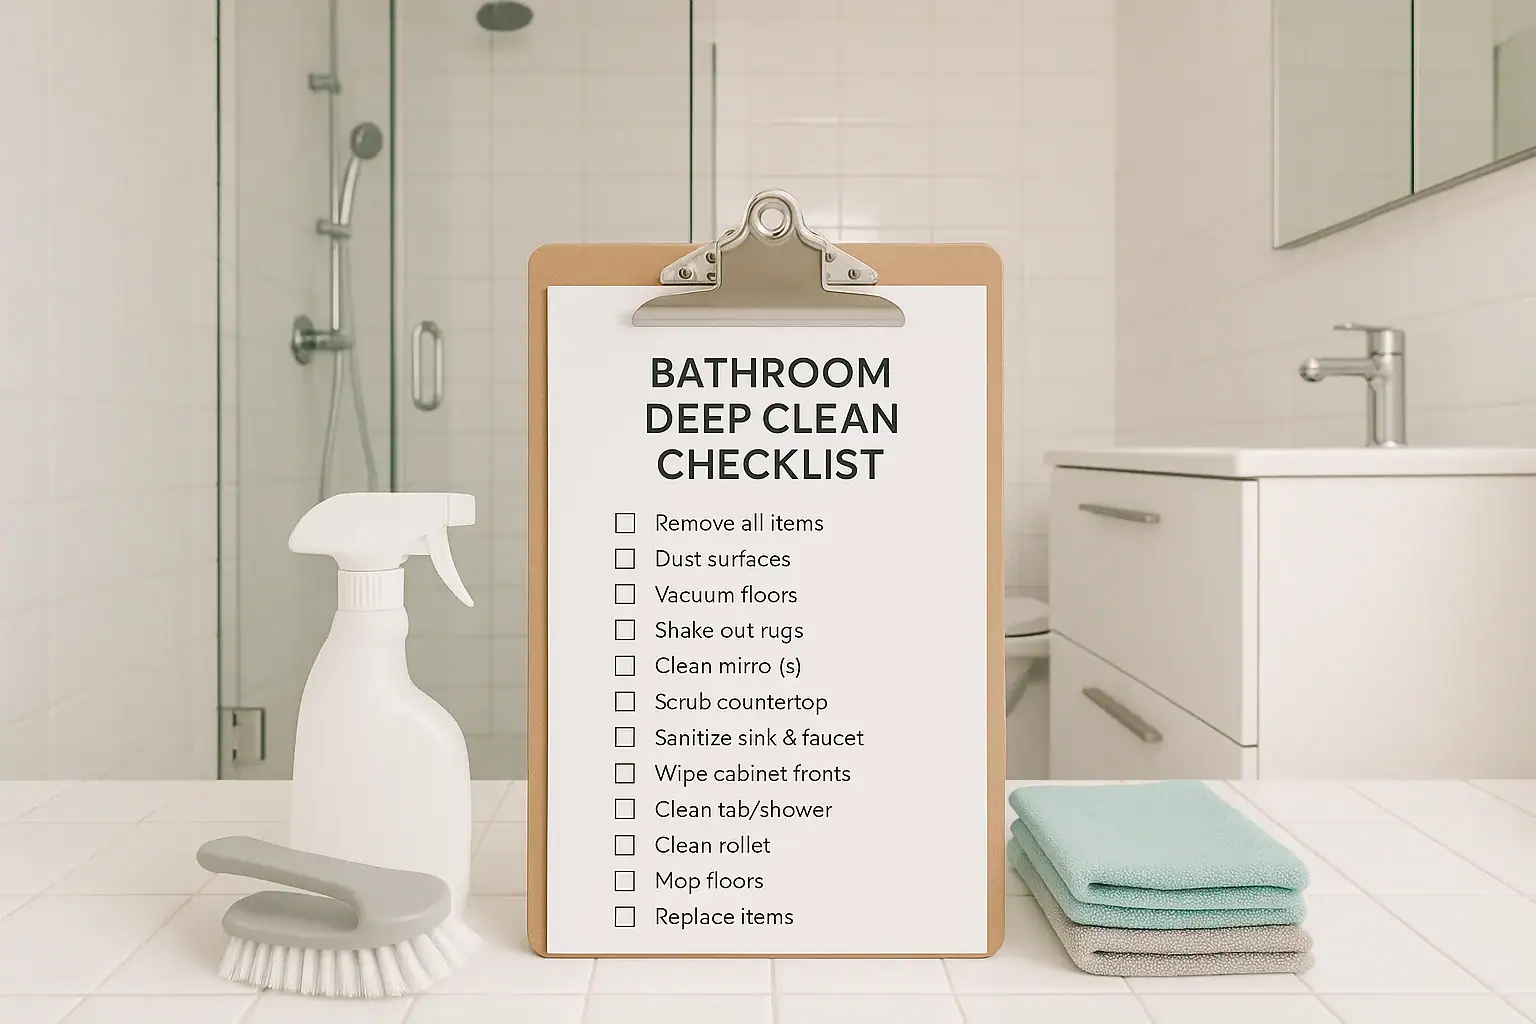
Printable-Style Bathroom Deep Clean Checklist
Use this condensed version of the bathroom deep clean checklist as a quick reference. You can copy it into a note or planner, or print it for your cleaning caddy.
Bathroom Deep Clean Checklist
- Declutter: Remove products, towels, rugs, and trash.
- Dust: Lights, vents, corners, tops of mirrors and cabinets.
- Pre-treat: Shower walls, tub, and glass doors.
- Scrub: Shower walls, tub, and fixtures; rinse and dry.
- Grout: Pre-treat, scrub lines, rinse, and dry.
- Mirrors: Clean and buff to a streak-free shine.
- Sink and vanity: Scrub basin, faucet, and countertop.
- Toilet exterior: Tank, handle, lid, seat, base.
- Toilet bowl: Apply cleaner, scrub, and flush.
- Cabinets and doors: Wipe fronts, handles, and baseboards.
- Trash: Empty, clean can, and add a new liner.
- Floors: Vacuum or sweep, then mop thoroughly.
- Textiles: Wash towels, mats, and shower curtain.
- Restock: Organize products and replace essentials.
Follow this list from top to bottom, and you will have a fresh, hygienic bathroom that looks and feels noticeably cleaner.
Related posts
Browse this topic →
Pantry Organization Basics: Zones, Labels, and a Simple Maintenance Routine
How to Organize Cleaning Supplies for Speed and Safety at Home
Spring Cleaning Checklist for the Whole Home (Printable Plan)
How to Disinfect Surfaces Safely: What Really Needs It and What Does Not
How to Clean Hardwood Floors Without Ruining the Finish
Best Way to Clean Laminate Floors Without Swelling or Haze
Keep reading
About this site
Signature Home Guide publishes practical, independent home guides. We aim to be clear, helpful, and transparent.
Affiliate disclosure
As an Amazon Associate, we earn from qualifying purchases. Some links on this site may be affiliate links. If you buy through these links, we may earn a small commission at no extra cost to you. This helps support our content. Learn more.