A slow or clogged sink drain can bring your kitchen or bathroom to a standstill. Before you reach for harsh chemical drain cleaners, there are safer, simpler steps you can try that often work just as well. These methods rely on basic tools, common household items, and a little bit of troubleshooting. They can help you clear many everyday clogs while protecting your pipes, fixtures, and indoor air quality.
On this page(click to collapse)
- Step 1: Troubleshoot the Type of Clog
- Step 2: Try Simple, Non-Chemical Fixes First
- Step 3: Use a Plunger the Right Way
- Step 4: Check and Clean the P-Trap
- Step 5: Use a Drain Snake or Zip Tool
- Why to Avoid Harsh Chemical Drain Cleaners
- Simple Household Alternatives to Try First
- When to Stop DIY and Call a Professional
- How to Prevent Future Sink Clogs
- Putting It All Together
- Related guides
This guide walks you through how to figure out what might be causing the clog, which quick fixes to try first, and when it is time to stop and call a professional. You will learn how to use a plunger correctly, how to safely check the P-trap, and how to prevent future clogs so you are not dealing with the same problem again in a few weeks. Use these steps in order, from the least invasive methods to the more involved ones, and you may never need to open a bottle of harsh chemicals at all.
Step 1: Troubleshoot the Type of Clog
Before you start, take a moment to figure out what kind of clog you might be dealing with. This helps you choose the right fix and avoid making the problem worse.
Common signs and what they mean
- Water drains slowly but still moves: This often points to a partial clog from grease, soap, or food particles close to the sink opening or in the P-trap.
- Standing water that barely moves: This suggests a more solid blockage in the trap or further down the branch line.
- Gurgling sounds from nearby drains: May indicate a venting issue or a clog deeper in the system, not just at the sink.
- Clogs in multiple fixtures at once: If a kitchen sink and a nearby bathroom drain are both slow, the problem may be in a shared drain line or main line.
- Bad odors from the drain: Often caused by trapped food, grease, or bacteria growing on buildup inside the pipe.
Kitchen vs. bathroom sink clogs
Different rooms tend to have different clog causes:
- Kitchen sinks: Commonly clogged by grease, cooking oil, food scraps, coffee grounds, and starchy foods like rice or pasta.
- Bathroom sinks: More likely to clog from hair, toothpaste, soap scum, shaving cream, and cosmetic products.
Knowing what typically goes down that drain will guide which method is most likely to work. For example, hair clogs often respond well to simple mechanical removal, while greasy buildup may respond better to flushing with hot water after you loosen it.
Step 2: Try Simple, Non-Chemical Fixes First
Always start with the least risky, least expensive methods. Many clogs can be cleared with just hot water, a bit of cleaning, and a plunger.
Flush with hot (not boiling) water
Hot water alone can sometimes melt or loosen greasy buildup in a kitchen drain.
- Heat a large pot of water until very hot but not boiling.
- If there is standing water, remove as much as you can with a cup or small container.
- Slowly pour the hot water directly into the drain in stages, pausing for a few seconds between pours.
- Wait several minutes, then run hot tap water to see if the flow improves.
Safety note: Avoid pouring boiling water into older plastic pipes or porcelain sinks, as sudden extreme heat can cause damage or cracks.
Clean the sink strainer and stopper
Sometimes the clog is right at the top of the drain and is easy to reach.
- Remove the sink strainer or drain cover and rinse it thoroughly.
- For bathroom sinks, lift out the stopper. You may need to loosen a small linkage under the sink to remove it fully.
- Use a paper towel or small brush to remove hair, food, and debris from the opening.
- Rinse with warm water and reinstall the strainer or stopper.
After cleaning, run water again to see if the drain is already flowing better. If not, move on to plunging.
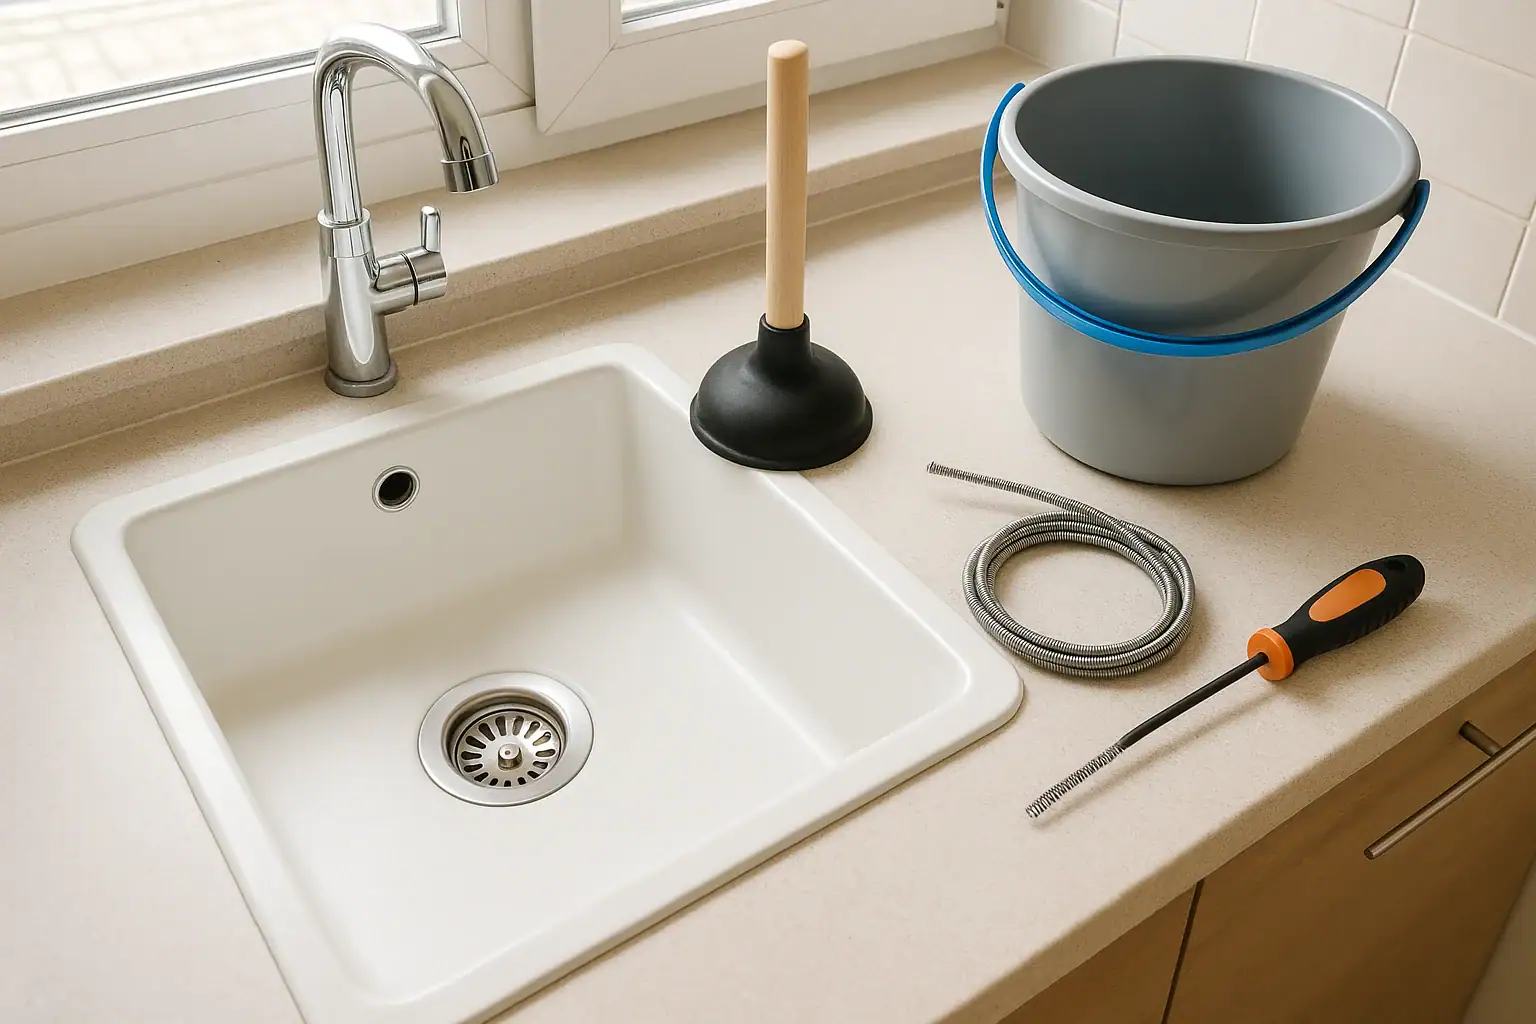
Step 3: Use a Plunger the Right Way
A plunger is one of the most effective tools for clearing a clogged sink drain without chemicals, but it only works well if you use it correctly.
Choose the right plunger
- Cup plunger: Best for flat surfaces like kitchen sinks and bathroom sinks.
- Flanged or bell plunger: Designed for toilets and may not seal as well on a sink.
Prepare the sink for plunging
- Fill the sink: Add enough water to cover the plunger cup by about an inch. This helps create a better seal.
- Block other openings: If your sink has a second basin, plug that drain with a wet cloth or stopper. For bathroom sinks, cover the overflow hole with a damp cloth.
- Position the plunger: Place it directly over the drain to create a tight seal.
Plunge with controlled force
- Push down gently first to force out air and improve the seal.
- Then plunge up and down firmly for 15 to 20 seconds, keeping the plunger sealed on the drain.
- Lift the plunger quickly to see if the water starts to drain.
- Repeat this process several times if needed.
If water suddenly drains away and then flows normally when you run the tap, you likely cleared the clog. If the water still does not move, it may be time to inspect the P-trap.
Step 4: Check and Clean the P-Trap
The P-trap is the curved section of pipe under your sink. It holds water to block sewer gases and is also a common place for clogs to form. Cleaning it is a hands-on job, but it is straightforward if you take your time.
What you will need
- Bucket or large bowl
- Old towels or rags
- Adjustable wrench or slip-joint pliers (if needed)
- Gloves
- Small brush or bottle brush
How to remove and clean the P-trap
- Place a bucket under the P-trap to catch water and debris.
- Locate the slip nuts on both ends of the trap. These are the large plastic or metal rings that connect the trap to the pipes.
- Loosen the slip nuts by hand if possible, or use a wrench gently if they are tight.
- Carefully remove the trap and pour the contents into the bucket.
- Use a brush or an old toothbrush to scrub away buildup inside the trap.
- Check the pipes on either side with a flashlight to see if there is visible debris you can remove by hand.
- Reassemble the trap, making sure the washers are seated properly and the slip nuts are snug but not over-tightened.
- Run water and check for leaks. Tighten slightly if you see any drips.
After cleaning the P-trap, many stubborn clogs are resolved. If your sink is still draining slowly or backing up, the blockage may be further down the line.
Step 5: Use a Drain Snake or Zip Tool
When plunging and cleaning the P-trap are not enough, a simple drain snake or plastic zip tool can help you reach deeper clogs without chemicals.
Using a basic hand snake
- Feed the end of the snake into the drain or into the pipe after removing the P-trap.
- Turn the handle clockwise as you gently push the snake forward.
- When you feel resistance, you may have reached the clog. Rotate and push lightly to break it up.
- Slowly pull the snake back out, bringing debris with it.
- Dispose of debris in the trash, not in the sink.
- Flush the drain with hot water to clear any remaining particles.
Using a plastic zip tool for hair clogs
For bathroom sinks, a flexible plastic zip tool with small barbs can be very effective.
- Remove the stopper if possible.
- Insert the zip tool into the drain until it stops.
- Pull it out slowly so the barbs catch hair and debris.
- Repeat several times until you are no longer pulling out material.
- Rinse the drain thoroughly with warm water.
Why to Avoid Harsh Chemical Drain Cleaners
Chemical drain cleaners may seem like a fast fix, but they can create new problems, especially in older homes or with frequent use.
Potential risks to your plumbing
- Pipe damage: Strong chemicals can generate heat and may weaken or corrode certain types of piping over time.
- Trap and seal damage: Repeated use can harm rubber gaskets and seals in your plumbing system.
- Limited effectiveness: Thick, solid clogs or foreign objects often will not dissolve, leaving chemicals sitting in your pipes.
Safety and environmental concerns
- Fumes: Some products release strong odors that can irritate eyes and lungs in poorly ventilated spaces.
- Splashes and burns: Accidental contact with skin or eyes can be dangerous.
- Disposal issues: Leftover product and containers must be handled carefully to avoid environmental harm.
Because of these risks, many homeowners reserve chemical cleaners as a last resort and focus on mechanical and preventive methods first.
Simple Household Alternatives to Try First
While they will not fix every clog, some common household products can help loosen minor buildup when used carefully.
Dish soap and hot water for greasy kitchen clogs
- Squirt a generous amount of liquid dish soap directly into the drain.
- Follow with a pot of very hot (not boiling) water.
- Let it sit for several minutes, then run hot tap water to flush.
- Combine with plunging if needed to move loosened grease.
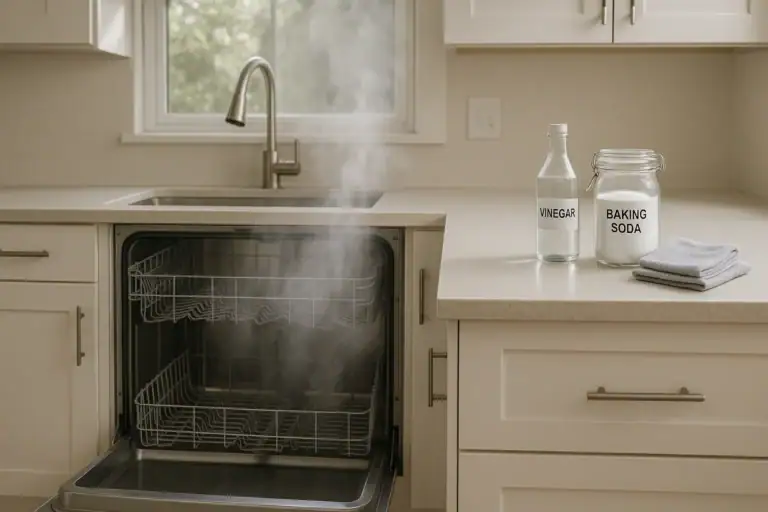
Baking soda and vinegar for light buildup
This method can help with mild buildup and odors, but it will not clear a solid blockage on its own.
- Pour about half a cup of baking soda into the drain.
- Follow with about half a cup of white vinegar.
- Cover the drain with a plug or cloth to keep the reaction in the pipe.
- Wait 10 to 15 minutes while it foams.
- Flush with several cups of hot water.
If water still backs up or drains extremely slowly, use mechanical methods like plunging or snaking rather than repeating this step many times.
When to Stop DIY and Call a Professional
Not every clog can or should be handled on your own. Knowing when to stop can prevent damage and save money in the long run.
Warning signs you should not ignore
- Multiple drains are clogged at once: This can indicate a blockage in a main drain line.
- Water backs up in other fixtures: For example, water appears in a bathtub when you run the kitchen sink.
- Strong sewage odors: Persistent smells may point to a deeper issue in the drainage or venting system.
- Standing water that will not move: If plunging, snaking, and trap cleaning have no effect, the clog may be too far or too solid.
- Frequent repeat clogs: If the same sink clogs again and again, there may be a problem with pipe slope, damage, or buildup further down the line.
In these situations, a licensed plumbing professional has specialized tools, such as longer drain machines and inspection cameras, to locate and clear deep or stubborn clogs safely.
How to Prevent Future Sink Clogs
Once you have cleared a clogged sink drain, a few simple habits can help keep your drains flowing smoothly and reduce the need for emergency fixes.
Better habits in the kitchen
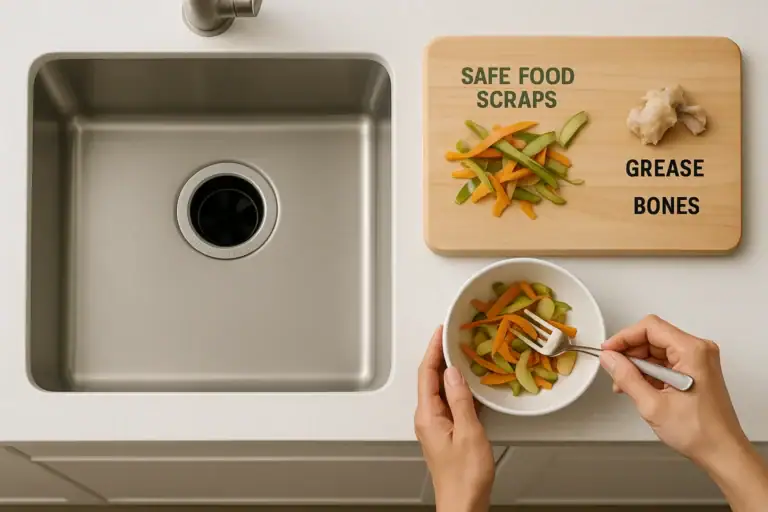
- Scrape plates into the trash: Remove food scraps before rinsing dishes.
- Collect grease separately: Pour cooled cooking grease into a container and throw it away instead of pouring it down the drain.
- Use a sink strainer: A fine-mesh strainer can catch small food particles before they reach the pipes.
- Flush with hot water: After washing dishes, run hot water for a short time to help move soap and residue through the line.
Better habits in the bathroom
- Use a hair catcher: Place a small screen or hair catcher over the drain in sinks and tubs.
- Clean stoppers regularly: Remove and wipe down sink stoppers every few weeks to prevent buildup.
- Limit thick products: Avoid rinsing large amounts of thick lotions, oils, or clay-based products down the sink.
Simple maintenance routine
Consider a basic monthly routine to keep drains clear:
- Rinse sinks with hot water after heavy use.
- Use a small amount of dish soap and hot water to help break down light grease in the kitchen.
- Check under-sink pipes for any signs of leaks or moisture.
Putting It All Together
Dealing with a clogged sink drain does not have to mean reaching for harsh chemicals. By understanding what causes clogs and following a step-by-step troubleshooting process, you can often clear the problem with simple tools and safe household methods. Start with hot water and basic cleaning, move on to plunging, and then inspect the P-trap if needed. For deeper clogs, a simple drain snake or zip tool can be very effective.
If you notice repeated clogs, multiple slow drains, or strong odors, it is wise to call a professional rather than keep trying the same fixes. With a few preventive habits in the kitchen and bathroom, you can keep water moving freely and reduce the chances of facing another stubborn clog in the near future.
For more tips on caring for the water systems in your home, including sinks, faucets, and other fixtures, you can explore related guides and troubleshooting resources at this water and kitchen hub.
Related posts
Browse this topic →
How to Clean a Dishwasher Filter (and How Often You Should Do It)
Dishwasher Smells: Why It Happens and How to Fix It for Good
Dishwasher Not Cleaning Well? Spray Arm, Filter, and Loading Fixes
How to Sharpen Kitchen Knives at Home: Simple Method and Safety Tips
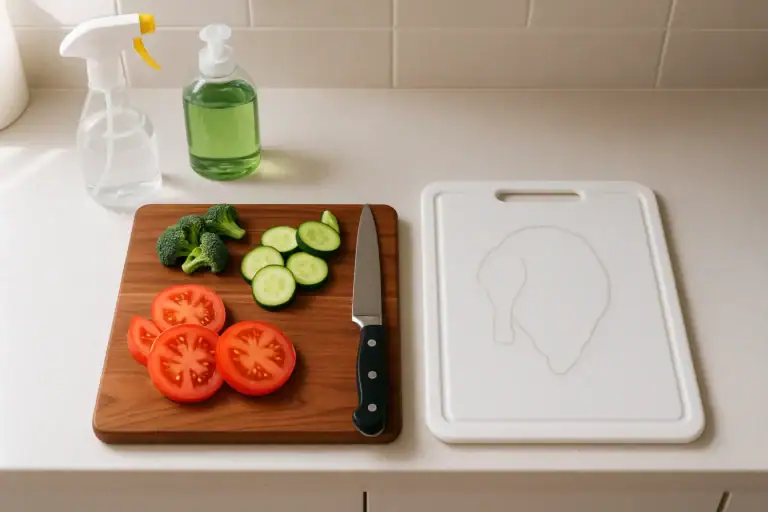
Cutting Board Hygiene: Wood vs Plastic and How to Sanitize Safely
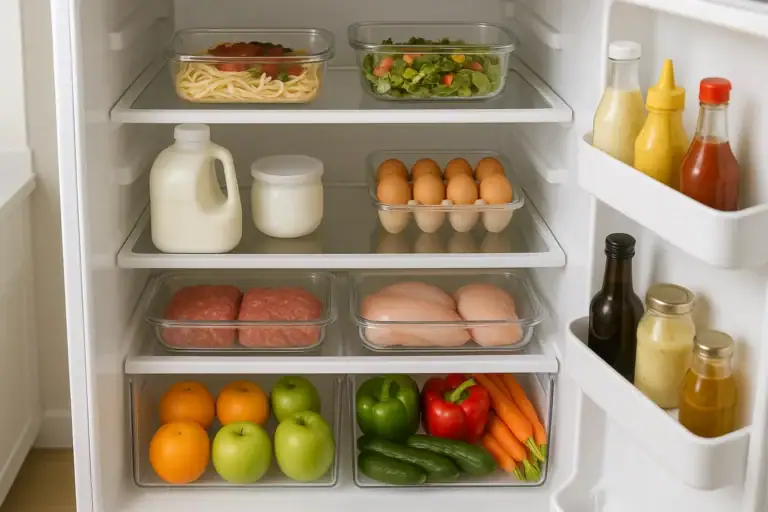
Food Storage Safety: Fridge Zones and How Long Food Really Lasts
Keep reading
About this site
Signature Home Guide publishes practical, independent home guides. We aim to be clear, helpful, and transparent.
Affiliate disclosure
As an Amazon Associate, we earn from qualifying purchases. Some links on this site may be affiliate links. If you buy through these links, we may earn a small commission at no extra cost to you. This helps support our content. Learn more.