On this page(click to collapse)
- How Garage Door Safety Systems Work
- Common Garage Door Safety Problems and Symptoms
- Troubleshooting Garage Door Safety Sensors
- Troubleshooting Garage Door Remotes and Keypads
- When the Door Will Not Close: Additional Checks
- When the Opener Runs but the Door Does Not Move
- Preventive Maintenance for Garage Door Safety
- Safety Tips and When to Call a Professional
- Related guides
Garage doors are one of the largest moving objects in most homes, and when they malfunction, they can be more than just an inconvenience. A door that will not close, a remote that suddenly stops working, or safety sensors that seem to have a mind of their own can leave your home exposed and your family at risk. The good news is that many garage door problems are easy to understand and often simple to fix with basic tools and a careful approach. By learning how the safety systems work and how to troubleshoot common failures, you can avoid dangerous situations, reduce repair costs, and keep your garage door operating smoothly.
This guide walks you through how garage door safety sensors and remotes work, the warning signs that something is wrong, and step‑by‑step troubleshooting tips. You will learn what you can safely handle yourself, when to stop and call a professional, and how to maintain your system so problems are less likely to happen in the first place. Whether your door refuses to close, reverses for no clear reason, or your remote has gone silent, you will find practical, safety‑focused solutions here.
How Garage Door Safety Systems Work
Modern garage doors rely on several layers of safety features. Understanding the basics helps you troubleshoot problems and avoid unsafe fixes.
Key Safety Components
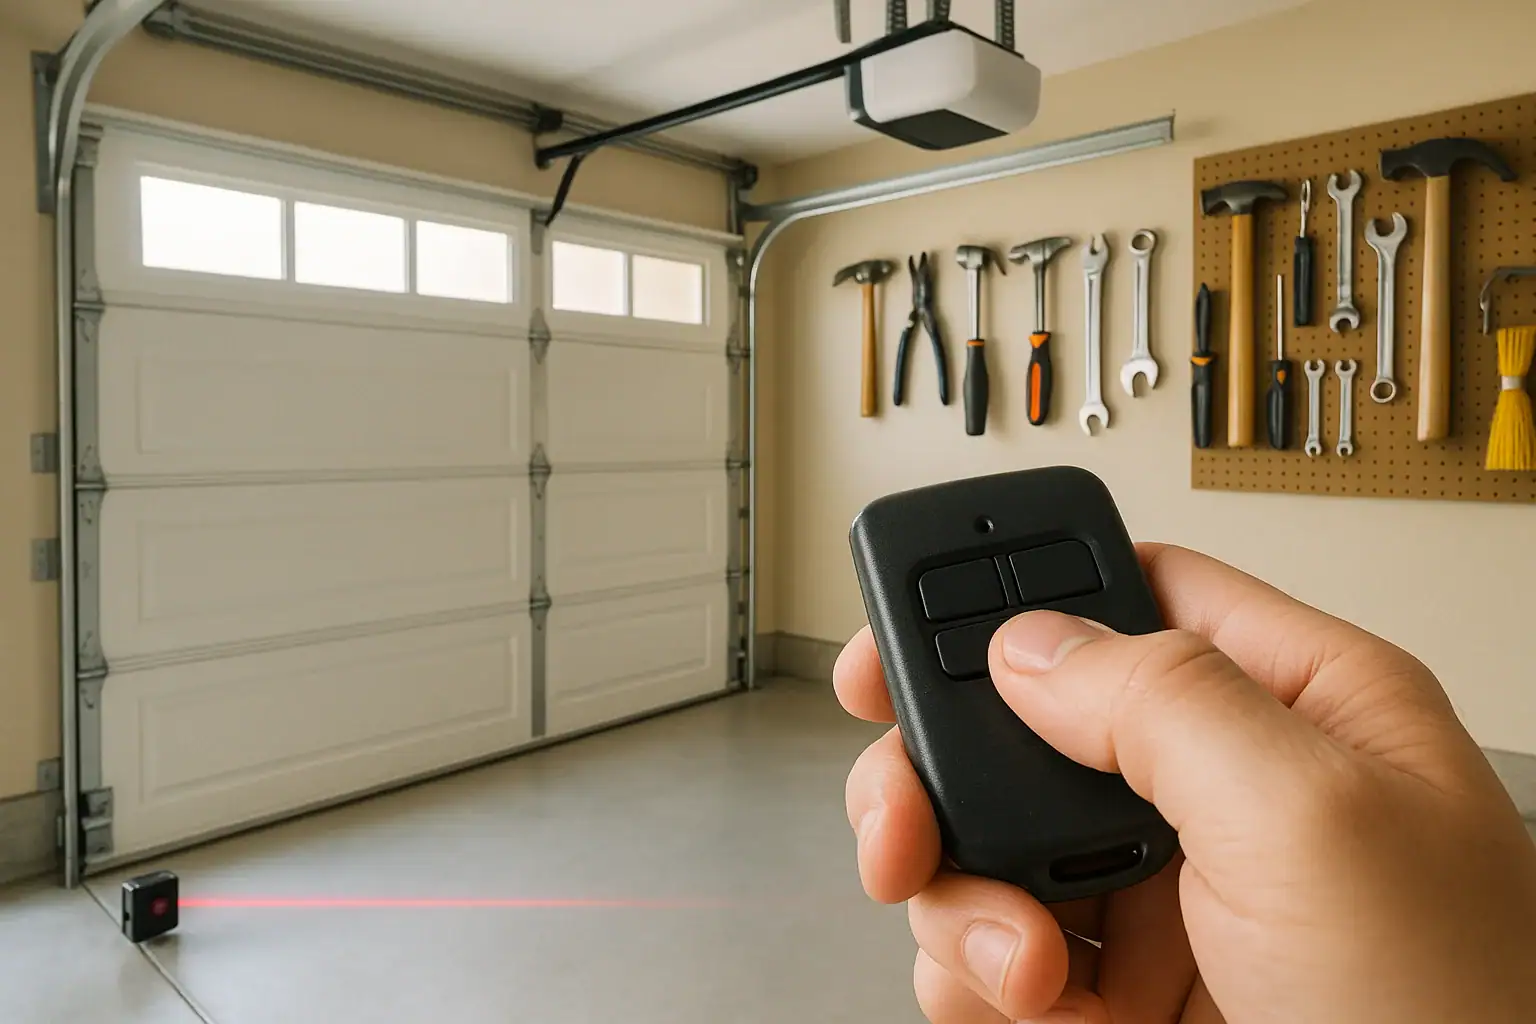
- Photoelectric safety sensors (photo eyes): Two small units mounted near the bottom of the door tracks that create an invisible beam. If something breaks the beam while the door is closing, the door should stop and reverse.
- Wall control panel: The hard‑wired button inside the garage that opens and closes the door and may include a lock feature, light control, and vacation mode.
- Remote controls: Handheld or visor‑mounted transmitters that send a wireless signal to the opener to operate the door.
- Keypad: A wireless keypad outside the garage that lets you open the door using a code.
- Force and travel limits: Settings inside the opener that control how far the door travels and how much resistance it will push through before stopping or reversing.
- Manual release: A handle or cord that disconnects the door from the opener so you can operate it by hand during power outages or emergencies.
Why Safety Sensors Matter
Safety sensors are designed to prevent the door from closing on people, pets, vehicles, or objects. If they are misaligned, dirty, or damaged, the opener may refuse to close the door or may reverse unexpectedly. While this can be frustrating, it is a sign that the system is trying to protect you. Bypassing or disabling safety sensors is never recommended and may violate building codes and product safety standards.
Common Garage Door Safety Problems and Symptoms
Many garage door issues show up as a few predictable symptoms. Matching the symptom to the likely cause makes troubleshooting faster and safer.
Typical Symptoms
- Door will not close from remote but closes when you hold the wall button down
- Door starts to close, then reverses and the opener light blinks
- Remote or keypad suddenly stops working while the wall button still works
- Door will not open or close at all, even from the wall button
- Door closes partway and then reverses or gets stuck
- Garage door opener runs, but the door does not move
Each of these symptoms usually points to a small set of possible causes. The sections below walk through troubleshooting steps for sensors, remotes, and other common failures, with safety as the priority.
Troubleshooting Garage Door Safety Sensors
Sensor problems are one of the most frequent reasons a garage door will not close properly. Fortunately, they are also among the easiest issues to diagnose.
Step 1: Inspect Sensor Alignment
Most systems use two sensors mounted on either side of the door, near the floor. One sends an infrared beam and the other receives it. If they are out of alignment, the opener will interpret that as an obstruction.
- Locate both sensors on the inside of the door tracks, usually 4–6 inches above the floor.
- Check that both sensor brackets are firmly attached and not bent.
- Look for indicator lights on each sensor. Typically, a steady light means the sensor is powered and aligned; a blinking or off light suggests a problem.
- Gently adjust one sensor at a time, tilting it slightly until both indicator lights turn solid.
If the door now closes normally from the remote or wall button, misalignment was the issue.
Step 2: Clean the Sensor Lenses
Dirt, dust, spider webs, and moisture can block the beam and mimic an obstruction.
- Use a soft, dry cloth or a slightly damp cloth to wipe the front of each sensor lens.
- Avoid harsh cleaners or abrasive materials that could scratch the lens.
- Check that nothing is stored in front of the sensors, such as trash cans, tools, or toys.
After cleaning, test the door again with the remote. If it closes smoothly, you have likely resolved the problem.
Step 3: Check Wiring and Mounting
If alignment and cleaning do not help, the issue may be with the wiring or the sensor brackets.
- Inspect the wires running from each sensor to the opener. Look for loose connections, staples driven through the wire, or visible damage.
- Make sure the sensor brackets are not cracked and that they hold the sensors steady when the door moves.
- If the indicator light on one sensor is off entirely, there may be a power or wiring problem.
Damaged wires and cracked brackets can often be replaced as a do‑it‑yourself project if you are comfortable turning off power and following instructions carefully. If you are unsure, contact a qualified technician.
Step 4: Watch for False Obstructions
Sometimes the beam is technically clear, but the opener still thinks something is blocking the door. This can happen when:
- Sunlight shines directly into a sensor at certain times of day
- Water or condensation forms on the lens after rain or snow
- Vibration from the moving door shakes a loose sensor out of alignment
Shielding the sensor from direct sun with a small cover, tightening mounting hardware, or slightly adjusting the angle can reduce false obstruction signals.
Troubleshooting Garage Door Remotes and Keypads
When the wall button works but the remote or keypad does not, the problem is usually related to power, programming, or interference.
Step 1: Check the Obvious Power Issues
- Replace the battery: Most remotes and keypads use small coin or standard batteries. If the range has been getting shorter or the remote only works intermittently, a weak battery is likely.
- Inspect for corrosion: Open the battery compartment and look for rust or white residue on the contacts. Light corrosion can sometimes be cleaned with a cotton swab and a small amount of rubbing alcohol.
- Confirm keypad lighting: If keypad buttons no longer light up or beep when pressed, the battery may be dead or incorrectly installed.
Step 2: Re‑Sync or Reprogram the Remote
Sometimes remotes lose their connection to the opener after a power outage, a reset, or interference.
- Locate the “learn” or “program” button on the opener unit, usually on the back or side.
- Press and release the learn button. An indicator light should turn on or blink, showing that the opener is in programming mode.
- Within the time window specified in your manual, press the main button on the remote you want to program.
- Wait for the opener light to flash or click, indicating that the remote has been learned.
Test the remote from inside the garage and then from your usual parking spot. If it works reliably, the issue was likely a lost connection.
Step 3: Address Interference and Range Problems
Wireless signals can be disrupted by other devices or building materials.
- Make sure the opener’s antenna wire is hanging down freely and not tucked up or broken.
- Move or unplug nearby devices that use similar frequencies, such as certain wireless cameras, routers, or lighting controls, to see if range improves.
- Test the remote with your vehicle parked outside the driveway to see if metal structures or heavy walls are blocking the signal.
Step 4: Check Wall Control Lock or Vacation Mode
Many wall control panels include a lock or vacation mode that disables remote access for extra security. If your remotes and keypad suddenly stop working while the wall button still opens and closes the door normally, the lock feature may be on.
- Look for a lock icon or indicator light on the wall control.
- Press and hold the lock button (or a combination of buttons) as described in your manual to turn the feature off.
- Test the remotes and keypad again after disabling the lock.
When the Door Will Not Close: Additional Checks
If the sensors appear to be working and your remotes are functioning, but the door still will not close properly, the problem may involve the opener’s settings or the door’s movement.
Check for Physical Obstructions and Track Issues
- Inspect the tracks on both sides for debris, small objects, or dents.
- Make sure the rollers move smoothly and are not broken or heavily worn.
- Look for loose hardware, such as bolts or brackets, that could catch the door.
Never place fingers or tools between door sections or near springs and cables. If the door appears off‑track or crooked, do not force it; call a professional.
Test Door Balance and Manual Operation
An unbalanced door can strain the opener and trigger safety reversals.
- With the door fully closed, pull the manual release handle to disconnect the opener.
- Lift the door by hand. It should move smoothly and feel relatively balanced, not extremely heavy.
- Let go of the door at about halfway open. A properly balanced door should stay in place or move very slowly.
If the door slams shut or shoots open, the springs may be out of adjustment. Spring work is dangerous and should be left to trained technicians.
Review Force and Travel Limit Settings
Force and travel limits tell the opener how far to move the door and how much resistance is acceptable before it stops or reverses. If these settings are off, the opener may think the door has hit an obstruction when it has not.
- Most openers have adjustment screws or dials labeled for up/down force and travel.
- Only make small adjustments at a time, following the instructions in your manual.
- After each adjustment, test the door’s full open and close cycle and confirm that it reverses properly if it encounters a solid object.
Never increase the force setting to the point where the door can push through real obstructions. The goal is smooth operation with reliable safety reversal.
When the Opener Runs but the Door Does Not Move
If you hear the opener motor running but the door stays put, there is likely a mechanical disconnect between the opener and the door.
Check the Manual Release
The manual release allows you to operate the door by hand. If it has been pulled and not re‑engaged, the opener will move but the door will not.
- With the door closed, locate the manual release handle or cord hanging from the opener rail.
- Follow the arrow or instructions on the handle to re‑engage the trolley with the opener carriage.
- Press the wall button to test whether the opener now moves the door.
Look for Broken Parts
- Inspect the door springs from a safe distance. A visible gap in a torsion or extension spring usually indicates a break.
- Check the opener’s drive system (chain, belt, or screw) for breaks or loose connections.
- Listen for grinding or popping sounds that suggest internal damage.
Broken springs, cables, and major opener components should not be repaired by homeowners due to the risk of serious injury. Disconnect power to the opener and schedule professional service.
Preventive Maintenance for Garage Door Safety
Regular maintenance helps catch small problems before they become safety hazards or major failures.
Monthly Safety Checks
- Test the photo sensors: Close the door using the remote and wave an object, such as a broom handle, through the sensor beam. The door should reverse immediately.
- Test the auto‑reverse feature: Place a solid object, such as a piece of wood, on the floor where the door closes. When the door touches it, the door should reverse within a second or two.
- Listen and watch: Operate the door and watch its movement. Scraping, jerking, or loud squealing can signal developing issues.
Seasonal Maintenance Tasks
- Clean sensor lenses and ensure they are firmly mounted and aligned.
- Tighten loose bolts and brackets on the tracks and door hardware.
- Lubricate metal rollers, hinges, and the opener’s drive chain or screw with a garage‑door‑safe lubricant (avoid greasing tracks).
- Inspect weatherstripping along the bottom of the door for cracks or gaps that could let in water and debris.
Safety Tips and When to Call a Professional
While many troubleshooting steps are safe for homeowners, there are clear limits. Knowing when to stop and get help protects you and your property.
DIY Safety Guidelines
- Disconnect power to the opener before working on wiring or opener adjustments.
- Keep children and pets away from the door while you test or adjust anything.
- Never place hands near springs, cables, or between door sections.
- Use a stable ladder and proper lighting when inspecting the opener or overhead hardware.
Problems Best Left to Professionals
- Broken or stretched springs
- Frayed or broken lift cables
- Doors that are off‑track or severely crooked
- Major opener failures, burning smells, or visible sparks
- Repeated sensor or reversal issues that are not resolved by basic troubleshooting
Investing in professional service for high‑risk repairs is far less costly than dealing with injuries or serious property damage. Combine that with regular cleaning, inspection, and simple adjustments, and your garage door can remain a reliable, safe part of your smart home for years to come.
Related posts
Browse this topic →
Smart Air Quality Alerts: How to Set Thresholds That Make Sense
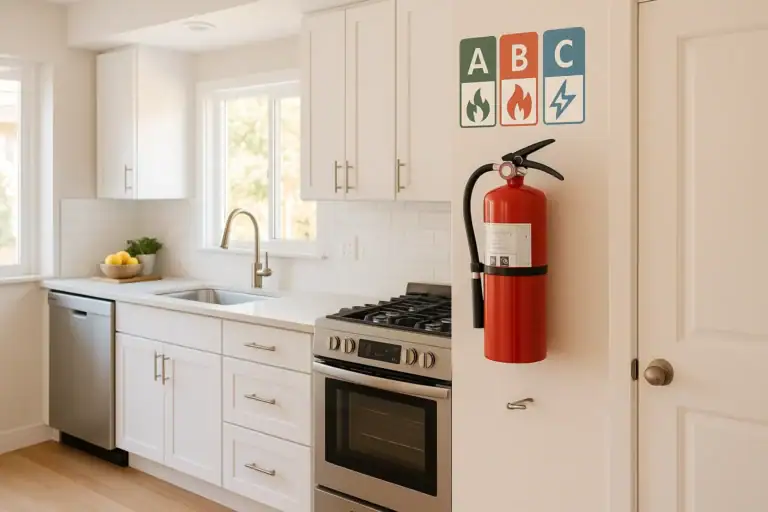
How to Choose a Fire Extinguisher for the Kitchen (Classes Explained)

Emergency Kit for Apartments: Closet-Friendly Essentials for Small Spaces
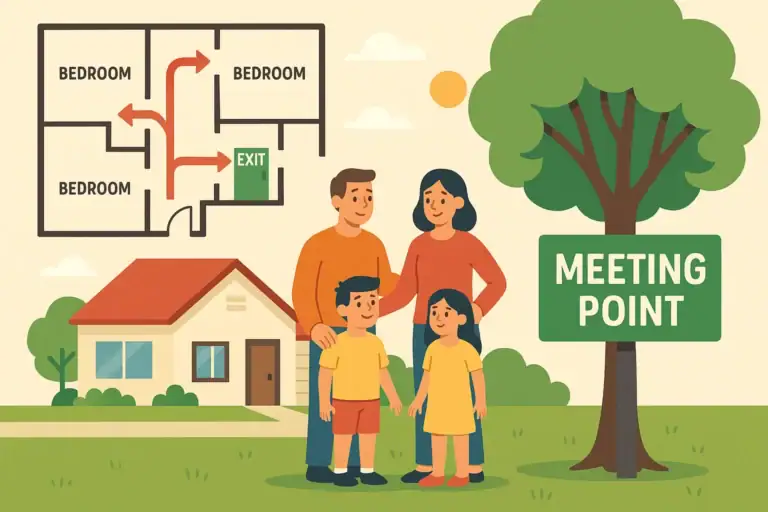
Home Fire Escape Plan: Map, Meeting Point, and Practice Checklist
Childproofing the Smart Home: Settings and Physical Safety Tips
How to Shut Off Water Quickly in an Emergency: A Simple Home Checklist
Keep reading
About this site
Signature Home Guide publishes practical, independent home guides. We aim to be clear, helpful, and transparent.
Affiliate disclosure
As an Amazon Associate, we earn from qualifying purchases. Some links on this site may be affiliate links. If you buy through these links, we may earn a small commission at no extra cost to you. This helps support our content. Learn more.