
Thoughtful home security camera placement can make the difference between a system that truly protects your home and one that just sends constant, confusing notifications. When cameras are installed in the wrong spots, you can end up with blind areas around your property, grainy or backlit footage, and a flood of false alerts every time a car drives by or a tree branch moves. With a clear plan, you can cover the most important areas, get usable video, and keep notifications meaningful without turning your home into a fortress.
On this page(click to collapse)
- Start With a Simple Security Plan
- Best Practices for Outdoor Camera Placement
- Indoor Camera Placement for Coverage and Privacy
- How to Reduce False Alerts With Smart Positioning
- Lighting, Angles, and Image Quality
- Legal and Neighbor Considerations
- Step-by-Step Checklist for Placing Your Cameras
- Related guides
This guide walks you step-by-step through planning and placing indoor and outdoor cameras, reducing false alarms with smart positioning, and respecting privacy and local expectations. You will learn where cameras matter most, what angles and heights work best, and how to avoid common mistakes that leave gaps in coverage. Whether you are setting up your first system or improving what you already have, these practical tips will help you get more security with less hassle.
Start With a Simple Security Plan
Before you mount any camera, take a few minutes to think about what you are trying to protect and how someone might approach your home. A basic plan helps you buy the right number of cameras and put them in the right places.
Identify Your Highest-Risk Areas
Walk around your home, inside and out, and list the areas that matter most. Focus on:
- Main entry doors: Front, back, and side doors are top priorities.
- Ground-level windows: Especially those hidden from street view or neighbors.
- Garage and driveway: Common access points for vehicles, tools, and stored items.
- Yard gates and alley access: Places where someone could quietly enter your property.
- Interior choke points: Hallways, stairways, and main living areas where someone would likely pass.
These locations are your starting points for camera placement. Everything else is optional coverage.
Decide What Each Camera Should Do
Each camera should have a clear purpose. Ask yourself for every planned location:
- Do I want to identify faces or just see that someone is there?
- Do I need to monitor packages or deliveries?
- Is this mainly for deterrence (visible camera) or evidence (clear close-up footage)?
- Do I want notifications from this camera, or just a recording?
Knowing the job of each camera helps you choose the right height, angle, and field of view so you do not waste coverage on unimportant areas.
Best Practices for Outdoor Camera Placement
Outdoor cameras are your first line of defense, but they are also the most likely to generate false alerts. Weather, traffic, and wildlife can all trigger unnecessary notifications if cameras are not placed carefully.
Cover Every Entry Door
Every exterior door should have a camera that can capture a clear view of anyone approaching and standing at the doorway.
- Height: Mount cameras about 8 to 10 feet above the ground when possible. This is high enough to reduce tampering but low enough to capture faces.
- Angle: Aim slightly downward toward the doorway so the camera sees the face of anyone standing at the door, not just the top of their head.
- Distance: Keep the primary viewing area within about 10 to 15 feet for good detail and identification.
- Weather protection: Place cameras under eaves or porch roofs when possible to reduce rain and glare.
If you use a doorbell-style camera, consider adding a second camera angled from the side to capture a wider view of the porch and walkway. This helps cover blind spots when someone stands very close to the door.
Monitor Driveways and Garages Without Constant Alerts
Driveways and garages are important but can be tricky because of traffic and motion from the street.
- Mounting location: Place the camera at the top corner of the garage or on an exterior wall angled toward the driveway, not directly facing the street.
- Field of view: Position the camera so the edge of the frame is close to the street rather than including the entire road. This reduces alerts from passing vehicles.
- Height and angle: Use a height of 9 to 12 feet and angle downward to focus on vehicles and people entering your property, not distant movement.
- Lighting: Avoid pointing the camera straight into headlights or bright streetlights, which can wash out details at night.
If your driveway is long, consider a second camera closer to the house to capture clearer details of vehicles and faces.
Secure Side Yards, Backyards, and Gates
Side yards and backyards are common entry points because they are less visible from the street.
- Gate coverage: Place cameras so they can see anyone entering or leaving through gates, with the gate itself clearly in the frame.
- Fence lines: Angle cameras along the fence line to detect movement across the yard rather than only in one small area.
- Hidden corners: Check for spots behind sheds, large bushes, or structures that might block the view. Adjust camera angles or add a second camera if needed.
- Deterrence: Make at least one camera visible from the yard entrance to discourage trespassing.
Walk the perimeter of your property and look back at your home. Anywhere you can approach without being seen by a camera is a potential blind spot.
Avoid Outdoor Blind Spots
Blind spots occur when obstacles or poor angles block the camera view. To find and fix them:
- Use the camera app live view: Have someone walk around your yard while you watch the feed. Note where they disappear from view.
- Check both day and night: Shadows, reflections, and low light can create new blind spots after dark.
- Adjust angles, not just zoom: Sometimes a small tilt or rotation covers more area than changing digital zoom.
- Consider overlapping coverage: For larger yards, use two cameras whose fields of view overlap slightly so there are no gaps.
Indoor Camera Placement for Coverage and Privacy
Indoor cameras help you see what is happening inside your home when you are away, but they should be placed thoughtfully to balance security with privacy.
Focus on Choke Points, Not Every Room
You usually do not need a camera in every bedroom or private space. Instead, concentrate on areas that a person would almost have to pass through.
- Main hallway: A camera here can capture movement between bedrooms, bathrooms, and living areas.
- Stairways: A camera aimed at the base or top of stairs can reveal movement between floors.
- Living room or great room: Often the center of activity and a place where valuables are kept.
- Entryway or mudroom: Good for seeing who comes and goes through the main door.
This approach gives you a clear picture of movement through your home without constant monitoring of private spaces.
Place Indoor Cameras at the Right Height
Indoor cameras are often placed too high or too low, which can reduce their usefulness.
- Ideal height: About 6 to 7 feet above the floor, aimed slightly downward, usually provides a natural view of the room.
- Corner placement: Position cameras in room corners to maximize coverage and minimize blind spots behind furniture.
- Avoid obstructions: Keep cameras away from tall lamps, plants, or shelves that can block the view.
- Stable surfaces: If using a tabletop camera, place it on a solid, vibration-free surface away from pets and small children.
Respect Privacy Inside the Home
Indoor cameras should never feel intrusive or uncomfortable for household members or guests.
- Avoid placing cameras directly in bedrooms or bathrooms.
- Do not aim cameras at computer screens, workspaces, or other sensitive areas when possible.
- Use cameras with clear status lights so people know when they are on.
- Consider using privacy modes or schedules to disable recording when you are home.
Discuss camera locations with everyone in the household so expectations are clear and everyone feels respected.
How to Reduce False Alerts With Smart Positioning
False alerts are one of the main reasons people stop paying attention to their security system. Many of these alerts can be reduced simply by adjusting where and how cameras are aimed.
Avoid Pointing Directly at Busy Streets
One of the most common mistakes is aiming a camera straight at a road or sidewalk with heavy foot or vehicle traffic.
- Angle across your property: Rotate the camera so it looks across your yard or driveway instead of straight out to the street.
- Use physical boundaries: Frame the shot so fences, hedges, or the edge of your driveway mark the outer limit of the motion area.
- Reduce depth: Focus on the first 20 to 30 feet from your home where activity matters most.
Minimize Movement From Trees, Flags, and Reflections
Wind, shadows, and reflections can all trigger motion detection if they dominate the camera view.
- Avoid large trees in the center of the frame: If possible, reposition the camera so moving branches are off to the side.
- Watch for reflective surfaces: Glass doors, car windows, and pools can create sudden flashes of light that trigger alerts.
- Secure loose items: Flags, hanging decorations, and tarps that flap in the wind can cause constant motion.
- Use covered mounting spots: Placing cameras under eaves or porches reduces glare and rain streaks on the lens.
Use Zones and Sensitivity Settings Wisely
Most modern cameras let you define motion zones and adjust sensitivity. Placement and settings should work together.
- Highlight important areas: Draw motion zones around doors, walkways, and gates, not the entire frame.
- Exclude problem spots: Block out busy streets, sidewalks, or areas with constant movement like trees.
- Start with medium sensitivity: Then adjust up or down over a few days based on how many alerts you receive.
- Test at different times: Check how well zones work in the morning, afternoon, and at night when lighting changes.
Lighting, Angles, and Image Quality
Even with perfect placement, poor lighting or harsh angles can make footage less useful. A few adjustments can dramatically improve clarity.
Avoid Backlighting and Washed-Out Images
When a camera faces a bright light source, people and objects in front of it can appear very dark.
- Do not aim directly at the sun: Mount cameras so the sun crosses behind them rather than shining into the lens.
- Watch entry doors with glass: If your door has windows, angle the camera from the side to avoid strong backlighting.
- Use indirect light: Rely on porch lights, soffit lights, or nearby fixtures that light the subject, not the camera.
Improve Night Vision Performance
At night, cameras rely on infrared or low-light sensors, which behave differently than daytime color modes.
- Keep the lens clean: Dust, spider webs, and water spots can cause glare and halos around lights.
- Avoid close reflective surfaces: Do not mount cameras too close to white walls or shiny siding that can bounce infrared light back into the lens.
- Add soft lighting: A low-level porch or yard light can help cameras capture more detail without blinding the sensor.
- Test night view often: Check recorded clips after dark and adjust angles if faces appear too bright or too dim.
Legal and Neighbor Considerations
Responsible camera placement includes being mindful of privacy and local expectations. While rules vary by location, a few general practices help you stay on good terms with neighbors and within common guidelines.
Avoid Aiming Cameras Into Neighboring Homes
Even if your goal is just to cover your property, cameras might unintentionally capture neighboring windows or yards.
- Check your camera view: Look for windows, patios, or backyards that belong to others and adjust your angle to minimize them.
- Use privacy zones: Many cameras let you block out parts of the frame so they are not recorded.
- Explain your setup: If a camera must face near a property line, let neighbors know it is focused on your doors or yard, not their home.
Know the Basics of Audio and Video Recording
In many places, recording video on your own property is generally allowed, but audio recording can be more restricted. While you should check local rules, you can also take simple steps:
- Disable audio recording on outdoor cameras if you are unsure about local laws.
- Post a small notice near entry doors indicating that video surveillance is in use.
- Avoid placing indoor cameras where guests would not reasonably expect to be recorded.
Step-by-Step Checklist for Placing Your Cameras
Use this simple checklist as you plan and install your system so you can avoid blind spots and reduce false alerts from the start.
Planning Checklist
- List all exterior doors, ground-level windows, and gates.
- Identify indoor choke points such as hallways and stairways.
- Decide the main job of each camera: deter, identify, or monitor.
- Sketch a basic floor plan and mark ideal camera positions.
Placement Checklist
- Mount outdoor cameras 8 to 10 feet high, angled toward doors and walkways.
- Aim driveway cameras across your property, not directly at the street.
- Place indoor cameras 6 to 7 feet high in corners for wide coverage.
- Check for obstacles like trees, pillars, and large furniture that create blind spots.
- Test each camera view during the day and at night.
False Alert Reduction Checklist
- Adjust angles to keep busy streets and sidewalks at the edge of the frame.
- Trim or reposition around trees, flags, and reflective surfaces.
- Set motion zones around doors, driveways, and gates only.
- Start with medium sensitivity and fine-tune over several days.
Related posts
Browse this topic →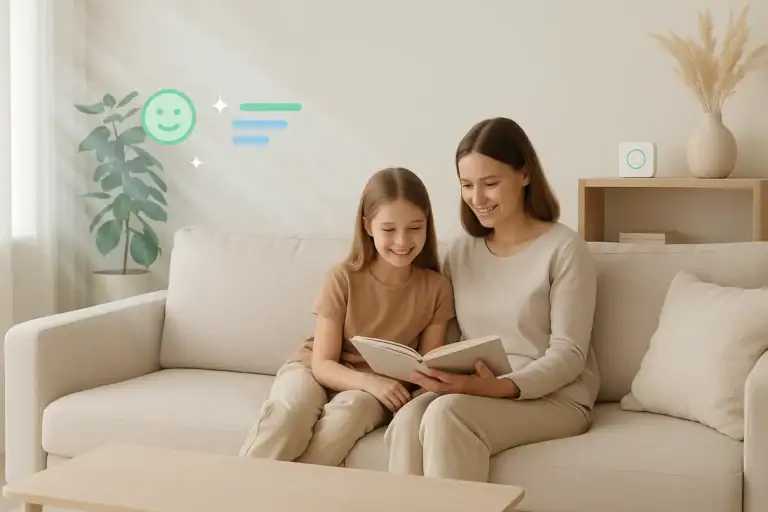
Smart Air Quality Alerts: How to Set Thresholds That Make Sense
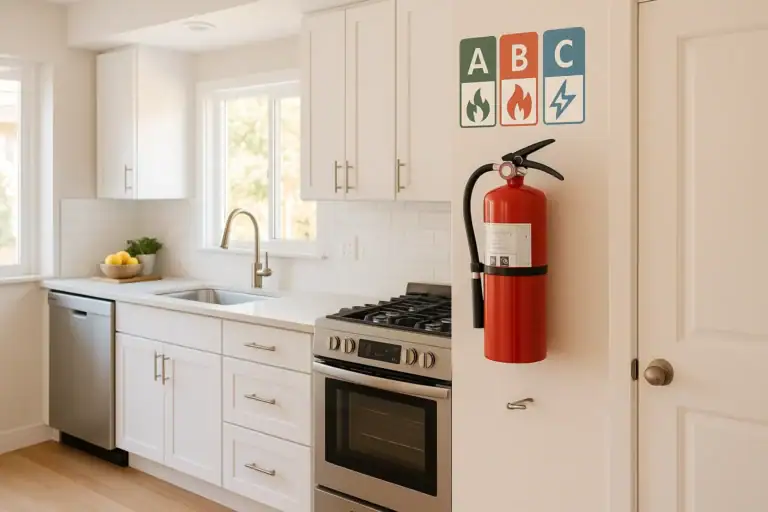
How to Choose a Fire Extinguisher for the Kitchen (Classes Explained)

Emergency Kit for Apartments: Closet-Friendly Essentials for Small Spaces
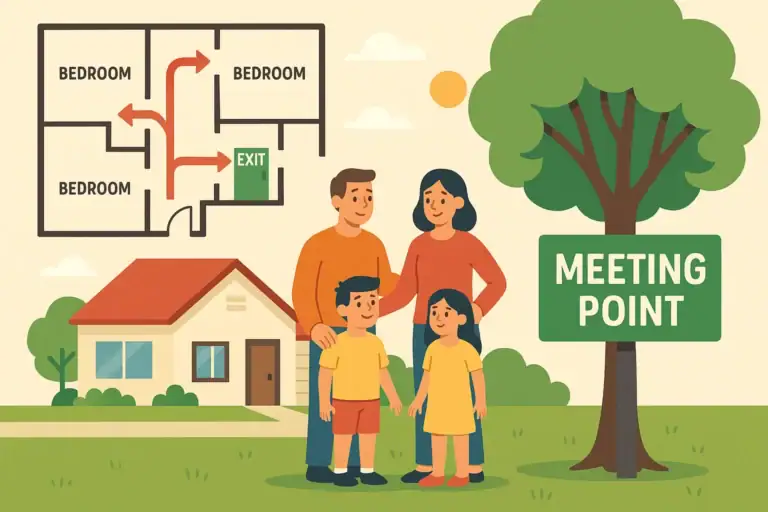
Home Fire Escape Plan: Map, Meeting Point, and Practice Checklist
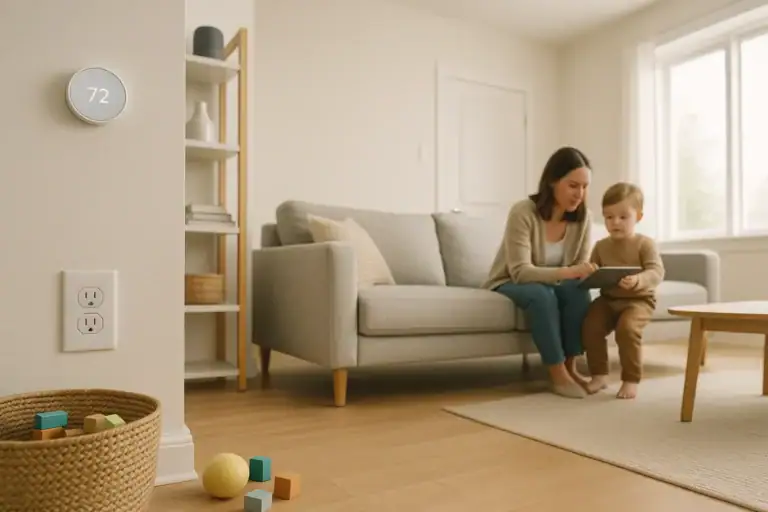
Childproofing the Smart Home: Settings and Physical Safety Tips
Garage Door Safety: Sensors, Remotes, and Common Failure Fixes
Keep reading
About this site
Signature Home Guide publishes practical, independent home guides. We aim to be clear, helpful, and transparent.
Affiliate disclosure
As an Amazon Associate, we earn from qualifying purchases. Some links on this site may be affiliate links. If you buy through these links, we may earn a small commission at no extra cost to you. This helps support our content. Learn more.