Grout can make tile floors, showers, and backsplashes look fresh and bright, but it also collects dirt, soap scum, and stains. If you scrub too hard or use harsh products, you can actually weaken or discolor the grout you are trying to save. Knowing how to clean grout without damaging it is the key to keeping your tile looking new for years. With the right gentle methods, you can lift stains, remove buildup, and protect your grout lines at the same time.
On this page(click to collapse)
- Before You Start: Understand Your Grout and Tile
- Safe Tools and Products for Cleaning Grout
- Step-by-Step: Gentle Routine Cleaning for Grout
- How to Remove Stains from Grout Without Damage
- Special Care: Cleaning Grout Around Natural Stone
- Mildew and Soap Scum in Showers: Safe Grout Cleaning Tips
- How Often to Clean Grout (Without Overdoing It)
- Protecting Grout After Cleaning: Sealing and Daily Habits
- When to Call a Professional
- Key Takeaways for Safe Grout Cleaning
- Related guides
This guide walks you through safe, step-by-step ways to clean grout in kitchens, bathrooms, and other tiled areas. You will learn what to use, what to avoid, and how to match your cleaning method to the type of grime you are dealing with. Whether you are doing a quick refresh or tackling deep-set discoloration, these tips will help you clean more effectively and keep your grout in good condition.
Before You Start: Understand Your Grout and Tile
Not all grout and tile are the same, and that matters when you choose a cleaning method. Using the wrong product can etch tile or weaken grout lines over time.
Types of grout
- Standard cement-based grout (sanded or unsanded): Most common in homes. It is slightly porous and can absorb stains, especially if it is not sealed.
- Epoxy grout: More stain-resistant and less porous. Often used in showers, countertops, and high-moisture areas.
- Colored or tinted grout: Can fade or discolor if exposed to harsh chemicals or strong bleaches.
If you are not sure what type you have, assume it is standard cement-based grout and treat it gently.
Tile surfaces to consider
- Ceramic and porcelain tile: Durable and usually safe with most mild cleaners.
- Natural stone (marble, travertine, limestone, slate, granite): Can be etched or dulled by acidic products like vinegar or lemon juice. These surfaces require extra care.
If your grout is surrounded by natural stone, avoid acidic cleaners and stick to pH-neutral or stone-safe options.
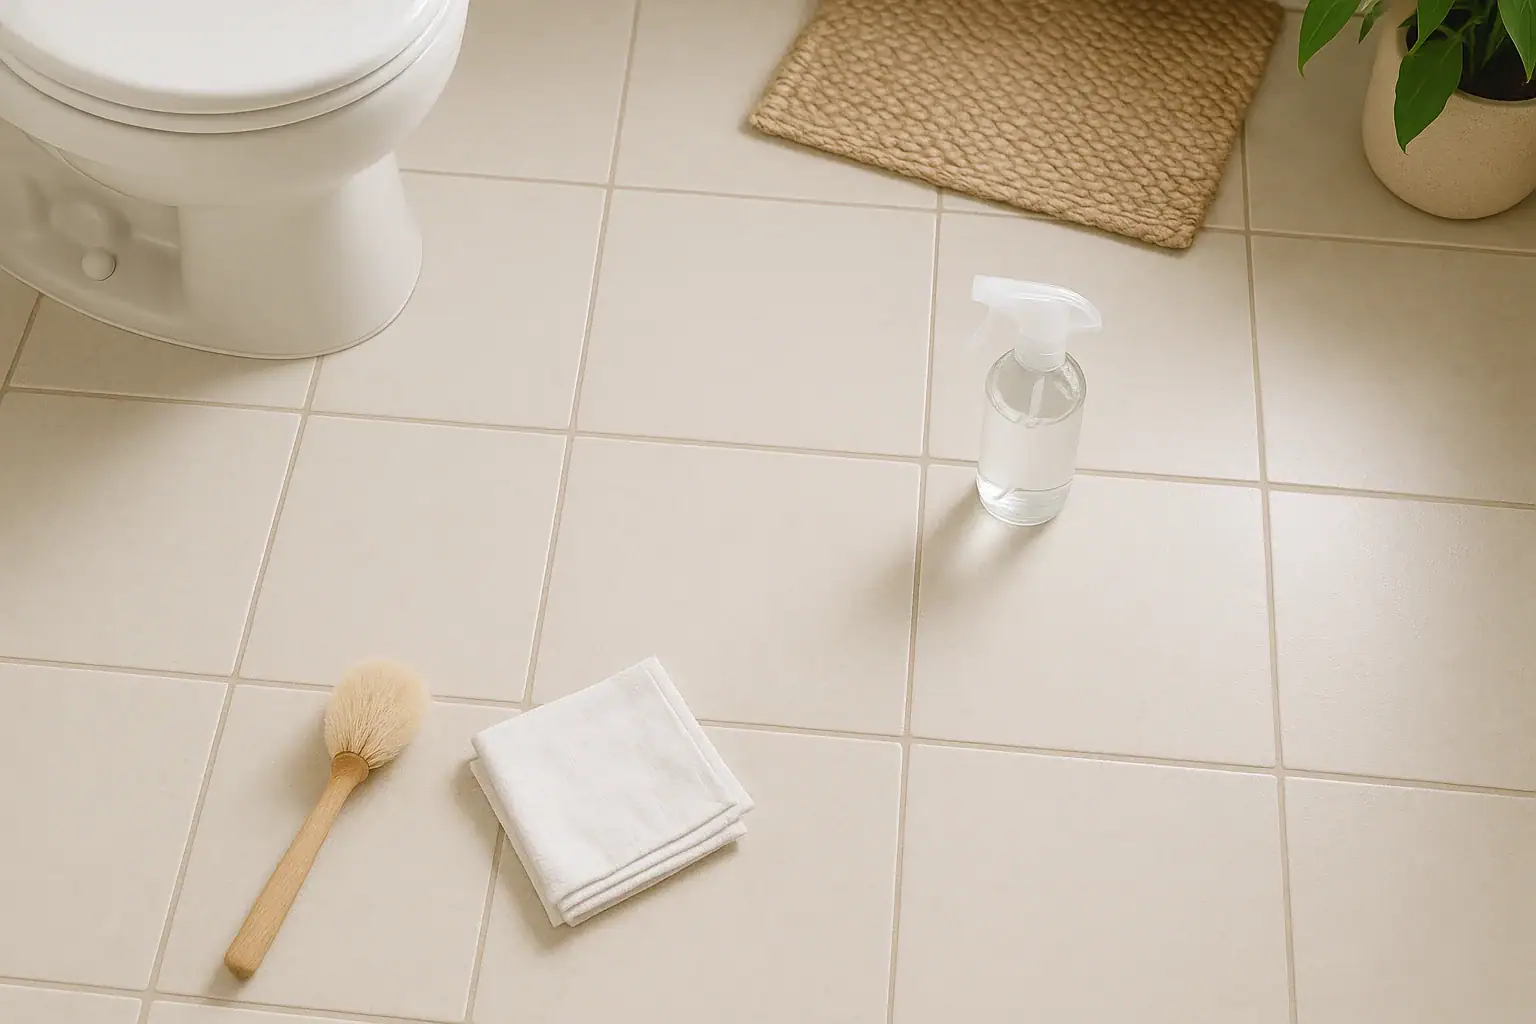
Safe Tools and Products for Cleaning Grout
Using the right tools is just as important as the cleaner itself. The goal is to loosen and lift dirt without grinding away the grout.
Tools that are gentle but effective
- Soft or medium-bristle brush: A small scrub brush or an old soft toothbrush works well. Avoid metal or very stiff bristles.
- Microfiber cloths or sponges: For wiping away loosened dirt and residue.
- Spray bottle: Helpful for applying diluted cleaners evenly along grout lines.
- Plastic scraper: Optional, for carefully lifting stuck-on buildup without scratching.
- Bucket of clean water: For rinsing as you go and preventing residue buildup.
Grout-safe cleaners
These options are generally safe for most cement-based grout and ceramic or porcelain tile:
- Warm water and mild dish soap: Ideal for regular maintenance and light soil.
- Baking soda paste: Gentle and slightly abrasive, good for stained grout when used with light pressure.
- Hydrogen peroxide (3%): Helpful for lightening stains and mildew on light-colored grout. Avoid on some dark or colored grout without spot testing.
- pH-neutral floor or tile cleaner: A good choice for routine cleaning, especially around natural stone.
Products and methods to avoid or use with caution
- Undiluted bleach: Can weaken grout over time, fade color, and release strong fumes. If used at all, it should be diluted and used sparingly after testing.
- Strong acids (vinegar, lemon juice, acid-based cleaners): Can etch natural stone and may slowly erode grout if overused.
- Metal brushes or scouring pads: Can scratch tile and physically wear away grout.
- High-pressure steam directly on damaged grout: Can loosen already weak grout. Use carefully and avoid crumbling areas.
Step-by-Step: Gentle Routine Cleaning for Grout
Routine cleaning keeps grout from becoming deeply stained and reduces the need for aggressive methods. This process is safe for most tiled floors and walls.
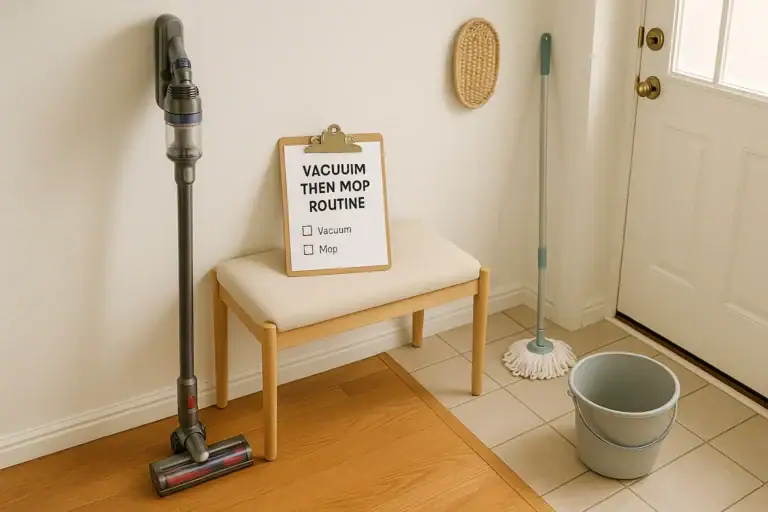
Step 1: Dry sweep or vacuum
Before you apply any cleaner, remove loose dust and grit. Grit acts like sandpaper if you scrub over it.
- Sweep or vacuum the tiled area, paying attention to grout lines.
- Use a vacuum attachment with soft edges to avoid scratching.
Step 2: Apply a mild cleaning solution
For light soil, a simple soap and water solution is usually enough.
- Fill a bucket or spray bottle with warm water.
- Add a few drops of mild dish soap and mix gently.
- Apply the solution along grout lines using a spray bottle, sponge, or damp mop.
Step 3: Lightly scrub the grout
Use just enough pressure to lift dirt without grinding away the grout surface.
- Use a soft or medium-bristle brush.
- Scrub in small circles along each grout line.
- Work in sections so the cleaner does not dry on the surface.
Step 4: Rinse thoroughly
Leaving cleaner on the grout can attract more dirt later.
- Wipe the area with a clean, damp microfiber cloth or mop.
- Rinse your cloth or mop frequently in clean water.
- For walls or backsplashes, you can also rinse by wiping with a sponge dipped in clean water.
Step 5: Dry the area
Drying helps prevent water spots and mildew, especially in bathrooms.
- Use a dry microfiber cloth or towel to remove excess moisture.
- For shower walls, a squeegee can help pull water away from grout lines.
How to Remove Stains from Grout Without Damage
When regular cleaning is not enough, you can step up your approach carefully. Always start with the mildest method and only move to stronger options if needed.
Method 1: Baking soda and water paste
This method works well for many surface stains on light or medium grout.
- Mix the paste: Combine baking soda with a small amount of water until it forms a thick, spreadable paste.
- Apply to grout lines: Spread the paste directly onto the stained grout using a small spoon or your gloved finger.
- Let it sit: Allow it to rest for 5 to 10 minutes so it can loosen dirt and stains.
- Gently scrub: Use a soft brush with light pressure, working in small circles.
- Rinse thoroughly: Wipe away the paste with a damp cloth and follow with a clean water rinse.
Avoid pressing too hard. The baking soda provides mild abrasion, so heavy scrubbing is not necessary.
Method 2: Hydrogen peroxide for lightening stains
Hydrogen peroxide can help brighten light-colored grout and tackle some mildew stains. Use with caution on dark or colored grout and always spot test first.
- Spot test: Apply a small amount of hydrogen peroxide to an inconspicuous area of grout. Wait at least 24 hours and check for fading or damage.
- Apply to stained grout: If the test area looks fine, apply hydrogen peroxide directly to stained grout lines using a cotton ball or spray bottle.
- Let it sit: Allow it to work for 5 to 10 minutes.
- Lightly scrub: Use a soft brush to agitate the area gently.
- Rinse and dry: Wipe with a damp cloth, then dry with a clean towel.
Method 3: Combining baking soda and hydrogen peroxide
For tougher stains on light grout, you can combine these two ingredients for a stronger but still relatively gentle approach.
- Make a paste: Mix baking soda with enough hydrogen peroxide to form a thick paste.
- Apply carefully: Spread the paste onto stained grout lines, avoiding nearby natural stone if present.
- Let it sit: Allow 5 to 10 minutes of contact time.
- Scrub lightly: Use a soft brush with minimal pressure.
- Rinse well: Remove all residue with a damp cloth and follow with clean water.
Do not leave this mixture on grout for long periods, and avoid using it repeatedly in the same area within a short time to prevent over-lightening.
Special Care: Cleaning Grout Around Natural Stone
Natural stone surfaces require extra caution because many common grout cleaners are too harsh for them. The goal is to clean the grout without etching or dulling the stone.
What to avoid on natural stone
- Vinegar, lemon juice, or any acidic cleaner
- Harsh grout removers or strong alkaline products
- Abrasive powders directly on the stone surface
Safer approach for grout with natural stone
- Choose a pH-neutral cleaner: Use a cleaner labeled safe for natural stone or a very mild soap and water solution.
- Apply carefully: Focus the cleaner on the grout lines using a small brush or cloth, keeping contact with the stone surface to a minimum.
- Scrub gently: Use a soft brush and light pressure only.
- Rinse thoroughly: Wipe away residue with a clean, damp cloth and then dry the area.
If your stone has a polished finish, always test any cleaner in a hidden area first to make sure it does not change the appearance.
Mildew and Soap Scum in Showers: Safe Grout Cleaning Tips
Bathrooms and showers are common places for mildew, mold stains, and soap scum to collect on grout. You can address these issues safely with a few adjustments to your routine.
Dealing with mildew stains
- Increase ventilation by using an exhaust fan or opening a window during and after showers.
- Dry shower walls and grout lines with a towel or squeegee after use.
- For existing stains, try hydrogen peroxide on light grout, following the spot test and steps described earlier.
Removing soap scum buildup
- Pre-rinse: Rinse shower walls with warm water to soften buildup.
- Apply mild cleaner: Use a pH-neutral bathroom cleaner or mild soap and water.
- Scrub gently: Focus on grout lines with a soft brush, then lightly scrub tile surfaces.
- Rinse and dry: Rinse thoroughly and dry to prevent new buildup.
Avoid using very harsh soap scum removers on grout regularly, as repeated use can weaken or discolor grout lines.
How Often to Clean Grout (Without Overdoing It)
Over-cleaning grout with strong products or heavy scrubbing can be just as damaging as not cleaning it at all. Aim for a balanced schedule that keeps grime from building up.
Suggested cleaning frequency
- High-traffic floors (kitchens, entryways): Light cleaning weekly, deeper grout attention every 1 to 2 months.
- Bathrooms and showers: Quick wipe-down or rinse several times a week, targeted grout cleaning every 2 to 4 weeks.
- Low-traffic areas: Light cleaning every few weeks, grout focus as needed when you notice discoloration.
Signs you should pause and reassess
- Grout is crumbling or flaking when you scrub.
- Color is fading quickly after each cleaning.
- You notice small gaps or missing sections in grout lines.
If you see these signs, reduce scrubbing pressure, switch to milder products, and consider having damaged grout repaired or replaced.
Protecting Grout After Cleaning: Sealing and Daily Habits
Once your grout is clean, a few preventive steps can help it stay that way longer and reduce the need for aggressive cleaning methods.
Consider sealing your grout
Sealing can help protect cement-based grout from stains and moisture. Epoxy grout usually does not need sealing, but standard grout often benefits from it.
- Always start with fully clean and dry grout.
- Choose a sealer designed for grout, and if you have natural stone, make sure it is compatible with that surface.
- Follow the product instructions carefully, applying in thin, even coats.
- Reapply as recommended, usually every 1 to 3 years depending on traffic and exposure to water.
Daily and weekly habits that keep grout cleaner
- Wipe up spills on floors and counters right away to prevent staining.
- Use rugs or mats in high-traffic areas to reduce dirt grinding into grout.
- In showers, squeegee walls and floors after use to reduce moisture and soap residue.
- Use a gentle, pH-neutral cleaner for regular mopping and wiping.
When to Call a Professional
Even with careful, safe methods, some grout problems are difficult to fix on your own. Professional help may be the best option if:
- Large areas of grout are cracked, missing, or crumbling.
- Deep stains do not respond to gentle cleaning methods.
- You suspect water damage behind tile or in shower walls.
- You have extensive natural stone surfaces and are unsure which products are safe.
A professional can deep clean, repair, or even recolor grout while protecting surrounding tile. This can extend the life of your tile surfaces and reduce the need for replacement.
Related posts
Browse this topic →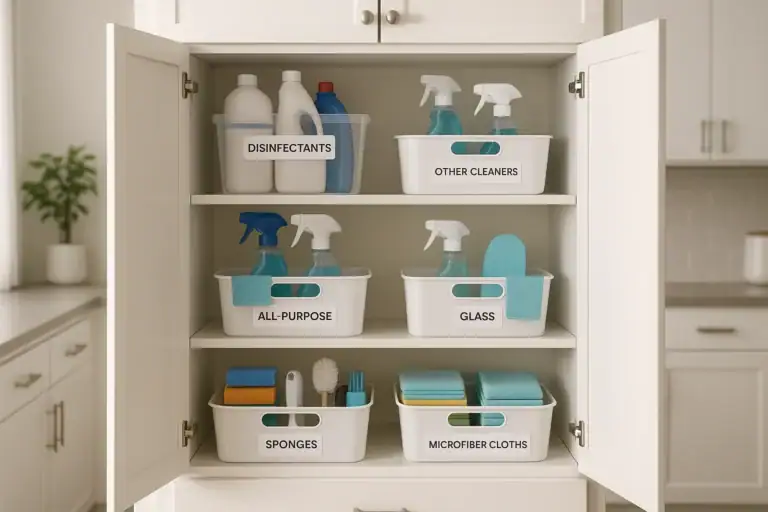
How to Organize Cleaning Supplies for Speed and Safety at Home

Spring Cleaning Checklist for the Whole Home (Printable Plan)
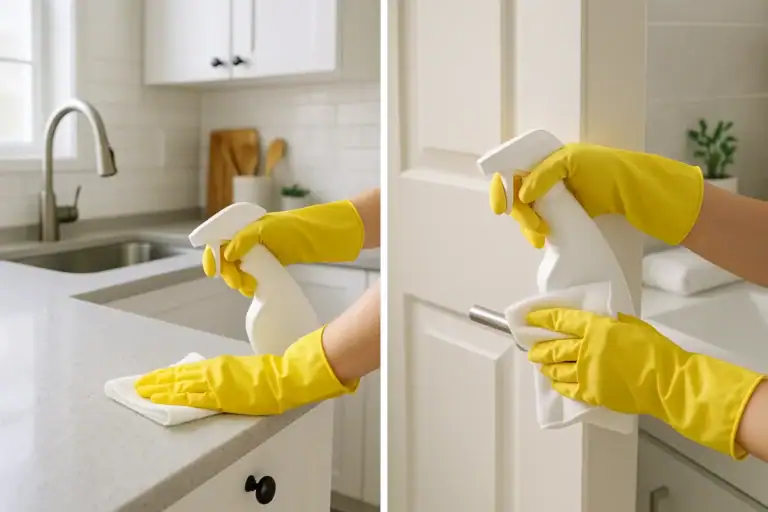
How to Disinfect Surfaces Safely: What Really Needs It and What Does Not
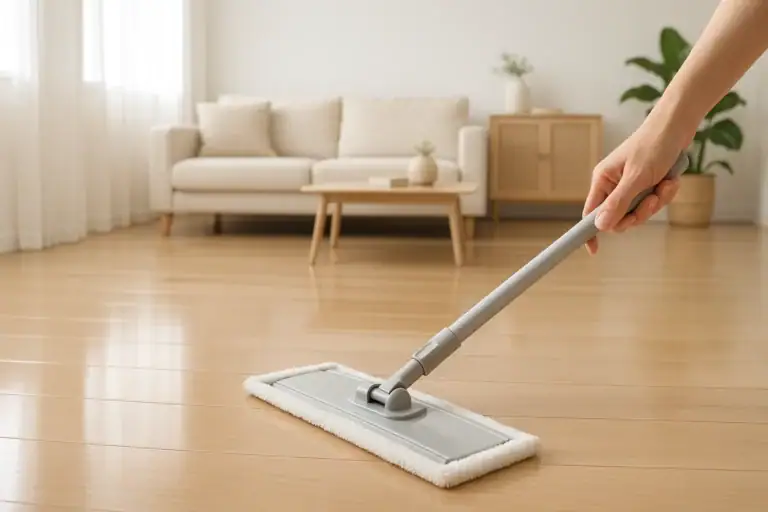
How to Clean Hardwood Floors Without Ruining the Finish
Best Way to Clean Laminate Floors Without Swelling or Haze
Vacuum vs Mop Order: The Most Efficient Floor Cleaning Routine Checklist
Keep reading
About this site
Signature Home Guide publishes practical, independent home guides. We aim to be clear, helpful, and transparent.
Affiliate disclosure
As an Amazon Associate, we earn from qualifying purchases. Some links on this site may be affiliate links. If you buy through these links, we may earn a small commission at no extra cost to you. This helps support our content. Learn more.