On this page(click to collapse)
- Step 1: Know Your Hardwood Floor Finish
- Step 2: Choose Safe Tools and Supplies
- Step 3: Set Up a Gentle Daily and Weekly Routine
- Step 4: How to Clean Hardwood Floors Room by Room
- Step 5: Spot Cleaning Spills and Stains Safely
- Step 6: Deep Cleaning Without Damaging the Finish
- Step 7: Protect the Finish Between Cleanings
- Common Mistakes That Ruin Hardwood Floor Finishes
- How Often Should You Clean Hardwood Floors?
- When to Call a Professional
- Putting It All Together
- Related guides
Hardwood floors are one of the most beautiful features in a home, but they can also be one of the easiest to damage if you clean them the wrong way. Too much water, harsh chemicals, or the wrong tools can dull the finish, cause cloudy spots, or even lead to permanent warping. The good news is that keeping hardwood floors clean and protected does not have to be complicated. With the right routine and a few simple habits, you can remove dust, spills, and everyday grime while preserving the finish for years.
This guide walks you through how to clean hardwood floors without ruining the finish, from daily dust control to deeper cleaning. You will learn how to tell what type of finish you have, which tools and solutions are safe, and which common cleaning mistakes to avoid. Use these tips to build a routine that keeps your floors looking polished, protected, and ready for everyday life.
Step 1: Know Your Hardwood Floor Finish
Before you decide how to clean your hardwood floors, it helps to understand the type of finish you are working with. The finish is the protective layer on top of the wood, and that is what you are actually cleaning most of the time, not the bare wood itself.
Main Types of Hardwood Floor Finishes
- Surface (polyurethane or similar) finish: Forms a hard, sealed coating on top of the wood. Common in modern homes. More resistant to spills and easier to maintain.
- Penetrating oil or wax finish: Soaks into the wood and may have a wax layer on top. Often found in older homes. More sensitive to moisture and many cleaners.
- Aluminum oxide or factory-applied finish: Usually found on prefinished flooring. Very durable but can still be scratched or dulled by harsh products.
Simple Ways to Guess Your Finish
If you are not sure what type of finish you have, try these simple checks:
- Shine and feel: A smooth, glossy or semi-gloss surface is often a surface finish. A more natural, low-sheen look may be an oil or wax finish.
- Scratch test (in a hidden area): Lightly scratch with a fingernail in a corner or closet. If you see a white scratch only in the coating, it is likely a surface finish. If the scratch looks like raw wood, it may be an oil or wax finish.
- Water drop test (use caution): Place a tiny drop of water in an inconspicuous area and wipe it up within a minute. If the water beads on top, it is likely a surface finish. If it soaks in quickly, the floor may have a penetrating finish and needs extra care with moisture.
If you are still unsure, treat your floors gently and avoid heavy water and harsh cleaners. When in doubt, test any new method in a small hidden spot first.
Step 2: Choose Safe Tools and Supplies
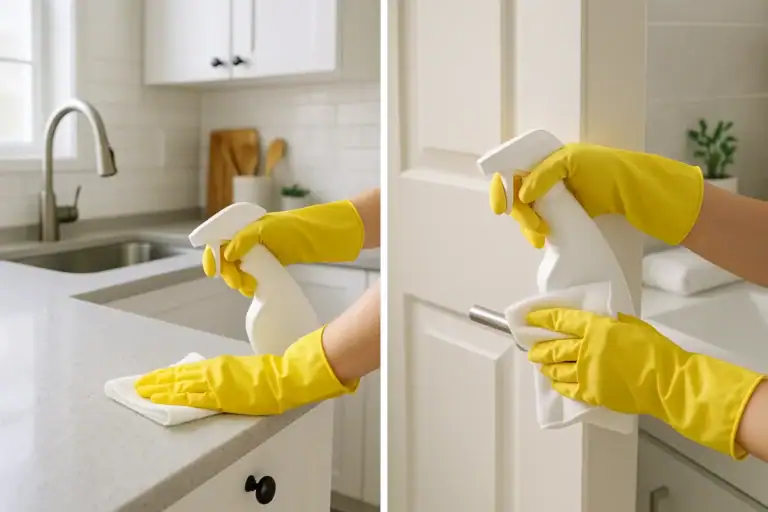
The tools you use matter just as much as the cleaning solution. Rough or overly wet tools can scratch or dull the finish, even if the cleaner is gentle.
Recommended Tools for Hardwood Floors
- Soft-bristle broom or dust mop
- Vacuum with a hard floor setting or bare floor attachment (no rotating beater bar on the wood)
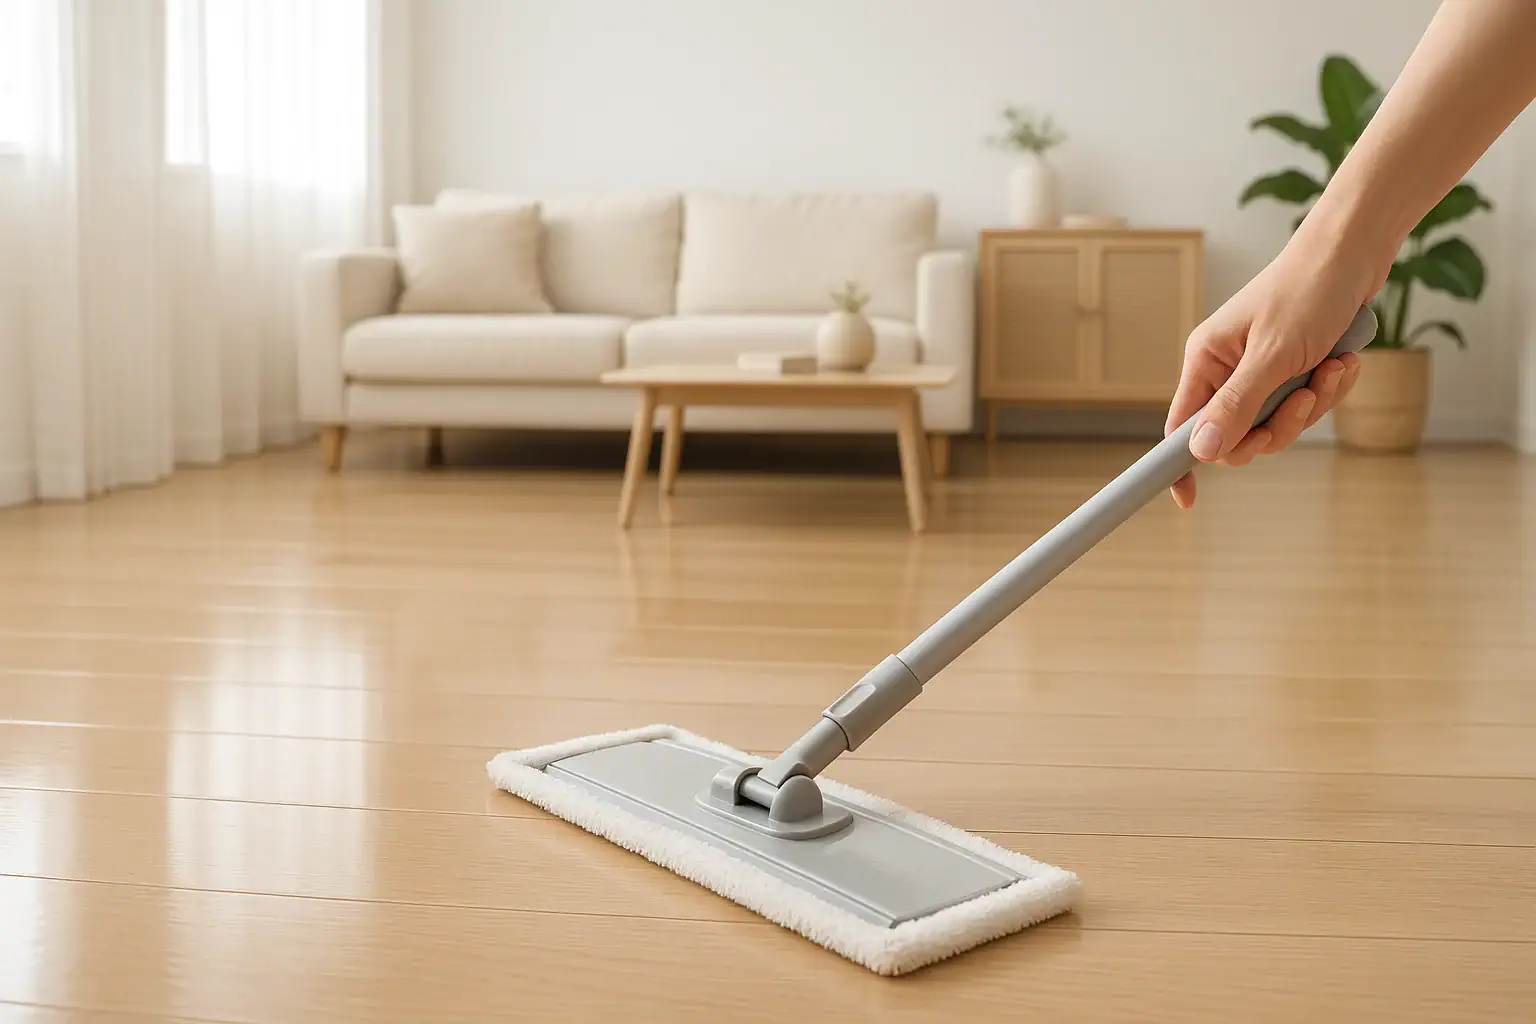
- Microfiber flat mop with removable, washable pads
- Soft, lint-free cloths for spot cleaning and drying
- Bucket for mixing small amounts of cleaning solution (if using a mop that requires it)
Safe Cleaning Solutions
For most sealed hardwood floors, you can use:
- A cleaner labeled safe for hardwood floors
- A mild, pH-neutral cleaner diluted according to the directions
- For light cleaning, plain water in very small amounts, used with a well-wrung microfiber mop
Always avoid using full-strength products meant for other surfaces, such as heavy-duty degreasers or bathroom cleaners, on hardwood. They can strip or cloud the finish.
What to Avoid on Hardwood Floors
- Steam mops or steam cleaners (heat and moisture can damage the finish and wood)
- Soaking-wet string mops or sponge mops
- Abrasive scrub pads, scouring powders, or steel wool
- Ammonia, bleach, or high-alkaline cleaners
- Oil soaps and products that leave a heavy residue or film
- Vinegar used at strong concentrations or too frequently, which can dull some finishes over time
Step 3: Set Up a Gentle Daily and Weekly Routine
Most of the wear on hardwood floors comes from grit and dust being ground into the finish underfoot. A simple routine that focuses on dry cleaning goes a long way toward preserving the finish.
Daily or Every-Few-Days Cleaning
In high-traffic areas like entryways, kitchens, and hallways, aim for quick, frequent cleaning:
- Sweep with a soft-bristle broom or use a dry microfiber dust mop.
- Vacuum on the hard floor setting, making sure the beater bar is turned off or removed.
- Spot clean small spills right away with a slightly damp cloth, then dry fully.
Keeping grit off the floor reduces micro-scratches that slowly dull the finish.
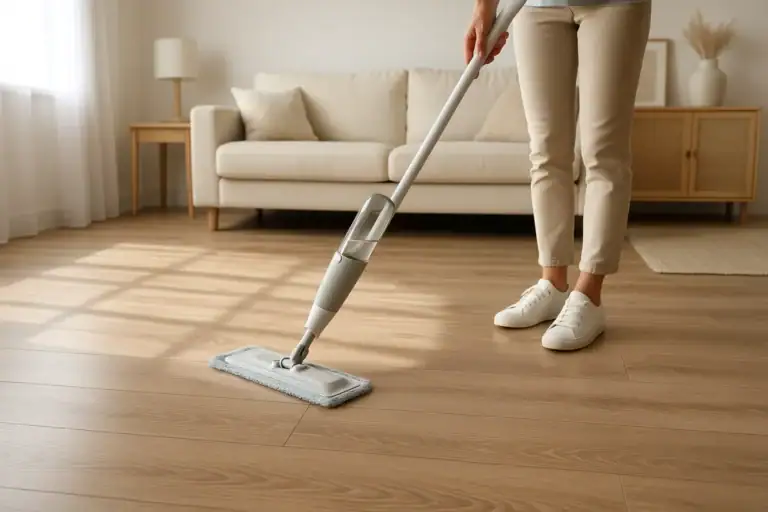
Weekly or Biweekly Light Mopping
Depending on how busy your home is, plan a light damp-mopping session once a week or every other week:
- Vacuum or sweep thoroughly first to remove dust and debris.
- Prepare a small amount of hardwood-safe cleaner, following the label directions.
- Lightly mist the cleaner on the floor or on the microfiber mop pad. Do not pour cleaner directly on the floor.
- Mop in the direction of the wood grain, working in small sections.
- Make sure the mop is only slightly damp, not wet. Wring out or replace the pad as needed.
- Allow the floor to air-dry quickly. If any areas look wet for more than a minute or two, wipe them dry with a clean cloth.
Step 4: How to Clean Hardwood Floors Room by Room
Different rooms put different types of stress on your hardwood floors. Adjust your approach slightly based on how each space is used.
Entryways and Hallways
- Use doormats inside and outside entry doors to trap dirt and moisture.
- Encourage a no-shoes or soft-soled shoes policy to reduce grit and heel marks.
- Dry mop or vacuum these areas more frequently than low-traffic rooms.
- Wipe up water from wet shoes or umbrellas immediately.
Living Rooms and Bedrooms
- Vacuum under furniture regularly to prevent dust buildup.
- Use felt pads under furniture legs to prevent scratches when items are moved.
- Rotate rugs occasionally to even out exposure to sunlight and wear.
Kitchens and Dining Areas
Kitchens are tough on hardwood floors because of spills and dropped items.
- Place washable rugs or runners near the sink, stove, and dishwasher.
- Wipe up food and liquid spills right away to prevent staining or warping.
- Do a quick sweep or vacuum at the end of the day to remove crumbs and grit.
- Use a gentle cleaner for sticky spots instead of scrubbing aggressively.
Step 5: Spot Cleaning Spills and Stains Safely
Spills happen, but how you handle them can mean the difference between a quick cleanup and lasting damage to the finish.
General Spill Cleanup
- Blot, do not rub. Use a soft cloth or paper towel to blot up as much liquid as possible.
- Use a slightly damp cloth with a hardwood-safe cleaner if residue remains.
- Dry the area completely with a clean cloth.
Sticky or Greasy Spots
- Lightly mist the area with diluted hardwood-safe cleaner.
- Wipe gently with a microfiber cloth, following the wood grain.
- Rinse the cloth, wring it out well, and wipe again if needed.
- Dry thoroughly to prevent moisture from seeping into seams.
Scuff Marks and Light Scratches
For scuff marks on the finish (not deep gouges in the wood):
- Try gently buffing with a dry microfiber cloth.
- If needed, use a tiny amount of hardwood-safe cleaner on the cloth and rub lightly.
- Avoid abrasive pads, which can dull the surrounding finish.
Deeper scratches that go through the finish may require professional repair or refinishing, especially if they expose bare wood.
Step 6: Deep Cleaning Without Damaging the Finish
Over time, even with regular care, hardwood floors can start to look a bit dull from fine scratches and embedded dirt. A careful deep cleaning can refresh the appearance without stripping the finish.
When to Deep Clean
Consider a deeper clean if you notice:
- Cloudy or dull areas that do not improve with regular mopping
- Sticky buildup in high-traffic paths
- Fine scratches that make the floor look tired
How to Deep Clean Safely
- Remove rugs and small furniture from the room.
- Vacuum thoroughly, including along baseboards and in corners.
- Use a hardwood-specific cleaner designed for deeper cleaning, following the label exactly.
- Work in small sections, applying cleaner with a slightly damp microfiber mop or cloth.
- Rinse or replace mop pads often so you are not spreading dirty solution.
- Dry each section quickly with a clean towel if it does not air-dry within a few minutes.
If the floor still looks dull after deep cleaning, the finish itself may be worn and could benefit from professional screening and recoating.
Step 7: Protect the Finish Between Cleanings
Cleaning correctly is only part of the picture. Preventing damage in the first place is one of the best ways to keep your hardwood floors looking new.
Simple Protection Habits
- Use felt pads or soft glides under all furniture legs.
- Lift furniture when moving it instead of dragging it.
- Keep pet nails trimmed to reduce scratches.
- Place rugs or runners in high-traffic paths and near exterior doors.
- Use breathable rug pads that are safe for hardwood finishes.
Control Moisture and Sunlight
- Wipe up water from spills, plants, or pet bowls right away.
- Avoid leaving wet items like towels or boots on hardwood surfaces.
- Use curtains or blinds to limit direct, intense sunlight that can fade finishes over time.
- Maintain indoor humidity at a moderate level to reduce wood movement and gaps.
Common Mistakes That Ruin Hardwood Floor Finishes
Even with good intentions, a few common habits can quickly damage hardwood floors. Avoid these to protect your finish.
- Using too much water: Standing water can seep into seams, causing swelling, warping, or cloudy spots in the finish.
- Relying on steam: Heat and moisture from steam cleaners can break down the protective coating and damage the wood underneath.
- Using harsh chemicals: Strong cleaners meant for tile or outdoor surfaces can strip or etch the finish.
- Applying wax or oil over a sealed finish: This can create a sticky, uneven surface and make future refinishing more difficult.
- Skipping regular dusting: Grit left on the floor acts like sandpaper underfoot, slowly dulling the surface.
- Dragging heavy items: Sliding furniture or appliances can leave deep scratches that go beyond the finish.
How Often Should You Clean Hardwood Floors?
The right schedule depends on how much activity your floors see, but these general guidelines work for most homes:
- Daily or every few days: Sweep, dust mop, or vacuum high-traffic areas.
- Weekly or biweekly: Light damp mopping with a hardwood-safe cleaner.
- Seasonally: More detailed vacuuming along edges and under furniture, plus a careful deep clean if needed.
- Every few years: Depending on wear, consider professional maintenance such as screening and recoating to refresh the finish.
When to Call a Professional
Some issues go beyond what routine cleaning can fix. You may want to contact a flooring professional if you notice:
- Deep scratches that expose bare wood
- Wide gaps or boards that are cupping or buckling
- Large areas with cloudy, peeling, or flaking finish
- Water damage from leaks or flooding
A professional can evaluate whether your floors need a simple recoat, a full refinish, or repairs to the wood itself.
Putting It All Together
Cleaning hardwood floors without ruining the finish comes down to a few key principles: use gentle tools, avoid excess water, choose safe cleaners, and protect the surface from scratches and moisture. A consistent routine of dry dusting, light damp mopping, and quick spill cleanup will keep your floors looking their best without the risk of damage.
By understanding your floor's finish, avoiding harsh products, and building smart habits around entryways, kitchens, and high-traffic areas, you can enjoy the warmth and beauty of hardwood for many years. A little care now saves you from costly repairs and refinishing later, and keeps your home feeling clean, comfortable, and well cared for.
Related posts
Browse this topic →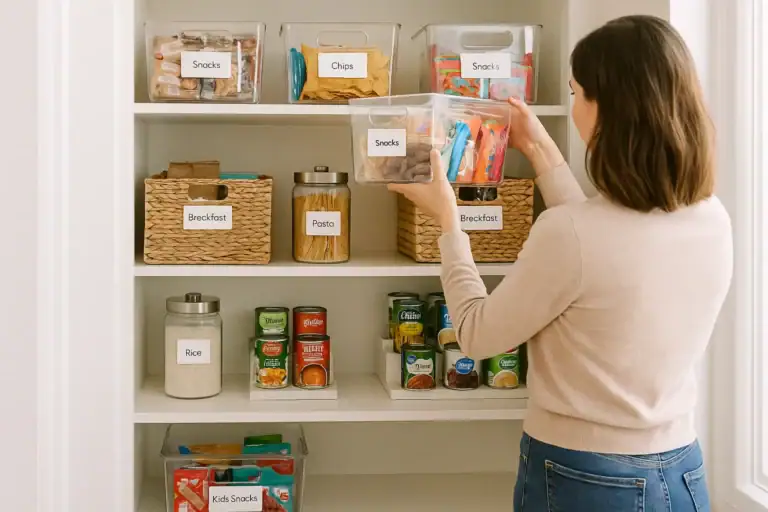
Pantry Organization Basics: Zones, Labels, and a Simple Maintenance Routine
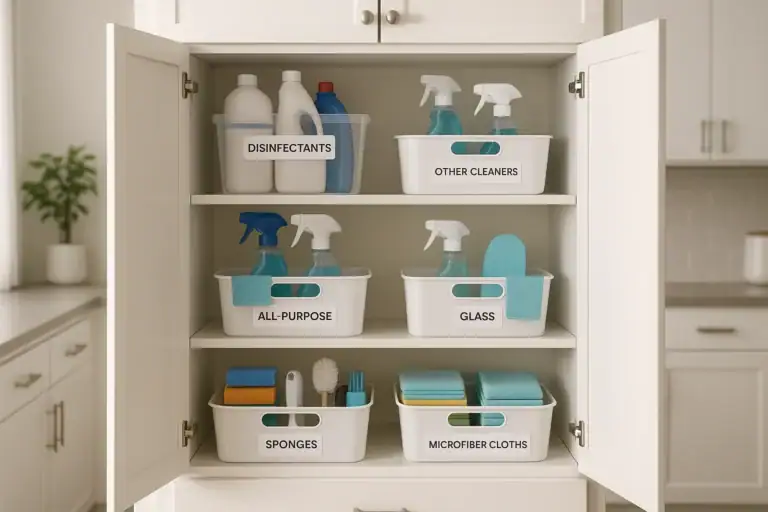
How to Organize Cleaning Supplies for Speed and Safety at Home
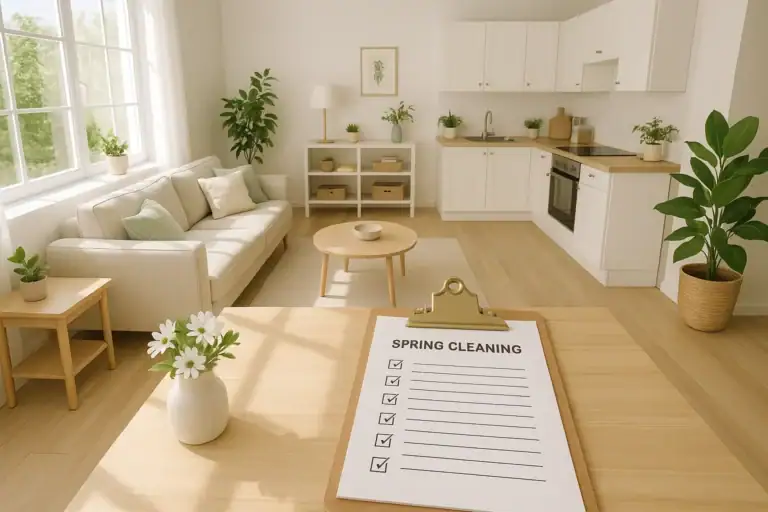
Spring Cleaning Checklist for the Whole Home (Printable Plan)
How to Disinfect Surfaces Safely: What Really Needs It and What Does Not
Best Way to Clean Laminate Floors Without Swelling or Haze
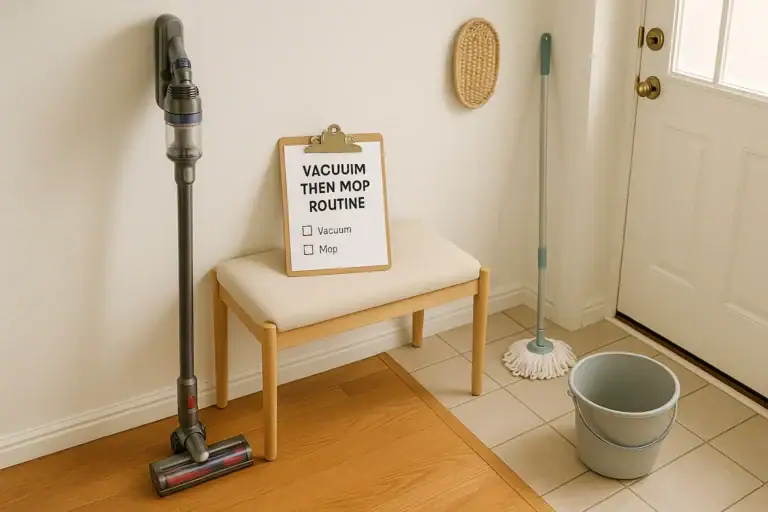
Vacuum vs Mop Order: The Most Efficient Floor Cleaning Routine Checklist
Keep reading
About this site
Signature Home Guide publishes practical, independent home guides. We aim to be clear, helpful, and transparent.
Affiliate disclosure
As an Amazon Associate, we earn from qualifying purchases. Some links on this site may be affiliate links. If you buy through these links, we may earn a small commission at no extra cost to you. This helps support our content. Learn more.