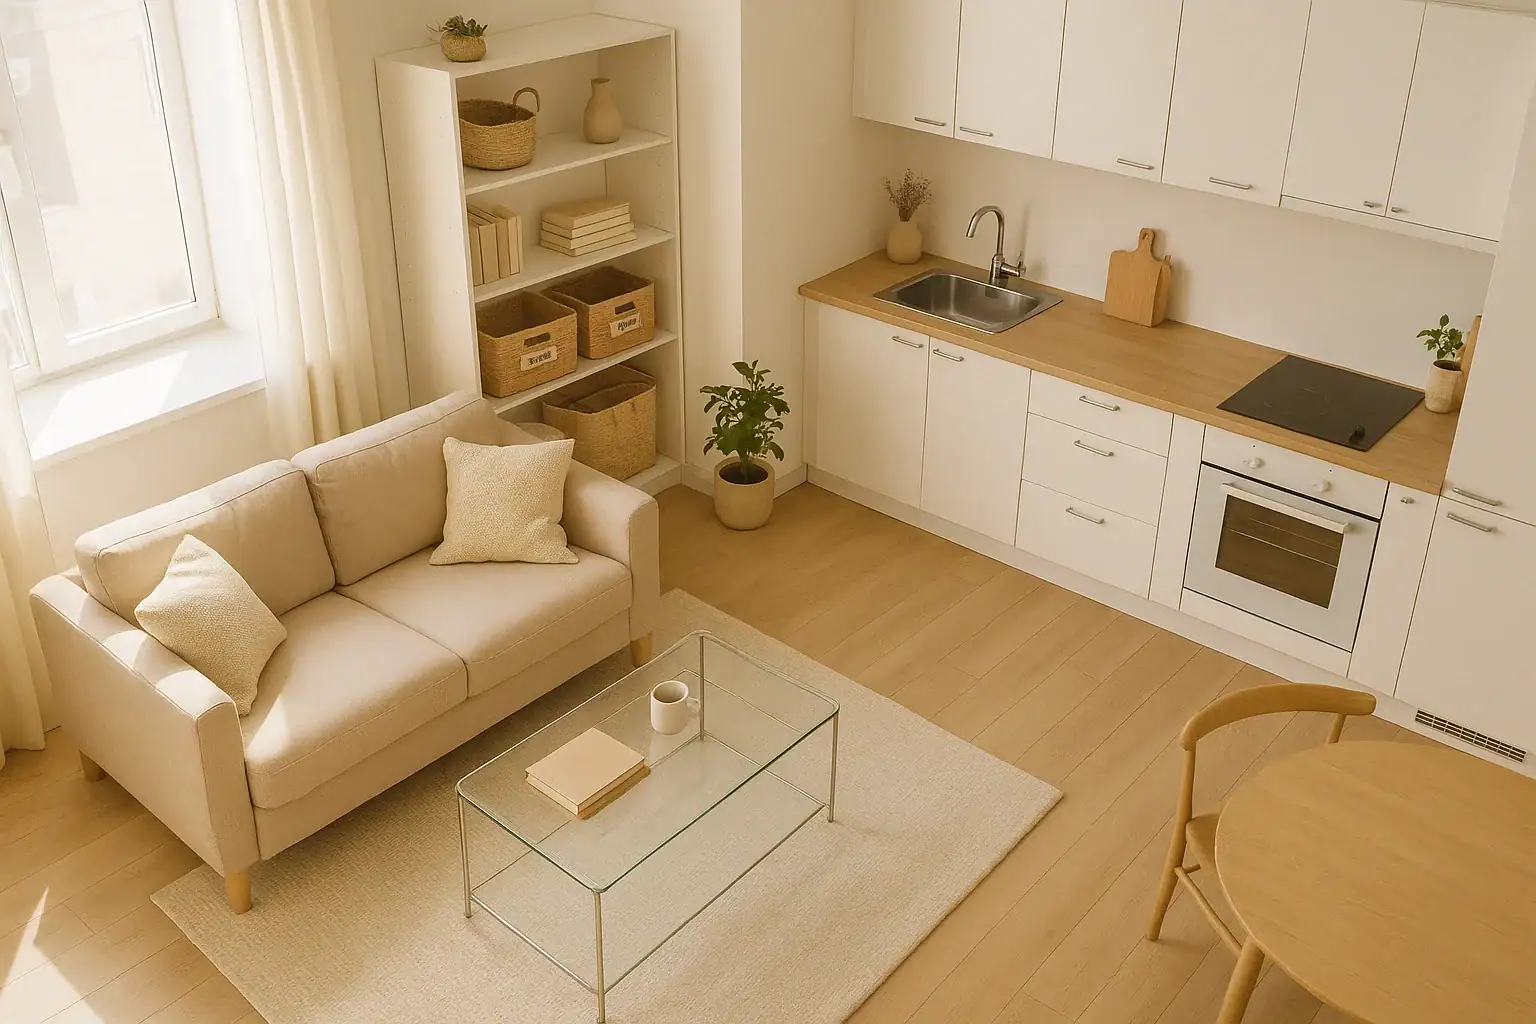
Living in a small apartment can feel cozy and efficient, or cramped and stressful. The difference usually comes down to clutter. The good news is you do not need weeks of sorting and organizing to make a big change. With a focused plan and a realistic checklist, you can declutter a small apartment in one weekend and create a calmer, easier-to-clean home.
On this page(click to collapse)
- Weekend Decluttering Overview
- Step 1: Prepare Your Decluttering Stations
- Step 2: Declutter the Entryway and Living Room
- Step 3: Declutter the Kitchen
- Step 4: Declutter the Bedroom and Closet
- Step 5: Declutter the Bathroom
- Step 6: Tackle Miscellaneous Storage and Paper Clutter
- Step 7: Remove Donations and Trash Immediately
- Step 8: Create Simple Habits to Keep Clutter Away
- Room-by-Room Weekend Decluttering Checklist Summary
- Related guides
This guide walks you through a practical, room-by-room plan. You will know exactly what to do on each day, how to decide what stays or goes, and where to put everything. You will use simple categories, quick decisions, and short time blocks so you do not get overwhelmed. By Sunday night, you can look around and actually see clear surfaces, open floor space, and organized storage that works for your daily life.
Use this step-by-step checklist as your roadmap, and adjust the timing to fit your schedule. The key is to keep moving, make honest decisions, and finish each area before you move on to the next.
Weekend Decluttering Overview
Before you start, it helps to see the whole weekend at a glance. Here is a simple plan you can follow or adapt.
Suggested Weekend Schedule
- Friday evening (optional): Gather supplies, set up donation and trash stations, and do a quick tidy.
- Saturday morning: Entryway, living room, and visible surfaces.
- Saturday afternoon: Kitchen cabinets, counters, and fridge.
- Sunday morning: Bedroom and closet.
- Sunday afternoon: Bathroom, miscellaneous storage, and final reset.
If you only have one full day, shorten the list by focusing on the areas you use most: living room, kitchen, and bedroom.
Step 1: Prepare Your Decluttering Stations
A little preparation makes the rest of the weekend smoother. Set up simple stations so every item has a clear destination.
Gather Basic Supplies
- Large trash bags for garbage
- Sturdy bags or boxes for donations
- One box for items to sell (optional)
- One basket or bin for items that belong in another room
- Basic cleaning supplies (all-purpose cleaner, cloths, paper towels)
- Sticky notes and a marker for quick labels
Set Up Four Simple Categories
As you work through each room, sort items into these categories:
- Keep (Here): Items you use and love that belong in this room.
- Keep (Elsewhere): Items you want but that belong in a different room.
- Donate or Sell: Usable items you no longer need.
- Trash or Recycle: Broken, expired, or unusable items.
Label bags or boxes for each category so you do not have to rethink decisions later.
Step 2: Declutter the Entryway and Living Room
Start with the spaces you see first. Clearing your entryway and living room creates an instant sense of progress and motivates you to keep going.
Entryway Checklist (30–45 Minutes)
- Remove everything from hooks, shelves, and small tables.
- Sort shoes into keep, donate, or trash. Keep only what you wear regularly by the door.
- Empty bags, purses, and backpacks. Toss trash and file or move important items.
- Limit outerwear in the entry to current-season items only.
- Designate one small spot for keys, wallet, and daily essentials.
- Wipe down surfaces and sweep or vacuum the floor.
Living Room Checklist (60–90 Minutes)
Focus on what you see: surfaces, floors, and visible storage.
- Clear off coffee tables, side tables, and TV stands completely.
- Sort items on each surface into your four categories.
- Limit decor to a few pieces you truly enjoy; remove the rest.
- Gather magazines, mail, and papers into one pile for later sorting.
- Fold or remove extra blankets and pillows; keep only what you use.
- Go through shelves: remove duplicates, outdated items, and anything you do not reach for.
- Contain small items (remotes, chargers, coasters) in a tray, basket, or drawer.
- Vacuum or sweep the floor once surfaces are clear.
Quick Decision Tips for Shared Spaces
- Ask, “Do I use this weekly or monthly?” If not, consider letting it go or storing it out of sight.
- Prioritize clear walking paths and easy-to-clean surfaces over extra decor.
- Limit sentimental items on display; store the rest in one labeled box.
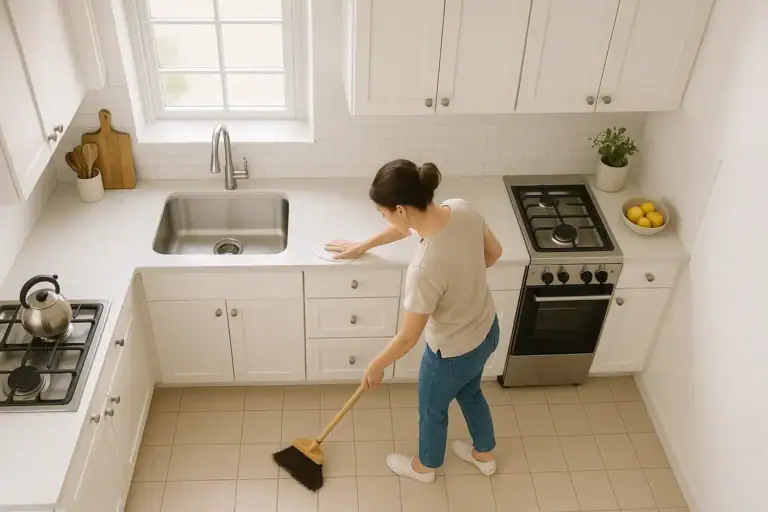
Step 3: Declutter the Kitchen
The kitchen is often the most crowded space in a small apartment. Streamlining it frees up storage and makes daily cooking less stressful.
Counters and Visible Surfaces (30–45 Minutes)
- Clear everything off the counters.
- Wipe down all surfaces so you start fresh.
- Decide which items truly need to live on the counter (daily-use only).
- Store rarely used tools and appliances in cabinets or donate them.
- Designate one small area for mail or papers if they tend to land here.
Cabinets and Drawers (60–90 Minutes)
Work one cabinet or drawer at a time so you do not overwhelm the whole kitchen.
- Empty one cabinet or drawer completely.
- Group similar items together (mugs, plates, containers, utensils).
- Remove duplicates, chipped items, and anything you have not used in the last year.
- Limit how many of each item you keep based on your household size.
- Store most-used items in the easiest-to-reach spots.
- Use small bins or dividers to keep like items together.
Food Storage, Pantry, and Fridge (45–60 Minutes)
- Check expiration dates and toss expired or stale items.
- Group similar foods together (grains, snacks, canned goods, sauces).
- Place soon-to-expire items at the front so you use them first.
- Limit how many backup items you store; small spaces cannot hold endless extras.
- Wipe shelves and drawers before putting food back.
Kitchen Decluttering Rules
- One in, one out: when you bring in a new tool or container, remove an old one.
- Keep counters as clear as possible to make cooking and cleaning easier.
- Store items where you use them: cooking tools near the stove, dishes near the sink.
Step 4: Declutter the Bedroom and Closet
Your bedroom should feel restful, not like a storage unit. Clearing visual clutter and simplifying your wardrobe makes a small apartment feel much larger.
Bedroom Surfaces and Under-Bed Area (45–60 Minutes)
- Clear nightstands, dressers, and window sills.
- Keep only a few essentials by the bed (lamp, book, water, alarm).
- Remove stacks of books, extra decor, and random items that belong elsewhere.
- Pull everything out from under the bed.
- Sort under-bed items into keep, donate, or trash; store only what you truly need.
- Use under-bed space for off-season clothing or spare linens in labeled bins.
Closet Decluttering Checklist (60–90 Minutes)
Clothing can take over a small apartment quickly. A focused closet session gives you back space and simplifies getting dressed.
- Pull out all clothing from the closet and drawers by category (tops, pants, dresses, outerwear, shoes).
- Try items on if you are unsure about fit or comfort.
- Create a donation pile for items that do not fit, are uncomfortable, or do not match your current lifestyle.
- Remove duplicate items you rarely wear.
- Set a realistic number of each category you need based on your routine.
- Hang or fold items by type and color so you can see what you own.
- Store off-season items in bins or on higher shelves to free daily space.
Questions to Ask While Decluttering Clothing
- Would I choose this today if I were shopping again?
- Have I worn this in the last year?
- Does it fit well and feel comfortable?
- Does it work with at least two other items I own?
Step 5: Declutter the Bathroom
Bathrooms in small apartments are often tight on storage. Decluttering here is about removing extras and making daily routines easier.
Bathroom Checklist (45–60 Minutes)
- Empty everything from the medicine cabinet, vanity, and shelves.
- Check expiration dates on medications and personal care products.
- Toss expired items, nearly empty duplicates, and products you tried but do not use.
- Group items by type: daily use, weekly use, and rarely used.
- Store daily-use items in the easiest-to-reach spots.
- Use small bins or cups to corral makeup, hair products, and grooming tools.
- Limit how many backup items you keep; store extras together in one bin.
- Fold and stack towels neatly; donate worn-out ones or repurpose as cleaning rags.
Make the Bathroom Easy to Maintain
- Keep counters mostly clear to simplify wiping surfaces.
- Use vertical space (hooks, over-the-door racks, shelves) for towels and daily items.
- Store cleaning supplies in a small caddy so you can do quick cleanups.
Step 6: Tackle Miscellaneous Storage and Paper Clutter
Small apartments often hide clutter in corners, bins, and drawers. A short session on these areas prevents future buildup.
Miscellaneous Storage (45–60 Minutes)
- Choose one area at a time: a hall closet, storage bench, or random drawer.
- Empty the space completely so you see everything you have.
- Sort items into your four categories and be honest about what you actually use.
- Group similar items (tools, craft supplies, seasonal decor) together.
- Label bins or boxes clearly so you can find things later.
- Avoid creating a “miscellaneous” box; give every category a clear name.
Paper and Mail Clutter (30–45 Minutes)
- Gather all loose papers and mail from around the apartment.
- Sort into three stacks: keep, shred, recycle.
- Keep only what you truly need: tax documents, legal papers, essential records.
- Set up a simple system for incoming mail: one spot to drop, one day a week to process.
- Consider going paperless where possible to reduce future clutter.
Step 7: Remove Donations and Trash Immediately
To truly feel the results of your decluttering weekend, you need to move items out of your home, not just into different piles.
Clear Out What You Let Go
- Bag and label all donation items clearly.
- Place donation bags directly in your car or by the door for pickup.
- Take out all trash and recycling as soon as you finish each major area.
- If you plan to sell items, set a deadline. If they are not listed by that date, donate them.
Removing items quickly prevents second-guessing and helps you enjoy your newly cleared space.
Step 8: Create Simple Habits to Keep Clutter Away
Decluttering in one weekend is powerful, but keeping your apartment clutter-free comes down to small daily habits. A few minutes each day can protect the work you just did.
Daily 10-Minute Reset
- Set a timer for 10 minutes each evening.
- Return items to their homes in the living room and kitchen.
- Clear counters and surfaces as much as possible.
- Start or finish one small cleaning task (dishes, wiping counters, quick sweep).
Weekly Quick Checks
- Choose one drawer, shelf, or bin to tidy each week.
- Do a fast pass through the fridge to toss expired food.
- Sort mail and papers so they do not pile up.
- Walk through your apartment with a small bag and remove a few items to donate.
Mindful Shopping and Incoming Items
- Pause before buying: ask where the item will live in your apartment.
- Follow a one-in, one-out rule for clothing, decor, and kitchen tools.
- Say yes only to free items you truly need and have space for.
Room-by-Room Weekend Decluttering Checklist Summary
Use this condensed checklist as a quick reference during your weekend project.
Friday Prep
- Gather bags, boxes, and cleaning supplies.
- Set up trash, recycle, donate, and sell stations.
- Do a quick tidy of dishes and trash so you can start fresh.
Saturday
- Entryway: Shoes, coats, bags, and daily essentials.
- Living Room: Surfaces, decor, shelves, and floor space.
- Kitchen: Counters, cabinets, drawers, pantry, and fridge.
Sunday
- Bedroom: Nightstands, dressers, under-bed storage.
- Closet: Clothing, shoes, accessories, and off-season items.
- Bathroom: Cabinets, products, linens, and surfaces.
- Miscellaneous: Storage areas, paper clutter, and junk drawers.
- Final Step: Remove donations and trash from the apartment.
When you follow a clear, room-by-room checklist, decluttering a small apartment in one weekend becomes manageable and even satisfying. You do not need perfection. Aim for visible progress, easier cleaning, and spaces that support your daily life. Each item you let go of makes your home feel a little more open, calm, and comfortable.
Related posts
Browse this topic →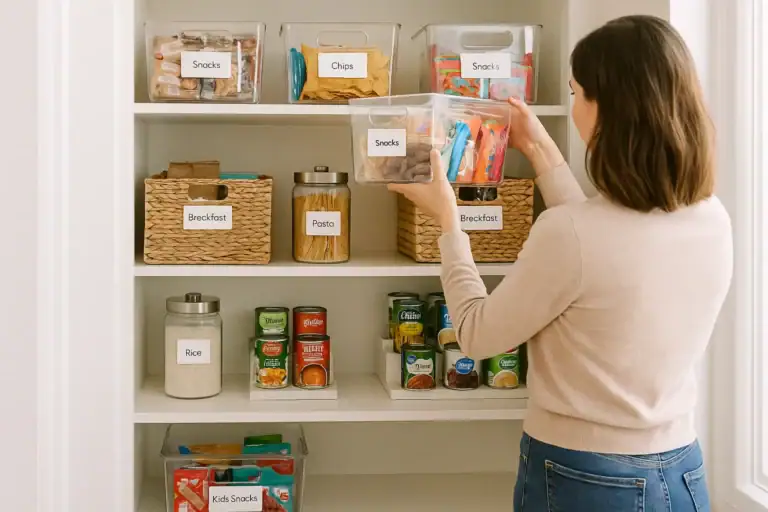
Pantry Organization Basics: Zones, Labels, and a Simple Maintenance Routine
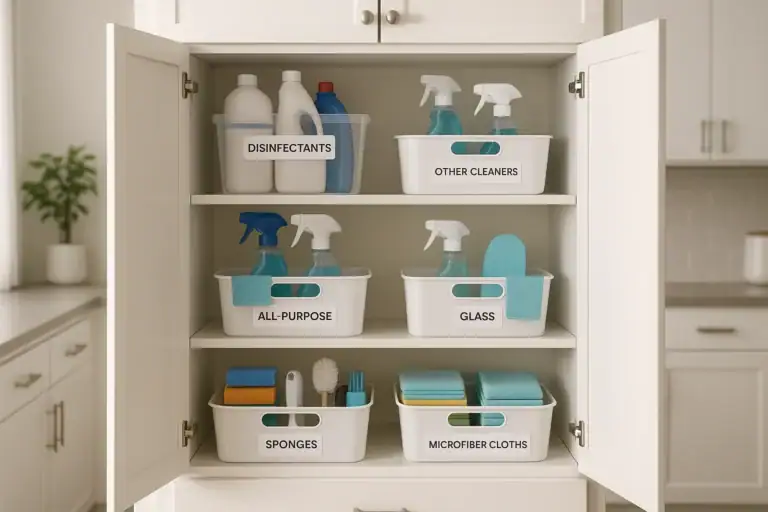
How to Organize Cleaning Supplies for Speed and Safety at Home
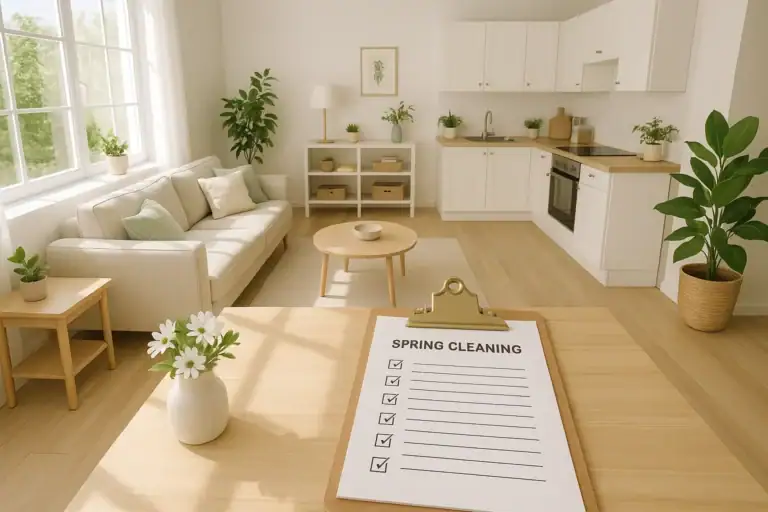
Spring Cleaning Checklist for the Whole Home (Printable Plan)
How to Disinfect Surfaces Safely: What Really Needs It and What Does Not
How to Clean Hardwood Floors Without Ruining the Finish
Best Way to Clean Laminate Floors Without Swelling or Haze
Keep reading
About this site
Signature Home Guide publishes practical, independent home guides. We aim to be clear, helpful, and transparent.
Affiliate disclosure
As an Amazon Associate, we earn from qualifying purchases. Some links on this site may be affiliate links. If you buy through these links, we may earn a small commission at no extra cost to you. This helps support our content. Learn more.