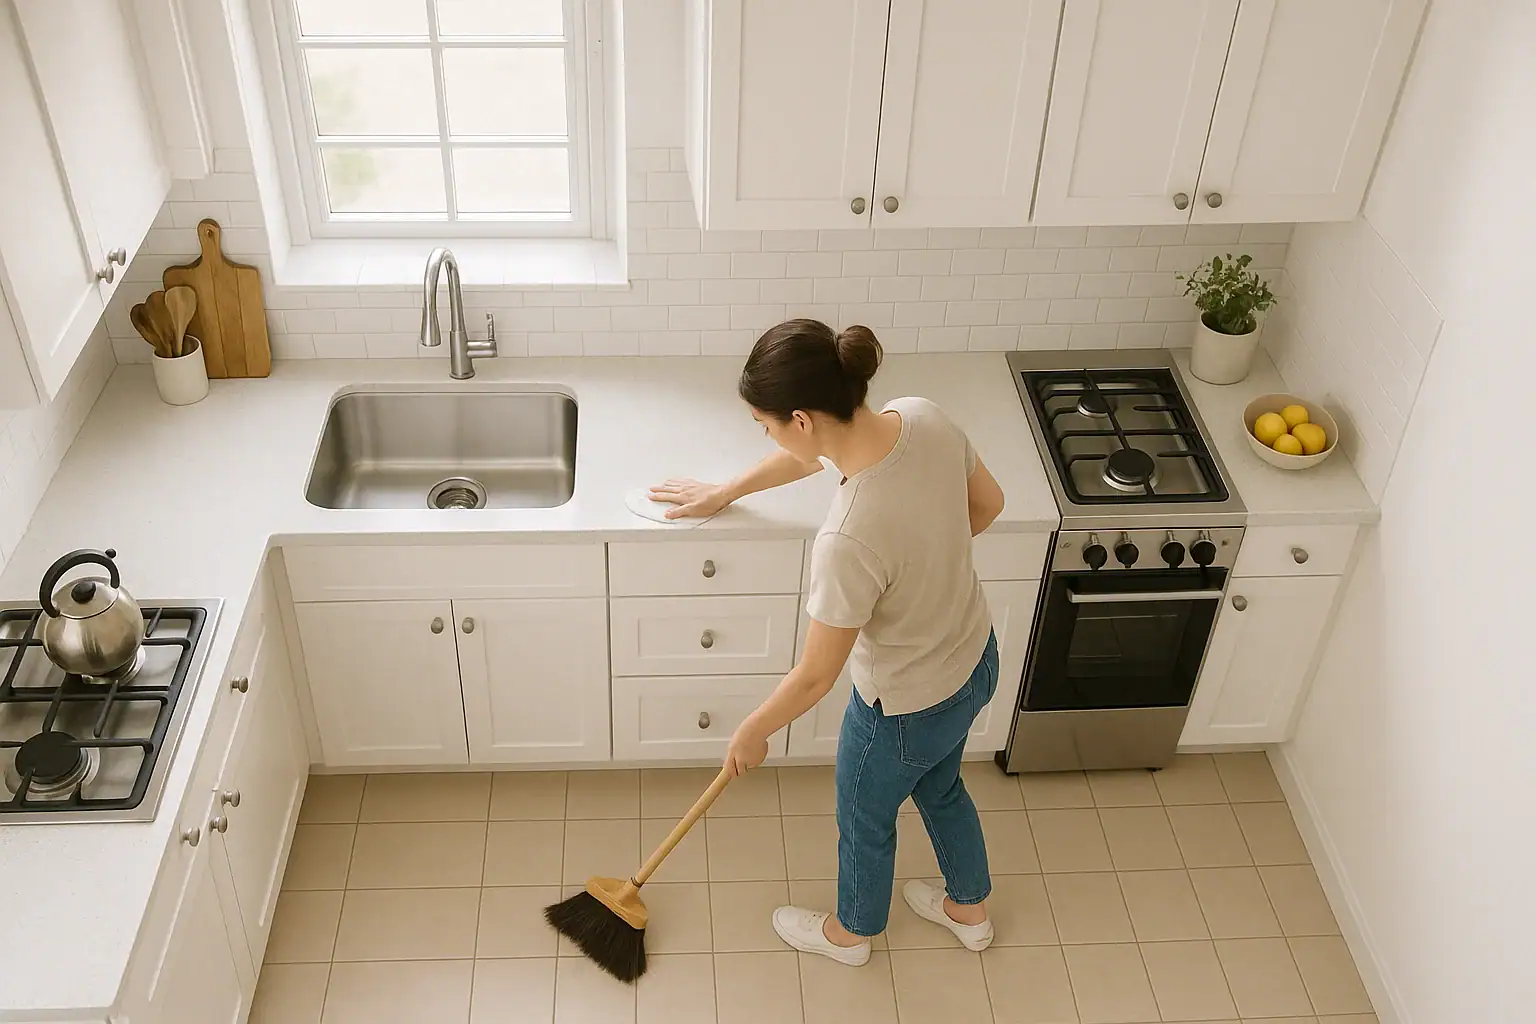
If your kitchen feels grimy, cluttered, or just a little out of control, you do not need an entire weekend to get it back in shape. With a focused plan and a timer, you can deep clean your kitchen in about 60 minutes. This step-by-step guide walks you through exactly what to do, in what order, so you are not wasting time bouncing from task to task. You will clear surfaces, tackle dishes, clean appliances, and sanitize high-touch areas, all in a single, efficient session.
On this page(click to collapse)
- Before You Start: Set Up for a 60-Minute Deep Clean
- Minutes 0–10: Clear Clutter and Reset Surfaces
- Minutes 10–20: Tackle Dishes and Soak Trouble Spots
- Minutes 20–35: Clean Counters, Cabinets, and Small Appliances
- Minutes 35–50: Deep Clean the Stove, Sink, and Microwave
- Minutes 50–60: Finish with Trash, Touch Points, and Floors
- Optional Quick Wins If You Have Extra Time
- How to Keep Your Kitchen Cleaner Between Deep Cleans
- Related guides
This method is perfect for busy households, small spaces, and anyone who wants a fresh, functional kitchen without spending all day scrubbing. You will also find simple tips to stay organized and keep your kitchen cleaner for longer, so each future deep clean feels easier and faster.
Before You Start: Set Up for a 60-Minute Deep Clean
Preparation is what makes a 60-minute deep clean realistic. Spend a few minutes getting ready so you can move quickly once you start the timer.
Gather Your Cleaning Supplies
Have everything in one place to avoid stopping mid-clean. A simple list is enough for most kitchens:
- All-purpose cleaner (safe for your counters and most surfaces)
- Dish soap and hot water
- Glass cleaner or vinegar and water mix
- Degreaser or extra-strength cleaner for the stove area
- Disinfecting wipes or disinfectant spray
- Microfiber cloths or clean rags
- Scrub brush or non-scratch scrub pad
- Paper towels or an old towel for drying
- Trash bags and recycling bin
- Broom and dustpan or vacuum
- Mop or floor cleaning pads
Quick Safety and Comfort Checks
Before you begin, take a moment to make the space safe and comfortable:
- Open a window or turn on a fan for ventilation.
- Put on gloves if you have sensitive skin.
- Wear comfortable shoes to protect your feet from spills or dropped items.
- Turn on bright lights so you can see grime and crumbs clearly.
Set a Timer and Work in Zones
This 60-minute plan is broken into time blocks. You can adjust the times to fit your kitchen size, but try to keep moving and avoid perfectionism. The goal is a thorough reset, not a museum-level shine.
Here is the basic breakdown:
- Minutes 0–10: Clear clutter and start dishes
- Minutes 10–20: Load or wash dishes and soak trouble spots
- Minutes 20–35: Clean countertops, cabinet fronts, and small appliances
- Minutes 35–50: Deep clean the stove, sink, and microwave
- Minutes 50–60: Empty trash, wipe surfaces again, and clean the floor
Minutes 0–10: Clear Clutter and Reset Surfaces
Start by giving yourself a clean slate. You will move quickly and avoid getting stuck on one area.
Step 1: Remove Everything That Does Not Belong
Grab a laundry basket or box and do a fast sweep of the room:
- Collect mail, papers, toys, and random items from counters and table.
- Place them in the basket to sort later in another room.
- Move small appliances you rarely use off the counters if possible.
Do not stop to organize. The goal is to clear visual clutter so you can clean surfaces quickly.
Step 2: Deal with Food and Leftovers
Next, focus on anything that can spoil or attract pests:
- Put away any food that is still out: bread, snacks, produce, and condiments.
- Check the stove and counters for pots and pans with leftovers.
- Transfer leftovers to containers and place them in the refrigerator.
- Toss any food that has clearly gone bad.
Minutes 10–20: Tackle Dishes and Soak Trouble Spots
Getting dishes under control makes the whole kitchen feel cleaner. Use this time to create momentum.
Step 3: Load the Dishwasher or Set Up a Washing Station
Work from largest to smallest items:
- Scrape plates and bowls into the trash or garbage disposal.
- Load the dishwasher with plates, bowls, glasses, and utensils.
- Place heavily soiled pots and pans in the sink to soak in hot, soapy water.
- If you do not have a dishwasher, fill one side of the sink or a large tub with hot, soapy water for washing.
Start the dishwasher now so it can run while you clean the rest of the kitchen.
Step 4: Pre-Treat Greasy and Sticky Areas
While dishes soak, use this time to spray down tough spots so the cleaner can work for you:
- Spray degreaser or all-purpose cleaner on the stovetop and around the burners.
- Spray the inside of the microwave, especially the top and turntable.
- Lightly spray the backsplash behind the stove and sink.
- Spray any sticky cabinet fronts near the stove or handles.
Let these areas sit while you move on. The longer the cleaner sits, the less scrubbing you will need later.
Minutes 20–35: Clean Counters, Cabinets, and Small Appliances
Now that surfaces are cleared and pre-treated, you can move through the room in a logical order: top to bottom and cleanest to dirtiest.
Step 5: Wipe Down Countertops and Backsplash
Start with the counters since they take up the most visual space:
- Remove any remaining items from the counters and group them together.
- Spray all countertops with all-purpose cleaner.
- Wipe in small sections using a microfiber cloth, pulling crumbs toward you and into your hand.
- Pay special attention to corners, seams, and edges near the sink and stove.
- Wipe the backsplash, especially behind the stove where grease splatters.
Step 6: Clean Cabinet Fronts and Handles
Cabinet doors and handles collect fingerprints, grease, and food splatters. A quick pass makes a big difference:
- Lightly spray a cloth with cleaner instead of spraying directly on wood.
- Wipe around handles, edges, and any visible spots or drips.
- For greasy areas, use a bit of warm, soapy water and then dry with a clean cloth.
- Do the same for drawers and any open shelving edges.
Step 7: Wipe Down Small Appliances
Focus on the items that live on your counters and are used most often:
- Unplug small appliances before cleaning.
- Wipe the exterior of the toaster, blender, coffee maker, and similar items.
- Shake crumbs from toaster trays into the trash and wipe the outside.
- Clean any sticky buttons or knobs with a slightly damp cloth.
Return only the items you truly use daily to the counter. If you have a minute, move rarely used appliances to a cabinet to free up workspace.
Minutes 35–50: Deep Clean the Stove, Sink, and Microwave
This is where your kitchen will start to feel truly deep cleaned. Focus on the areas that collect the most grease and grime.
Step 8: Clean the Stove and Oven Door
By now, the cleaner you sprayed earlier has had time to loosen buildup.
- Remove burner grates and knobs if they come off easily, and place them in hot, soapy water.
- Use a non-scratch scrub pad to clean the stovetop, working from back to front.
- Wipe away loosened grease and cleaner with a damp cloth, rinsing as needed.
- Clean the control panel gently with a lightly damp cloth.
- Wipe down the oven door, focusing on the handle and any splatters on the glass.
If you have extra time, you can quickly wipe the inside of the oven door and any visible spills, but do not get stuck deep cleaning the entire oven during this 60-minute session.
Step 9: Deep Clean the Sink and Faucet
The sink is one of the most-used spots in the kitchen and can hold odors and stains.
- Remove any dishes still soaking and either load them into the dishwasher or wash and rinse them quickly.
- Rinse the sink to remove food bits and soap.
- Sprinkle a gentle abrasive cleaner or baking soda around the sink basin.
- Scrub the basin, drain area, and around the faucet base with a scrub brush or cloth.
- Rinse thoroughly with hot water.
- Wipe the faucet and handles until they shine, paying attention to the back and underside where grime collects.
Step 10: Refresh the Microwave Inside and Out
The microwave often holds splatters and odors that build up over time.
- Remove the turntable and wash it in hot, soapy water or place it in the dishwasher.
- Use a damp cloth to wipe the inside top, sides, and bottom, focusing on any stuck-on spots that have been soaking in cleaner.
- For stubborn food, apply a bit more cleaner or use a warm, damp cloth pressed against the spot for a few seconds before wiping.
- Wipe the microwave door, handle, and control panel.
- Dry the turntable and place it back inside.
Minutes 50–60: Finish with Trash, Touch Points, and Floors
The final ten minutes are about making the kitchen feel truly finished. You will remove odors, sanitize high-touch areas, and give the floor a quick but effective clean.
Step 11: Empty Trash and Recycling
Trash and recycling can hold smells and make a clean kitchen feel dirty.
- Tie up the trash bag and remove it from the kitchen.
- Empty recycling into the main bin and wipe any sticky residue from the container.
- If you have a minute, quickly wipe the inside and outside of the trash can with disinfectant and let it dry before adding a new bag.
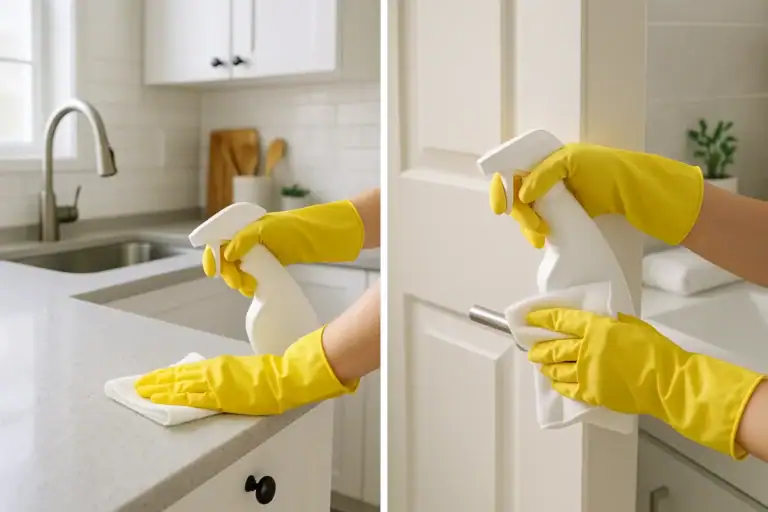
Step 12: Sanitize High-Touch Areas
These small details make a big difference in both cleanliness and hygiene:
- Use disinfecting wipes or spray on a cloth to wipe:
- Cabinet and drawer handles
- Refrigerator and freezer handles
- Microwave and oven handles
- Light switches and outlet covers
- Door knobs and pantry handles
Let these surfaces air dry so the disinfectant has time to work.
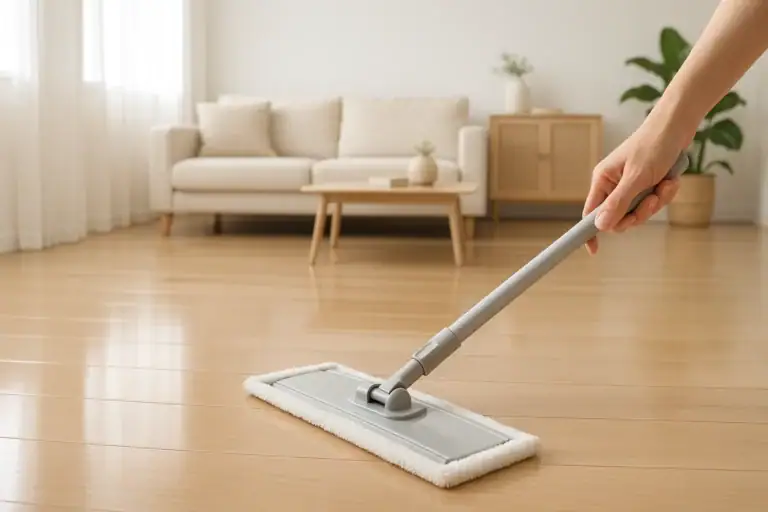
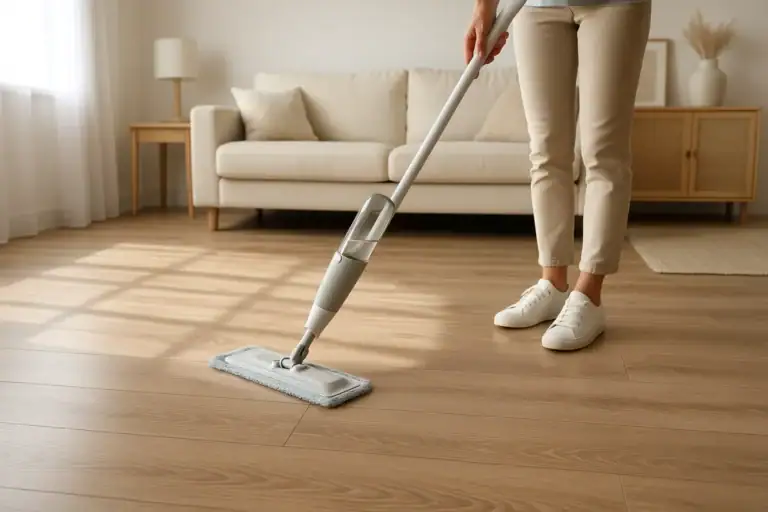
Step 13: Sweep and Mop the Floor
Finish with the floor so you are not tracking crumbs over clean surfaces.
- Start by sweeping or vacuuming from the farthest corner of the kitchen toward the door.
- Pay attention to edges along cabinets and under the front of appliances.
- Once crumbs and debris are up, use a mop or floor cleaning pads for a quick pass.
- Focus on visible spills, sticky spots, and high-traffic areas.
Allow the floor to dry for a few minutes before walking on it as much as possible.
Optional Quick Wins If You Have Extra Time
If your kitchen is small or you move quickly, you may finish early. Use any extra minutes for bonus tasks that keep your space organized.
- Wipe the top of the refrigerator, which often collects dust and grease.
- Sort one drawer, such as utensils or a junk drawer.
- Quickly organize one cabinet, grouping similar items together.
- Check expiration dates on a few items in the refrigerator door.
- Fold and refresh dish towels, replacing any that are stained or worn.
How to Keep Your Kitchen Cleaner Between Deep Cleans
A 60-minute deep clean is easier when you maintain a few daily habits. These simple routines help you stay ahead of mess and clutter.
Daily Habits That Take 10 Minutes or Less
- Run and empty the dishwasher once a day, if possible.
- Do a quick counter wipe after dinner, including the stove area.
- Rinse the sink and wipe the faucet every night.
- Take out trash and recycling before it overflows.
- Put away items that do not belong in the kitchen.
Weekly Tasks to Support Your 60-Minute Deep Clean
- Wipe the inside of the refrigerator door and clean up any spills.
- Dust light fixtures and the tops of cabinets if they are exposed.
- Vacuum under movable rugs or mats and wash them as needed.
- Check pantry shelves for open packages and crumbs.
By pairing small daily habits with a focused 60-minute deep clean, you can keep your kitchen looking and feeling fresh without constant effort. Over time, this routine becomes easier, and your kitchen stays ready for cooking, gathering, and everyday life.
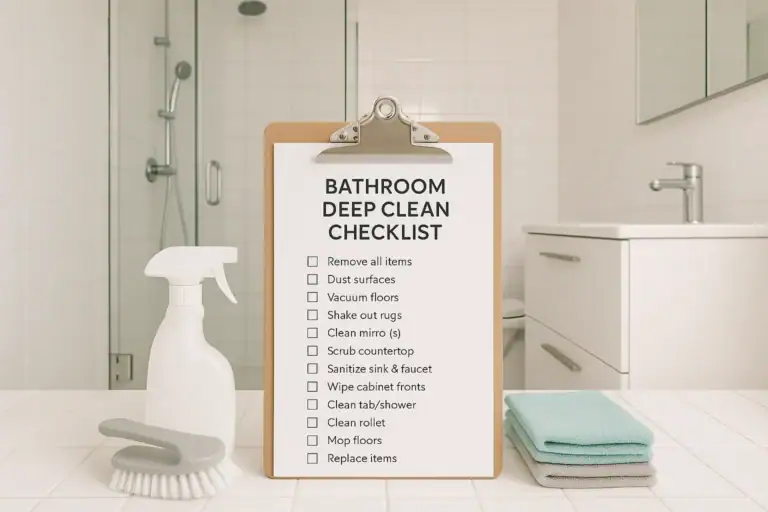
If you want to build a full home routine, consider creating similar timed sessions for other spaces, such as bathrooms or entryways, and linking them together into a weekly cleaning and organization plan.
Related posts
Browse this topic →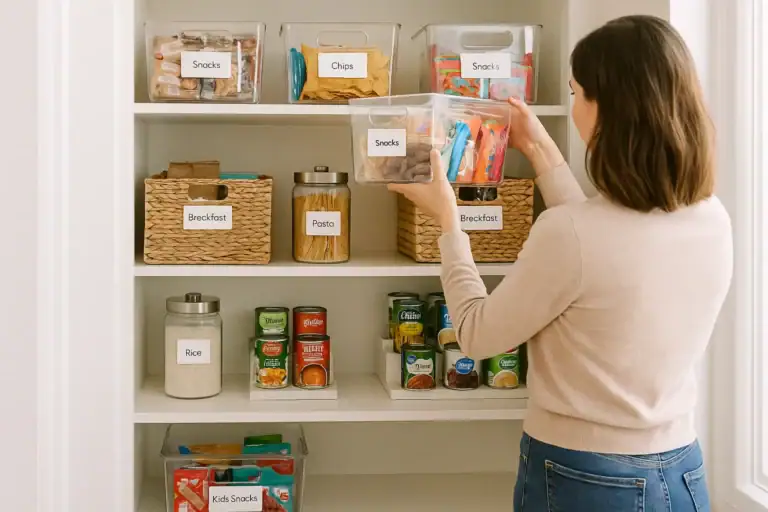
Pantry Organization Basics: Zones, Labels, and a Simple Maintenance Routine
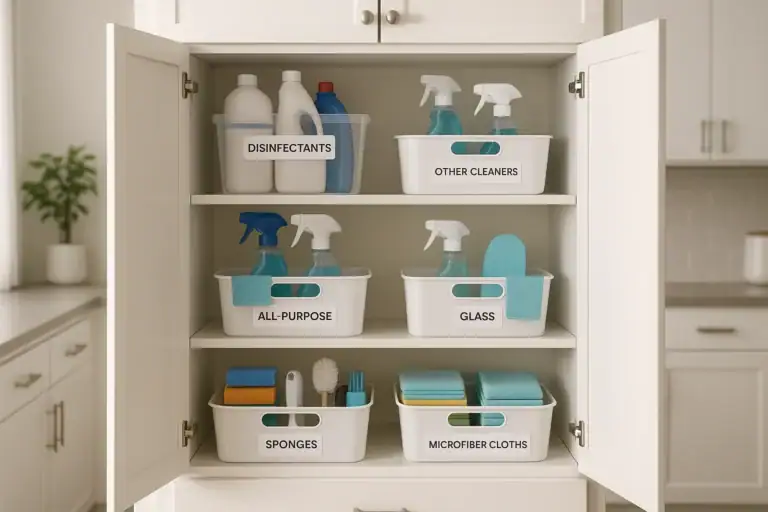
How to Organize Cleaning Supplies for Speed and Safety at Home
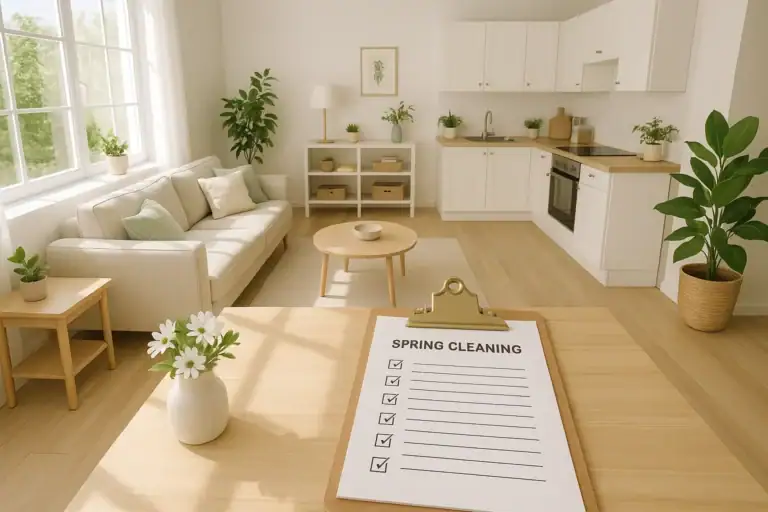
Spring Cleaning Checklist for the Whole Home (Printable Plan)
How to Disinfect Surfaces Safely: What Really Needs It and What Does Not
How to Clean Hardwood Floors Without Ruining the Finish
Best Way to Clean Laminate Floors Without Swelling or Haze
Keep reading

About this site
Signature Home Guide publishes practical, independent home guides. We aim to be clear, helpful, and transparent.
Affiliate disclosure
As an Amazon Associate, we earn from qualifying purchases. Some links on this site may be affiliate links. If you buy through these links, we may earn a small commission at no extra cost to you. This helps support our content. Learn more.