Cables and chargers seem to multiply overnight. Phone chargers, laptop cords, game console cables, speaker wires, camera chargers, and more can quickly turn into a tangled mess. Besides looking cluttered, loose cords can be a tripping hazard, collect dust, and even get damaged or lost when you need them most. With a simple, practical system, you can keep every cable tidy, safe, and searchable without spending a lot of money or time.
On this page(click to collapse)
- Step 1: Gather Every Cable and Charger in One Place
- Step 2: Sort, Test, and Declutter Your Cables
- Step 3: Create Simple Categories That Make Sense to You
- Step 4: Choose Storage Solutions for Cables and Chargers
- Step 5: Wrap and Secure Cables to Prevent Tangles
- Step 6: Label Everything So It Is Searchable
- Step 7: Organize Cables Around Your Desk
- Step 8: Tidy Cables Around the TV and Entertainment Center
- Step 9: Create a Travel-Ready Cable Kit
- Step 10: Keep Cables Safe and Extend Their Lifespan
- Step 11: Maintain Your System with Small Habits
- Where to Store Cables in Your Home
- Bringing It All Together
- Related guides
This guide walks you through how to organize cables and chargers step by step. You will sort and downsize, choose the right storage, tame cords around your desk and TV, and create a simple labeling system so you can find the right cable in seconds. Use these ideas throughout your home, from the living room and office to bedrooms and travel bags.
Step 1: Gather Every Cable and Charger in One Place
Before you can organize, you need to see exactly what you own. Cables hide in drawers, backpacks, nightstands, and random boxes, so start with a quick sweep of your home.
Where to Look
- Desk drawers and filing cabinets
- TV stand, media console, and gaming area
- Nightstands and bedside tables
- Kitchen junk drawer or command center
- Backpacks, laptop bags, and travel luggage
- Closets, storage bins, and old electronics boxes
Place everything on a large, clear surface such as a dining table or bed. This makes it easier to sort and prevents items from slipping back into hiding.
Step 2: Sort, Test, and Declutter Your Cables
Most homes have far more cables than they actually need. Sorting and decluttering first will save you time and storage space later.
Sort by Type and Purpose
Start by grouping similar items together. You do not need to know every technical term; just sort by what they connect to or how they look.
- Phone and tablet chargers (USB, USB-C, Lightning, micro USB, etc.)
- Laptop chargers and power bricks
- Audio and video cables (HDMI, speaker wires, AUX, optical)
- Computer accessories (keyboard, mouse, printer, monitor cables)
- Camera and gaming cables
- Extension cords and power strips
Test What You Can
If you are unsure whether a cable works, test it with a device you still use. Focus on cables that look worn or that you do not recognize.
- Check for frayed or exposed wires and bent connectors.
- Plug in and confirm that it charges or transmits signal properly.
- Set aside any damaged or unreliable cords to discard responsibly.
Decide What to Keep
To avoid clutter, set simple rules for what stays and what goes.
- Keep: Cables that match devices you currently use, plus a few backups for common items like phone chargers.
- Donate or recycle: Cables for devices you no longer own, duplicates you will never use, and outdated connectors.
- Discard safely: Damaged, frayed, or exposed cords that are no longer safe.
Many local recycling centers and electronics stores accept old cables and chargers. Avoid tossing them in the regular trash whenever possible.
Step 3: Create Simple Categories That Make Sense to You
A tidy system only works if you can remember it. Instead of overcomplicating things, create clear categories based on how you actually use your cables.
Examples of Easy Categories
- Daily use: Phone, tablet, and laptop chargers you reach for every day
- Workstation: Monitor, printer, keyboard, and other desk-related cables
- Entertainment: TV, streaming device, speakers, and gaming cords
- Travel: Compact chargers and cables that live in your travel bag
- Backup and extras: Spare phone cables, extra power bricks, and adapters
- Specialty: Camera cables, external drives, or rarely used connectors
Label each pile with a sticky note or scrap paper as you sort. This makes the next step, storage, much easier.
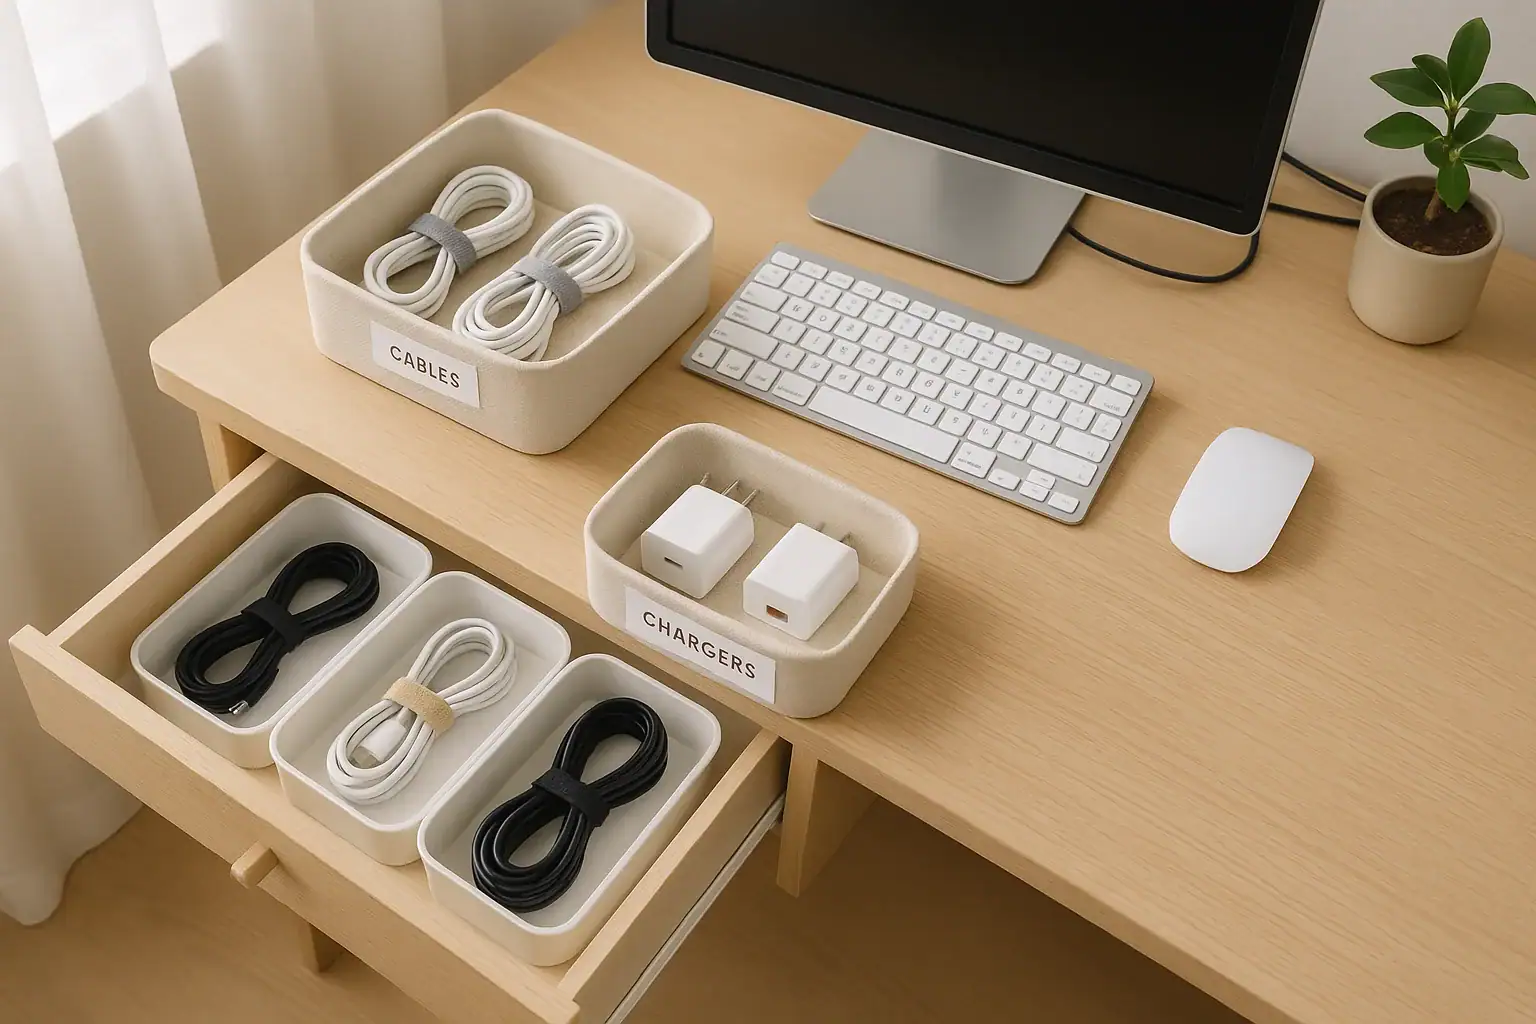
Step 4: Choose Storage Solutions for Cables and Chargers
You do not need expensive organizers to keep cables neat. Use what you already have and add a few low-cost items if needed.
Good Storage Options for Loose Cables
- Small bins or boxes: Ideal for grouping categories like phone chargers or gaming cables.
- Drawer dividers: Keep cords separated in a desk or dresser drawer.
- Zip-top bags or small pouches: Perfect for travel sets or rarely used specialty cables.
- Compartment organizers: Great for tiny items like adapters, memory cards, and dongles.
- Hanging organizers: Use a clear pocket organizer on a closet door for easy visibility.
How to Store Chargers and Power Bricks
Chargers with bulky power bricks can be awkward. Give them a dedicated space so they do not crowd your work surface.
- Store laptop chargers in a labeled bin or file-style upright container.
- Keep one charger at your main workspace and another in a travel bag if you use it often.
- Use cord wraps or simple ties so long cables do not tangle.
Step 5: Wrap and Secure Cables to Prevent Tangles
The way you wrap a cable affects how long it lasts and how easy it is to use later. Neat coils prevent kinks, broken wires, and frustrating knots.
A Simple Way to Coil Cables
- Hold one end of the cable in your hand.
- Loop the cable loosely in circles about the size of your palm.
- Avoid tight bends or sharp angles near the connectors.
- Secure the coil with a small tie, strap, or twist tie.
Low-Cost Ways to Secure Cables
- Reusable hook-and-loop ties
- Small elastic hair ties
- Twist ties from produce bags
- Paper clips or binder clips for thin cords
Use the same type of tie for most of your cables if possible. This gives your storage a clean, consistent look and makes it easier to rewrap cords after use.
Step 6: Label Everything So It Is Searchable
Labeling is the key to a truly searchable system. Clear labels mean you can find the right cable fast and put it back in the correct spot without thinking.
What to Label
- Individual cables: Especially those that look similar but serve different devices
- Storage containers: Bins, boxes, and drawers where cables live
- Power bricks: Laptop and camera chargers that are easy to mix up
Easy Labeling Methods
- Write on small pieces of masking tape and wrap near the connector.
- Use pre-cut label stickers and a pen or marker.
- Color-code with different colored tape for categories (for example, blue for work, red for entertainment).
Label Ideas That Work Well
Keep labels short but specific enough to be useful.
- “Phone charger – bedroom”
- “Laptop charger – work”
- “Camera USB”
- “HDMI – living room TV”
- “Travel set – phone + tablet”
Step 7: Organize Cables Around Your Desk
Workspaces often have the most visible cable clutter. A few simple changes can make your desk feel cleaner and safer.
Plan Your Desk Layout First
Before you attach anything, decide where your main items will sit:
- Monitor or laptop
- Keyboard and mouse
- Docking station, speakers, or external drives
- Desk lamp or phone charging stand
Place these items where they are comfortable to use, then route cables along the shortest, neatest path.
Desk Cable Management Ideas
- Use clips or adhesive hooks: Attach them to the back or underside of the desk to guide cables.
- Bundle similar cords together: For example, group monitor, keyboard, and mouse cables into one bundle going down the back of the desk.
- Mount a power strip: Secure a power strip under the desk or on the wall so cords do not dangle to the floor.
- Leave some slack: Allow a little extra length near devices so you can move them without pulling on the cords.
Step 8: Tidy Cables Around the TV and Entertainment Center
The TV area is another hot spot for tangled cords. Game consoles, streaming devices, speakers, and sound systems all add up.
Map Out Your Connections
Start by unplugging one device at a time and labeling its cable. This prevents confusion later.
- Label each HDMI cable with the device name.
- Label speaker wires by location (front left, front right, etc.).
- Label power cords for each device if they look similar.
Hide and Protect Cables
- Use cord channels or covers: Run cables along the wall inside a simple cover to keep them out of sight.
- Bundle by direction: Group cables that go to the same side of the TV stand.
- Keep outlets accessible: Do not block power outlets or surge protectors behind heavy furniture.
- Consider safety: Make sure cords are not stretched tight across walkways or under rocking furniture.
Step 9: Create a Travel-Ready Cable Kit
Travel is easier when you have a dedicated set of chargers and cables ready to grab. This also prevents you from constantly unplugging items from your home setup.
What to Include in a Travel Kit
- Phone charging cable and wall plug
- Tablet or e-reader cable
- Compact power strip or small extension cord
- Charging cable for wireless headphones or watch
- Any special connectors you use for work or school
How to Store Travel Cables
- Use a small zippered pouch or case that lives in your suitcase or backpack.
- Keep cables coiled and tied so they do not knot together.
- Label the pouch clearly, such as “Travel chargers”, so it is easy to spot when packing.
Step 10: Keep Cables Safe and Extend Their Lifespan
Organizing cables is not just about appearance. Proper storage and handling can prevent damage, reduce fire risks, and save you money on replacements.
Safety Tips for Cables and Chargers
- Do not use cords with exposed wires, melted insulation, or loose plugs.
- Avoid running cords under rugs or heavy furniture where they can overheat or get pinched.
- Use surge protectors for sensitive electronics like computers and TVs.
- Unplug chargers that are not in use for long periods.
- Keep cords away from heat sources and moisture.
How to Make Cables Last Longer
- Pull plugs out by the head, not by yanking the cord.
- Avoid tight bends, especially near the connector ends.
- Store cables loosely coiled instead of folded sharply.
- Keep cables out of reach of pets that might chew on them.
Step 11: Maintain Your System with Small Habits
Once everything is organized, a few simple habits will keep it that way. The goal is to avoid slipping back into a drawer full of mystery cords.
Daily and Weekly Habits
- Return cables to their labeled bin or drawer after use.
- Rewrap and secure cords instead of stuffing them into a space.
- Do a quick visual check of your desk and TV area each week.
Seasonal Checkups
Every few months, take 10–15 minutes to review your cable storage:
- Remove cords you no longer use.
- Update labels if you have changed devices or rearranged rooms.
- Test any cables you are unsure about.
These small checkups prevent clutter from building back up and keep your system working smoothly.
Where to Store Cables in Your Home
Finally, decide where each category of cable and charger will live. Aim for locations that match how and where you use your devices.
Smart Storage Spots
- Entry or kitchen area: A small charging station for phones and tablets used by the whole household.
- Home office or desk: Work-related chargers, computer accessories, and backup cables.
- Living room: Entertainment and gaming cables, neatly stored near the TV.
- Bedrooms: One or two labeled chargers per person, plus a small bin for extras.
- Closet or storage shelf: Rarely used specialty cables and backups, clearly labeled.
For more cleaning and organization ideas for every room, you can explore additional guides and tips at Signature Home Guide's cleaning and organization hub.
Related posts
Browse this topic →
How to Clean Blinds and Curtains Without Taking Them Down
How to Clean Windows Fast Without Streaks: Tools and Technique
Entryway Organization: A Simple System to Stop Clutter at the Door

Closet Organization for Small Spaces: A Simple Capsule Approach
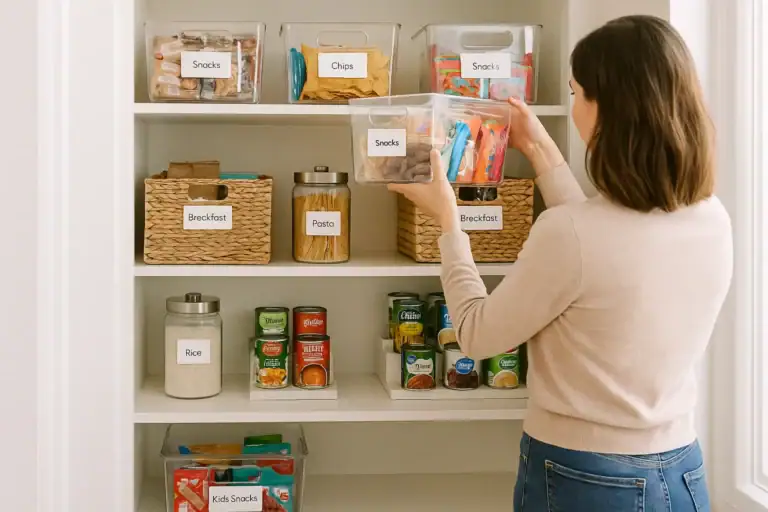
Pantry Organization Basics: Zones, Labels, and a Simple Maintenance Routine
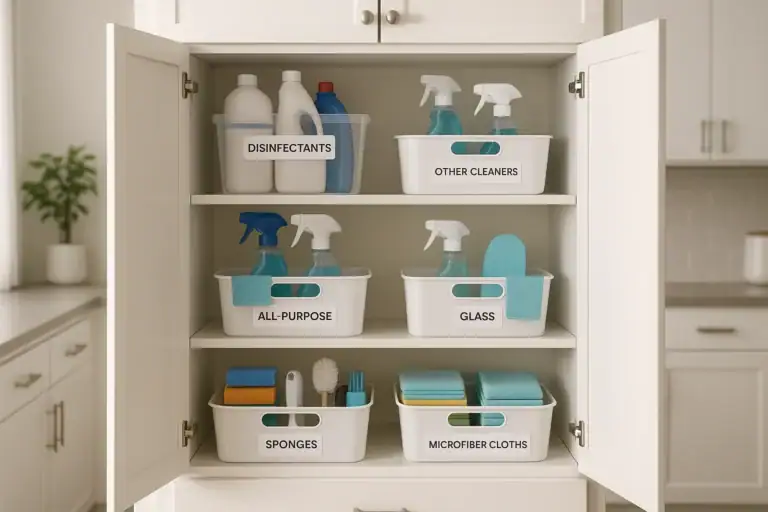
How to Organize Cleaning Supplies for Speed and Safety at Home
Keep reading
About this site
Signature Home Guide publishes practical, independent home guides. We aim to be clear, helpful, and transparent.
Affiliate disclosure
As an Amazon Associate, we earn from qualifying purchases. Some links on this site may be affiliate links. If you buy through these links, we may earn a small commission at no extra cost to you. This helps support our content. Learn more.