Door and window sensors are some of the simplest and most effective tools for protecting your home. They let you know when a door or window opens unexpectedly, helping you respond quickly to possible intrusions. But when those sensors trigger over and over for no good reason, they can become more annoying than helpful. Frequent false alarms can disturb your sleep, upset neighbors, and even cause you to ignore alerts when they really matter. The good news is that most false alarms are fixable with a few careful adjustments.
On this page(click to collapse)
- How Door and Window Sensors Work
- Common Causes of False Alarms on Door and Window Sensors
- Step-by-Step Checklist to Reduce False Alarms
- Special Tips for Different Types of Sensors
- How to Test Your System After Making Changes
- When to Consider Upgrading or Replacing Sensors
- Balancing Security and Convenience
- Simple Maintenance Routine to Prevent Future False Alarms
- Key Takeaways
- Related guides
This guide explains how door and window sensors work, why they trigger when they should not, and what you can do to reduce false alarms. You will learn how to inspect and adjust your sensors, improve placement, fine-tune settings, and build better habits so your system stays reliable. Whether you are new to home security or fine-tuning an existing setup, these steps can help you keep your home safe without the constant beeping and notifications.
How Door and Window Sensors Work
Understanding the basics of how your sensors work makes it easier to solve false alarm problems. Most door and window sensors fall into one of two main types:
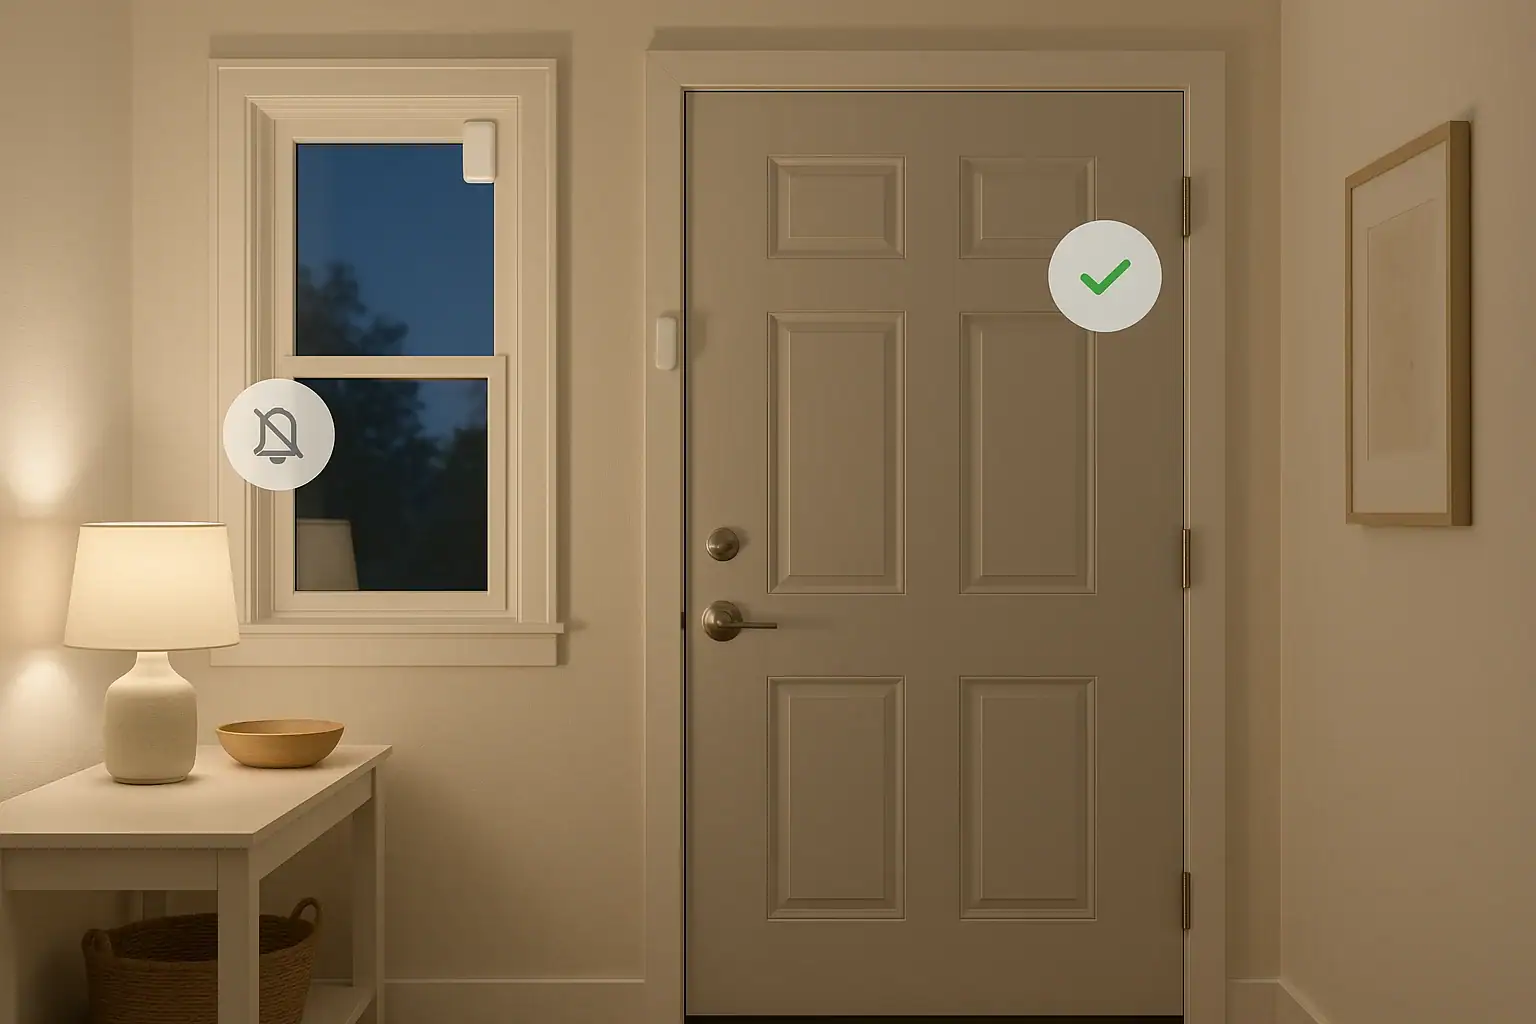
- Contact sensors: These use two parts, usually a sensor body and a magnet. When the door or window is closed, the two pieces line up and the circuit is considered closed. When the door or window opens and the pieces separate, the sensor sends an open alert.
- Vibration or shock sensors: These detect impact or vibration on the frame or glass. They can alert you if someone tries to break or force open a window or door, even if it does not fully open.
False alarms happen when the sensor thinks a door or window has opened or been disturbed when it actually has not. That can be caused by movement, temperature changes, loose parts, or incorrect settings. Once you recognize which type of sensor you have and how it is supposed to behave, you can troubleshoot more effectively.
Common Causes of False Alarms on Door and Window Sensors
Most false alarms come down to a few common issues. Identifying which one applies to your home is the first step to fixing the problem.
1. Misalignment of the Sensor and Magnet
For contact sensors, the sensor body and magnet must be close and properly aligned when the door or window is closed. Over time, doors can sag, frames can shift, or adhesive pads can loosen, causing the pieces to drift apart.
Signs of misalignment include:
- The sensor reports open even when the door or window is fully closed
- Alarms trigger when the door is gently bumped but not opened
- The system shows rapid open/close notifications in your app or panel
2. Loose or Worn Mounting Hardware
Sensors that are not firmly attached can move slightly when a door slams, when the wind blows, or when someone walks by. Even tiny movements can be enough to trigger an alert.
This is especially common when sensors are attached with old adhesive pads, thin tape, or screws that have loosened over time.
3. Drafts, Temperature Swings, and Warping
Doors and windows expand and contract with temperature and humidity changes. In some homes, this can cause frames to warp slightly or move just enough to separate the sensor and magnet.
Drafty doors, attic access panels, and older wood windows are especially prone to this issue. You might notice more false alarms during very hot or very cold weather.
4. Pets, Kids, and Everyday Activity
In busy homes, sensors can be triggered by daily life. Common examples include:
- Pets jumping on doors or window sills
- Children slamming doors or leaning on windows
- Heavy footsteps or roughhousing near sensitive sensors
Vibration or shock sensors are particularly sensitive to this kind of movement.
5. Low Batteries or Power Issues
Low or failing batteries can cause sensors to behave unpredictably. Some may send repeated open/close signals or drop in and out of communication with your hub or panel, leading to nuisance alerts.
6. Wireless Interference and Weak Signal
Many sensors communicate wirelessly with a central hub or control panel. Thick walls, metal doors, appliances, or electronics can interfere with the signal. When communication is unstable, your system may interpret it as a problem and trigger a trouble alert or false alarm.
7. Incorrect System Settings
Sometimes the issue is not the sensor itself but how your system is configured. Examples include:
- Doors set to trigger a full alarm when they should be on entry delay
- Windows set as instant alarms in rooms that are frequently opened
- Vibration sensors set to the highest sensitivity in high-traffic areas
Step-by-Step Checklist to Reduce False Alarms
Use this practical checklist to reduce false alarms on your door and window sensors. Work through the steps in order for the best results.
Step 1: Inspect Physical Placement and Alignment
Start with a close visual inspection of each problem sensor.
- Check the gap: Close the door or window fully and look at the distance between the sensor and magnet. They should be close and parallel, not twisted or offset.
- Test by hand: Gently press or pull on the door or window without opening it. If the sensor triggers, the alignment is likely too sensitive or the gap is too wide.
- Reposition if needed: If the pieces are not aligned, carefully remove and remount them so they line up better when closed.
Step 2: Secure the Sensor Mounting
Once alignment looks good, make sure everything is firmly attached.
- Tighten any loose screws in the sensor or magnet base.
- If adhesive pads are old or peeling, replace them with new, high-quality mounting tape designed for the surface.
- Avoid mounting sensors on surfaces that flex or move, such as thin trim that bends when the door closes.
After securing the sensor, close the door or window several times to confirm it does not shift out of place.
Step 3: Address Drafts and Frame Movement
If your doors or windows move with temperature changes or drafts, consider small adjustments that stabilize them.
- Add or replace weatherstripping to reduce rattling and movement in the frame.
- Use door stops or soft-close hardware to prevent slamming.
- If a door or window is badly warped or loose, consider minor repairs or adjustments to hinges and latches.
Once the frame is more stable, your sensor will be less likely to trigger from tiny shifts.
Step 4: Adjust Sensor Sensitivity and Zone Type
Many systems allow you to customize how each sensor behaves. Log in to your control panel or app and review the settings for each problem sensor.
Consider these adjustments:
- Zone type: Set main entry doors to an entry/exit delay zone so you have time to disarm the system without triggering an instant alarm.
- Interior vs. perimeter: Windows that are often opened during the day can be set to trigger only when the system is in a specific mode, such as away, to reduce unwanted alerts.
- Sensitivity: For vibration or shock sensors, reduce sensitivity if they trigger from normal household movement.
After changing settings, test each sensor by opening and closing the door or window to confirm the behavior matches your expectations.
Step 5: Replace Weak Batteries
Even if your system does not show a low-battery warning, older batteries can cause inconsistent performance.
- Check the installation date if you have it recorded. If it has been more than a year or two, consider replacing the batteries.
- Use fresh, high-quality batteries of the correct type recommended for your sensor.
- After replacement, test the sensor and confirm that it reports correctly in your app or panel.
Step 6: Improve Wireless Signal Strength
If your sensors are far from the hub or separated by thick walls, signal issues can contribute to false alarms or trouble alerts.
- Move the hub or control panel to a more central location in your home if possible.
- Avoid placing the hub inside cabinets, behind large metal objects, or directly next to large appliances.
- For distant sensors, consider adding a compatible range extender or relocating the sensor slightly closer to the hub.
Step 7: Create Household Habits That Support the System
Technology can only do so much if daily habits work against it. Talk with everyone in your household about how to help reduce false alarms.
- Ask family members to avoid slamming doors and windows.
- Keep pets away from doors and windows that have highly sensitive sensors, especially at night.
- Make a simple routine for arming and disarming the system so doors are not opened while the alarm is active by accident.
Special Tips for Different Types of Sensors
Tips for Contact Sensors
Contact sensors are the most common and usually the easiest to manage. To keep them reliable:
- Mount the magnet on the moving part (door or window) and the sensor body on the frame, unless your instructions say otherwise.
- Keep the gap between the two pieces as small as recommended, usually just a fraction of an inch.
- Clean the area before mounting so the adhesive sticks well and does not loosen over time.
- Label each sensor zone clearly in your app or panel so you can quickly identify which one is causing an issue.
Tips for Vibration or Shock Sensors
These sensors are more sensitive and may require extra fine-tuning.
- Start with a medium sensitivity setting and test by gently tapping the window or door frame.
- If normal activities like walking nearby or closing other doors trigger the sensor, lower the sensitivity.
- Mount the sensor firmly on a solid part of the frame, not on thin glass or flexible trim.
- Consider using these sensors only on doors or windows that are higher risk, such as basement windows or less visible entry points.
How to Test Your System After Making Changes
After you adjust sensors, it is important to test the system thoroughly. This helps you confirm that you have reduced false alarms without weakening your security.
- Use test mode if available: Many systems offer a test mode that lets you trigger sensors without sounding a full alarm. Enable this mode before testing.
- Check each sensor one by one: Open and close each door and window with a sensor. Confirm that the system registers the correct action and that notifications look right in your app.
- Simulate normal activity: Walk, close doors, and move around the home as you normally would. Watch for any unexpected alerts.
- Review event history: After a day or two, review your system history to see if false alarms have stopped or decreased.
When to Consider Upgrading or Replacing Sensors
Even with careful adjustments, some sensors may continue to cause problems. In those cases, replacement or upgrades may be worth considering.
You may want to replace a sensor if:
- It is physically damaged or cracked
- It continues to misreport open/close status after alignment and battery replacement
- It frequently drops offline while other nearby sensors work fine
Upgrading your system can also bring benefits such as better wireless range, more flexible settings, and clearer app notifications. Look for features like adjustable sensitivity, detailed zone naming, and easy test modes when choosing new equipment.
Balancing Security and Convenience
The goal is not to silence your system but to make it smarter. A well-tuned setup alerts you to real threats without constantly interrupting your day. As you work through these steps, keep the balance between security and convenience in mind.
Ask yourself:
- Which doors and windows truly need instant alerts, and which can have a delay?
- Are there windows that are rarely opened and could be monitored more aggressively?
- Are there areas where a different type of sensor, such as motion detection, might work better than a window sensor?
Simple Maintenance Routine to Prevent Future False Alarms
Once your sensors are working smoothly, a little routine maintenance can help keep them that way.
- Quarterly visual check: Walk through your home and quickly inspect each sensor for loose mounts, damage, or misalignment.
- Annual battery review: Replace older batteries before they fail, especially in sensors that protect key entry points.
- Seasonal adjustments: During extreme weather, pay extra attention to doors and windows that tend to swell or shrink.
- Update zone labels: If you move sensors or change doors and windows, update their names in your system so you always know which one is alerting.
Key Takeaways
False alarms on door and window sensors are frustrating, but they are usually fixable. By focusing on placement, alignment, secure mounting, correct settings, good batteries, and strong wireless connections, you can dramatically reduce nuisance alerts. Combine that with simple household habits and occasional maintenance, and your sensors will do what they are meant to do: quietly protect your home and only call attention to themselves when it truly matters.
If you want to explore more ways to make your home safer and smarter, you can continue learning about smart home and safety strategies, including how to integrate sensors with lighting, cameras, and other devices for a more complete security picture.
Related posts
Browse this topic →
Smart Air Quality Alerts: How to Set Thresholds That Make Sense
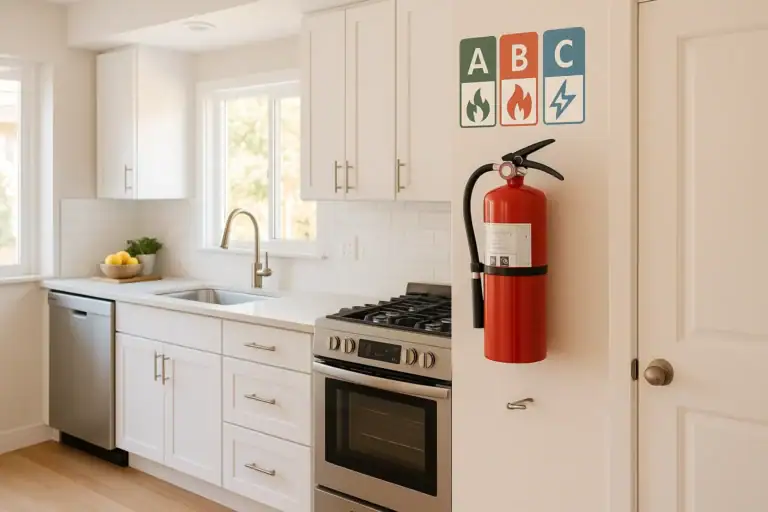
How to Choose a Fire Extinguisher for the Kitchen (Classes Explained)

Emergency Kit for Apartments: Closet-Friendly Essentials for Small Spaces

Home Fire Escape Plan: Map, Meeting Point, and Practice Checklist
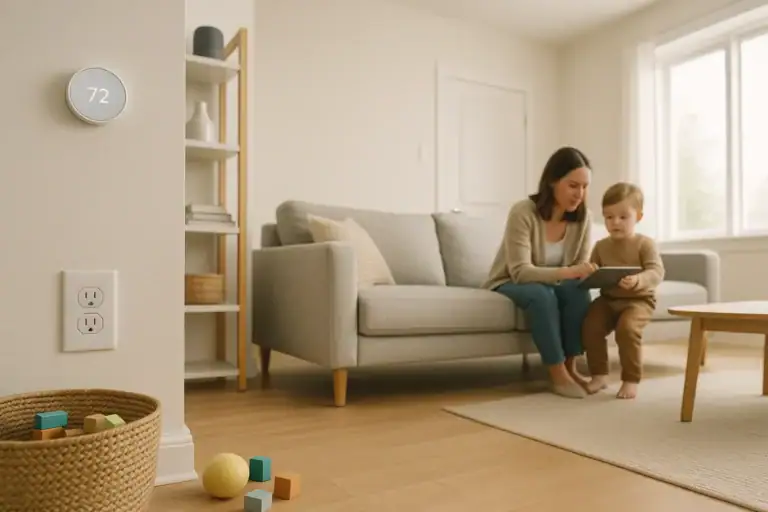
Childproofing the Smart Home: Settings and Physical Safety Tips
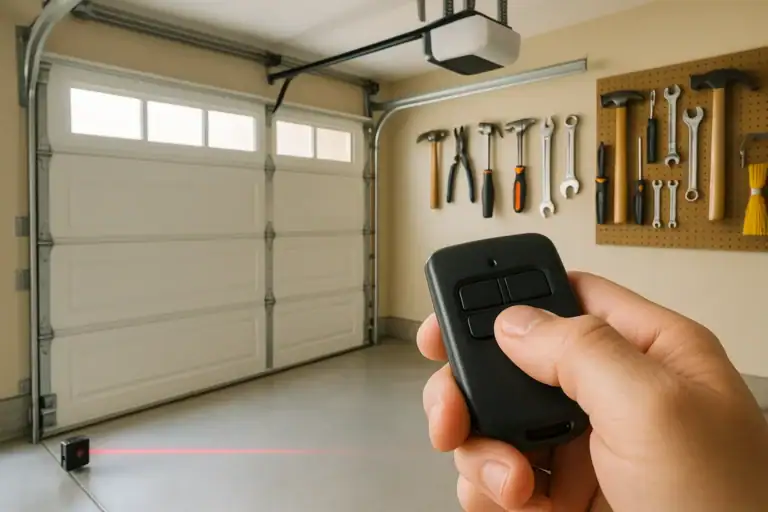
Garage Door Safety: Sensors, Remotes, and Common Failure Fixes
Keep reading


About this site
Signature Home Guide publishes practical, independent home guides. We aim to be clear, helpful, and transparent.
Affiliate disclosure
As an Amazon Associate, we earn from qualifying purchases. Some links on this site may be affiliate links. If you buy through these links, we may earn a small commission at no extra cost to you. This helps support our content. Learn more.