A sharp kitchen knife makes cooking easier, faster, and much safer. Dull knives slip, crush food instead of slicing it, and force you to use more pressure, which increases the risk of cuts. The good news is you can sharpen your kitchen knives at home with a simple method and basic tools. You do not need expensive equipment or advanced skills to restore a clean, sharp edge. With a little patience, the right technique, and a focus on safety, you can keep your knives in good condition and enjoy smoother, more controlled cutting every day.
On this page(click to collapse)
- Sharpening vs. Honing: Know the Difference
- Tools You Need for a Simple At-Home Sharpening Method
- Safety First: How to Protect Your Hands and Countertop
- Simple Method: How to Sharpen a Knife with a Stone
- Alternative: Simple Method with a Pull-Through Sharpener
- How to Check If Your Knife Is Sharp (Safely)
- Using a Honing Rod to Maintain Your Edge
- How Often Should You Sharpen Kitchen Knives?
- Common Mistakes to Avoid When Sharpening at Home
- Everyday Habits to Keep Knives Sharper Longer
- Putting It All Together
- Related guides
This guide walks you through a straightforward way to sharpen kitchen knives at home, explains how sharpening actually works, and shows you how to handle your tools safely. You will also learn how to maintain that sharp edge longer with a few easy habits. Whether you are new to sharpening or just want a reliable routine, these steps will help you get better performance from the knives you already own.
Sharpening vs. Honing: Know the Difference
People often use the words “sharpening” and “honing” as if they mean the same thing, but they do not. Understanding the difference helps you care for your knives correctly.
What sharpening does
Sharpening removes a small amount of metal from the blade to create a new, clean edge. When a knife is truly dull, sharpening is what restores its cutting power. This is usually done with an abrasive surface such as a stone or a pull-through sharpener.
- Removes metal from the blade
- Repairs chips and flat spots on the edge
- Should be done only when needed, not every day
What honing does
Honing straightens the edge without removing much metal. During normal use, the very thin edge of the knife bends slightly. A honing rod (often called a steel) realigns that edge.
- Realigns the existing edge
- Does not truly sharpen a very dull knife
- Can be done frequently to maintain sharpness
In this guide, the focus is on sharpening: how to bring a dull knife back to life using a simple, safe method at home.
Tools You Need for a Simple At-Home Sharpening Method
You do not need a full workshop to sharpen knives at home. A few basic tools are enough. Choose the option that feels easiest and safest for you.
Option 1: Basic sharpening stone (recommended)
A sharpening stone is one of the most effective and flexible tools for home sharpening. Many stones have two sides: a coarse side to reshape the edge and a finer side to polish it.
Look for:
- A stone with a coarse side (around 400–800 grit) and a fine side (1000–3000 grit)
- A non-slip base or mat to keep the stone from sliding
- Instructions indicating whether it is used with water or oil
Option 2: Simple pull-through manual sharpener
A pull-through sharpener is easier for beginners because it guides the angle for you. It usually has at least two slots: one for sharpening and one for refining or honing.
Choose one that:
- Feels stable on your countertop
- Has a comfortable handle for a secure grip
- Is clearly labeled for the type of knives it fits (for example, straight-edged kitchen knives)
Helpful extras (optional but useful)
- Honing rod: To maintain the edge between sharpening sessions
- Cut-resistant glove: Worn on the hand that holds the knife for extra safety
- Non-slip mat or damp towel: Placed under your stone or sharpener so it does not move
- Clean dish towel: To dry the knife thoroughly after sharpening
Safety First: How to Protect Your Hands and Countertop
Sharpening involves exposed blades and pressure, so safety is just as important as technique. A few simple habits greatly reduce the risk of cuts or accidents.
Set up a safe workspace
- Work on a stable, level countertop with good lighting.
- Clear away clutter, especially anything that could catch the blade.
- Place a damp towel or non-slip mat under your stone or sharpener.
- Keep children and pets away from the area while you sharpen.
Protect your hands
- Always keep your fingers above the spine (back) of the knife, not near the edge.
- Use a cut-resistant glove on the hand that is closest to the blade if you have one.
- Never run your finger along the edge to “test” sharpness; use safe tests instead.
Handle the knife with control
- Use firm but moderate pressure; forcing the blade can cause slips.
- Move slowly and deliberately, especially when you are learning.
- Always move the blade away from your body, not toward it.
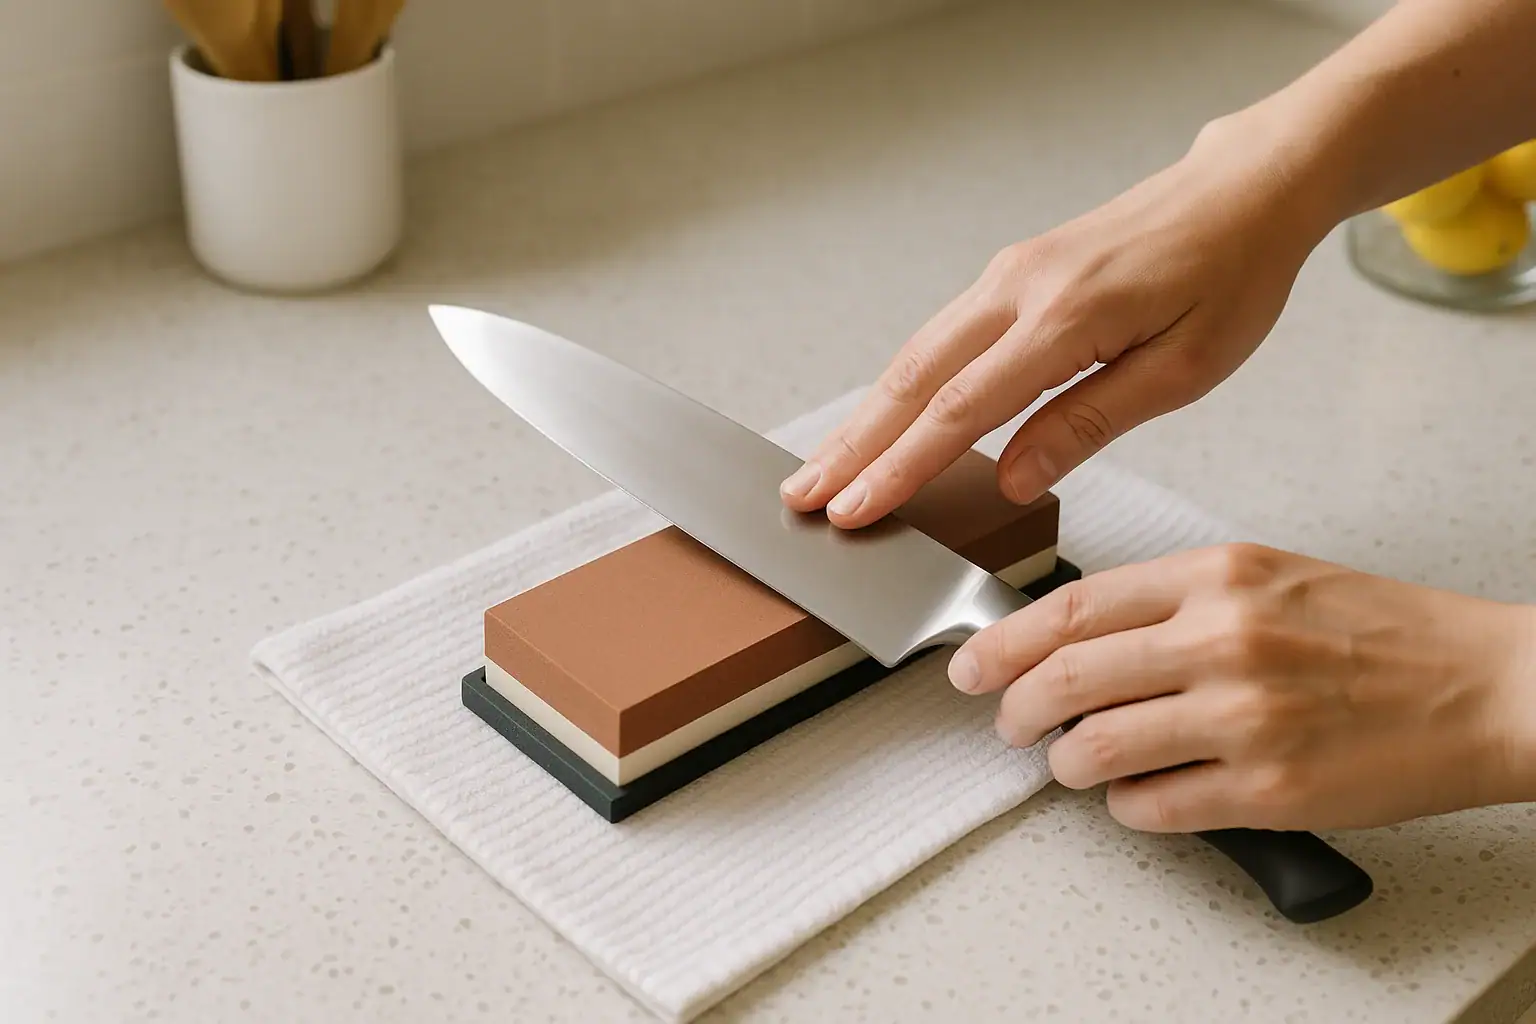
Simple Method: How to Sharpen a Knife with a Stone
This step-by-step method uses a basic sharpening stone and is suitable for most standard kitchen knives with straight edges. Avoid using this method on serrated knives or specialty blades.
Step 1: Prepare the stone
- Check the instructions. Some stones are used with water, others with oil. Follow the manufacturer’s guidance.
- If using water: Soak the stone in clean water for about 10–15 minutes, or until bubbles stop rising. Keep a small bowl of water nearby to re-wet the surface as needed.
- If using oil: Apply a small amount of the recommended sharpening oil to the surface. Do not mix water and oil on the same stone.
- Place the stone securely. Set it on a non-slip mat or damp towel with the coarse side facing up.
Step 2: Find the right angle
The sharpening angle is the angle between the side of the blade and the surface of the stone. For most kitchen knives, an angle of about 15–20 degrees works well.
- To estimate 20 degrees, imagine the blade at a right angle (90 degrees) to the stone, then cut that in half (45 degrees), then roughly in half again.
- Consistency matters more than perfection. Try to hold the same angle for every stroke.
Step 3: Sharpen the first side of the blade
- Hold the knife handle with your dominant hand. Place the blade on the stone at your chosen angle, with the edge facing away from you.
- Place the fingers of your other hand gently on the flat of the blade near the edge to guide pressure, keeping them away from the cutting edge.
- Starting with the heel of the knife (the part closest to the handle) near the bottom of the stone, push the blade forward and slightly sideways across the stone as if you are trying to slice a very thin layer off the surface.
- As you move the blade, gradually draw it so the entire edge, from heel to tip, contacts the stone.
- Use light to moderate pressure on the push stroke and ease off on the return stroke if you bring the knife back to the starting position.
- Repeat this motion 8–12 times, or until you feel a slight roughness (called a burr) along the opposite side of the edge.
Step 4: Sharpen the other side
- Flip the knife over so the edge now faces you.
- Maintain the same angle (15–20 degrees), but this time pull the blade toward you across the stone, again moving from heel to tip.
- Use the same number of strokes (8–12) and similar pressure so both sides stay balanced.
- Check for a burr on the first side. Once you feel it, the coarse sharpening stage is nearly complete.
Step 5: Switch to the fine side of the stone
- Flip the stone over to the fine grit side and re-wet or re-oil the surface as needed.
- Repeat the same sharpening motions on each side of the blade, but with slightly lighter pressure.
- Use about 6–10 strokes per side, focusing on smooth, controlled movements.
- Your goal here is to refine and polish the edge, not to remove a lot of metal.
Step 6: Remove the burr and finish the edge
- Once both sides have been refined, use alternating strokes: one stroke on one side, then one stroke on the other, for 6–8 passes.
- Use very light pressure to remove any remaining burr and even out the edge.
- Rinse the blade carefully under warm water, keeping the sharp edge pointed away from your hands.
- Dry the knife thoroughly with a clean towel, wiping from the spine toward the edge, not along the edge.
Alternative: Simple Method with a Pull-Through Sharpener
If a stone feels intimidating, a pull-through sharpener offers a quick and simple option. It may not give the same level of control as a stone, but it is easy for beginners.
Step-by-step instructions
- Place the sharpener on a stable, non-slip surface. Hold the handle firmly with your non-dominant hand.
- Identify the coarse slot (for dull knives) and the fine slot (for finishing or light sharpening).
- Insert the heel of the knife blade into the coarse slot, keeping the blade straight and vertical.
- Pull the knife smoothly toward you through the slot, from heel to tip, using light to moderate pressure.
- Repeat 3–6 times, or as recommended in the instructions, checking the edge as you go.
- Move to the fine slot and repeat the same motion 3–5 times to refine and smooth the edge.
- Rinse and dry the knife carefully to remove any metal particles.
Do not use a pull-through sharpener on serrated knives or very thin specialty blades unless the instructions clearly say it is safe.
How to Check If Your Knife Is Sharp (Safely)
Instead of running your finger along the edge, use these safer tests to see whether your sharpening worked.
Paper test
- Hold a sheet of clean printer paper by one corner.
- Place the knife near the top edge of the paper at a slight angle.
- Gently slice downward. A sharp knife will cut smoothly with little resistance.
- If the blade snags, tears, or slides off, it may need a few more light strokes on the fine stone or slot.
Tomato or onion test
In the kitchen, try slicing a tomato or onion:
- A sharp knife should break the skin of a tomato with almost no pressure.
- When slicing an onion, the knife should glide through cleanly instead of crushing layers.
Using a Honing Rod to Maintain Your Edge
Once your knife is sharp, a honing rod helps you keep it that way longer, so you do not have to sharpen as often.
How to hone a kitchen knife
- Hold the honing rod vertically with the tip resting on a non-slip surface, such as a folded towel.
- Place the heel of the knife against the rod at about a 15–20 degree angle.
- Draw the blade down and toward you, moving from heel to tip, so the entire edge contacts the rod.
- Repeat this motion 5–8 times on one side, then switch to the other side.
- Use light pressure; you are straightening the edge, not grinding it.
Hone your knife every few uses or whenever it starts to feel slightly less sharp, but not yet dull enough to need full sharpening.
How Often Should You Sharpen Kitchen Knives?
The right sharpening schedule depends on how often you cook, the quality of your knives, and how you treat them. As a general guide:
- Frequent home cooks: Sharpen every 2–3 months, with regular honing in between.
- Occasional cooks: Sharpen every 4–6 months, or when you notice clear dullness.
- Light use: Once or twice a year may be enough if you hone regularly and store knives properly.
Pay attention to how the knife feels. If you find yourself pressing harder, crushing food, or struggling with simple cuts, it is time to sharpen.
Common Mistakes to Avoid When Sharpening at Home
A few common habits can undo your hard work or even damage your knives. Avoid these mistakes to get better results and stay safe.
- Using too much pressure: Pressing hard does not make the knife sharper faster. It can chip the edge or cause slips.
- Changing the angle constantly: Inconsistent angles create an uneven edge. Focus on keeping the same angle for every stroke.
- Skipping the fine grit: Stopping after the coarse stage leaves a rough edge that dulls quickly.
- Not cleaning the blade afterward: Metal particles can transfer to food. Always rinse and dry the knife thoroughly.
- Sharpening dirty knives: Food residue can scratch the blade and clog the stone or sharpener. Clean knives before sharpening.
Everyday Habits to Keep Knives Sharper Longer
Good sharpening is only part of knife care. A few simple daily habits will help your knives stay sharp and safe between sharpening sessions.
Use the right cutting surface
- Choose wood or plastic cutting boards for everyday use.
- Avoid glass, stone, or ceramic surfaces; they dull blades quickly.
Store knives safely
- Use a knife block, magnetic strip, or in-drawer knife tray.
- Avoid tossing knives loosely into drawers, where edges bang into other utensils.
Wash and dry with care
- Wash knives by hand with mild soap and warm water.
- Dry immediately to prevent rust and spotting.
- Avoid dishwashers; strong detergents and heat can damage blades and handles.
Putting It All Together
Sharpening kitchen knives at home does not have to be complicated or risky. With a simple method, a basic stone or pull-through sharpener, and careful attention to safety, you can restore a clean, sharp edge that makes cooking more enjoyable and controlled. Remember to set up a stable workspace, keep your fingers clear of the edge, and move slowly until the motions feel natural.
Once your knives are sharp, maintain them with regular honing, gentle hand-washing, and proper storage. Over time, you will develop a feel for when a knife needs a full sharpening and when a quick touch-up is enough. With these habits in place, you can keep your kitchen knives performing well and reduce the effort and risk that come with using dull blades.
Related posts
Browse this topic →
How to Clean a Dishwasher Filter (and How Often You Should Do It)
Dishwasher Smells: Why It Happens and How to Fix It for Good
Dishwasher Not Cleaning Well? Spray Arm, Filter, and Loading Fixes
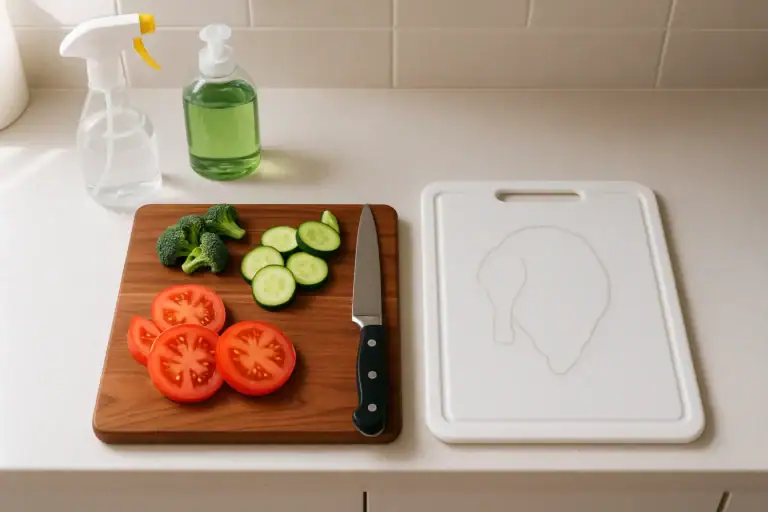
Cutting Board Hygiene: Wood vs Plastic and How to Sanitize Safely
Food Storage Safety: Fridge Zones and How Long Food Really Lasts
How to Organize a Small Kitchen Pantry for Faster Meal Prep
Keep reading
About this site
Signature Home Guide publishes practical, independent home guides. We aim to be clear, helpful, and transparent.
Affiliate disclosure
As an Amazon Associate, we earn from qualifying purchases. Some links on this site may be affiliate links. If you buy through these links, we may earn a small commission at no extra cost to you. This helps support our content. Learn more.