If you changed a water filter and suddenly noticed weak flow at your kitchen faucet, fridge dispenser, or whole-house fixtures, you are not alone. Low water pressure right after a filter change is a common problem, and in most cases it can be fixed with a few simple checks. Understanding what changed in your system, what might be blocked, and how to safely test your setup can help you restore normal pressure without damaging pipes, valves, or appliances. This guide walks through clear troubleshooting steps, from the quickest checks to more detailed inspections, so you can get your water flowing again with confidence.
On this page(click to collapse)
- Why Water Pressure Drops After a Filter Change
- Step 1: Confirm the Problem and Where It Shows Up
- Step 2: Verify All Valves Are Fully Open
- Step 3: Make Sure the Filter Is Installed Correctly
- Step 4: Confirm You Are Using the Correct Filter Type
- Step 5: Flush the New Filter Thoroughly
- Step 6: Check Faucet Aerators and Appliance Screens
- Step 7: Look for Trapped Air in the System
- Step 8: Evaluate Your Home’s Incoming Water Pressure
- Step 9: Inspect for Kinks, Crimps, or Misrouted Lines
- Step 10: Compare Flow With and Without the Filter (If Safe)
- When to Call a Professional
- Preventing Low Water Pressure After Future Filter Changes
- Related guides
Why Water Pressure Drops After a Filter Change
Any time you replace a filter, you are opening the water system and introducing a new component. A pressure drop usually points to one of a few issues:
- Trapped air in the lines after the system was opened
- Incorrect installation of the new filter cartridge
- Wrong filter type or micron rating that restricts flow too much
- Debris or carbon fines clogging screens or aerators
- Partially closed valves that were shut off for the change
- Existing plumbing issues that show up once the system is disturbed
Most of these can be checked without special tools. Start with the easiest steps and move toward more detailed checks only if needed.
Step 1: Confirm the Problem and Where It Shows Up
Before assuming the new filter is the only cause, identify exactly where the low pressure occurs.
Check multiple fixtures
- Only one faucet or appliance: The issue may be local to that fixture or its supply line.
- All cold water in the kitchen: The issue may be related to an under-sink or point-of-use filter.
- Whole house: The issue may be related to a main filter, softener, or pressure regulator.
Note whether the problem affects hot, cold, or both. If only cold water is affected, focus on filters and valves on the cold side. If both are affected and you have a whole-house filter, start there.
Step 2: Verify All Valves Are Fully Open
During a filter change, valves are often shut off to stop the water flow. Sometimes one is left partially closed, which can easily cause low pressure.
What to check
- Under-sink shutoff valves: Make sure the hot and cold valves are fully open by turning them counterclockwise until they stop, without forcing them.
- Bypass or isolation valves: Many whole-house filters and under-sink systems have a bypass or inlet/outlet valves. Confirm that the system is in the normal operating position, not in bypass or half-way between settings.
- Main water shutoff: If you closed the main valve for the filter change, confirm it is fully open.
After opening any valve further, run a nearby faucet for 30 to 60 seconds and see if the pressure improves.
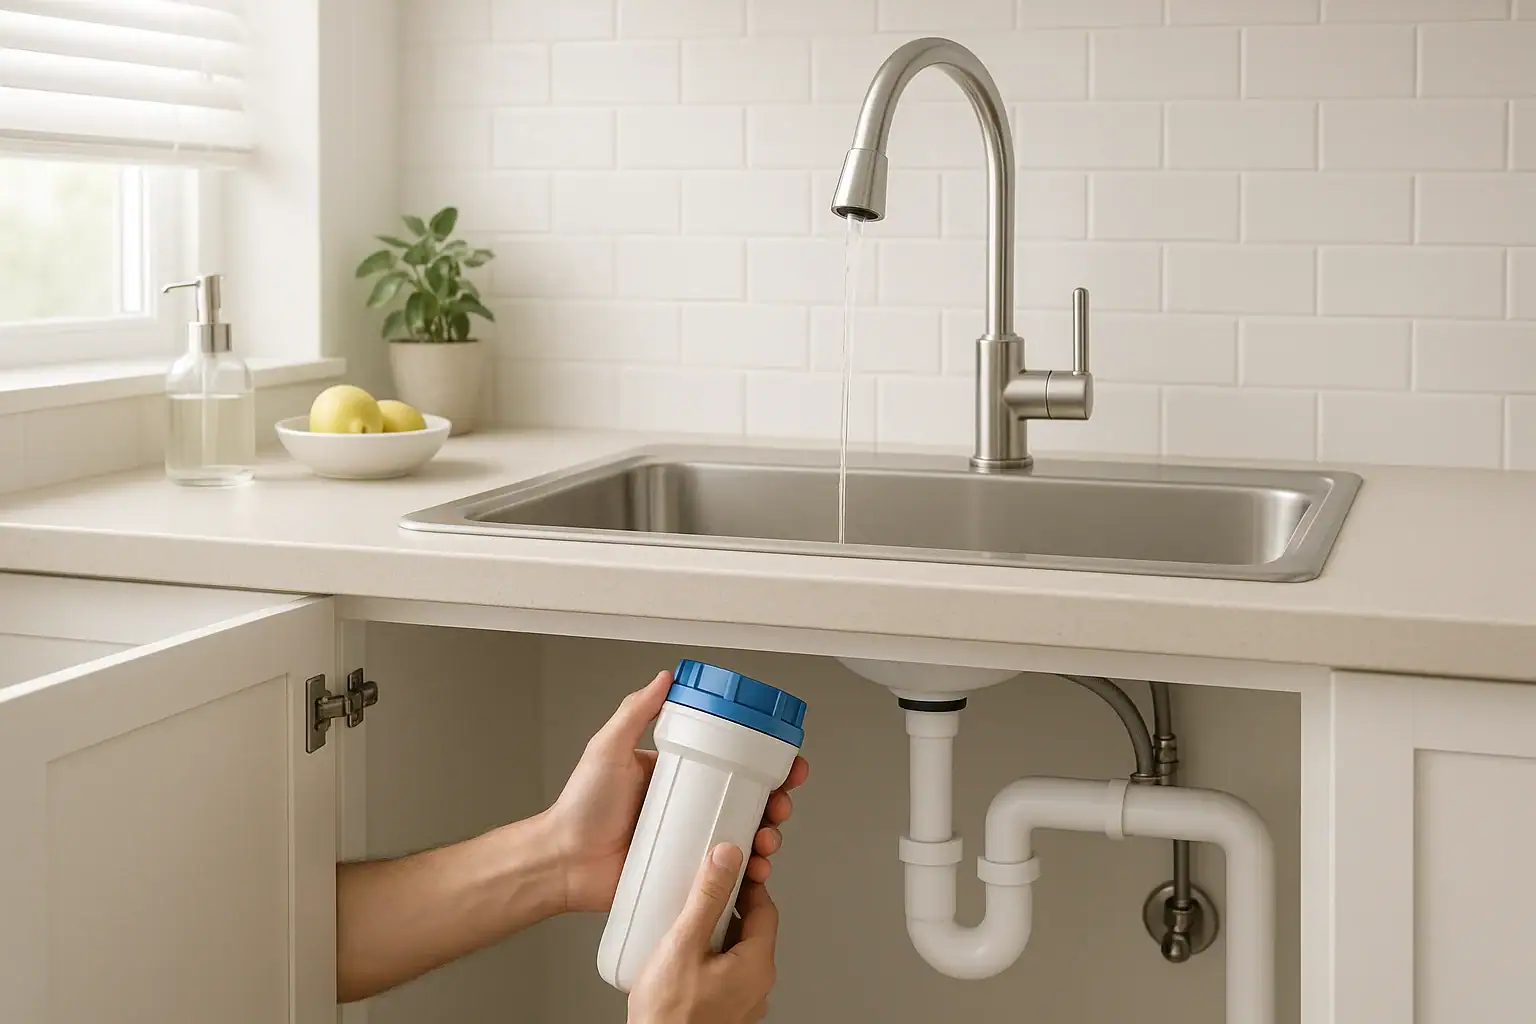
Step 3: Make Sure the Filter Is Installed Correctly
A misaligned or loosely seated filter cartridge can restrict flow or allow air to be pulled into the line.
Safe way to re-check the filter
- Turn off the water supply to the filter using the nearest shutoff or bypass valves.
- Open a nearby faucet to relieve pressure and drain a small amount of water.
- Remove the filter housing or cartridge according to the system instructions.
- Inspect the cartridge orientation. Look for arrows or “inlet/outlet” markings and confirm they match the housing flow direction.
- Check that the cartridge is fully seated on any center posts or seals, without gaps.
- Inspect O-rings and seals for twists, dirt, or damage. Clean and lightly lubricate with a food-safe lubricant if recommended by the manufacturer.
- Reassemble the housing, tightening firmly by hand. Avoid over-tightening with tools unless specifically required.
Turn the water back on slowly and listen for any hissing or rattling that could indicate trapped air or a poor seal.
Step 4: Confirm You Are Using the Correct Filter Type
Using a filter that is too restrictive for your plumbing or water demand is a common cause of low pressure after a change, especially if you switched to a different type or rating.
Key filter characteristics that affect pressure
- Micron rating: Lower micron numbers capture finer particles but can restrict flow more. If you moved from a coarse sediment filter to a very fine one, pressure may drop.
- Filter style: Dense carbon blocks often have higher pressure drop than looser sediment filters.
- Flow rating: Some cartridges are designed for low-flow drinking taps, not full kitchen or whole-house service.
If the new filter is a different style or rating than your previous one, compare its flow specifications with what your system requires. For testing, you can temporarily reinstall the old filter (if it is still safe and not severely clogged) to see if pressure returns. If it does, the new filter may simply be too restrictive for your setup.
Step 5: Flush the New Filter Thoroughly
Most new filters must be flushed to remove trapped air and loose particles. If this step is skipped or rushed, you may experience low pressure, sputtering, or cloudy water.
How to flush a new filter
- Turn on the cold water at the faucet or outlet connected to the filter.
- Let the water run at full open for several minutes. Many filters require 3 to 5 minutes or several gallons of flushing.
- Watch for spurting, cloudy water, or small black or white particles. These should clear as the filter flushes.
- After flushing, turn the faucet off for 30 seconds, then turn it on again and check the pressure.
For whole-house filters, flush through a bathtub or outdoor spigot if possible, since they can handle higher flow and help purge air faster.
Step 6: Check Faucet Aerators and Appliance Screens
When you install a new filter, small bits of sediment or filter media can break loose and travel downstream. These particles often collect at the first restriction point, such as an aerator or appliance screen.
Cleaning a faucet aerator
- Unscrew the aerator at the tip of the faucet spout. You may need a cloth and pliers if it is tight.
- Disassemble the aerator parts and rinse them under running water.
- Use a soft brush or toothpick to remove debris from screens and small holes.
- Reassemble the aerator in the same order and screw it back onto the faucet.
Checking appliance inlet screens
Refrigerators, dishwashers, and some under-sink systems have small screens at the water inlet.
- Turn off the water supply to the appliance.
- Disconnect the supply line carefully.
- Look for a small screen at the inlet and rinse it clean.
- Reconnect the line and turn the water back on slowly.
After clearing screens and aerators, run water again to see if pressure has improved.
Step 7: Look for Trapped Air in the System
Air pockets can cause noisy pipes, spurting, and temporarily low pressure. This is especially common after changing a whole-house filter or shutting off the main valve.
How to purge air from household lines
- Start with the faucet closest to the filter or main shutoff valve.
- Turn the cold water on slowly until you hear air and water passing, then open it fully.
- Once the flow is steady, repeat the process at the next nearest faucet.
- Include showers, tubs, and outdoor spigots if they are on the same system.
- Let each run until the sputtering stops and the flow is consistent.
For under-sink filters, simply running the connected faucet for several minutes is usually enough to clear air.
Step 8: Evaluate Your Home’s Incoming Water Pressure
If your home already has borderline low pressure, adding a more restrictive filter can push it below a comfortable level. It helps to know your baseline water pressure.
Checking water pressure with a gauge
- Purchase an inexpensive pressure gauge that connects to a hose bib or threaded faucet.
- Attach the gauge to an outdoor spigot or laundry faucet on the same side of the filter.
- Turn the water on fully and read the pressure, usually in pounds per square inch (psi).
Typical residential pressure often ranges from about 40 to 60 psi. If your reading is significantly lower, the filter may be revealing an existing supply issue rather than causing it.
If you already have a pressure regulator, it may need adjustment or replacement. If you are not comfortable working with it, consider contacting a licensed professional.
Step 9: Inspect for Kinks, Crimps, or Misrouted Lines
During a filter change, it is easy to bump or twist flexible supply lines under the sink or near appliances. Even a small kink can dramatically reduce flow.
What to look for
- Flexible hoses bent sharply instead of forming smooth curves
- Lines pinched behind cabinet panels or pulled tight around corners
- New tubing that is smaller in diameter than the original line
Straighten any kinks gently and make sure hoses are supported and not under constant tension. If a line appears damaged or permanently flattened, replace it with one of the correct size and rating for potable water.
Step 10: Compare Flow With and Without the Filter (If Safe)
If you still have low pressure and are unsure whether the filter is to blame, you can compare flow with the filter in place and in bypass mode, if your system allows it.
Using a bypass setting
- Locate the bypass valve or setting on your filter system.
- Switch the system to bypass, following the labeled directions.
- Open a nearby faucet and observe the water pressure.
- Switch back to normal mode and compare the difference.
If the pressure is strong in bypass and weak in normal mode, the restriction is likely in the filter housing or cartridge. If there is little or no difference, the cause may be elsewhere in the plumbing.
Do not leave a filter system in bypass long term unless you understand how it affects your water quality. Bypass mode usually sends unfiltered water to your fixtures.
When to Call a Professional
Most low-pressure issues after a filter change can be solved with the steps above. However, some situations call for expert help.
Consider contacting a licensed plumber or water treatment specialist if:
- Pressure remains low throughout the home even after checking valves, flushing, and cleaning screens
- You notice leaks, damp spots, or signs of water damage near the filter or in walls and ceilings
- Pipes bang loudly, vibrate, or show signs of stress when water is turned on
- You suspect a failing pressure regulator or main supply issue
- You are not comfortable working with the main shutoff, pressure regulator, or complex filter systems
A professional can measure pressure at multiple points, inspect the installation, and recommend filters and components that match your home’s plumbing and typical water use.
Preventing Low Water Pressure After Future Filter Changes
Once you restore normal flow, a few habits can help prevent the same issue the next time you replace a filter.
Simple best practices
- Change filters on schedule: Very clogged filters create high pressure drop and can stress housings and seals.
- Keep a record: Note the filter type, micron rating, and change date. Use the same or an equivalent cartridge that matches your system’s design.
- Close and open valves slowly: Avoid sudden changes that can stir up sediment or shock the plumbing.
- Flush thoroughly every time: Plan a few extra minutes for flushing to clear air and loose media before normal use.
- Inspect while you work: Take a quick look at hoses, fittings, and nearby fixtures for wear or potential kinks.
With these steps, routine filter changes can stay simple and predictable, without surprise drops in water pressure.
Related posts
Browse this topic →
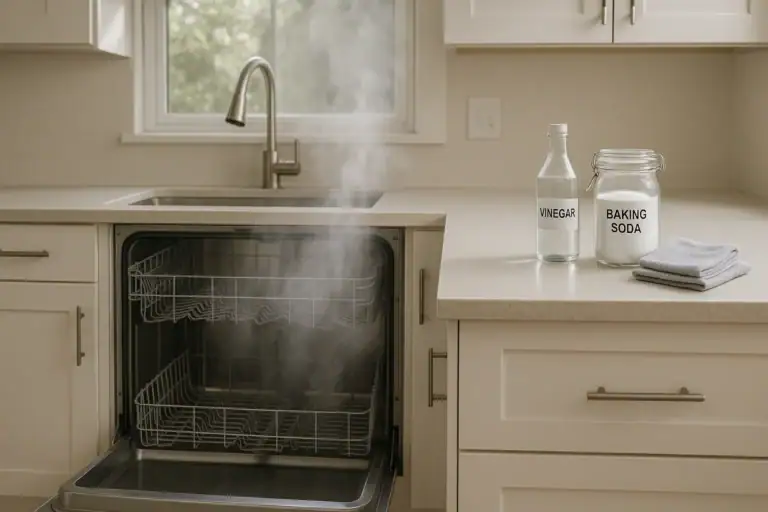
How to Clean a Dishwasher Filter (and How Often You Should Do It)
Dishwasher Smells: Why It Happens and How to Fix It for Good
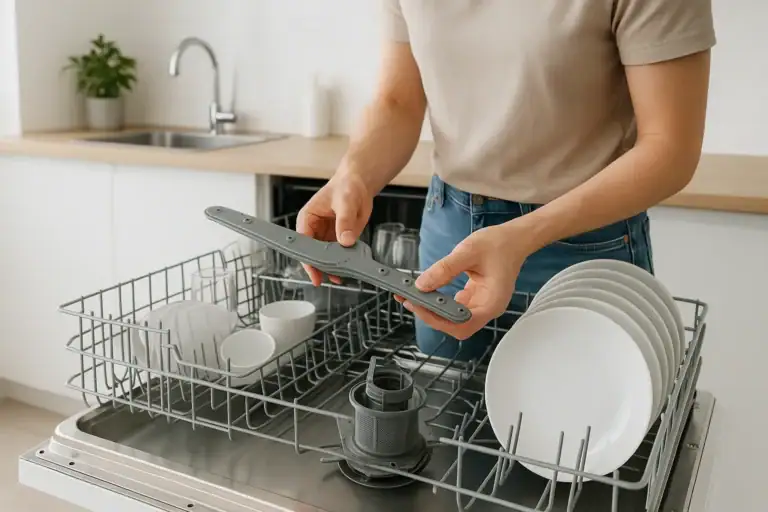
Dishwasher Not Cleaning Well? Spray Arm, Filter, and Loading Fixes
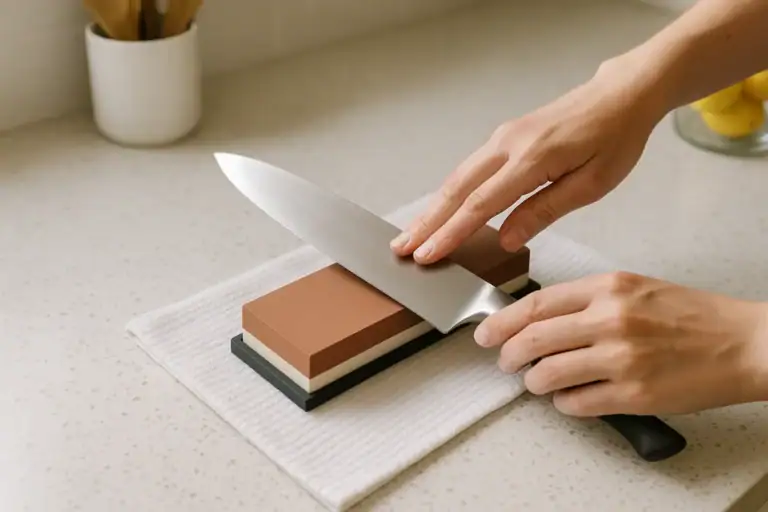
How to Sharpen Kitchen Knives at Home: Simple Method and Safety Tips

Cutting Board Hygiene: Wood vs Plastic and How to Sanitize Safely

Food Storage Safety: Fridge Zones and How Long Food Really Lasts
Keep reading
About this site
Signature Home Guide publishes practical, independent home guides. We aim to be clear, helpful, and transparent.
Affiliate disclosure
As an Amazon Associate, we earn from qualifying purchases. Some links on this site may be affiliate links. If you buy through these links, we may earn a small commission at no extra cost to you. This helps support our content. Learn more.