
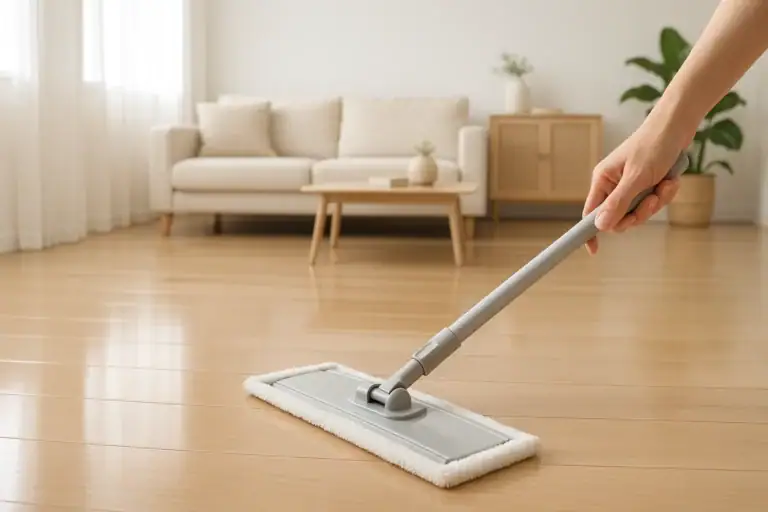
When you are trying to keep floors clean without spending your entire weekend doing it, the order you vacuum and mop matters more than you might think. Doing tasks in the wrong sequence can spread dust, leave streaks, and force you to redo work you already finished. A smart routine saves time, protects your floors, and keeps your home looking consistently tidy. This guide walks you through a clear, step-by-step checklist so you always know whether to vacuum or mop first, how to adjust for different floor types, and how often to clean. Use it as a simple reference you can follow each week to keep floors clean with less effort and fewer do-overs.
On this page(click to collapse)
- Vacuum vs Mop: Which Should Come First?
- Floor Routine Checklist by Floor Type
- Whole-Home Floor Cleaning Order Checklist
- Weekly vs Deep Cleaning: How Often Should You Vacuum and Mop?
- Quick Room-by-Room Floor Routine Checklist
- Time-Saving Tips for an Efficient Floor Routine
- Printable-Style Floor Routine Checklist
- Related guides
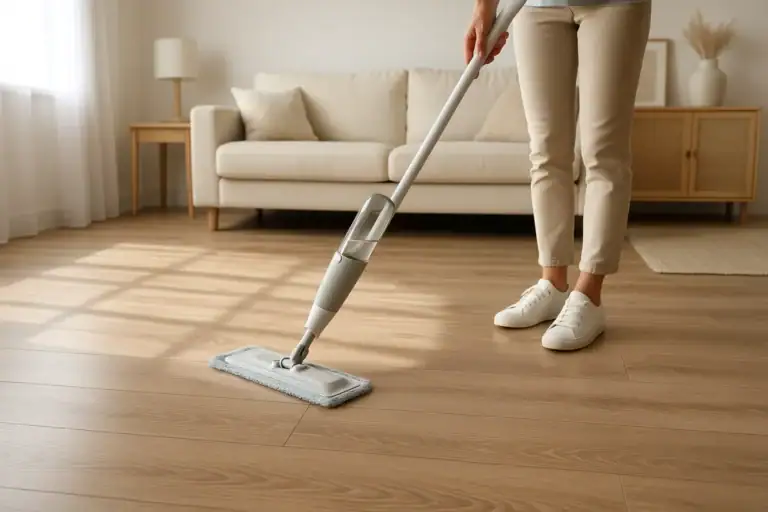
Vacuum vs Mop: Which Should Come First?
The most efficient routine for hard floors is almost always:
- Step 1: Dry clean (vacuum or sweep)
- Step 2: Wet clean (mop or damp mop)
Doing a dry clean first removes loose dust, crumbs, and grit that can turn into muddy streaks when you mop. It also protects your flooring from micro-scratches caused by dragging debris around with a wet mop.
Why Vacuum Before You Mop
- Prevents streaks and smears: Loose dust and hair smear into lines when they meet water.
- Protects your floor finish: Grit and sand can scratch or dull finishes if pushed around by a mop.
- Improves mop performance: A cleaner surface lets your mop focus on sticky spots and film instead of heavy debris.
- Reduces how often you change mop water: Less dirt means cleaner water and fewer trips to the sink.
Are There Any Exceptions?
Most homes should stick to vacuum-then-mop, but a few situations may call for adjustments:
- Large wet spills: Blot or wipe the spill first so you are not vacuuming through a puddle.
- Construction dust or heavy debris: Sweep large pieces, then vacuum, then mop.
- Delicate floors: On older or easily scratched floors, use a soft floor attachment and a lightly damp mop.
Floor Routine Checklist by Floor Type
Different floors need slightly different care. Use this section as a quick reference for the best order and frequency by surface.
Hardwood Floors
Hardwood benefits from frequent dry cleaning and careful, limited moisture.
Order:
- Pick up clutter and small items.
- Vacuum with a hard-floor or bare-floor setting.
- Spot clean sticky areas with a damp (not wet) cloth.
- Damp mop with a hardwood-safe solution, wringing the mop thoroughly.
Frequency:
- Vacuum: 2–4 times per week in high-traffic areas; weekly in low-traffic rooms.
- Damp mop: Every 1–3 weeks, depending on use and visible soil.
Checklist tips for hardwood:
- Always vacuum before any damp cleaning.
- Avoid standing water; dry any wet spots immediately.
- Use doormats at entrances to reduce grit and sand.
Tile Floors (Ceramic, Porcelain, Stone-Look)
Tile can handle more moisture but still benefits from a vacuum-first routine.
Order:
- Remove rugs and shake them outside if possible.
- Vacuum or sweep, paying extra attention to grout lines and corners.
- Pre-treat sticky spots or grout stains if needed.
- Mop with warm water and a tile-safe cleaner.
- Rinse or go over once more with clean water if residue remains.
Frequency:
- Vacuum or sweep: Daily to every other day in kitchens and entryways; weekly elsewhere.
- Mop: Weekly in most rooms; 1–2 times per week in kitchens or bathrooms.
Checklist tips for tile:
- Vacuum before mopping to keep grout from trapping muddy residue.
- Use a scrub brush on grout as needed after vacuuming and before a full mop.
- Open windows or use fans to help floors dry faster and reduce slip risk.
Vinyl, Laminate, and Luxury Vinyl Plank
These floors are durable but can be sensitive to too much water.
Order:
- Clear toys, cords, and small furniture if needed.
- Vacuum using a setting safe for hard floors.
- Spot clean sticky or greasy spots.
- Damp mop with a lightly moistened pad or mop head.
Frequency:
- Vacuum: 2–3 times per week in busy areas; weekly in low-traffic rooms.
- Damp mop: Every 1–2 weeks, or as needed for spills.
Checklist tips for vinyl and laminate:
- Always vacuum first to protect the wear layer from grit.
- Avoid soaking the floor; light moisture is usually enough.
- Wipe spills quickly so they do not seep into seams.
Sealed Concrete Floors
Sealed concrete is tough and often used in basements, garages, or modern living spaces.
Order:
- Remove loose debris with a vacuum or broom.
- Spot treat oil or rust stains if present.
- Mop with warm water and a gentle cleaner suitable for sealed surfaces.
Frequency:
- Vacuum or sweep: Weekly, or more often in dusty areas.
- Mop: Every 2–4 weeks, or as needed for visible dirt.
Carpet and Area Rugs
Carpeted areas are mostly dry-clean only, with occasional deeper cleaning.
Order for carpeted rooms:
- Pick up clutter and move light furniture if needed.
- Vacuum thoroughly, using slow, overlapping passes.
- Spot treat stains according to the fiber type.
- Schedule periodic deep cleaning or extraction as needed.
Frequency:
- Vacuum: 1–2 times per week in living areas; weekly in bedrooms; more often with pets.
- Deep clean: Every 6–12 months, or more often for high-traffic homes.
Checklist tip: If a room has both carpet and hard flooring, vacuum the entire space first (including rugs and carpet), then mop only the hard floor sections.
Whole-Home Floor Cleaning Order Checklist
Following a consistent order from room to room prevents you from walking dirt over areas you already cleaned. Use this simple whole-home checklist when tackling all your floors at once.
Step 1: Plan Your Route
- Start on the top floor of your home and work downward.
- Clean farther rooms first and finish near the main exit.
- Group similar floor types where possible to streamline tools and supplies.
Step 2: Prep Every Room
Before you vacuum or mop, do a quick pass through each space:
- Pick up toys, shoes, and cords.
- Lift small chairs or light furniture if you plan to clean underneath.
- Roll up light rugs and shake them outside if weather allows.
Step 3: Vacuum the Entire Home
Handle all vacuuming in one pass to keep your routine efficient.
- Use the right setting or attachment for each surface.
- Work from the back of each room toward the door.
- Vacuum carpets, rugs, and hard floors before any mopping.
- Use crevice tools along baseboards and in corners where dust collects.
Step 4: Spot Treat Spills and Stains
Once loose debris is gone, address problem areas:
- Sticky spills on hard floors
- Grease or food spots in the kitchen
- Dried mud near entryways
- Pet accidents (following appropriate cleaning steps)
Handling these before full mopping helps your mop water stay cleaner longer.
Step 5: Mop Hard Floors by Zone
Now that everything is vacuumed, move through hard floor areas in zones:
- Fill your bucket or prepare your mop solution according to directions.
- Start in the room farthest from your main exit.
- Mop in small sections, backing toward the door.
- Rinse or change water when it looks cloudy or dirty.
- Allow floors to dry before walking on them again.
Step 6: Final Touches
- Replace rugs only after floors are dry.
- Return furniture and chairs to their spots.
- Do a quick visual check for missed corners or streaks.
Weekly vs Deep Cleaning: How Often Should You Vacuum and Mop?
How often you follow the full vacuum-and-mop routine depends on your household size, pets, and lifestyle. Use this guide as a starting point and adjust as needed.
Suggested Weekly Routine
- High-traffic hard floors (kitchen, entry, hallways): Vacuum 3–5 times per week; mop 1–2 times per week.
- Low-traffic hard floors (guest rooms, formal dining): Vacuum weekly; mop every 2–3 weeks.
- Carpeted living areas: Vacuum 1–2 times per week.
- Bedrooms: Vacuum weekly; spot clean as needed.
Deep Cleaning Checklist
Every few months, add these deeper steps to your normal vacuum-first routine:
- Move larger furniture to vacuum and mop underneath.
- Detail clean baseboards after vacuuming and before mopping.
- Scrub grout lines on tile floors.
- Schedule carpet deep cleaning or use an extraction machine.
Quick Room-by-Room Floor Routine Checklist
Use these mini checklists for the most common rooms in the home.
Kitchen
- Clear counters and table so crumbs do not fall after you clean the floor.
- Pick up mats and shake them outside.
- Vacuum, focusing under the table and along cabinets.
- Spot clean sticky or greasy spots.
- Mop from the farthest corner toward the exit.
Bathroom
- Remove rugs and trash cans.
- Vacuum or sweep, including behind the toilet.
- Clean fixtures and counters so residue does not drip onto freshly mopped floors.
- Mop the floor, paying attention to corners and around the toilet base.
Entryway or Mudroom
- Remove shoes and place them on a mat or rack.
- Shake out rugs or runners.
- Vacuum thoroughly, especially where outside dirt collects.
- Spot clean any salt, mud, or water stains.
- Mop and allow to dry before heavy use.
Time-Saving Tips for an Efficient Floor Routine
Once you have the vacuum-then-mop order down, a few small habits can make the process even faster.
Combine Tasks Smartly
- Dust furniture and surfaces before vacuuming so falling dust gets picked up.
- Run laundry or dishwasher cycles while you clean floors.
- Keep a small cleaning caddy on each floor to avoid back-and-forth trips.
Set a Simple Schedule
- Assign specific days for certain areas, such as kitchen and entry on one day and bedrooms on another.
- Use a timer to keep each session focused and efficient.
- Involve family members in simple steps like picking up clutter before vacuuming.
Printable-Style Floor Routine Checklist
Use this condensed checklist as a quick reference for your most efficient floor routine:
- Always vacuum or sweep first, then mop or damp clean.
- Work from top floor to bottom floor.
- Clean from the back of each room toward the door.
- Group tasks: vacuum all floors, then mop all hard floors.
- Adjust frequency: more often in high-traffic and pet areas.
With a clear order and simple checklist, you can keep floors cleaner in less time and avoid the frustration of redoing work. Following a consistent vacuum-then-mop routine protects your floors, reduces dust, and makes your entire home feel more organized and welcoming.
For more cleaning and organization ideas, you can explore additional tips and routines at this home care hub: Cleaning and Organization Guide.
Related posts
Browse this topic →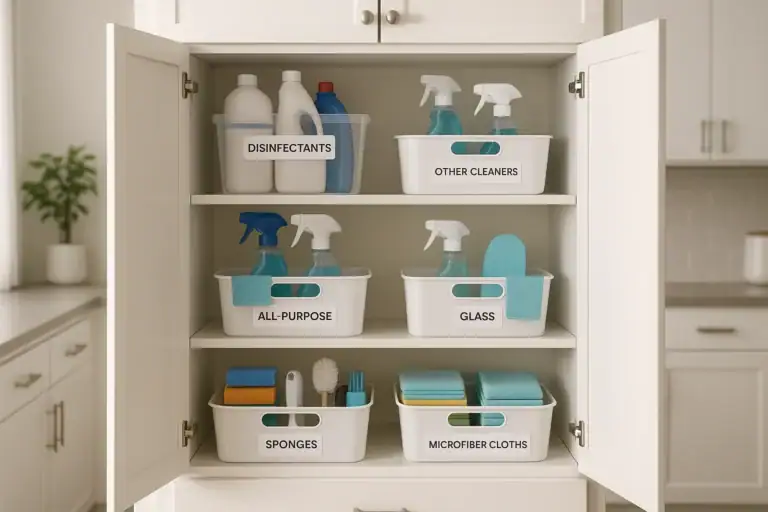
How to Organize Cleaning Supplies for Speed and Safety at Home
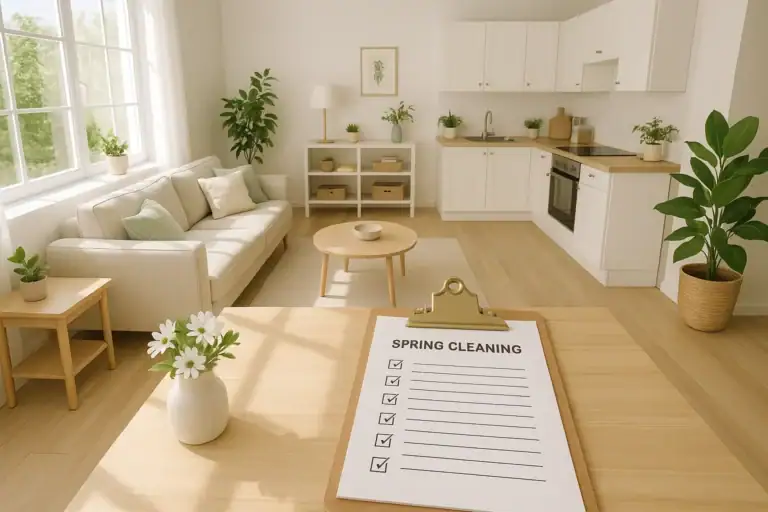
Spring Cleaning Checklist for the Whole Home (Printable Plan)
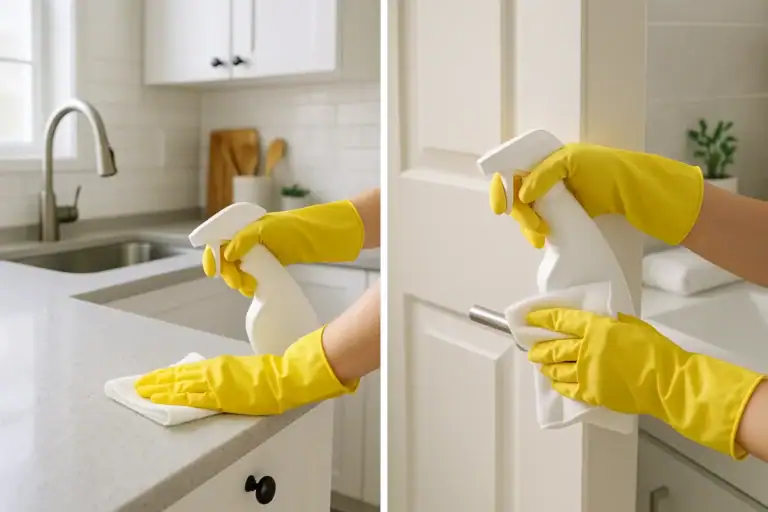
How to Disinfect Surfaces Safely: What Really Needs It and What Does Not
How to Clean Hardwood Floors Without Ruining the Finish
Best Way to Clean Laminate Floors Without Swelling or Haze
How to Keep Towels Soft and Stop That Sour Smell for Good
Keep reading
About this site
Signature Home Guide publishes practical, independent home guides. We aim to be clear, helpful, and transparent.
Affiliate disclosure
As an Amazon Associate, we earn from qualifying purchases. Some links on this site may be affiliate links. If you buy through these links, we may earn a small commission at no extra cost to you. This helps support our content. Learn more.