Water leaks are one of the most expensive and disruptive problems a homeowner can face. A small drip under a sink or a slow seep from a washing machine hose can turn into mold, warped floors, and major repairs. Smart water leak sensors can help you catch problems early, but they only work well if you put them in the right places. This checklist-style guide walks you through where to place water leak sensors in a home, room by room, so you can cover the highest‑risk areas without wasting devices. Use it to plan a new installation or double‑check the coverage you already have.
On this page(click to collapse)
- How Water Leak Sensors Work (And Why Placement Matters)
- General Rules For Placing Water Leak Sensors
- Whole‑Home Leak Sensor Checklist: Priority Zones
- Kitchen: Multiple Hidden Leak Risks
- Bathrooms: Small Rooms, Big Leak Potential
- Laundry Room: High‑Risk Hoses And Drains
- Basement And Utility Areas: Protect Structural Elements
- Bedrooms, Living Areas, And Finished Spaces
- Garages And Crawl Spaces
- How Many Water Leak Sensors Do You Really Need?
- Installation And Maintenance Tips
- Putting It All Together
- Related guides
How Water Leak Sensors Work (And Why Placement Matters)
Most smart water leak sensors are small devices that sit on the floor or mount near plumbing. When they detect water, they trigger an alarm, send a phone notification, or both. Some also monitor temperature and humidity to warn you about frozen pipe risks or slow moisture buildup.
Placement matters because:
- Leaks usually start small: A sensor needs to be close enough to catch the first puddle or drip.
- Water follows gravity: It pools at low points, so the lowest spot near a risk area is usually best.
- Obstacles can block water: Cabinets, trim, and thresholds can keep water from reaching a poorly placed sensor.
- Connectivity is limited: Sensors must stay within range of your hub or Wi‑Fi and be accessible for battery changes.
Use the checklist below to prioritize high‑risk locations first, then add more coverage as your budget allows.
General Rules For Placing Water Leak Sensors
Before going room by room, keep these universal guidelines in mind when deciding where to place water leak sensors in a home:
- Place sensors on the floor or at the lowest point where water would naturally collect.
- Keep sensors out of direct foot traffic to avoid tripping, kicking, or damaging them.
- Avoid placing directly under dripping pipes that may sweat or condensate often, which can cause false alarms.
- Leave enough clearance so you can reach the sensor to test it and replace batteries.
- Test each sensor with a small amount of water after placement to confirm it triggers an alert.
- Label your sensors in your app with their room and location for faster troubleshooting.
Whole‑Home Leak Sensor Checklist: Priority Zones
Some areas of the home are much more likely to leak than others. If you have a limited number of sensors, start with these high‑priority zones:
- Water heater
- Washing machine
- Dishwasher
- Refrigerator with water or ice
- Under kitchen and bathroom sinks
- Basement floor drains and sump pump
- Toilets and tubs/showers
- Main water line entry and shut‑off valve
Once these are covered, move on to secondary locations like utility sinks, humidifiers, and lesser‑used bathrooms.
Kitchen: Multiple Hidden Leak Risks
The kitchen combines several plumbing fixtures and appliances in a small space, making it a top priority for leak detection.
Under the Kitchen Sink
- Place a sensor on the cabinet floor, near the back, where supply lines and the drain enter.
- Position it slightly forward from the wall so water from a leaking trap or loose connection can reach it.
- If you store cleaners or supplies, keep a clear zone around the sensor to avoid blocking water flow.
Dishwasher
- Place a sensor on the floor directly in front of or slightly under the dishwasher if there is a toe‑kick gap.
- If access is tight, consider placing the sensor just to the side where water would escape first if the seal fails.
- Make sure it does not interfere with opening the dishwasher door.
Refrigerator With Water or Ice
- Place a sensor behind or beside the refrigerator near the water line connection.
- If the refrigerator is built‑in, place the sensor in the nearest accessible low spot where leaked water would flow.
- Use a sensor with a remote probe if space is very tight, routing the probe under the appliance.
Bathrooms: Small Rooms, Big Leak Potential
Bathrooms have multiple water sources in a compact area. Even a slow leak can cause damage to floors, subfloors, and ceilings below.
Under Bathroom Sinks
- Place a sensor on the bottom of the vanity cabinet, near the supply valves and drain.
- Avoid placing it directly under a slow‑draining trap where splashes during use might trigger false alerts.
- Keep it clear of stored items like towels and toiletries.
Toilets
- Place a sensor on the floor behind or beside the toilet, close to the supply line and shut‑off valve.
- Position it where water from a failed wax ring or cracked tank would first appear.
- Keep it far enough from the shower or tub to avoid normal splashes.
Tubs and Showers
- Place a sensor where water would collect if the shower pan, tub drain, or supply lines leaked.
- In upstairs bathrooms, consider a sensor in the ceiling below if you have access through a utility space.
- Avoid placing sensors where they will be stepped on when getting in or out of the tub.
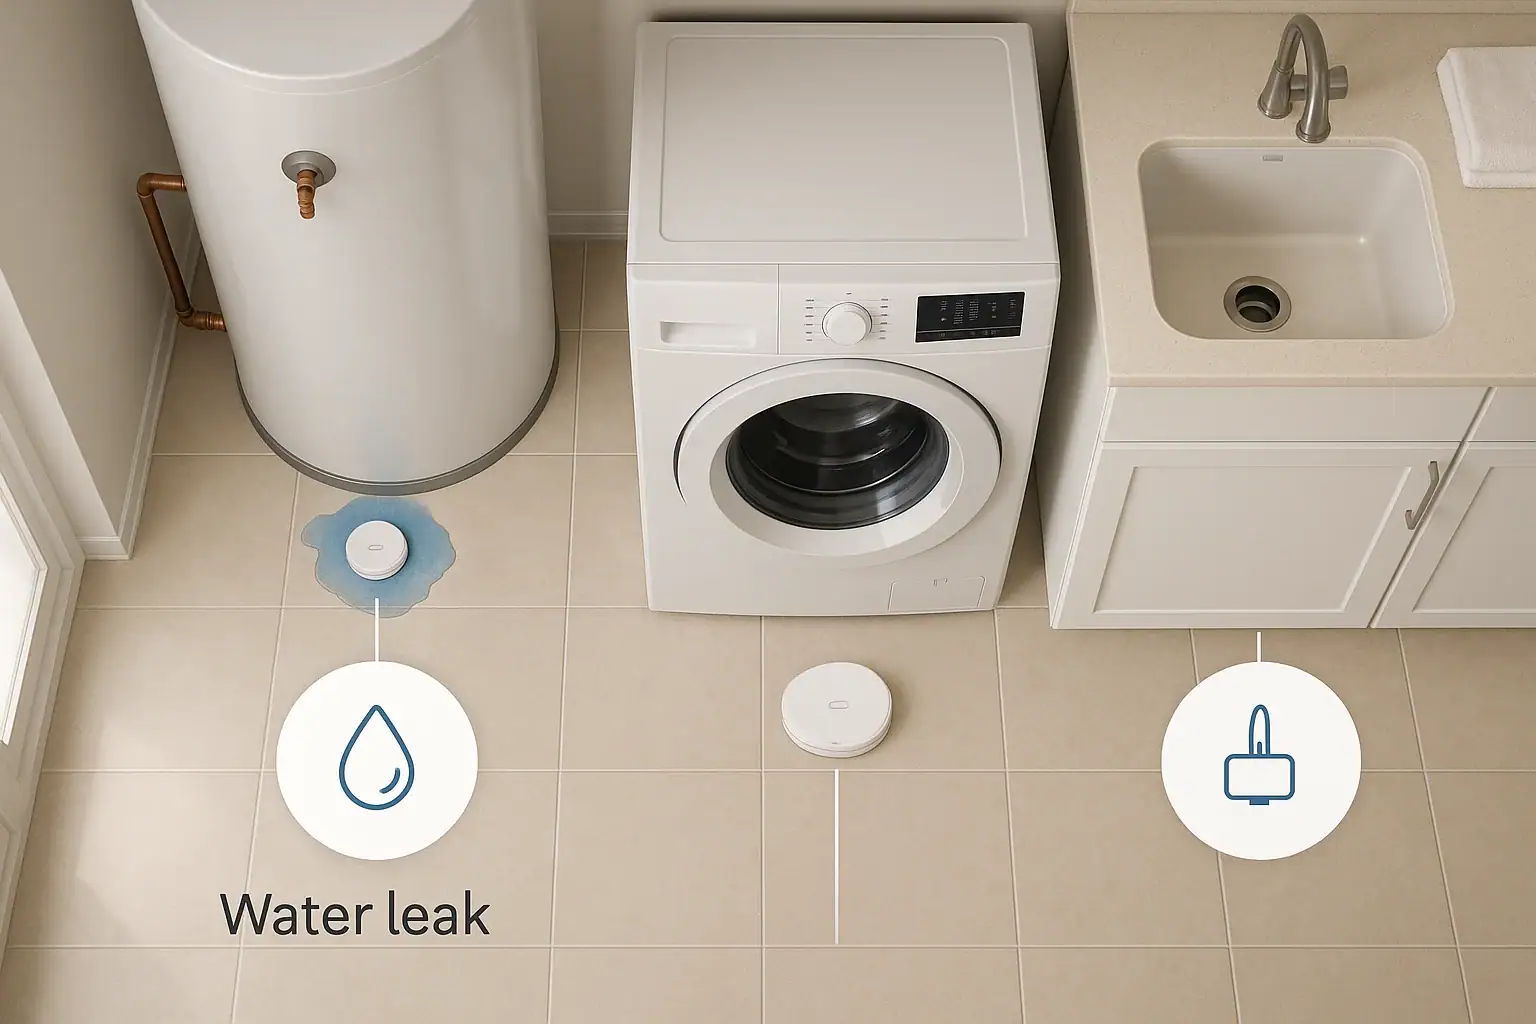
Laundry Room: High‑Risk Hoses And Drains
Laundry rooms are a frequent source of major water damage, especially if supply hoses fail while no one is home.
Washing Machine
- Place a sensor on the floor directly behind or to the side of the washing machine, near the supply hoses.
- If the washer sits in a drain pan, place the sensor inside the pan at the lowest point.
- Ensure the sensor is not crushed by the appliance or vibrating against it.
Utility Sink or Laundry Tub
- Place a sensor on the floor under the sink near the drain and supply lines.
- If the sink is on a pedestal or stand, place the sensor at the lowest accessible point where drips would land.
- Consider a second sensor if the sink is near a wall where leaks might run behind it.
Basement And Utility Areas: Protect Structural Elements
Basements and utility rooms often contain the main water supply, water heater, and other equipment that can leak slowly for a long time before being noticed.
Water Heater
- Place a sensor on the floor next to the water heater at the side where the pressure relief valve or drain valve is located.
- If the heater sits in a pan, place the sensor inside the pan at the lowest point.
- Keep the sensor clear of sediment or debris that might collect in the pan.
Main Water Line And Shut‑Off Valve
- Place a sensor on the floor directly under or just downstream of the main shut‑off valve.
- If the line enters through a wall or floor, position the sensor where moisture would first appear.
- Label this sensor clearly in your app as the main line so you know to shut off water immediately if it triggers.
Sump Pump And Floor Drains
- Place a sensor on the floor near the sump pit, but not where normal splashing will trigger it.
- Consider a sensor with a remote probe that can be positioned just above the normal water line.
- Place additional sensors near floor drains that might back up during heavy rain.
HVAC Equipment And Dehumidifiers
- Place a sensor near the air handler or furnace where condensation lines or pans can overflow.
- Position a sensor next to stand‑alone dehumidifiers that have collection buckets or drain hoses.
- Avoid placing sensors where normal condensation dripping is expected and contained.
Bedrooms, Living Areas, And Finished Spaces
Even rooms without obvious plumbing can benefit from leak sensors, especially if they are below bathrooms or contain hidden lines for radiators or mini‑split systems.
Under Radiators Or Fan Coil Units
- Place a sensor on the floor under or just in front of radiators or wall units with water lines.
- Focus on units located over hardwood floors, carpet, or finished ceilings below.
Below Upstairs Bathrooms
- If you have access to the space below an upstairs bathroom, place a sensor in the ceiling cavity or utility chase under the tub or shower drain.
- In finished spaces, consider a sensor on the floor in the room directly below where leaks would first appear.
Near Built‑In Wet Bars Or Small Sinks
- Place a sensor under any small bar sink or beverage center with a drain or water line.
- Position the sensor near the supply valves and drain connections.
Garages And Crawl Spaces
These areas are easy to overlook but often contain plumbing, water heaters, or exposed pipes that can freeze and burst.
Garage
- Place sensors near any water heaters, softeners, or utility sinks located in the garage.
- Position sensors near wall‑mounted hose bibs or spigots that may freeze in winter.
- Keep sensors out of drive paths and away from vehicle tires.
Crawl Space
- Place sensors on plastic sheeting or concrete pads near exposed supply lines and joints.
- Focus on low points where water would collect and near any access doors where leaks might drip down.
- Choose sensors with strong wireless range or consider a hub located near the crawl space.
How Many Water Leak Sensors Do You Really Need?
The right number of sensors depends on your home size, plumbing layout, and risk tolerance. Use this simple framework:
Minimum Coverage (Basic Protection)
- 1 at the water heater
- 1 at the washing machine
- 1 under the kitchen sink
- 1 near the main water shut‑off
Standard Coverage (Most Homes)
- All minimum coverage sensors, plus:
- 1 at the dishwasher
- 1 at the refrigerator with water or ice
- 1 under each bathroom sink
- 1 near each toilet
- 1 near the sump pump or main floor drain
Enhanced Coverage (High‑Value Or Finished Spaces)
- All standard coverage sensors, plus:
- Sensors near HVAC equipment and dehumidifiers
- Sensors under radiators or fan coil units
- Sensors below upstairs bathrooms where accessible
- Extra sensors in crawl spaces or garages with plumbing
Installation And Maintenance Tips
Once you know where to place water leak sensors in a home, a few simple habits will keep your system reliable over the long term.
- Map your sensors: Create a quick sketch or list of sensor locations and keep it with your home records.
- Name them clearly: Use room and fixture names in your app, such as “Basement – Water Heater” or “Upstairs Hall Bath – Toilet.”
- Test twice a year: Use a damp cloth or a small cup of water near the contacts to confirm alerts still work.
- Check batteries regularly: Replace batteries when low‑battery alerts appear or at least once a year.
- Review alerts history: If you see repeated alerts in one area, inspect for slow leaks or condensation issues.
- Combine with shut‑off valves if possible: In high‑risk homes, consider pairing sensors with automatic shut‑off valves controlled by your smart home system.
Putting It All Together
Strategic placement is the key to getting the most from your water leak sensors. Start with the biggest risks: water heaters, washing machines, kitchen appliances, and main plumbing lines. Then expand coverage to bathrooms, basements, and finished living spaces that would be costly to repair. Use the room‑by‑room checklist above to walk through your home and note exactly where each sensor should go.
With a thoughtful plan, a modest number of sensors can provide wide coverage and early warnings, helping you avoid surprise water damage and giving you more confidence whenever you are away from home.
If you are building out a broader smart home and safety system, you can explore additional guides and checklists at Signature Home Guide to layer in other protective devices over time.
Related posts
Browse this topic →
Smart Air Quality Alerts: How to Set Thresholds That Make Sense
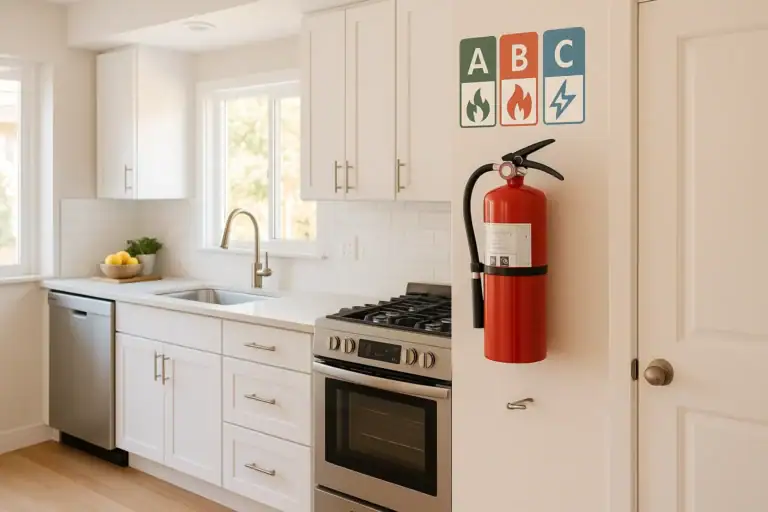
How to Choose a Fire Extinguisher for the Kitchen (Classes Explained)

Emergency Kit for Apartments: Closet-Friendly Essentials for Small Spaces
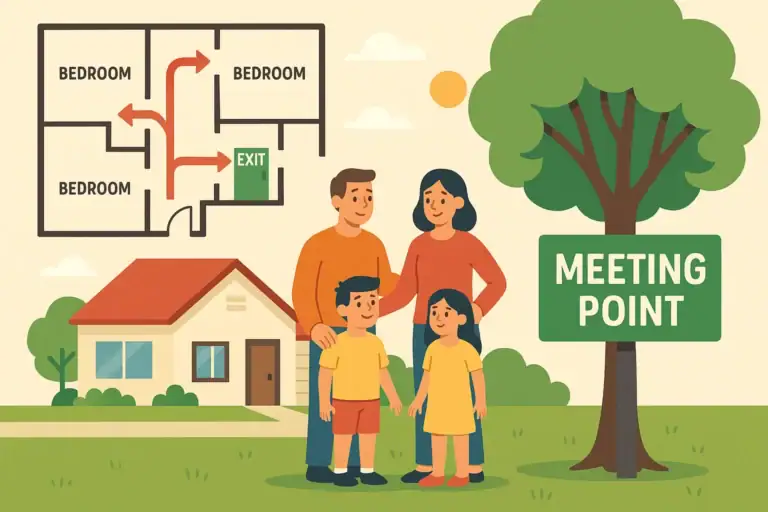
Home Fire Escape Plan: Map, Meeting Point, and Practice Checklist
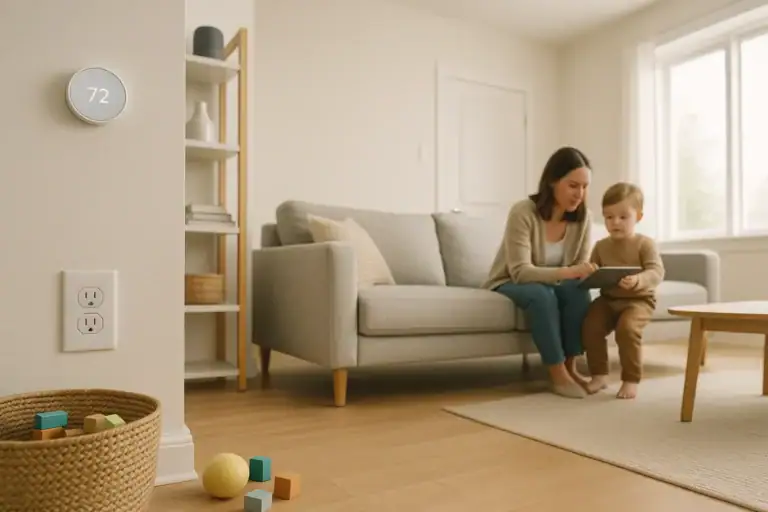
Childproofing the Smart Home: Settings and Physical Safety Tips
Garage Door Safety: Sensors, Remotes, and Common Failure Fixes
Keep reading
About this site
Signature Home Guide publishes practical, independent home guides. We aim to be clear, helpful, and transparent.
Affiliate disclosure
As an Amazon Associate, we earn from qualifying purchases. Some links on this site may be affiliate links. If you buy through these links, we may earn a small commission at no extra cost to you. This helps support our content. Learn more.