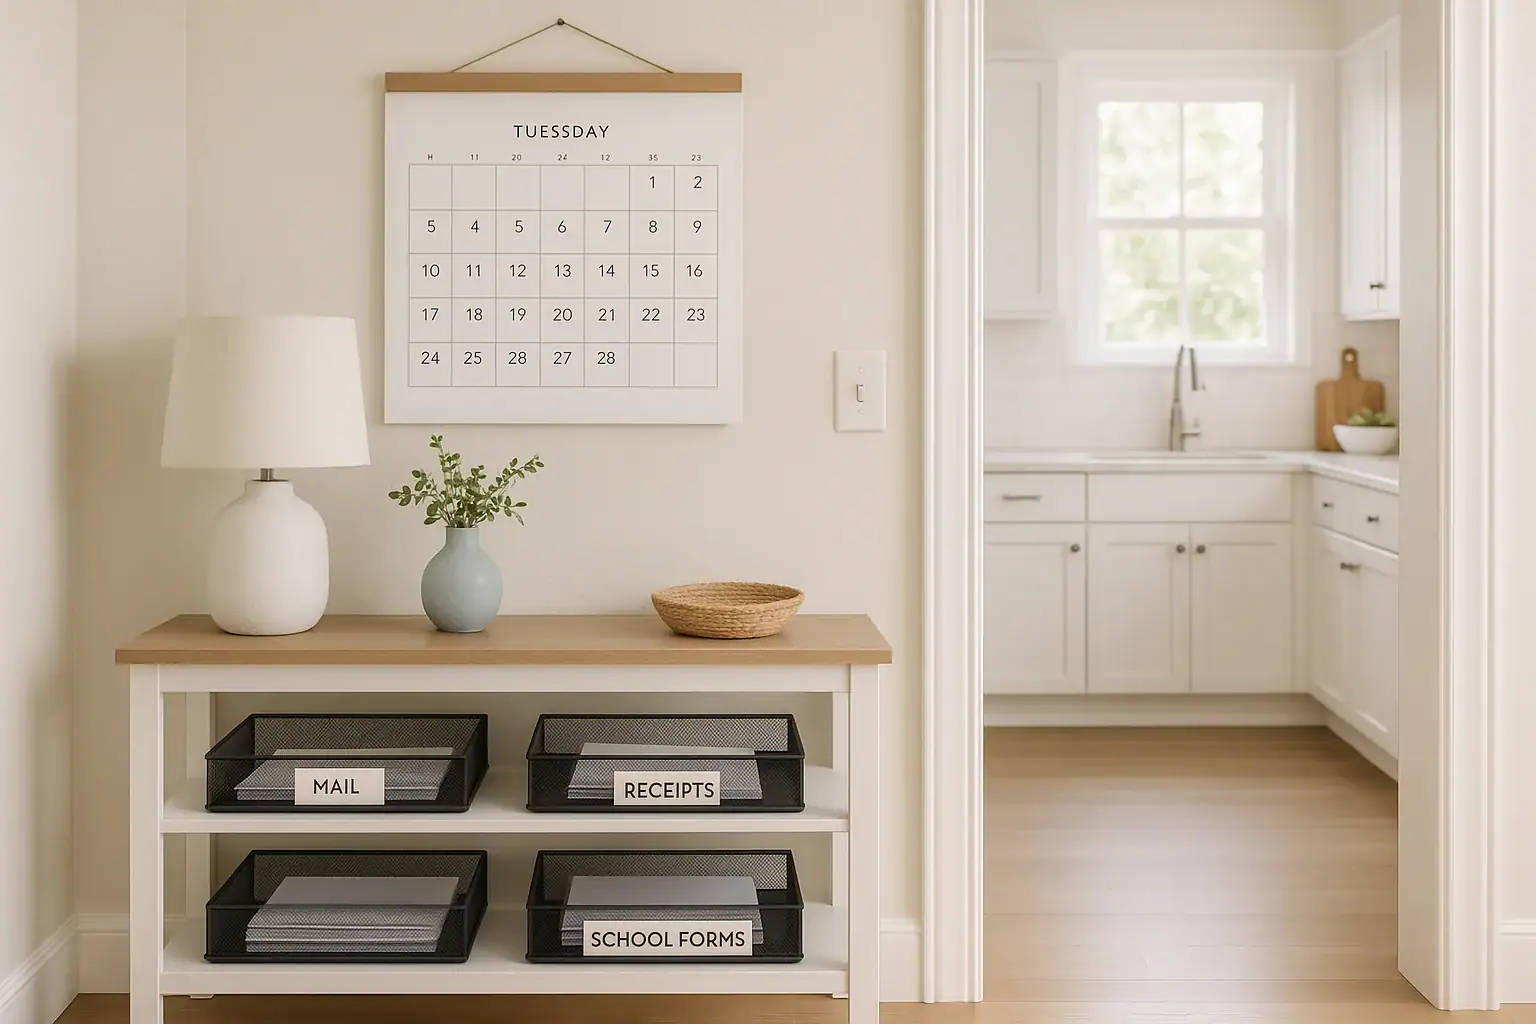
Paper clutter sneaks into almost every home. The mail arrives, kids bring home school forms, and receipts pile up in pockets and bags. Before long, your kitchen counter or entry table is buried under paper that you are afraid to throw away but do not know how to organize. The good news is you do not need a complicated filing cabinet or fancy tools to get control. What you need is a clear, repeatable paper clutter system that handles mail, receipts, and school papers from the moment they enter your home until they are filed or tossed. This guide walks you step by step through setting up that system so you can find what you need quickly and keep your surfaces clear.
Step 1: Decide the Purpose of Your Paper System
Before you set up folders or bins, get clear on what you want your paper clutter system to do. A good system is not just a place to store paper. It should:
- Catch paper the moment it enters your home
- Sort it quickly into clear categories
- Hold items that still need action, such as signing, paying, or calling
- Store important papers that must be kept for reference or records
- Make it easy to toss what you no longer need
When you know the purpose, you avoid creating “pretty clutter” that looks organized but does not actually help you manage your daily life. Keep this purpose in mind as you design each part of your system.
Step 2: Choose a Central Paper Landing Zone
Paper clutter spreads because it has no designated home. The first part of your system is a landing zone: the single place where all incoming paper goes first. This should be:
- Easy to reach when you walk in the door
- Close to where you naturally drop bags, keys, and mail
- Large enough to hold a few days of paper without overflowing
Common landing zone locations include:
- An entry table or console near the front door
- A section of the kitchen counter that you intentionally reserve for paper
- A small shelf or wall organizer near the garage entrance
Once you choose your landing zone, commit to using it. Every piece of mail, every school form, and every receipt should go there first instead of being dropped randomly around the house.
Step 3: Create Simple Categories for Mail, Receipts, and School Forms
Your system works best when categories are simple and obvious. You do not need dozens of folders. Start with just a few broad categories that cover the types of paper you handle every day.
Core Categories to Use
For most households, these categories are enough:
- To Do: Bills to pay, forms to sign, calls to make, appointments to schedule
- To File: Papers you need to keep but do not need to act on right away
- Short-Term Hold: Items you need for a limited time, such as event flyers, coupons, or upcoming trip details
- Kids and School: School forms, classroom newsletters, permission slips, and activity schedules
- Receipts: Receipts you may need for returns, warranties, or budgeting
- Shred/Recycle: Items that are ready to leave your home
Label each category clearly so every family member knows where things go. If children are involved, use large, easy-to-read labels and keep their categories within reach.
Step 4: Design a Quick Daily Sorting Routine
Even the best paper clutter system fails without a routine. The goal is to handle paper in small, regular bursts instead of letting it pile up. A five to ten minute daily routine is usually enough.
Daily Sorting Routine
Once a day, at a time that fits your schedule, stand at your landing zone and work through the stack. For each item, decide immediately which category it belongs in:
- Mail: Open it, recycle the envelopes and junk, and place action items in the “To Do” section. Put statements or notices you must keep into “To File”.
- School Forms: Sign or complete forms right away when possible, then place them in “Kids and School” or directly back in backpacks.
- Receipts: Toss receipts you do not need. Keep important ones in your “Receipts” section.
To keep the routine fast, use the “one touch” rule as often as you can: touch each piece of paper only once before it lands in its next home. If you can complete a task in under two minutes, do it immediately instead of putting it into “To Do”.
Step 5: Set Up a Simple Mail Management System
Mail is a major source of paper clutter, but it is also very predictable. You can build a streamlined system around the types of mail you receive most often.
Sort Mail the Moment It Enters
Bring the mail directly to your landing zone and stand next to your trash or recycling bin. Immediately:
- Recycle obvious junk mail and extra inserts
- Open envelopes and flatten papers to reduce bulk
- Separate mail into “To Do”, “To File”, and “Short-Term Hold”
Handle Bills and Important Notices
For bills, statements, and official notices, use these guidelines:
- Place unpaid bills in the “To Do” section, grouped by due date
- After paying, move statements you need to keep into “To File”
- For items you only need temporarily, such as event tickets or appointment reminders, keep them in “Short-Term Hold”
If you prefer digital records, you can scan or photograph important mail and store it in clearly labeled folders on your computer or cloud storage. Once you confirm the digital copy is clear and saved, you can shred the paper version if it is not legally required.
Step 6: Create a Dedicated System for Receipts
Receipts are small, easy to lose, and often needed at inconvenient times. A simple system keeps them from spreading through bags, drawers, and pockets.
Collect Receipts in One Place
Decide on a single spot where all receipts will land at home. This could be:
- A small container or tray in your landing zone
- A labeled envelope or pouch
- A section in your “Receipts” category within your paper organizer
Make it a habit to empty receipts from your wallet, purse, or pockets into this spot every evening or at least several times a week.
Sort Receipts by Purpose
Once a week, quickly sort your receipts into three groups:
- Short-Term: For possible returns or exchanges
- Budget and Records: For tracking spending, home projects, or large purchases
- Discard: For items you know you will not return and do not need for records
Keep short-term receipts in a front section where you can grab them easily. Receipts for major purchases or home repairs can be filed with related paperwork, such as home maintenance or warranty files.
Step 7: Organize School Papers and Kids’ Forms
School papers and forms can overwhelm a home during the school year. A clear, family-friendly system helps you stay on top of due dates and keep only what matters.
Set Up a School Paper Station
Near your landing zone or homework area, create a small school paper station. Include:
- A section for forms to sign and return
- A section for weekly newsletters and schedules
- A section for long-term reference, such as school calendars or activity information
Teach children to empty their backpacks into this station every afternoon. As they do, quickly scan for urgent items, such as permission slips or payment envelopes.
Decide What to Keep and What to Let Go
Not every school paper needs to be saved. Use these guidelines:
- Keep forms and notices only as long as they are relevant
- Display a few special pieces of artwork or graded work, then rotate
- At the end of each term, choose a small number of favorites to save in a memory folder
A simple rule is to keep only what you will need to reference or what truly has sentimental value. This keeps your system organized and prevents overflowing bins of school papers.
Step 8: Build Weekly and Monthly Paper Routines
Your daily routine keeps paper moving, but a weekly and monthly check-in keeps your system from getting clogged. These routines do not need to be long or complicated.
Weekly Paper Check-In
Once a week, set a timer for 15 to 20 minutes and work through your categories:
- Clear out the “To Do” section by paying bills, signing forms, and making calls
- Move completed items into “To File” or shred and recycle them
- Review “Short-Term Hold” and toss anything that is no longer needed
- Sort receipts and file or discard as needed
- Review school papers, update calendars, and remove outdated items
Monthly Paper Reset
Once a month, do a deeper reset:
- Empty the entire landing zone and put everything into its proper category
- Thin out your files by removing duplicates and outdated information
- Shred sensitive documents you no longer need
- Review your system and adjust categories if something is not working
By building these routines into your calendar, you prevent paper clutter from creeping back in and keep your system running smoothly.
Step 9: Create a Simple Long-Term Filing System
Not all paper can be tossed quickly. Some documents need to be kept for years. A simple long-term filing system keeps these items safe without becoming overwhelming.
What to Keep Long-Term
Consider keeping paper copies of items such as:
- Tax records and supporting documents for the recommended number of years
- Home purchase, sale, and major improvement records
- Insurance policies and claim records
- Vehicle titles and important loan documents
- Birth, marriage, and other vital records
How to Organize Long-Term Files
Use broad, easy-to-understand categories such as:
- Home
- Auto
- Health
- Financial
- Taxes by year
Within each category, keep only what you truly need. Label folders clearly and store them in a safe, dry place. If you choose to scan documents, make sure digital files are backed up and protected.
Step 10: Keep Counters Clear with Simple Visual Rules
Even with a good system, paper tends to drift back onto counters and tables. A few visual rules help you maintain a clutter-free look.
- No paper lives on the counter overnight: At the end of the day, everything goes to the landing zone or its final home.
- One in, one out: When a new flyer, schedule, or brochure comes in, remove an outdated one.
- Limit container size: Use containers that hold only a reasonable amount of paper so you are forced to sort regularly.
- Keep tools nearby: Store a pen, stapler, and small notepad near your landing zone so you can complete quick tasks without searching.
These simple boundaries make it easier to notice when paper is starting to pile up so you can address it before it becomes overwhelming.
Involve the Whole Household
A paper clutter system works best when everyone participates. Take a few minutes to explain the system to family members and show them where each category is located. For children, keep instructions simple and visual. You might:
- Walk them through emptying backpacks into the school station
- Show them where to put mail they bring in
- Give older children responsibility for their own “Kids and School” section
When everyone understands the system, you are not the only one responsible for managing paper, and the system is more likely to last.
Adjusting Your Paper System Over Time
Your life changes, and your paper clutter system should change with it. New jobs, moves, school changes, or shifts in how you receive bills and statements can all affect the flow of paper in your home.
Plan to review your system a few times a year and ask:
- Which categories are overflowing or never used?
- Where does paper still pile up outside the system?
- What feels confusing or inconvenient?
Then make small, focused adjustments. You might add a new folder for a recurring activity, remove a category that is not needed, or move your landing zone to a more convenient spot. The goal is not perfection but a system that fits your current stage of life and helps you stay organized with minimal effort.
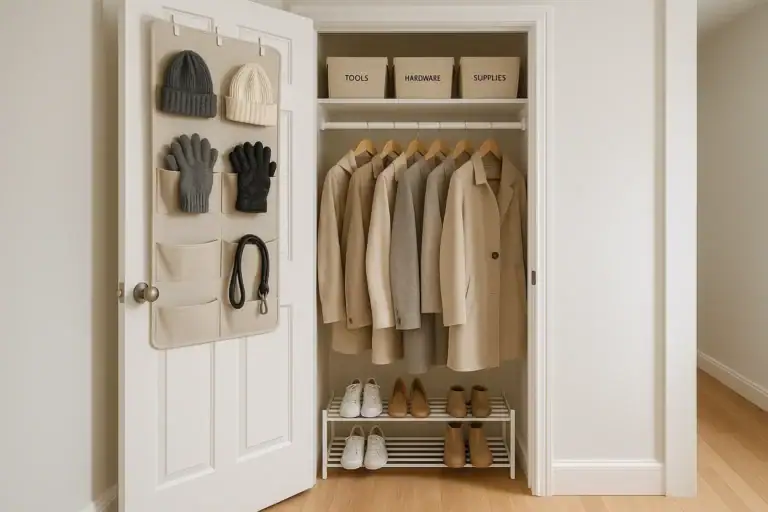 How to Organize a Hall Closet for Coats, Tools, and Everyday Items
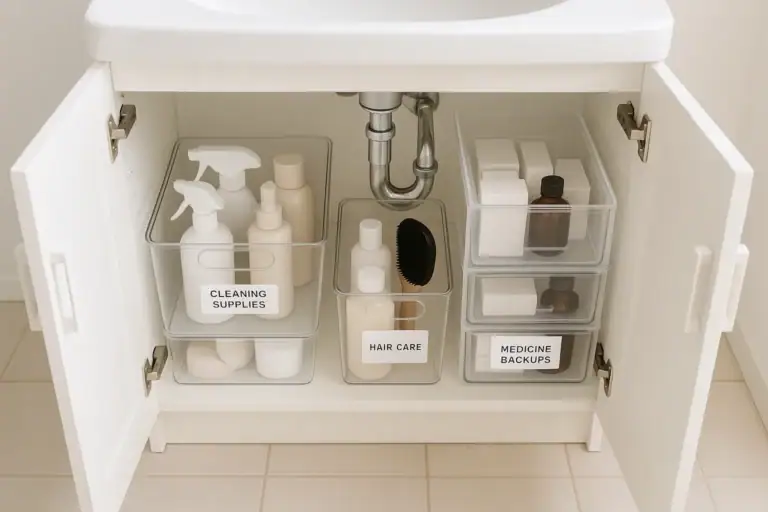 Smart Bathroom Cabinet Organization for Under-Sink Drawers and Medicine Backups
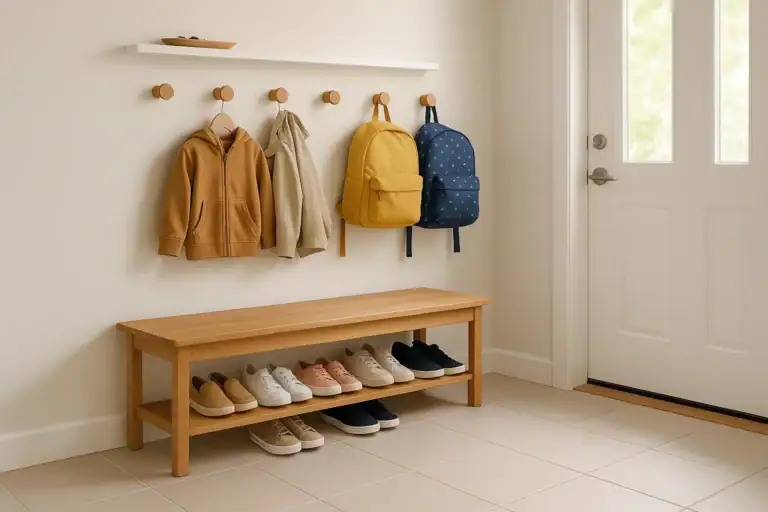 Entryway Shoe Drop Zone Organization for Busy Families