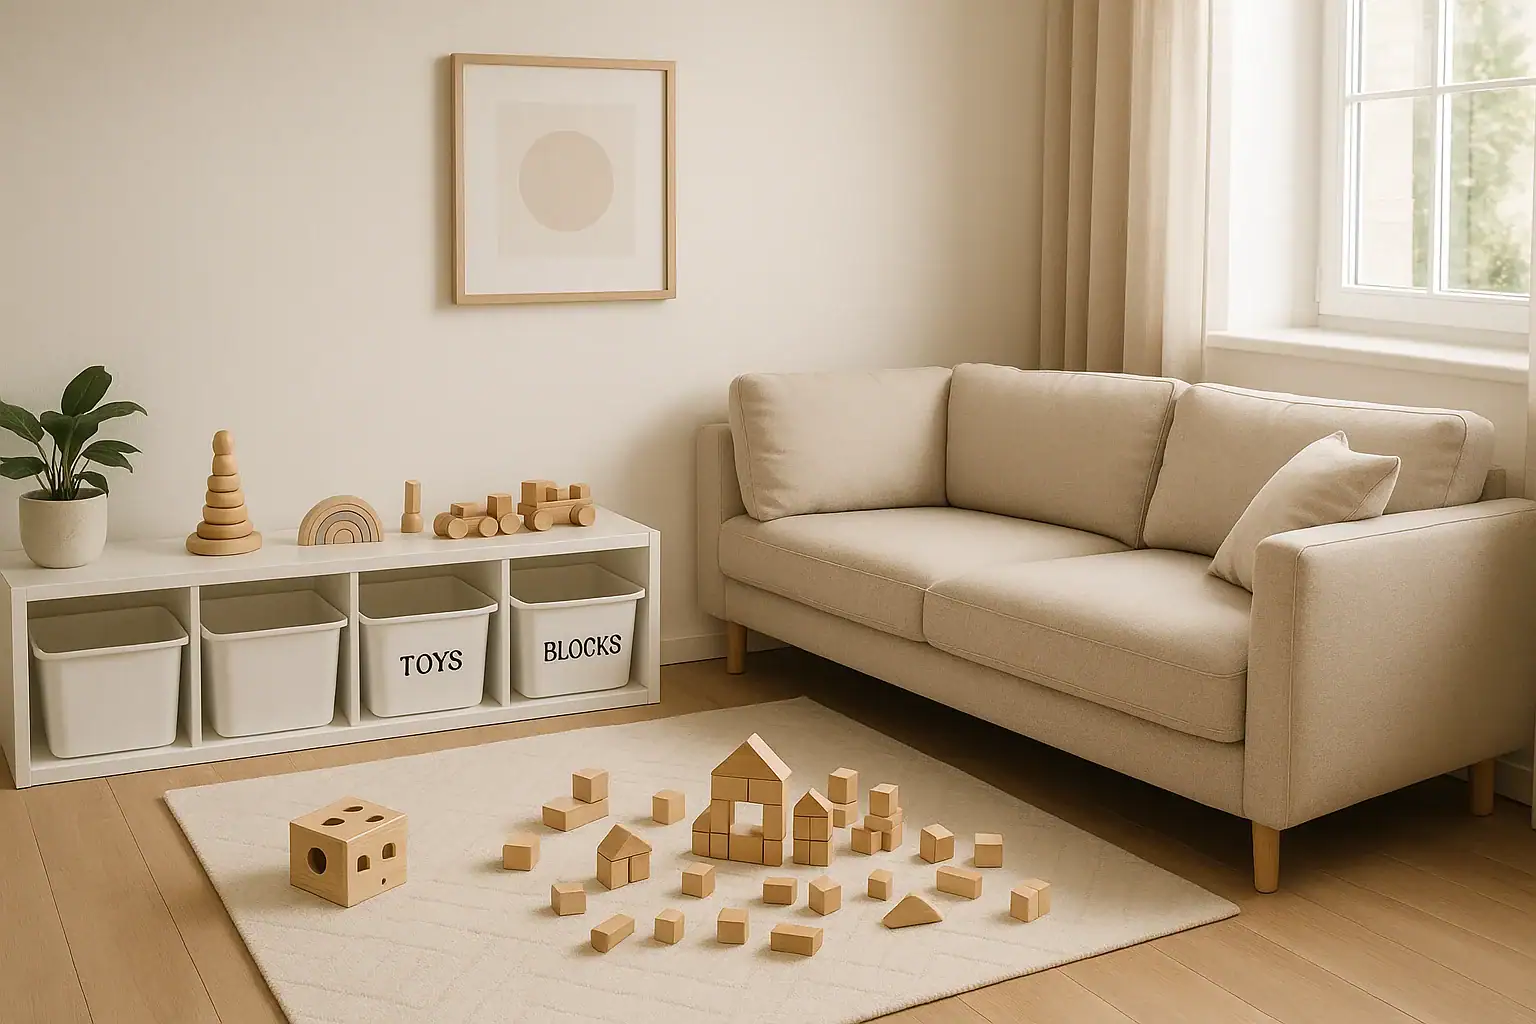
When you live in a small home, toys can quickly take over the living room. Blocks under the coffee table, stuffed animals on the sofa, puzzles stacked on the TV stand. A toy rotation system is a simple way to control the clutter while still giving kids plenty of fun, engaging options. Instead of keeping every toy out all the time, you create a small, curated selection for daily play and store the rest. Then you swap items on a regular schedule. The result is a calmer space for adults and a more exciting play area for kids.
This guide walks you step by step through setting up a toy rotation system that works for a small living room. You will learn how to declutter, choose the right storage, decide what to keep out, and create a rotation schedule that fits your family. You will also find tips for involving kids, keeping the system realistic, and troubleshooting common challenges so your living room can stay organized without feeling like a toy store.
What Is a Toy Rotation System?
A toy rotation system is an organizing method where only a portion of your child’s toys are available at any given time. The rest are stored out of sight and brought out later in planned “rotations.” This approach is especially helpful in small living rooms where storage and floor space are limited.
Instead of overflowing baskets and shelves, you aim for a small, manageable collection of toys that fit your space and your child’s current interests. Every week or two, you swap some of those toys with items from storage. Kids get the excitement of “new” toys without you needing to buy more, and your living room stays more open and peaceful.
Benefits of Toy Rotation in a Small Living Room
- Less visual clutter: Fewer toys on display makes the room feel larger, calmer, and easier to clean.
- Deeper play: Kids often focus better and play longer when they are not overwhelmed by choices.
- Easy cleanup: With fewer pieces out, daily pickup is quicker and less stressful.
- Better use of small spaces: You can design storage and play zones that fit your room instead of squeezing toys into every corner.
- Fresh interest without extra spending: Rotating toys makes old items feel new again.
Step 1: Declutter Before You Organize
A toy rotation system works best when you start with a reasonable amount of toys. In a small living room, every item needs to earn its space. Begin with a quick but honest decluttering session.
Sort Toys into Simple Categories
Gather toys from the living room and, if possible, from nearby areas like hallways or dining spaces. Sort everything into broad categories so you can see what you have:
- Building toys (blocks, magnetic tiles, construction sets)
- Pretend play (kitchen sets, dolls, figures, vehicles)
- Art and creative (crayons, play dough tools, craft kits)
- Puzzles and games
- Books and quiet-time items
- Large or bulky toys (ride-ons, big stuffed animals)
Seeing toys grouped this way helps you notice duplicates and which categories are overflowing.
Use the Keep, Donate, Toss Method
For each category, make quick decisions using three boxes or bags labeled:
- Keep: Toys your child still enjoys and that are in good condition.
- Donate or pass on: Items your child has outgrown, duplicates, or toys that are rarely used.
- Toss or recycle: Broken toys, puzzles with missing pieces, or items that are not safe.
In a small living room, it can help to set a limit for certain categories. For example, choose a maximum number of stuffed animals that can live in the living room and move the rest to a bedroom or donation bag.
Step 2: Decide Which Toys Stay in the Living Room
Once you have decluttered, decide which types of toys make the most sense to keep in your main living space. The goal is to support everyday play without overwhelming the room.
Prioritize Versatile, Open-Ended Toys
In a small space, focus on toys that can be used in many ways and for many ages. These usually give you the most play value per square foot. Good options include:
- Building blocks or construction sets
- Simple figures and vehicles
- Dress-up accessories that fold or hang easily
- Art supplies in a small caddy
- One or two favorite puzzles or games
Large, single-purpose toys may be better stored elsewhere or included only occasionally in rotations.
Set a Capacity for Your Space
Look at your living room and imagine how you want it to feel. Then set a clear limit for how many toys can be out at once. For example:
- One low shelf with four bins
- One small basket under the coffee table
- One lidded ottoman for extra items
Your capacity might look like this:
- 1 bin of building toys
- 1 bin of pretend play items
- 1 bin of puzzles or games
- 1 bin of books and quiet toys
Anything that does not fit within that capacity becomes part of your rotation storage.
Step 3: Choose Smart Storage for a Small Living Room
Storage is the backbone of a toy rotation system. In a small living room, you want containers that are easy to access, blend with your decor, and use vertical or hidden space.
Storage for Everyday Toys
These are the containers that hold the toys currently in rotation and stay in the living room:
- Low shelves: Short shelving units or wall-mounted shelves can hold labeled bins without blocking windows.
- Lidded baskets or bins: Neutral-colored baskets slide under a console table or next to the sofa.
- Storage ottomans: These can double as seating or a coffee table while hiding toys inside.
- Under-sofa storage: Shallow rolling bins can tuck under a couch and pull out when it is playtime.
Storage for Rotated Toys
Toys that are “resting” between rotations should be stored out of sight but still easy to reach when it is time to swap. Consider:
- Closet shelves in a hallway or bedroom
- Labeled plastic bins stacked in a corner of a closet
- Clear under-bed storage in a child’s room
Label each bin by toy type or by rotation set, such as “Set A,” “Set B,” and so on. Clear labels make it easier to rotate quickly without hunting for pieces.
Step 4: Plan Your Toy Rotation System
With toys decluttered and storage in place, you can design a simple rotation plan. The goal is to keep it flexible and easy enough that you will actually use it.
Decide How Many Sets You Need
Count how many toys you want available in the living room at one time, then divide the rest into sets. For example, if your capacity is four bins of toys, you might create three or four full sets of toys to rotate through.
A sample setup might look like this:
- Set 1: Blocks, farm animals, a simple puzzle, a few board books
- Set 2: Magnetic tiles, cars and a play mat, a matching game, drawing supplies
- Set 3: Building logs, dolls or figures, a shape sorter, storybooks
- Set 4 (optional): Train set, dress-up items, a floor puzzle, activity cards
Each set should include a mix of building, pretend, and quiet-time toys so your child has balanced options no matter which set is out.
Choose a Rotation Schedule
There is no single right schedule. The best one is the schedule you can maintain. Common options include:
- Every week: Good for younger children who move through interests quickly.
- Every two weeks: Allows kids time to fully explore each set.
- Monthly: Works well if you have fewer toys or a very busy schedule.
Watch your child’s behavior for clues. If they seem bored or are pulling out stored toys, it might be time to rotate. If they are deeply engaged with current toys, you can wait longer.
Keep the Process Simple
To make rotation quick and realistic:
- Store each set together in one or two labeled bins.
- Pick a regular day, such as Sunday evening, to swap toys.
- Rotate only part of the set if a favorite toy is getting heavy use.
- Use a small checklist or note on the storage bin to remember what belongs in each set.
Step 5: Involve Your Kids in the System
When children help with the toy rotation system, they are more likely to respect the limits and enjoy the process. You can adjust your approach based on age and personality.
For Toddlers and Preschoolers
Young children do not need to understand the full system, but they can participate in simple ways:
- Let them help choose one or two special toys that always stay out.
- Invite them to “say goodbye” to toys going into the bin and “hello” to toys coming out.
- Turn cleanup into a game by matching toys to the correct bin or shelf.
For School-Aged Kids
Older kids can help plan rotations and take ownership of the space:
- Ask which toys they want in the next set and which they are ready to store.
- Give them a say in labeling bins or decorating a simple rotation chart.
- Explain that limiting toys in the living room makes it easier to find favorite items and keep the room comfortable for everyone.
Step 6: Keep the Living Room Organized Day to Day
A toy rotation system supports organization, but daily habits keep your living room truly tidy. The key is to make cleanup fast and predictable.
Create Clear Homes for Everything
Label bins with words, pictures, or both so everyone knows where items belong. For example:
- “Blocks” with a picture of blocks
- “Cars” with a picture of vehicles
- “Books” with a picture of a book
When every toy has a home, cleanup takes less mental effort for both adults and kids.
Build Short Cleanup Routines
Instead of waiting until the room is overwhelming, add short cleanup times to your routine:
- Five minutes before meals
- Before leaving the house
- Before starting a movie or screen time
Use a timer or a short song to keep it light. In a small living room, even a few minutes of daily pickup makes a big difference.
Troubleshooting Common Toy Rotation Challenges
Even with a good plan, you may hit a few bumps as you adjust to a toy rotation system. These tips can help you stay flexible while keeping your living room organized.
Challenge: Kids Keep Asking for Stored Toys
If your child frequently asks for toys that are in storage, try these ideas:
- Allow one “swap” item between rotations so they feel some control.
- Keep a small basket for “always available” comfort toys such as a favorite stuffed animal.
- Shorten the rotation cycle for a while to see if that helps.
Challenge: The System Feels Like Too Much Work
If rotations feel overwhelming, simplify rather than giving up:
- Reduce the number of sets so there is less to track.
- Rotate only one or two bins at a time instead of the whole set.
- Skip labeling by category and label bins by set (Set 1, Set 2) to make packing easier.
Challenge: New Toys Keep Entering the Space
Birthdays, holidays, and gifts can quickly undo your hard work. To stay in control:
- Adopt a “one in, one out” rule for the living room.
- Review toys every few months and donate items that are no longer loved.
- Keep a small “gift closet” or storage bin where new items can wait until you are ready to rotate them in.
Adapting the System to Different Living Room Layouts
Every home is different, but a toy rotation system can be adjusted to fit your layout and lifestyle.
Open-Concept Living Rooms
When your living room flows into the dining area or kitchen, it is especially important to control visual clutter. Try:
- Using closed storage like cabinets or lidded benches to hide toys when not in use.
- Keeping toys on the side of the room farthest from the main entry door.
- Limiting the number of large toys and relying more on compact, stackable items.
Very Small or Narrow Living Rooms
In tight spaces, every inch matters. Focus on:
- Vertical storage such as wall shelves or narrow bookcases.
- Under-furniture storage for toys that are part of the current rotation.
- Keeping only a few multi-use toys in the living room and storing the rest in a nearby bedroom.
Shared Living and Guest Spaces
If your living room doubles as a guest room or home office, you may want toys to disappear quickly when needed. Consider:
- Foldable play mats that can be stored in a closet.
- Stackable bins that move easily to another room when guests arrive.
- A clear rule that all toys return to closed storage at the end of the day.
Making Your Toy Rotation System Last
The best toy rotation system is one that feels natural and sustainable for your family. It does not have to be perfect or rigid. Think of it as a flexible framework that keeps your small living room under control while supporting your child’s play.
As your child grows, revisit your categories and storage. Some toys will be passed along, and new interests will appear. Adjust your rotation sets and schedule as needed. Over time, you will learn which toys truly earn their place in your living room and which can be stored elsewhere or shared with others.
With a little planning and some simple habits, your small living room can function as both a cozy family space and a welcoming play area. A thoughtful toy rotation system gives you room to breathe, room to relax, and room for kids to explore without the constant clutter.
If you want more ideas for keeping your home tidy and functional, explore additional cleaning and organization tips and adapt them to your unique space and routine.
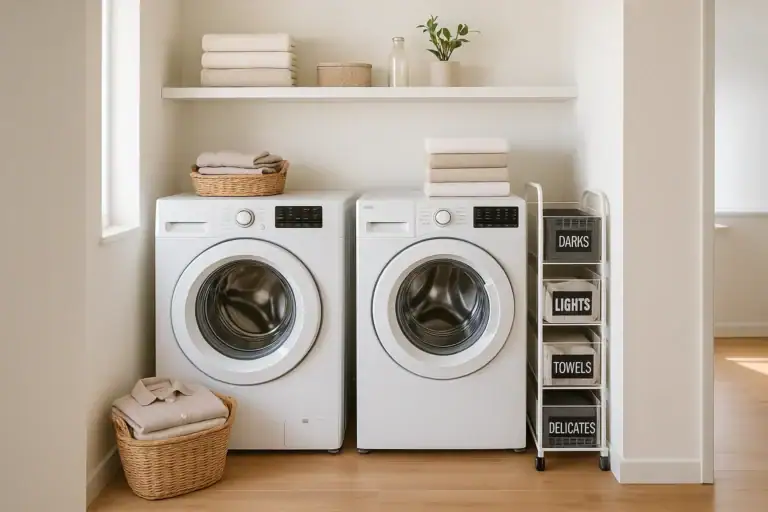 Laundry Sorting Systems for Small Households: Simple Ways to Stay Organized
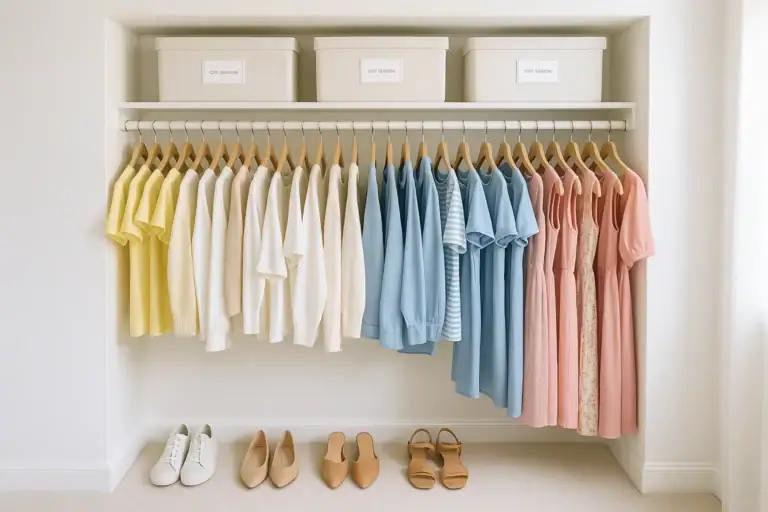 Seasonal Closet Switch: One-Hour Clothing Rotation Checklist
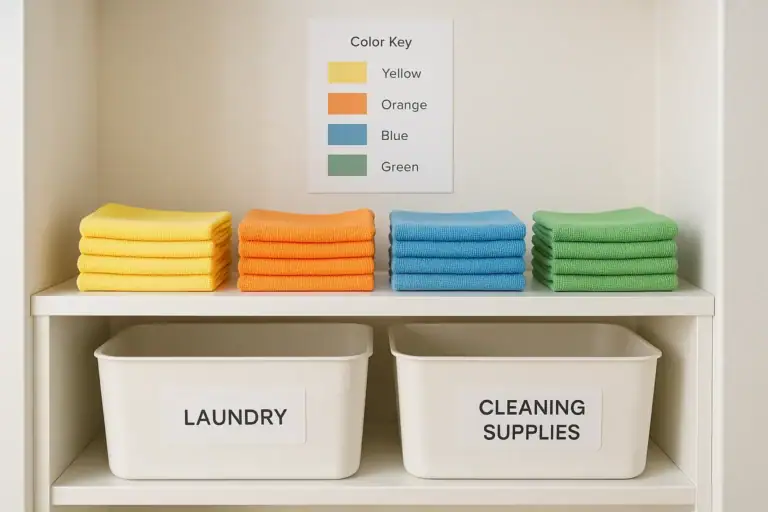 How to Use a Microfiber Cloth Color Coding System for Stress-Free Home Cleaning