Holiday decorations can make your home feel warm and festive, but once the season ends, all those wreaths, lights, and ornaments have to go somewhere. For many households, the basement becomes the default storage spot. Over time, that can turn into a maze of half-labeled boxes, tangled lights, and mystery bins that you dread opening. The good news is you do not need a huge storage room or a perfect basement to keep holiday decor under control. With a little planning and a few simple systems, you can store everything neatly without letting basement clutter take over.
This guide walks you step by step through decluttering, organizing, and storing holiday decorations so they are easy to find, safe from damage, and out of your way most of the year. You will learn how to choose the right containers, use vertical space, label like a pro, and even store decor outside the basement when needed. The result: a calmer, more organized home and a much smoother setup next holiday season.
Step 1: Declutter Before You Store Anything
Storing less is the fastest way to reduce basement clutter. Before you pack a single ornament, take time to sort through everything you own. This one step can dramatically cut how much space you need.
Sort by Keep, Donate, Trash, and Unsure
Gather all your holiday decorations in one area, even if it feels overwhelming. Then create four categories:
- Keep: Items you love, use regularly, and are in good condition.
- Donate or give away: Duplicates, decor that no longer fits your style, or items you have not used in the last two seasons.
- Trash or recycle: Broken lights, cracked ornaments, damaged candles, and anything unsafe.
- Unsure: A small box for pieces you are not ready to decide on. Revisit it at the end.
Be honest with yourself. If you dread putting something out each year or it never leaves the box, it is adding clutter, not joy.
Set Simple Decluttering Rules
To avoid overthinking every decision, use a few quick rules:
- If it is broken and you will not repair it within a week, let it go.
- If you have not used it in two or more holiday seasons, donate it.
- If it does not fit your current home or style, release it.
- If it is sentimental but never displayed, take a photo and keep only the most meaningful pieces.
Once you have trimmed down your collection, you can design a storage system that truly fits your space instead of forcing your space to fit too much stuff.
Step 2: Choose the Right Storage Spots (Not Just the Basement)
Even if your basement is the main storage area, spreading holiday decor across a few smart locations can prevent clutter from piling up in one place.
Use the Basement for Bulky, Infrequently Used Items
Reserve basement space for items you only access once or twice a year, such as:
- Artificial trees and large wreaths
- Outdoor yard decorations
- Large bins of lights or garlands
- Seasonal serving pieces used only for big gatherings
Keep these items along walls and on shelves, not scattered on the floor. Floor piles are the fastest path to a cluttered basement.
Store Small or Delicate Items Closer to Living Areas
Not everything has to live in the basement. Consider storing smaller or fragile items in:
- High shelves in bedroom or hallway closets
- Under-bed containers in a guest room
- Cabinets in a dining room or entryway
Keeping delicate ornaments or sentimental pieces on an upper floor can protect them from damp basements and make them easier to access when you decorate.
Think Seasonally: Rotate Storage by Time of Year
If space is tight, use a rotation system. For example:
- Store winter holiday decor in the most accessible spots from October through January.
- Move spring or summer decor forward when winter items are put away.
- Keep off-season items in the hardest-to-reach areas, like high shelves or the back of deep storage.
This way, you are not digging through boxes of out-of-season decor to find what you need now.
Step 3: Pick Containers That Prevent Basement Clutter
The right containers keep decorations safe and make it easier to stack and store them neatly. Mismatched, flimsy boxes tend to topple, sag, and create visual chaos.
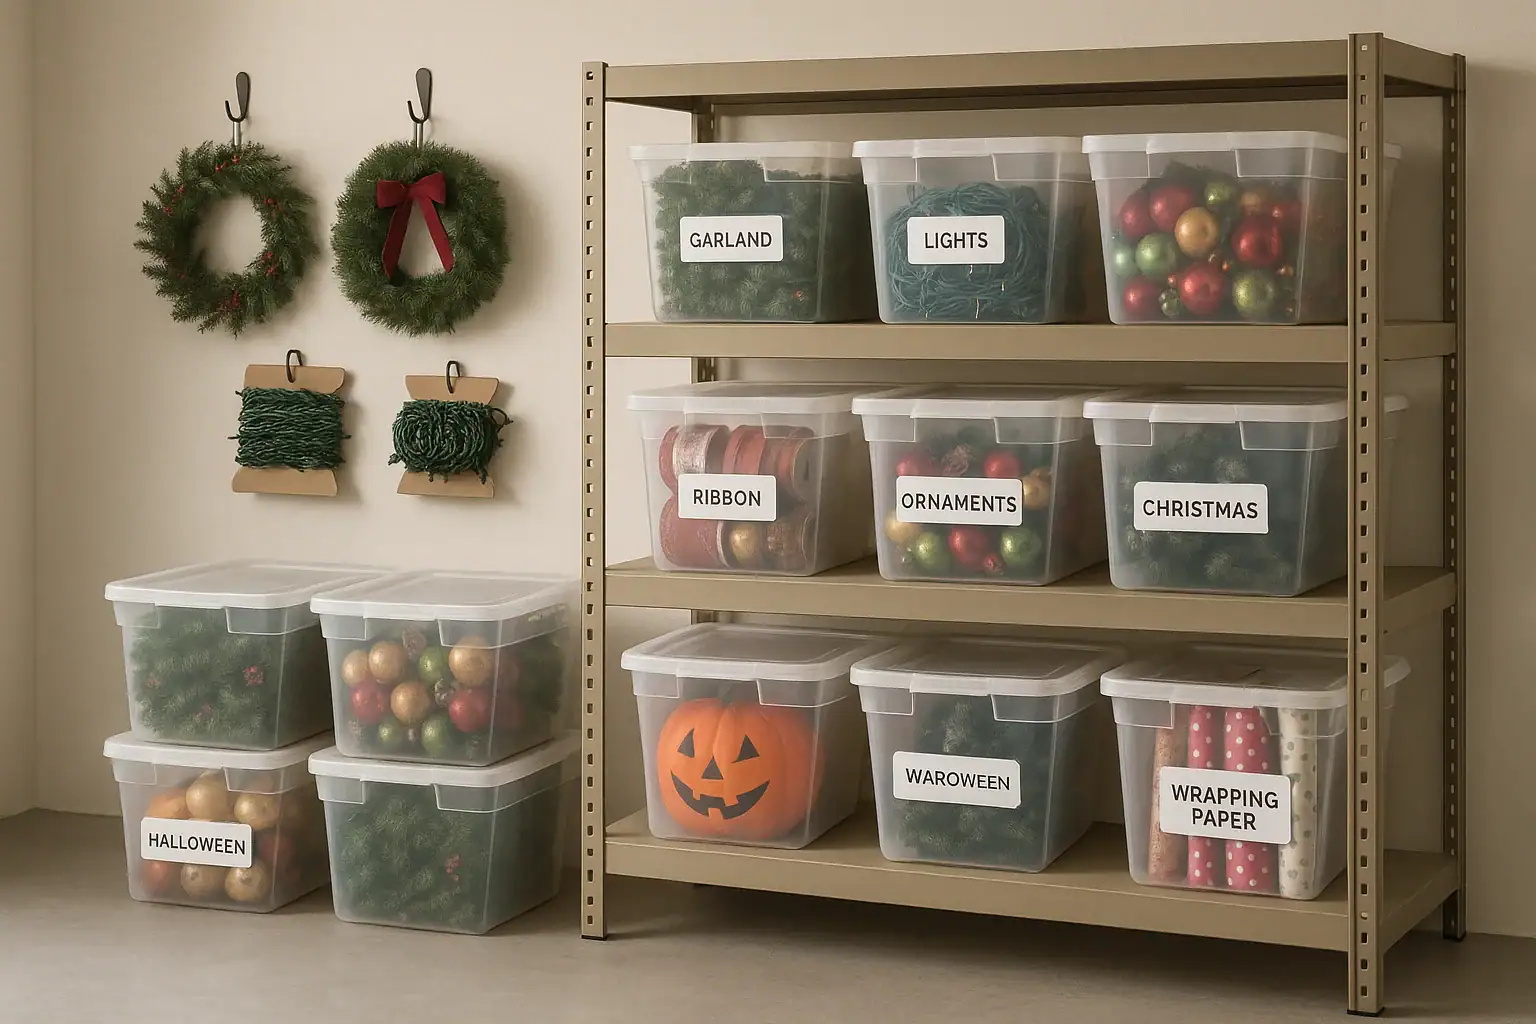
Use Clear, Stackable Bins When Possible
Clear plastic bins are ideal for basements because they:
- Protect items from moisture better than cardboard
- Allow you to see contents at a glance
- Stack securely to maximize vertical space
If you already own solid-colored bins, you can still use them. Just make sure they are sturdy and similar in size so they stack safely.
Right-Size the Containers
Oversized bins may seem efficient, but they get heavy and hard to move. Instead:
- Use medium bins for ornaments and mixed decor.
- Use long, shallow bins for wrapping paper, garlands, and table runners.
- Use smaller containers or divided boxes inside larger bins to keep categories separate.
When bins are easy to lift and carry, you are more likely to put things away properly each year.
Protect Fragile Items with Simple Solutions
You do not need specialty organizers for every item. Use what you have:
- Wrap ornaments in tissue paper, coffee filters, or soft cloths.
- Use cardboard dividers or small boxes inside a larger bin to separate fragile pieces.
- Wrap string lights around cardboard pieces or sturdy plastic to prevent tangles.
- Roll fabric items, like stockings or tree skirts, to save space and reduce wrinkles.
Step 4: Build an Easy-to-Follow Labeling System
Labels are the secret to avoiding basement chaos. When every container is clearly marked, you can find what you need without opening a dozen bins.
Label by Holiday and Room
Instead of one giant bin labeled “Holiday,” break it down. Use a simple naming pattern, such as:
- “Winter – Living Room – Tree Decor”
- “Winter – Outdoor – Porch Lights”
- “Fall – Dining Room – Table Decor”
- “Spring – Entry – Wreaths”
Label at least two sides of each bin plus the lid, so you can read it no matter how it is stacked.
Create a Simple Inventory List
If you have a large collection, an inventory can save time and reduce clutter. You can:
- Keep a paper list taped to the inside of a basement door.
- Use a notes app to track how many bins you have per holiday and what is inside each.
- Number your bins (for example, “Winter 1 of 5”) and list contents next to each number.
This helps you notice when your collection starts to grow again, so you can declutter before it gets out of control.
Step 5: Use Vertical Space and Zones in the Basement
To avoid clutter, think of your basement as a set of zones, not a dumping ground. Give holiday decor a defined home and use vertical space to keep the floor clear.
Install or Use Shelving
If possible, store bins on shelves instead of directly on the floor. This:
- Protects items from minor moisture or spills
- Makes it easier to see labels and access bins
- Prevents piles that collapse or spread into walkways
Adjustable shelves let you fit different bin sizes and change the layout as your needs change.
Create a Dedicated Holiday Storage Zone
Choose one wall or one shelving unit as your “holiday zone.” Within that space, group items by holiday and type. For example:
- Top shelf: Lightweight items like wreaths and garlands
- Middle shelves: Bins of ornaments, lights, and tabletop decor
- Bottom shelves: Heavier items like outdoor decor and large serving pieces
Keeping everything together means you are not searching all over the basement when it is time to decorate.
Use Hooks and Ceiling Space for Awkward Items
Awkwardly shaped items can eat up floor space. Instead, try:
- Hanging wreaths on wall hooks or a pegboard
- Suspending lightweight decor from ceiling hooks or a storage rack
- Storing artificial trees upright in a corner or strapped to a support post
By going vertical, you keep pathways clear and your basement feels more open and organized.
Step 6: Separate Everyday Storage from Holiday Storage
One reason basements feel cluttered is that everything gets mixed together: tools, sports gear, keepsakes, and holiday decor. Separating categories makes it easier to stay organized.
Give Each Category Its Own Area
Divide your basement into broad zones, such as:
- Holiday and seasonal decor
- Household supplies and tools
- Memorabilia and keepsakes
- Sports and outdoor gear
Keep holiday items in one clearly defined section. This prevents random items from getting tossed into your decor bins and keeps everything easy to find.
Use Color-Coding if It Helps You
Color-coding is optional but can be helpful. For example:
- Red or green labels for winter holiday decor
- Orange labels for fall and harvest decor
- Pastel labels for spring items
The goal is not perfection. Choose simple systems you will actually maintain year after year.
Step 7: Make Setup and Take-Down Easier
How you pack away decorations affects how cluttered your basement feels later. A few extra minutes at the end of the season can save hours next year.
Pack by Decorating Order
Think about the order you decorate in and pack accordingly. For example:
- Bin 1: Items you use first, such as outdoor lights and entryway decor.
- Bin 2: Tree ornaments and tree skirt.
- Bin 3: Mantel and living room accents.
- Bin 4: Dining table and kitchen decor.
Label each bin with a number that matches the decorating order. When you pull items out next year, you can work through them step by step instead of opening everything at once.
Include a “First Out” and “Last In” Bin
Create one small bin labeled “First Out / Last In.” Use it for:
- Essential hooks, extension cords, and timers
- A few simple decor pieces you like to put out early
- Basic tools like scissors, tape, and twist ties
Store this bin at the front of your holiday zone. When the season starts, you will have what you need without digging through everything.
Step 8: Protect Decorations from Basement Conditions
Basements can be damp, dusty, or prone to temperature swings. Protecting your decor keeps it looking good and reduces the chance you will have to replace damaged items later.
Keep Items Off the Floor
Whenever possible, avoid storing decor directly on concrete. Use:
- Shelving units
- Wooden pallets
- Low platforms or risers
This adds a layer of protection against minor leaks or condensation.
Seal Bins Tightly
Make sure lids close fully and securely. For cardboard boxes you still use, reinforce the bottom with tape and avoid overfilling. If your basement is very damp, consider:
- Using moisture absorbers near your holiday storage zone
- Placing silica gel packets in bins with delicate items
- Avoiding candles or wax items in hot or humid areas
Step 9: Create a Simple Annual Holiday Storage Routine
Organization is not a one-time project. A short yearly routine keeps your basement from slowly filling up with clutter again.
Do a Quick Edit Every Season
When you take decorations down each year, spend 10 to 15 minutes editing:
- Remove items that broke or did not work well.
- Set aside decor you did not use and are ready to donate.
- Update labels if you change how you group items.
Place a donation box near your holiday zone so it is easy to drop items in as you go.
Set a Limit for Each Holiday
To prevent slow buildup, decide how many bins you are willing to dedicate to each holiday. For example:
- Winter holidays: up to 6 bins
- Fall decor: up to 3 bins
- Spring and summer: up to 2 bins
When you reach the limit, something has to go before something new comes in. This simple rule keeps your basement from overflowing.
Step 10: Use Non-Basement Spaces Creatively
If your basement is small or already serving other purposes, get creative with where you store holiday items. Spreading them out smartly can reduce clutter in any one area.
Hidden Storage Ideas Around the House
Look for underused spaces, such as:
- Under-bed storage in rarely used rooms
- High shelves above clothing rods in closets
- Space under stairs with labeled bins
- Cabinets over laundry machines or in mudrooms
Store the items you decorate with last or least often in the hardest-to-reach spots and keep frequently used decor more accessible.
Keep Wrapping Supplies Separate
Wrapping paper, gift bags, tags, and ribbons can easily tangle with decor and add to the clutter. Instead:
- Store wrapping supplies in a long, shallow bin under a bed or on a closet floor.
- Use a hanging organizer on the back of a door for tissue paper and gift bags.
- Label the container clearly so it does not get mixed into holiday decor bins.
Keeping wrapping supplies separate makes both gift wrapping and decor storage more efficient.
Putting It All Together
Storing holiday decorations without basement clutter is less about having a huge space and more about using the space you have intentionally. By decluttering first, choosing the right containers, labeling clearly, and assigning a dedicated holiday zone, you turn your basement from a catch-all into a well-organized storage area.
Start with one step: maybe it is sorting through ornaments, setting up a few shelves, or simply labeling the bins you already have. Each small improvement will make next season easier. Over time, you will build a storage system that protects your decorations, keeps your basement clear, and makes decorating for the holidays something to look forward to instead of a chore.
If you want more ideas for simplifying storage and keeping every room organized, explore additional cleaning and organization tips and adapt the ones that fit your home and lifestyle best.
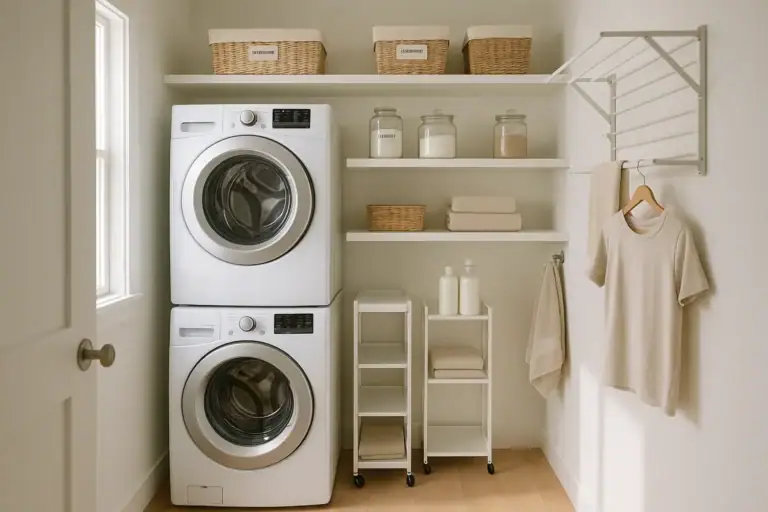 How to Organize a Laundry Room for Small Spaces
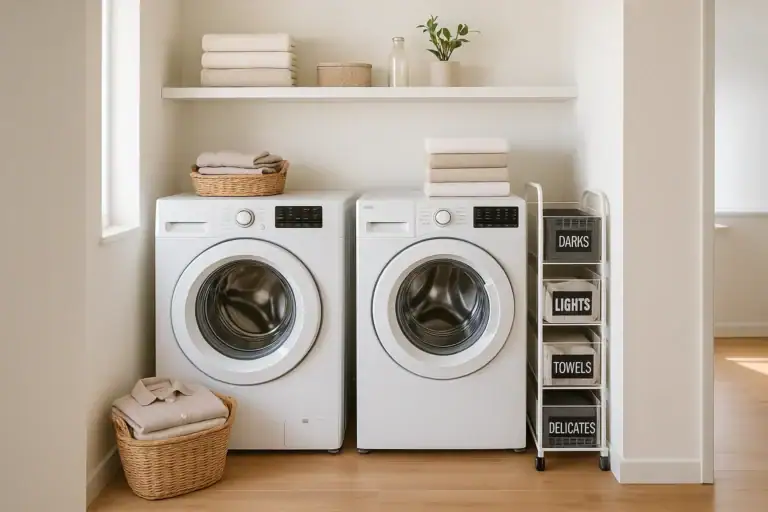 Laundry Sorting Systems for Small Households: Simple Ways to Stay Organized
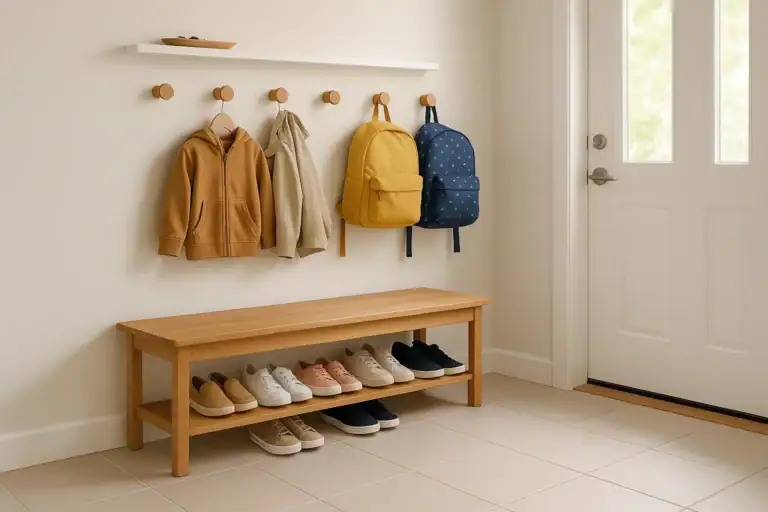 Entryway Shoe Drop Zone Organization for Busy Families