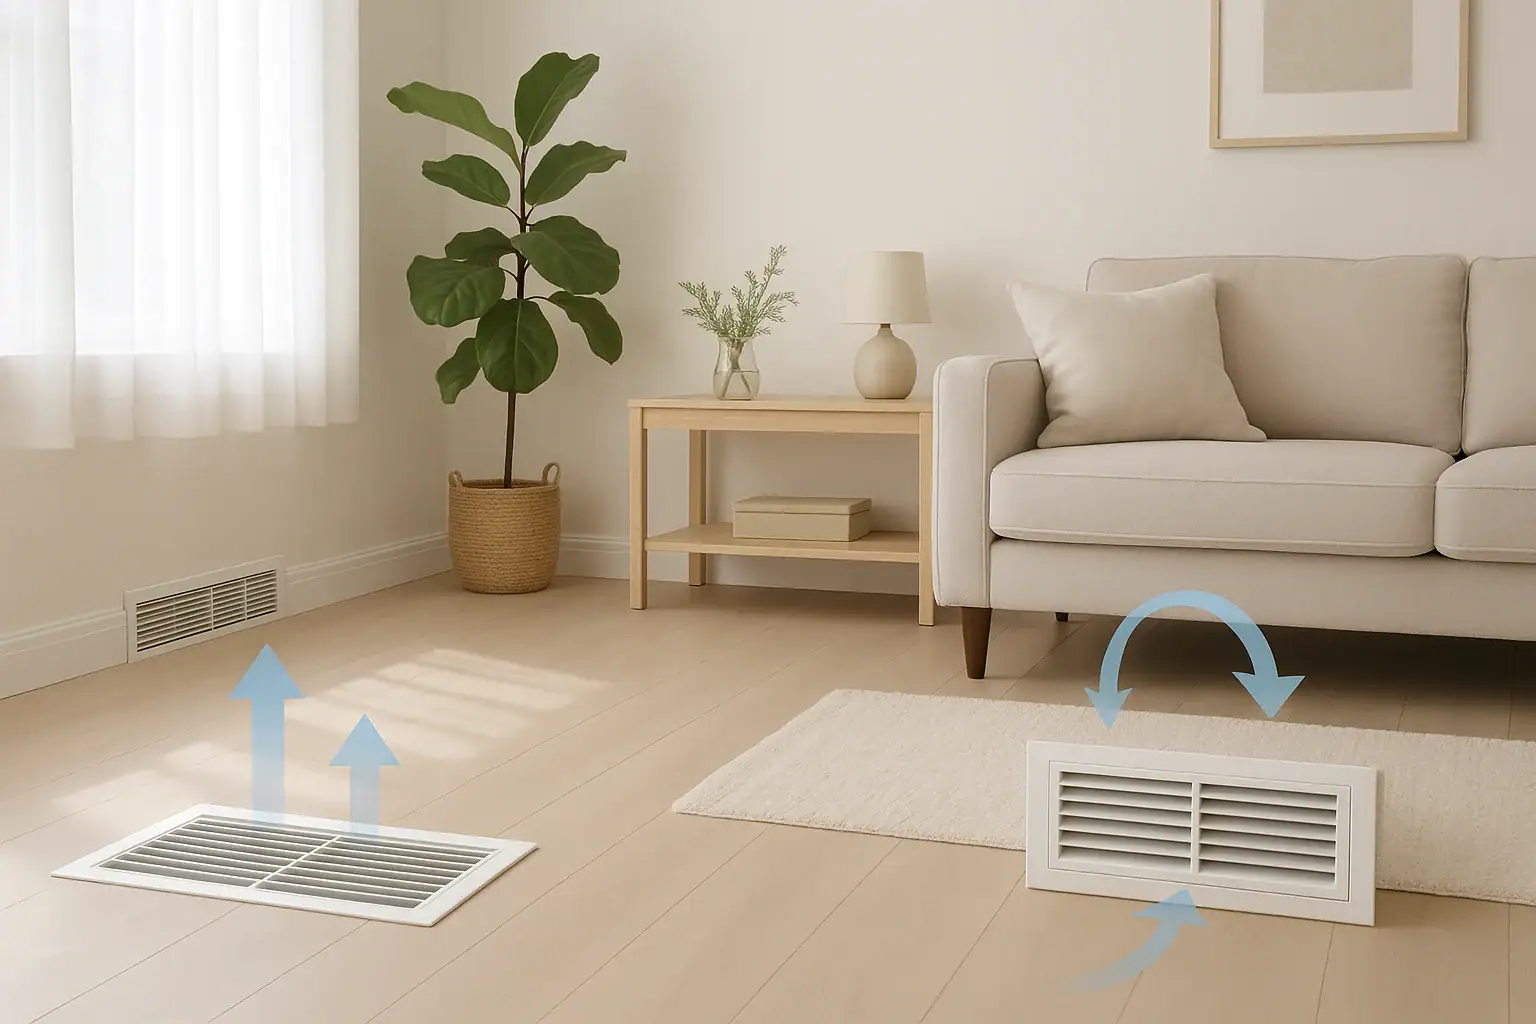
Walk into any room in your home and you will probably see at least one vent on the wall, floor, or ceiling. Those vents are part of your heating and cooling system, but they do not all do the same job. Some push conditioned air into the room, while others pull air back to be filtered and treated again. Knowing which is which is more than a fun trivia fact. It helps you use your system correctly, keep your home more comfortable, and avoid common mistakes like blocking the wrong vents or closing off airflow in the wrong places.
This guide explains the difference between supply vents and return vents in clear, practical terms. You will learn how each type works, how to tell them apart in your own home, and what to do (and not do) with them. You will also see how proper vent use can improve comfort, reduce dust, and even support better energy efficiency. No tools or technical background are required, just a few minutes of observation and some simple tests you can safely perform yourself.
What Are Supply and Return Vents?
Your heating and cooling system is a loop. Air is pulled from your home, conditioned, and then sent back into your rooms. Supply vents and return vents are the openings that make this loop possible.
What Is a Supply Vent?
A supply vent is the opening where heated or cooled air is blown into your room from the ductwork. When your system is running, you can usually feel air coming out of these vents.
Key traits of supply vents:
- They blow air out into the room.
- They often have an adjustable grille or lever to change the direction or volume of airflow.
- They are usually smaller and may be located on exterior walls, ceilings, or floors near windows or doors.
- They deliver conditioned air that has already been heated or cooled.
What Is a Return Vent?
A return vent (or return air grille) is where air is pulled from the room back into the system. The air goes through filters and equipment before being sent back out through the supply vents.
Key traits of return vents:
- They pull air in from the room.
- They are often larger than supply vents and may be centrally located.
- They usually do not have a full shutoff lever, just a fixed or lightly adjustable grille.
- They may hold or sit behind the main air filter for your system.
Together, supply and return vents keep air moving, mixing older room air with freshly conditioned air. When that balance is right, your home feels more even, comfortable, and easier to breathe in.
Supply Vent vs Return Vent: Why the Difference Matters
It might be tempting to treat all vents the same, but they serve different purposes. Misunderstanding the difference can lead to hot and cold spots, noisy ducts, or even extra strain on your equipment.
Comfort and Temperature Balance
Supply vents are responsible for delivering the temperature you set at the thermostat. If they are blocked or closed, certain rooms may never reach the right temperature. Return vents help the system sense and correct those temperatures by pulling room air back to be measured and treated again.
When supply and return vents are both clear and working together, you are more likely to experience:
- More even temperatures from room to room
- Fewer drafts or hot and cold spots
- Better air mixing, so the thermostat reading matches how the room feels
Air Quality and Dust Control
Return vents often lead directly to your main air filter. If they are blocked or choked with dust, less air passes through the filter and more particles stay in your living spaces. Understanding where the returns are helps you keep the right vents clean and open.
Good return airflow supports:
- More effective filtration of dust, dander, and pollen
- Less visible dust settling on surfaces
- Better odor control as air cycles more frequently
System Stress and Energy Use
Blocking or closing the wrong vents can increase pressure in your ducts and make the blower work harder. Over time, that can mean more wear on parts and potentially higher energy use. Knowing which vents are supply and which are return helps you avoid closing off critical airflow paths.
How to Tell a Supply Vent from a Return Vent
You do not need special tools to identify your vents. With the system running, you can usually tell the difference in a few seconds using touch, sound, and a simple tissue test.
Step 1: Turn the System On
First, make sure your heating or cooling system is running so air is actively moving.
- Set the thermostat to “heat” or “cool,” depending on the season.
- Lower or raise the temperature a few degrees so the system turns on.
- Wait a minute or two for air to start flowing through the ducts.
Step 2: Use the Hand Test
Go to a vent and place your hand a few inches away from the grille.
- If you feel air blowing out toward your hand, it is a supply vent.
- If you feel a gentle pull of air toward the vent, it is a return vent.
Try this on a few vents around your home. You will quickly see a pattern of which vents supply air and which ones return it.
Step 3: The Tissue Test
If you are still not sure, use a small piece of tissue or a very light strip of paper.
- Hold the tissue in front of the vent while the system is running.
- If the tissue blows away from the vent, it is a supply vent.
- If the tissue is pulled toward the vent and may even stick lightly, it is a return vent.
Do not tape anything directly over the vent for this test. Just hold the tissue loosely in front of the grille.
Step 4: Look at Size and Location
Once you have identified a few vents by feel, you can use visual cues to spot others.
Typical supply vent clues:
- Smaller in size, often about the width of a floorboard or a small wall grille
- May have a lever or wheel to change direction or partially close the vent
- Often placed near exterior walls, under windows, or in ceilings above seating areas
Typical return vent clues:
- Larger grilles, sometimes several times bigger than supply vents
- Located in central hallways, near staircases, or on higher walls
- Usually no full shutoff lever, just fixed louvers
- May be the spot where you change your main air filter
Step 5: Check for Filters
Some homes have the main air filter located behind a large grille in a hallway or ceiling. If you open a vent and see a filter, that vent is part of the return side. Supply vents rarely house filters.
Common Vent Layouts in US Homes
Every home is a little different, but there are patterns in how vents are laid out. Understanding these can help you quickly map supply and return vents throughout your space.
Homes with a Single Central Return
Many smaller or older homes have one large return vent, often in a hallway or near the living room.
Typical layout:
- One large return grille in a central location
- Several smaller supply vents in each main room
- Bedrooms may have supply vents but no dedicated returns
In this setup, it is especially important not to block that big central return, because it is the main path for air to get back to the system.
Homes with Returns in Each Bedroom
Newer or larger homes sometimes have a return vent in each bedroom and common area.
Typical layout:
- Smaller return vents in most rooms, often on interior walls
- Supply vents placed near windows or in ceilings
- One or more larger returns in hallways or open spaces
This layout can provide more even temperatures but also gives you more vents to keep clear and dust-free.
Floor vs Ceiling Vents
In some regions, supply vents are commonly in the floor, while in others they are often in the ceiling. Returns may be high on walls or in ceilings to pull warm air up and away.
- Floor supplies, high returns: Helps warm air rise and be pulled back evenly.
- Ceiling supplies, low returns: Can help cool air drop and circulate.
Location alone does not guarantee whether a vent is supply or return, but combined with the airflow tests, it gives you a clearer picture.
What You Should (and Should Not) Do with Each Vent Type
Once you know which vents are supply and which are return, you can make better decisions about furniture placement, cleaning, and adjustments.
Supply Vent Dos and Do Nots
Do:
- Keep at least several inches of space in front of supply vents.
- Use the built-in lever or louvers to gently redirect air if it blows directly on seating.
- Vacuum dust from the grille regularly to keep air moving freely.
Do not:
- Cover supply vents with rugs, furniture, or heavy curtains.
- Close many supply vents at once in an attempt to “force” more air to other rooms.
- Block floor supplies with storage boxes or pet beds.
Return Vent Dos and Do Nots
Do:
- Keep returns clear of furniture, large decor, and storage.
- Check and change filters on the schedule recommended for your home and region.
- Dust or vacuum the grille to reduce buildup that can restrict airflow.
Do not:
- Close or seal return vents with tape, plastic, or furniture.
- Use thick decorative covers that drastically reduce airflow.
- Store items directly in front of a large hallway return.
Blocking returns can cause the system to struggle to pull enough air, which may lead to noise, reduced comfort, and extra wear on components.
Simple Checks to Improve Airflow and Comfort
Once you can tell supply vents from return vents, you can do a quick walk-through of your home and make small changes that often have a noticeable impact.
1. Map Your Vents
Pick a time when the system is running and walk room by room.
- Use the hand or tissue test to label each vent in your mind as supply or return.
- Note any rooms with only supplies and no obvious returns.
- Pay attention to vents that seem to have very weak airflow compared to others.
2. Clear Obstructions
Look for anything that might block airflow.
- Move sofas, beds, dressers, and bookshelves away from vents if they are directly in front.
- Lift rugs that cover floor supplies.
- Shift storage bins or decor away from hallway returns.
3. Check Filters and Grilles
Find out where your main air filter is located. It may be at the system itself or behind a large return grille.
- Replace the filter as needed based on dust levels and household needs.
- Vacuum vent grilles with a brush attachment to remove dust and pet hair.
4. Notice Any Persistent Problem Rooms
After you improve airflow, pay attention over a few days.
- Are certain rooms still much hotter or colder than others?
- Do you hear whistling or banging sounds from vents when the system runs?
- Does closing a door make a room feel stuffy or cause the door to rattle?
These can be signs of imbalanced airflow, undersized returns, or duct issues. In those cases, it can be helpful to have a professional evaluate the duct layout and vent sizing.
Frequently Asked Questions About Supply and Return Vents
Can a Vent Be Both Supply and Return?
In a typical central heating and cooling system, each vent is either a supply or a return, not both. The ducts behind them are separate paths. However, some rooms may have both a supply and a return vent in close proximity, which can be confusing at first. Use the airflow tests to confirm which is which.
Is It Okay to Close Supply Vents in Unused Rooms?
Closing a single supply vent a small amount is unlikely to cause major issues, but closing many vents to “save energy” can backfire. It can increase duct pressure, create noise, and reduce comfort in other areas. It is usually better to keep vents open and explore other ways to manage temperatures, such as adjusting registers slightly or improving insulation and sealing.
Why Is My Return Vent So Loud?
A loud return vent may be a sign that the system is struggling to pull enough air. Common causes include a very dirty filter, blocked return grilles, or ducts that are too small for the amount of air the system is moving. Checking and replacing the filter and clearing obstructions is a good first step. If noise continues, a professional evaluation may be helpful.
Should I Put Furniture in Front of a Return Vent?
It is best to avoid placing large furniture directly in front of return vents. A few inches of clearance on all sides helps air move freely. If a piece of furniture must be near a return, try to leave space above or below it so air can still reach the grille.
How Often Should I Clean My Vents?
Light cleaning of vent grilles with a vacuum or duster every month or two can help reduce dust buildup and keep airflow more consistent. This is especially useful in homes with pets or high dust levels. Deeper duct cleaning is a separate service and is usually done only as needed.
Bringing It All Together
Knowing the difference between supply vents and return vents gives you a clearer picture of how air moves through your home. Supply vents push conditioned air into your rooms. Return vents pull room air back to be filtered and treated again. With a simple hand or tissue test and a quick walk-through, you can identify each vent type, clear obstructions, and support better comfort and air quality.
From there, small habits make a difference: keeping vents unblocked, changing filters on time, and paying attention to rooms that never quite feel right. These steps do not replace professional care, but they put you in control of your everyday comfort and help your system work the way it was designed.
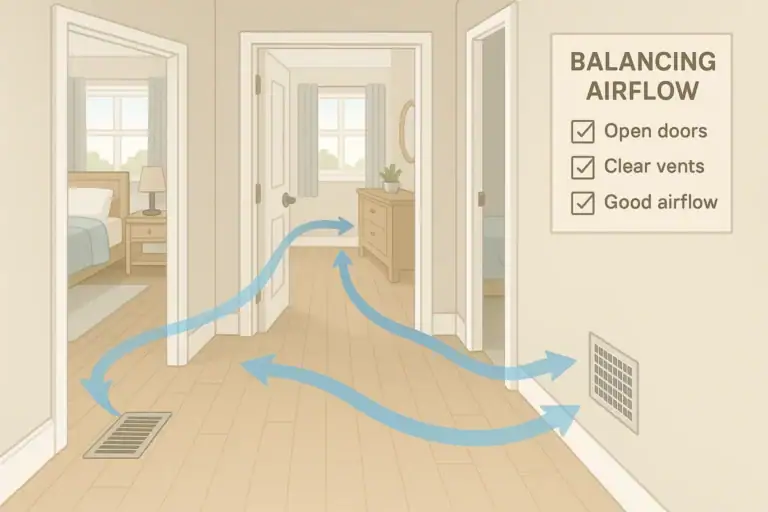 How to Balance Airflow Between Rooms at Home: A Practical Checklist
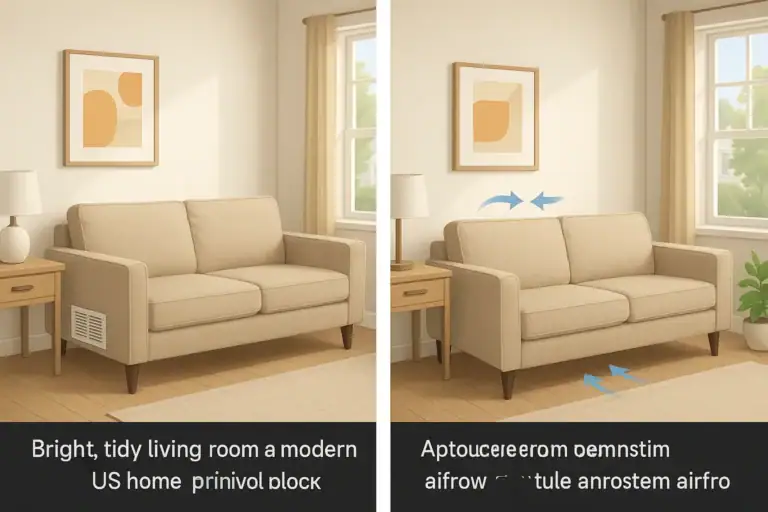 What Happens When Furniture Blocks a Return Vent? Troubleshooting Guide
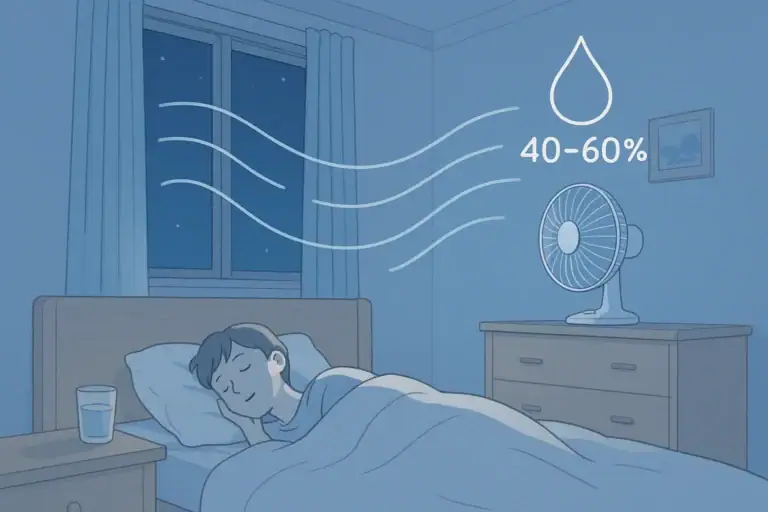 Does Sleeping With a Fan Cause a Dry Throat? Simple Airflow and Humidity Fixes