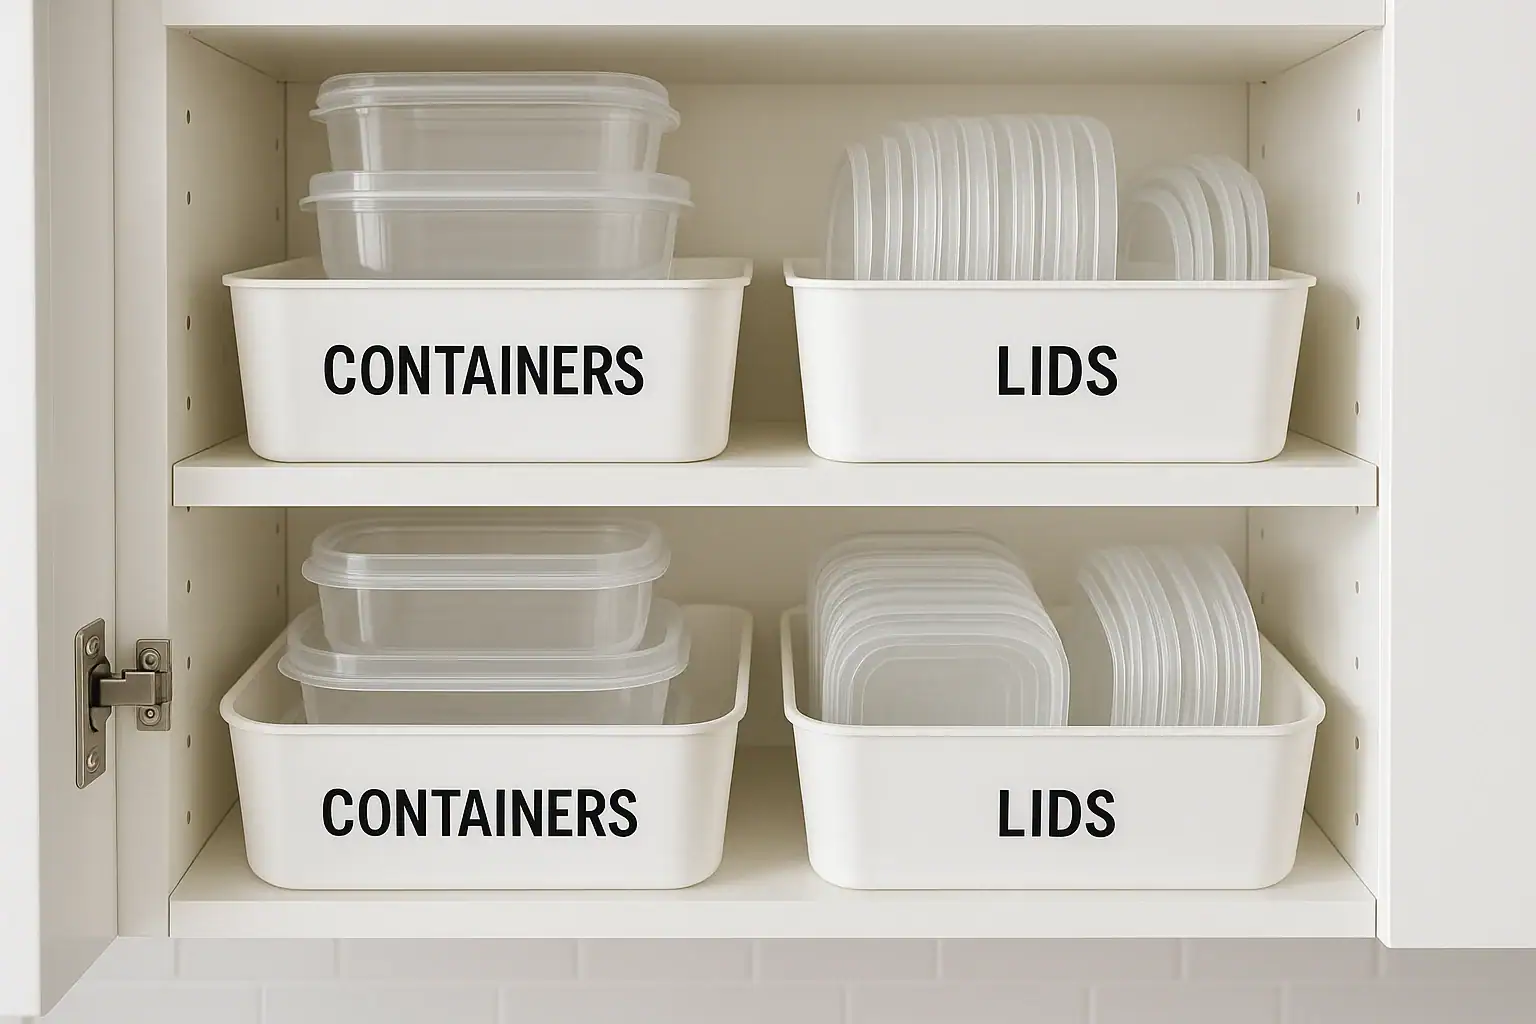
Food storage containers are supposed to make life easier, but in many kitchens they create daily frustration. Stacks of mismatched lids, stained containers, and cluttered cabinets can make it hard to find what you need when you need it. With a few simple systems and the right cleaning habits, you can turn that chaotic cabinet into an organized, easy-to-use storage zone that actually supports your cooking and meal prep routine.
This guide walks you through how to organize food storage containers, keep lids under control, choose smart storage spots, and remove stubborn stains and odors. You will learn practical, low-stress strategies that work in real homes, whether you have a large kitchen or a small apartment space. Use these ideas to reclaim your cabinets, protect your food, and keep your containers looking clean and clear for as long as possible.
Step 1: Declutter Your Food Storage Containers
Before you can organize, you need to know what you are working with. Most container chaos comes from having too many pieces, too many shapes, and too many items without matching lids. A focused declutter session sets the foundation for an organized system.
Gather and Sort Everything
Start by pulling every food storage container and lid out of your cabinets, drawers, and pantry. Clear a large surface like a table or countertop so you can see it all at once.
- Group containers by material: plastic, glass, metal, and specialty items.
- Within each group, sort by size and shape: round, square, rectangular, and specialty shapes.
- Place all lids in a separate area so you can match them later.
Match Containers With Lids
Next, match each container with its correct lid. This step alone can dramatically reduce clutter.
- Check that lids close securely and form a good seal.
- Set aside any containers that are chipped, warped, or cracked.
- Create a pile of lids that do not fit any container and containers without lids.
Once you are done, recycle or repurpose orphan pieces. Containers without lids can be used as drawer organizers, craft bins, or under-sink storage, but only keep what you will truly use. Otherwise, donate if appropriate or recycle according to local guidelines.
Decide How Many Containers You Really Need
Keep only what fits your household and cooking style. Ask yourself:
- How often do you cook at home and store leftovers?
- Do you prep meals for the week or just store occasional extras?
- How many people are you feeding on a regular basis?
As a general guideline for a typical household of two to four people, aim for:
- 4 to 6 small containers for sauces, snacks, and cut produce
- 4 to 6 medium containers for single meals and leftovers
- 2 to 4 large containers for batch cooking, soups, and family portions
Adjust up or down based on your habits, but try to keep only what comfortably fits in your available storage space without stacking dangerously high.
Step 2: Design a Smart Container Organization System
Once you have decluttered, it is time to create a system that makes it easy to find what you need and put things away quickly. A good system is simple, repeatable, and easy for everyone in the household to understand.
Choose the Best Storage Location
Place your everyday containers where you use them most. Common locations include:
- Cabinet near the dishwasher: Makes it easy to put clean containers away.
- Cabinet near the fridge: Convenient for packing leftovers and snacks.
- Deep drawer: Offers easy access and visibility, especially for heavier glass containers.
Keep rarely used specialty containers, such as extra-large or seasonal pieces, on higher shelves or in the back of deeper cabinets.
Stack by Shape and Size
Stacking efficiently is the key to a neat container zone. Try these methods:
- Nest same-shape containers: Stack round with round, square with square, and rectangular with rectangular.
- Create size families: Keep small, medium, and large stacks separate so you can quickly grab what you need.
- Limit stack height: Avoid stacks taller than what you can easily reach without knocking things over.
When possible, choose containers that share the same footprint so they nest neatly. Over time, you can phase out odd shapes that do not store efficiently.
Control the Lids
Lids are usually the biggest source of frustration. Instead of balancing them on top of stacks, give them their own dedicated home.
Options for lid organization include:
- Shallow bin or basket: Stand lids upright like files, sorted by size and shape.
- Adjustable drawer dividers: Create sections for small, medium, and large lids.
- Vertical rack: Use a rack or plate stand to keep lids upright in a cabinet.
- Door-mounted organizer: Attach a shallow organizer to the inside of a cabinet door for easy access.
Store lids as close as possible to their matching containers. Label the bin or divider sections if multiple people in your home put dishes away. The simpler the system, the more likely it is to stay organized.
Separate Everyday and Specialty Containers
To reduce visual clutter and make daily use easier, separate containers into two main groups:
- Everyday containers: The sizes you reach for multiple times a week.
- Specialty containers: Extra-large pieces, divided meal prep containers, freezer-only items, or containers used for parties and holidays.
Keep everyday containers front and center. Place specialty pieces on higher shelves, in the back of cabinets, or in a separate area so they do not interfere with daily use.
Step 3: Set Up Zones for Different Uses
Creating zones within your cabinet or drawer can make your system even more intuitive. Think about how you actually use your containers and group them accordingly.
Leftovers and Meal Prep Zone
Designate a section for containers used for leftovers and weekly meal prep. In this zone, keep:
- Medium and large containers for main dishes and sides
- Containers that are safe for both the fridge and freezer
- Lids that seal tightly to prevent leaks
Store this zone close to the fridge if possible, so transferring food is quick and easy.
Snacks and Lunch Zone
If you pack lunches or snacks, create a separate area for smaller containers that are used frequently.
- Small containers for dips, dressings, and cut fruit
- Medium containers for salads, sandwiches, or grain bowls
- Reusable bags or wraps, if you use them, can live in this zone as well
Consider placing this zone in a lower cabinet or drawer so older kids can pack their own snacks or lunches independently.
Dry Goods and Pantry Storage Zone
Some containers are better suited for dry goods like pasta, rice, flour, and snacks. Keep these in or near your pantry.
- Use taller containers for spaghetti, cereal, and grains.
- Use wide, shallow containers for baking ingredients and snacks.
- Label the front of each container with the contents and date filled.
Storing pantry containers separately from leftover containers keeps your main cabinet from becoming overcrowded and makes inventory easier to track.
Step 4: Daily Habits to Keep Containers Organized
Organization is not a one-time event. A few simple daily habits will help you maintain your system with minimal effort.
Match Lids Immediately After Washing
When containers come out of the dishwasher or sink, match each one with its lid right away. This prevents lid piles from forming and makes it clear if something is missing or damaged.
- Dry containers thoroughly before stacking to prevent trapped moisture.
- Place each matched set into its correct stack or zone.
- If you notice a lid or container that no longer fits well, move it to your declutter pile.
Use a One-In, One-Out Rule
To avoid creeping clutter, adopt a simple rule: whenever you bring in a new container set, remove an older or less useful set.
- Prioritize removing stained, warped, or rarely used pieces.
- Donate usable items if allowed by local guidelines, or recycle when possible.
This habit keeps your storage area from becoming overcrowded and ensures you only keep containers that truly work for you.
Step 5: How to Remove Stains From Food Storage Containers
Even with careful use, containers can develop stains and odors from sauces, oils, and colorful foods. The good news is that many stains can be lightened or removed with simple household products and a bit of patience.
General Tips Before You Start
Always check the care instructions for your containers. Some materials handle heat, scrubbing, or certain cleaners better than others. When in doubt:
- Avoid harsh abrasives that can scratch plastic or coatings.
- Test any new cleaning method on a small, less visible area first.
- Rinse thoroughly so no cleaner residue remains on surfaces that will touch food.
Method 1: Baking Soda Paste for Surface Stains
Baking soda is mildly abrasive and effective at lifting many common stains without damaging most container materials.
- Make a thick paste by mixing baking soda with a small amount of water.
- Apply the paste to stained areas inside the container.
- Let it sit for 15 to 30 minutes.
- Gently scrub with a soft sponge or cloth.
- Rinse thoroughly with warm water and wash as usual.
Repeat if needed for deeper stains. This method is especially helpful for light discoloration and cloudy buildup.
Method 2: Vinegar Soak for Odors and Discoloration
White vinegar helps dissolve residue and neutralize odors.
- Fill the container with equal parts white vinegar and warm water.
- Let it soak for 30 to 60 minutes.
- Pour out the solution and scrub gently with a soft sponge.
- Rinse thoroughly and wash with dish soap.
This method works well for lingering smells from onions, garlic, or heavily seasoned foods.
Method 3: Sunlight for Tough Stains
Sunlight can naturally lighten some stains, especially in clear or light-colored containers.
- Wash the container thoroughly and rinse well.
- Fill it with clean water or place it damp in a sunny spot, such as a windowsill or outdoor table.
- Leave it in direct sunlight for several hours.
- Check progress and repeat over a couple of days if needed.
Do not leave containers outdoors in extreme heat for long periods, especially plastic, as this can warp or weaken them.
Method 4: Dish Soap and Warm Water Boost
For fresh stains, acting quickly often prevents long-term discoloration.
- Rinse the container with warm water as soon as it is empty.
- Add a few drops of dish soap and fill with warm water.
- Let it soak for 15 to 30 minutes before scrubbing.
- Rinse thoroughly and dry.
This simple step can stop many stains from setting in the first place.
Step 6: Preventing Future Stains and Odors
Prevention is often easier than deep cleaning. With a few smart habits, you can keep containers clearer and fresher for longer.
Cool Foods Before Storing
Very hot, oily, or highly pigmented foods can stain containers more easily.
- Allow hot foods to cool slightly before placing them in plastic containers.
- Use glass containers for especially colorful sauces and soups when possible.
- Avoid sealing very hot food with the lid immediately; let steam escape first.
Use a Light Oil Barrier
For foods known to stain, such as tomato-based sauces or curries, you can create a temporary barrier.
- Lightly coat the inside of the container with a small amount of cooking oil.
- Spread it with a paper towel so there is only a thin, even layer.
- Add the food and store as usual.
This can reduce how much pigment sticks to the container surface.
Rinse Containers Soon After Use
The longer food sits in a container, the more likely it is to stain.
- Rinse containers as soon as they are emptied, even if you cannot wash them right away.
- For lunch containers, encourage family members to empty and rinse them soon after coming home.
Store Containers With Lids Off
Trapped moisture can lead to lingering odors and cloudy buildup.
- Store containers with lids off or loosely placed on top instead of fully sealed.
- Make sure containers are completely dry before stacking.
Step 7: Safety and When to Replace Containers
Even well-cared-for containers do not last forever. Knowing when to replace them keeps your food safer and your kitchen more efficient.
Signs It Is Time to Let Go
Consider replacing a container if you notice:
- Cracks, chips, or warping
- Lids that no longer seal properly
- Deep scratches on the inside surface
- Persistent odors that do not go away after cleaning
- Stains that make it hard to see if the container is truly clean
Damaged containers can harbor bacteria in scratches and cracks, and poor seals increase the risk of spills and food spoilage.
Safe Use and Heating Practices
Always follow the manufacturer’s instructions for heating and freezing. General guidelines include:
- Do not expose containers to sudden extreme temperature changes.
- Use vented lids or loosen lids when reheating to allow steam to escape.
- Avoid using heavily stained or scratched containers for high-heat applications.
Bringing It All Together
Organizing food storage containers and keeping them stain-free does not require a complicated system or expensive tools. By decluttering what you do not use, grouping containers by shape and purpose, giving lids a dedicated home, and adopting a few simple cleaning habits, you can transform a messy cabinet into a calm, efficient part of your kitchen.
Start with one shelf or drawer, set up clear zones, and involve everyone in your home so they understand how the new system works. Over time, these small changes will save you time, reduce frustration, and help keep your food fresher and safer. An organized container collection supports easier meal prep, smoother cleanups, and a more peaceful kitchen overall.
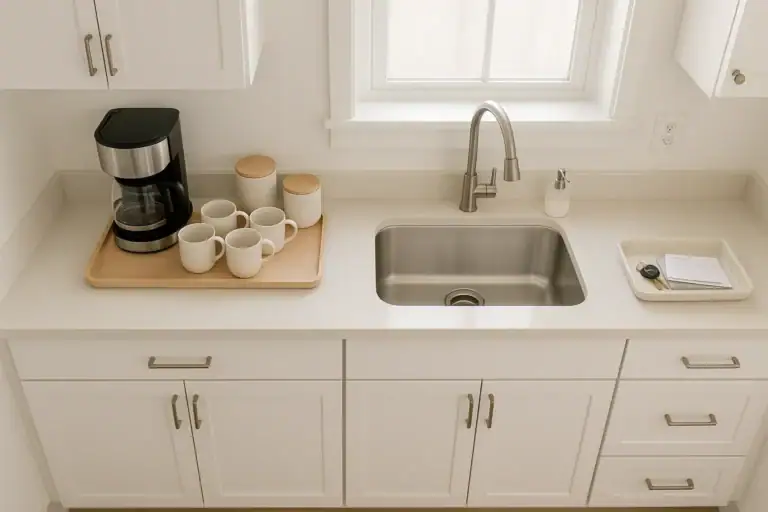 How to Tame Kitchen Countertop Clutter Zones for Coffee Prep and Drop Areas
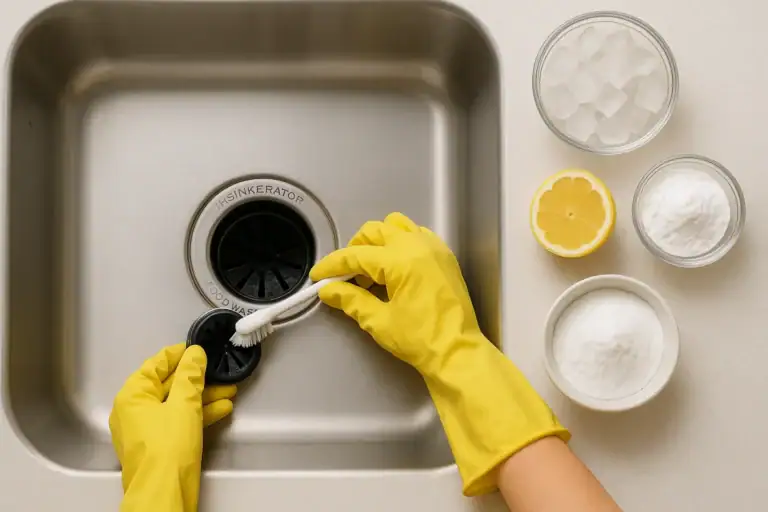 Garbage Disposal Smell Causes and a Simple Cleaning Routine That Works
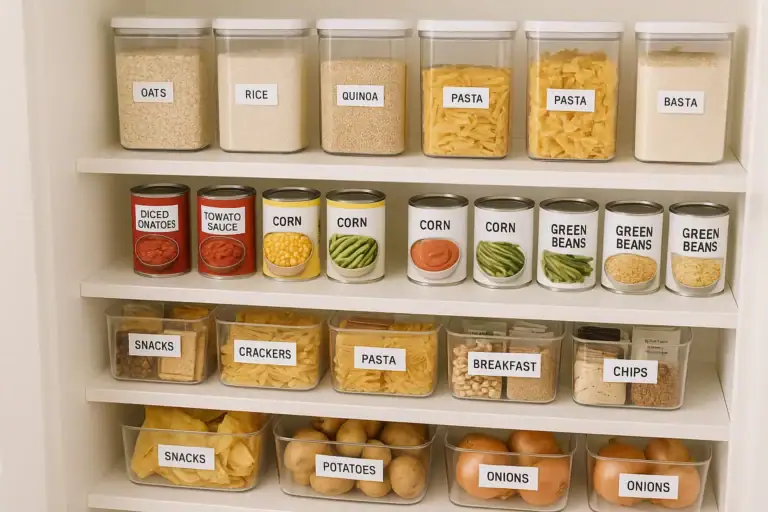 How to Set Up a Pantry Inventory System with FIFO for Busy Kitchens