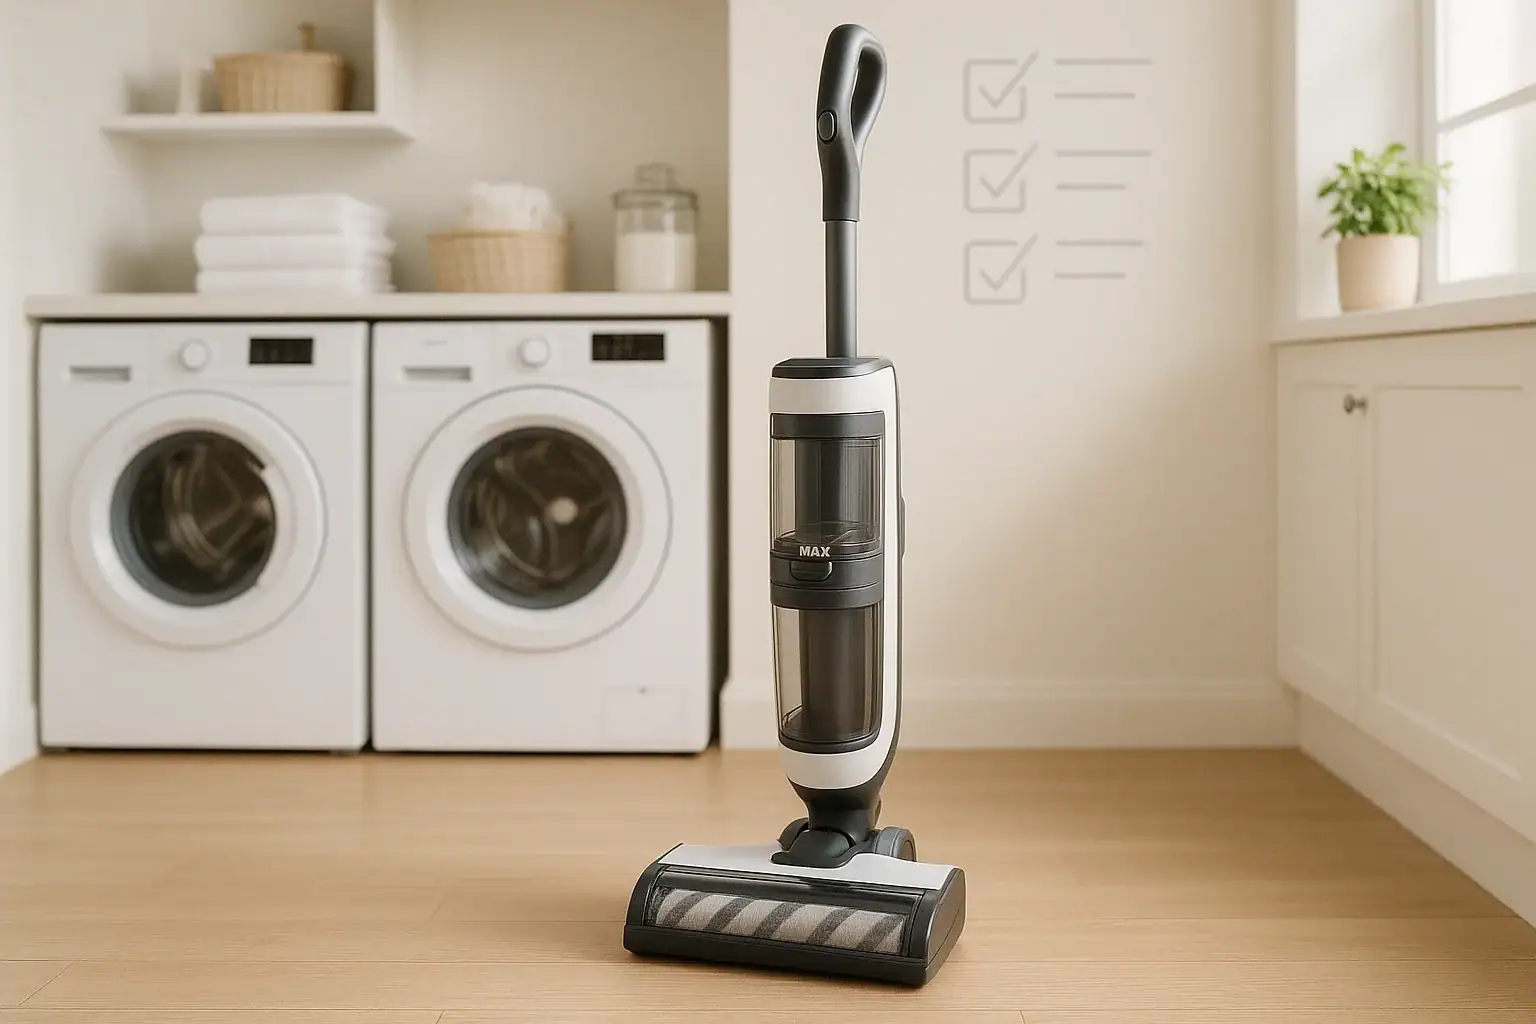
When a vacuum starts leaving crumbs behind, most people assume it is time for a replacement. In many homes, the real problem is not the vacuum itself but skipped maintenance. A few minutes of regular care can restore suction, protect your flooring, and help your vacuum last years longer. This guide walks you through a practical maintenance schedule and an easy checklist focused on three key areas: suction, filters, and the brush roll. You will learn what to do daily, weekly, monthly, and seasonally, plus how to spot early warning signs before performance drops. Use this as a reference you can print or save so vacuum care becomes a simple routine instead of a mystery.
Why a Vacuum Maintenance Schedule Matters
A vacuum is one of the hardest-working tools in any home. It pulls in dust, hair, crumbs, and grit that would otherwise grind into carpets and scratch hard floors. Over time, all that debris builds up inside the machine. When that buildup is not cleared out regularly, suction drops, filters clog, and the motor works harder than it should.
Following a simple schedule offers several benefits:
- Stronger suction: Clean filters and clear air paths let the motor move air efficiently.
- Cleaner air: Cared-for filters capture more dust and fine particles instead of blowing them back out.
- Longer vacuum life: A motor that is not constantly straining is less likely to overheat or fail early.
- Better floor care: A clean brush roll lifts dirt from carpet fibers and gently sweeps hard floors.
- Lower costs: Replacing a few inexpensive parts on schedule is far cheaper than replacing a whole machine.
The good news is that most maintenance tasks take only a few minutes and require basic tools you likely already own, such as scissors, a small brush, and a mild cleaning solution.
How Often Should You Service Your Vacuum?
The ideal schedule depends on how often you vacuum, the size of your home, and whether you have pets or allergy concerns. Use the timelines below as a starting point and adjust based on how quickly your vacuum fills up or loses suction.
Quick Reference Maintenance Schedule
- Every use: Empty the dust bin or check the bag; inspect the brush roll for large debris.
- Weekly: Wipe the vacuum exterior, check hoses for clogs, and remove hair from the brush roll.
- Monthly: Wash or replace pre-motor filters (if washable), clean attachments, and inspect the power cord.
- Every 3–6 months: Deep-clean the brush roll and floor head, check belts, and clean the main air path.
- Every 6–12 months: Replace non-washable filters and belts as needed; inspect wheels and seals.
Homes with shedding pets, high foot traffic, or allergy sensitivities may need to move each of these tasks to the more frequent end of the range.
Daily and After-Use Vacuum Checklist
These small habits right after you vacuum keep suction strong and prevent larger problems later.
1. Empty the Dust Bin or Check the Bag
Airflow is everything. A dust bin or bag that is more than half full can noticeably reduce suction.
- For bagless models, empty the bin after each full-house cleaning or when it reaches the fill line.
- For bagged models, check the bag window or feel for fullness and replace when it is about two-thirds full.
- Tap the bin gently to loosen fine dust before reattaching, and wipe the rim where it seals to the body.
2. Quick Brush Roll Check
A fast glance at the brush roll can prevent jams and belt strain.
- Turn the vacuum off and unplug it.
- Flip the floor head over and look for large debris, strings, or socks caught in the brush area.
- Remove any obvious obstructions by hand before they wrap around the brush or enter the hose.
3. Store the Vacuum Properly
How you store the vacuum affects its condition over time.
- Wrap the cord loosely without tight bends that can damage the wiring.
- Stand the vacuum upright or hang it on the designated wall mount if it is a stick model.
- Keep it in a dry area away from extreme heat, moisture, or direct sunlight.
Weekly Checklist: Protect Suction and Airflow
Once a week, or every few uses, take a few extra minutes to keep suction pathways clear. This is especially important if you have pets or long hair in the household.
1. Clear the Brush Roll of Hair and Fibers
Hair wrapped around the brush roll prevents the bristles from reaching the carpet and forces the motor to work harder.
- Unplug the vacuum.
- Flip the floor head over and locate the brush roll.
- Use scissors or a seam ripper to carefully cut along the length of the hair wrapped around the brush.
- Pull away hair, threads, and string with your fingers.
- Rotate the brush manually to check for hidden tangles at the ends.
2. Check Hoses and Air Paths for Clogs
Even a small obstruction can dramatically reduce suction at the floor head.
- Detach the hose and wand from the main body.
- Look through each section toward a light source; you should see clear daylight.
- If you see a clog, gently push it out with a long, flexible tool such as a broom handle, taking care not to puncture the hose.
- Check the opening at the floor head where debris enters the hose and clear any buildup.
3. Wipe Down the Exterior
Dust on the outside is a sign there is dust around seals and vents too.
- Use a slightly damp cloth to wipe the body, handle, and attachments.
- Pay attention to vents and crevices where dust collects.
- Dry thoroughly before storing to prevent moisture from entering the motor housing.
Monthly Checklist: Filters, Seals, and Attachments
Filters and seals are the unsung heroes of strong suction and cleaner air. A monthly check keeps them performing well.
1. Clean or Replace Pre-Motor Filters
Most vacuums have a filter that protects the motor from fine dust. Some are washable; others must be replaced.
- Unplug the vacuum and remove the dust bin or bag compartment.
- Locate the pre-motor filter, usually near the bin or behind a small panel.
- If washable, tap it gently over a trash can to remove loose dust, then rinse with cool water until the water runs clear.
- Allow the filter to air-dry completely for at least 24 hours before reinstalling. Never use a damp filter.
- If the filter is not washable, replace it according to the manufacturer’s recommended schedule or sooner if it looks heavily soiled.
2. Inspect Exhaust or Post-Motor Filters
Exhaust filters capture fine particles before air exits the vacuum. When they clog, suction and air quality suffer.
- Check the filter for discoloration, heavy dust, or damage.
- If washable, clean as directed and allow to dry completely.
- If disposable, replace on schedule or when visibly dirty or when odors persist after vacuuming.
3. Check Seals and Gaskets
Air leaks reduce suction even when the motor is strong.
- Inspect rubber seals around the dust bin, filter housing, and hose connections.
- Look for cracks, warping, or flattened areas that no longer spring back.
- Wipe seals with a dry cloth to remove dust that might prevent a tight fit.
- Replace any damaged seals to restore full suction.
4. Clean Attachments and Tools
Dirty tools spread dust instead of picking it up.
- Remove hair and lint from upholstery tools, crevice tools, and dusting brushes.
- Wash plastic tools in warm, soapy water if allowed, then dry completely.
- Use a small brush to clean bristles on dusting attachments.
Seasonal Deep Clean: Brush Roll, Belts, and Floor Head
Every few months, give your vacuum a more thorough service. This deep clean focuses on the moving parts that do the heavy lifting on your floors.
1. Remove and Deep-Clean the Brush Roll
- Unplug the vacuum and lay it on its back.
- Remove the screws or clips holding the bottom plate on the floor head.
- Lift out the brush roll and belt carefully.
- Use scissors to remove any remaining hair and threads from the entire length and ends.
- Wipe the brush roll with a slightly damp cloth and mild soap if needed, avoiding soaking any bearings.
- Let it dry fully before reinstalling.
2. Inspect and Replace the Belt
The belt transfers power from the motor to the brush roll. A stretched or cracked belt slips, making the brush spin weakly or not at all.
- Check for cracks, fraying, or shiny, stretched areas.
- Replace the belt if it feels loose on the brush roll or shows any damage.
- Install the new belt following the routing path inside the floor head.
3. Clean the Floor Head and Air Channel
Dust often packs into corners of the floor head where it is easy to miss.
- With the brush roll removed, vacuum or wipe out the interior of the floor head.
- Use a narrow brush to clean around edges and in tight corners.
- Check the opening where debris enters the hose and clear any hardened buildup.
Signs Your Vacuum Needs Attention Now
Even with a schedule, certain warning signs mean it is time to pause and do maintenance before continuing to vacuum.
- Loss of suction: The vacuum leaves debris behind or picks up less than usual.
- Burning or hot smell: This can signal a clogged brush roll, failing belt, or motor strain.
- Loud or unusual noises: Rattling, grinding, or high-pitched whines may indicate blockages or worn parts.
- Visible dust at exhaust vents: Filters may be clogged, damaged, or installed incorrectly.
- Floor head not spinning: The brush roll may be jammed or the belt broken.
If you notice any of these issues, stop using the vacuum, unplug it, and work through the suction, filter, and brush roll steps in this checklist before turning it back on.
Special Considerations for Different Floor Types
Your maintenance habits can also protect your specific flooring.
Carpeted Floors
- Keep the brush roll clean so bristles can lift dirt from deep in the fibers.
- Use the correct height setting for your carpet to avoid pushing the head too low, which strains the motor.
- Check more often for hair buildup if anyone in the home has long hair or if you have pets.
Hard Floors
- Use a setting that turns off or softens the brush roll to avoid scattering debris.
- Clean wheels and the underside of the floor head to prevent grit from scratching surfaces.
- Make sure the suction path is clear so fine dust is captured instead of pushed around.
Simple Tools to Keep with Your Vacuum
Keeping a few small tools near your vacuum makes it easier to follow this checklist without hunting for supplies.
- Small scissors or a seam ripper for cutting hair off the brush roll
- An old toothbrush or small cleaning brush for crevices
- A soft cloth for wiping dust and seals
- A mild, non-abrasive cleaner for plastic parts
- Replacement filters and belts appropriate for your model
- A narrow, flexible rod or broom handle for clearing hose clogs
Printable Vacuum Maintenance Checklist
Use this condensed checklist as a quick reference. You can copy it into a note, print it, or post it near your cleaning supplies.
After Every Use
- Empty dust bin or check and replace bag as needed
- Quickly inspect brush roll and remove large debris
- Store vacuum upright with cord loosely wrapped
Weekly
- Remove hair and strings from brush roll
- Check hose and wand for clogs
- Wipe exterior and vents with a dry or slightly damp cloth
Monthly
- Clean or replace pre-motor filters
- Inspect exhaust filters and replace if needed
- Wipe seals and gaskets; check for cracks or warping
- Clean attachments and tools
Every 3–6 Months
- Remove and deep-clean brush roll and floor head
- Inspect and replace worn belts
- Vacuum dust from interior air channels
Every 6–12 Months
- Replace non-washable filters
- Inspect wheels, seals, and hose for wear or cracks
- Evaluate overall suction and address any persistent issues
Keeping Your Vacuum Ready for Every Cleaning Day
A vacuum that works well makes every other cleaning task easier. Instead of waiting until it barely picks up anything, treat maintenance as part of your regular routine. Emptying the bin, cleaning filters, and caring for the brush roll protect suction, keep the motor from overworking, and help your home stay healthier with less effort.
Choose the schedule that fits your household, then set reminders on your phone or add these tasks to your cleaning checklist. Once these steps become habit, you will spend only a few extra minutes each month while gaining better performance every time you vacuum.
 Mop Head Cleaning, Replacement, and Drying Habits: A Complete Guide
 Laundry Sorting Systems for Small Households: Simple Ways to Stay Organized
 10-Minute Home Closing Shift Cleaning Routine Checklist