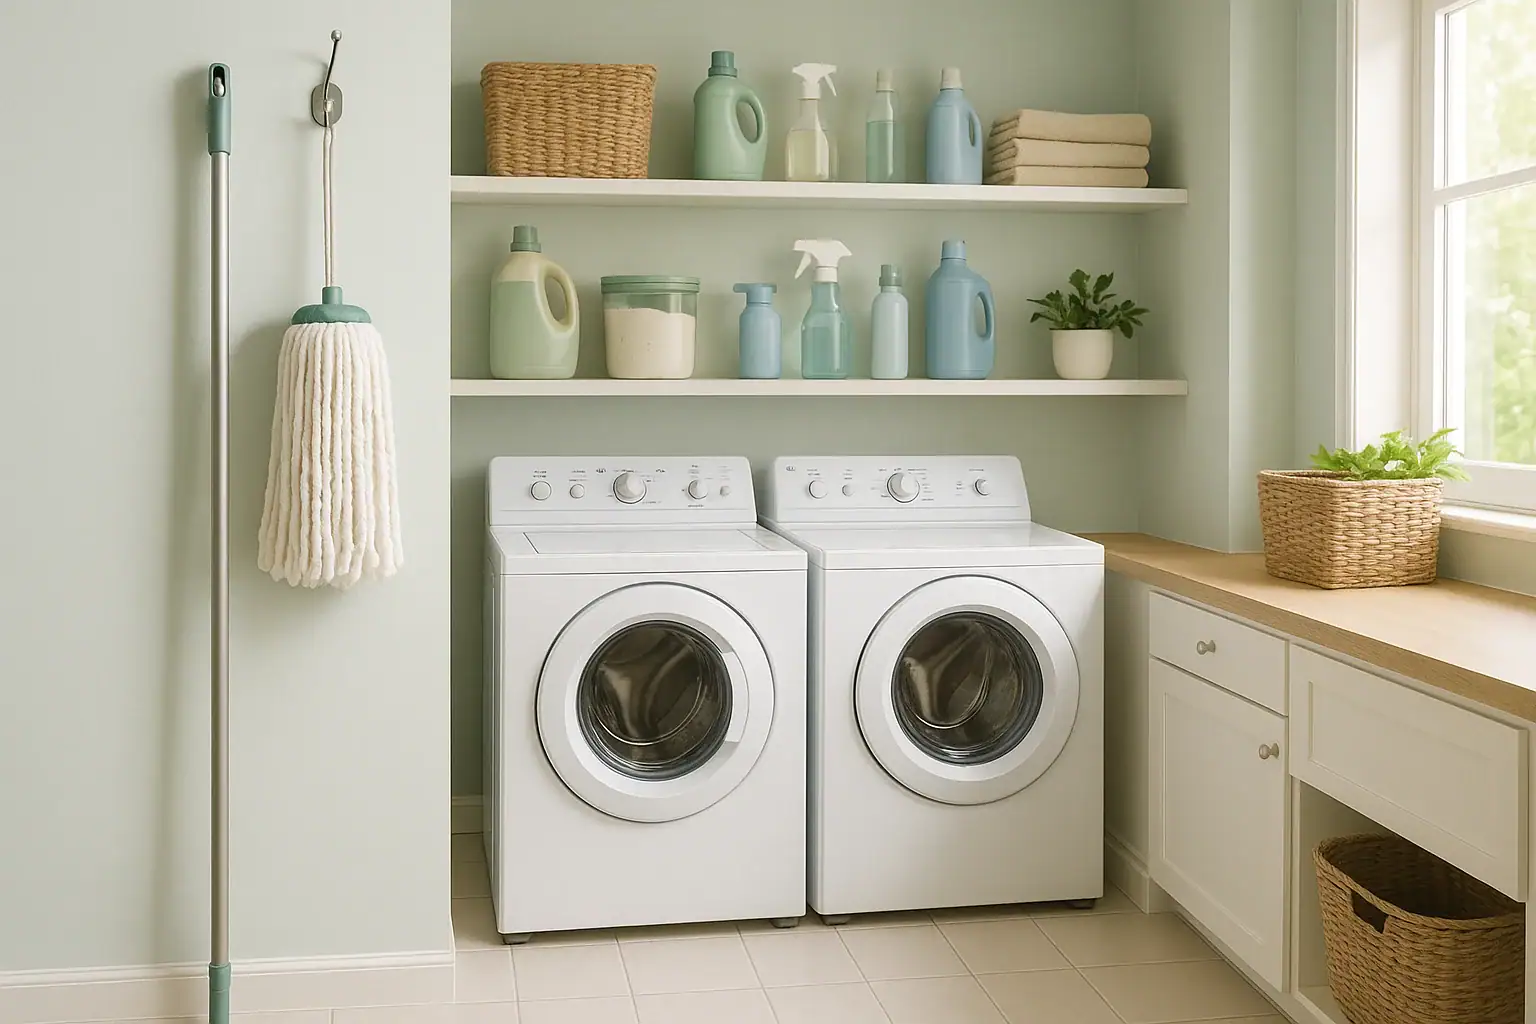
Keeping floors clean is about more than just how often you mop. The condition of your mop head plays a huge role in how clean your home really is. A dirty, worn, or damp mop head can quietly spread germs, create odors, and leave streaks and residue on your floors. With a few simple cleaning, replacement, and drying habits, you can turn your mop into a much more effective cleaning tool and help protect your household from unnecessary bacteria and grime.
This guide walks you through how often to clean and replace mop heads, the best ways to wash and dry different types, and practical routines that fit into a busy schedule. Whether you use a traditional string mop, a flat microfiber mop, or a sponge mop, you will find clear steps to keep your mop fresh, sanitary, and ready for the next cleaning session.
Why Mop Head Care Matters More Than You Think
It is easy to assume that a mop stays clean because it is used with soap and water. In reality, mop heads collect dirt, grease, and bacteria every time they touch the floor. If they are not cleaned and dried properly, that buildup gets spread around your home instead of being removed.
What Happens When You Use a Dirty Mop Head
- Bacteria growth: A damp mop head is an ideal environment for bacteria and mildew to grow.
- Lingering odors: Musty or sour smells usually mean your mop is not drying completely between uses.
- Streaky floors: Built-up residue, oils, and dirt can cause streaks, dullness, and sticky spots.
- Allergens and dust: A neglected mop can redistribute dust and allergens instead of trapping them.
Good mop head habits help you get more from your cleaning time, reduce germs on high-traffic floors, and extend the life of your mop so you are not constantly replacing it.
Know Your Mop Type Before You Clean It
Different mop heads need slightly different care. Understanding what you have helps you choose the best cleaning and drying routine.
Common Mop Head Types
- Traditional string mop: Cotton or cotton-blend strands, very absorbent, often used with a bucket and wringer.
- Looped-end mop: Similar to a string mop but with looped fibers that shed less and last longer.
- Flat microfiber mop: A flat pad, often removable, made from microfiber that traps fine dust and dirt.
- Sponge mop: A rectangular or rounded sponge head, usually attached to a wringing mechanism.
- Spray mop with pad: A flat pad that works with a built-in spray bottle, often microfiber or similar fabric.
Most modern mop heads are either machine-washable or can be cleaned thoroughly by hand. Always check any care tag or packaging instructions if you still have them, but the general guidelines below work well for most households.
How Often Should You Clean and Replace Mop Heads?
The right schedule depends on how often you mop, the size of your home, and what types of messes you deal with. Use the guidelines below as a starting point and adjust based on what you see and smell.
Cleaning Frequency by Use
- Light use: Small household, mostly dry dust and light spills, mopping once a week.
- Rinse thoroughly after every use.
- Deep clean in hot, soapy water or a washing machine after every 2–3 uses.
- Moderate use: Average household with kids or pets, mopping high-traffic areas once or twice a week.
- Rinse thoroughly after every use.
- Deep clean after every 1–2 uses.
- Heavy use: Large family, frequent spills, or multiple hard floors mopped several times a week.
- Rinse thoroughly after every use.
- Deep clean after every use, especially for kitchen and bathroom floors.
Replacement Frequency by Mop Type
Even with great care, mop heads do not last forever. Fibers break down, absorbency drops, and stains become permanent over time.
- String and looped-end mops: Replace every 3–6 months for average home use. For heavy use, every 2–3 months.
- Microfiber mop pads: Replace every 6–12 months, depending on how often you wash them and how well they hold their shape.
- Sponge mops: Replace every 1–3 months, or sooner if the sponge cracks, flakes, or smells even after cleaning.
If your mop head looks gray and dingy even after washing, smells musty when dry, or leaves lint and bits behind, it is time for a replacement.
Step-by-Step: How to Clean Mop Heads Properly
Good mop head cleaning has two parts: a quick rinse after each use and a deeper wash on a regular schedule. Both are important if you want to avoid spreading germs and odors.
Quick Rinse After Every Use
Right after you finish mopping, take a few extra minutes to rinse your mop head well. This simple habit makes deep cleaning easier and keeps buildup under control.
- Rinse in hot water: Hold the mop head under hot running water or in a bucket of hot water. Swish and press repeatedly to release dirt.
- Use a small amount of mild detergent: Work a little dish soap or laundry detergent through the fibers or sponge, then rinse until the water runs clear.
- Wring thoroughly: Squeeze or wring out as much water as possible before hanging it to dry.
Deep Cleaning String and Looped-End Mop Heads
These mop heads can usually handle hot water and a deeper wash, either by hand or in a machine.
Machine-Washing Method
- Remove the mop head from the handle if it is detachable.
- Place it in a mesh laundry bag if you have one, to prevent tangling.
- Wash on a hot or warm cycle with regular laundry detergent.
- Avoid fabric softener, which can reduce absorbency and leave residue.
- Run an extra rinse cycle if the mop was heavily soiled.
Hand-Washing Method
- Fill a bucket or sink with hot water and add a small amount of detergent.
- Soak the mop head for 10–15 minutes to loosen grime.
- Agitate by hand, working the soapy water through the fibers.
- Drain and refill with clean water, then rinse until no suds remain.
- Wring out thoroughly before drying.
Deep Cleaning Microfiber Mop Pads
Microfiber is excellent at trapping fine dust and bacteria, but it needs gentle care to stay effective.
- Wash in warm or hot water with a mild detergent.
- Do not use bleach or fabric softener, which can damage the fibers.
- Wash microfiber separately from cotton towels to reduce lint transfer.
- Air dry or tumble dry on low heat to protect the material.
Deep Cleaning Sponge Mop Heads
Sponge mop heads can hold onto odors if they are not cleaned thoroughly. They also wear out faster than other types.
- Rinse the sponge under warm water to remove surface dirt.
- Soak in a mixture of warm water and mild detergent for 10–20 minutes.
- Rinse well, squeezing repeatedly until the water runs clear.
- Disinfect occasionally with a diluted disinfecting solution, then rinse again.
- Allow to dry completely in a well-ventilated area.
Smart Drying Habits to Prevent Odors and Germs
How you dry your mop head is just as important as how you wash it. A mop that stays damp for hours or days can quickly develop a musty smell and harbor bacteria.
Best Practices for Drying Mop Heads
- Wring thoroughly: Remove as much water as possible before you start drying. A well-wrung mop dries faster and more evenly.
- Hang, do not store in a bucket: Never leave a mop head sitting in dirty water or a damp bucket. Hang it up immediately after rinsing.
- Choose a ventilated spot: Hang the mop in a dry, airy area such as a laundry room, utility room, or shower rod with good airflow.
- Spread the fibers: For string or looped mops, fan out the strands so air can reach the center. For pads, hang them flat or drape over a rack.
- Let it dry fully before storage: Only store the mop in a closet or cabinet once the head is completely dry to the touch.
Can You Put Mop Heads in the Dryer?
Many removable mop heads and microfiber pads can go in the dryer on low heat, but always follow any care instructions if available.
- Safe for the dryer: Most cotton string mop heads and microfiber pads, on low or medium heat.
- Use caution: Sponge mop heads and some synthetic blends can warp or crack with high heat. Air drying is usually safer for these.
- No dryer sheets: Avoid dryer sheets, which can coat fibers and reduce absorbency.
Simple Habits to Keep Mop Heads Fresher Longer
Small changes in how you use and store your mop can dramatically extend the life of the mop head and keep your cleaning routine more sanitary.
Before You Mop
- Sweep or vacuum first: Removing loose dirt, crumbs, and hair reduces how much debris ends up trapped in the mop head.
- Spot clean spills: Wipe up thick or greasy spills with paper towels or a cloth before mopping to prevent heavy buildup.
- Use clean water: Start with fresh, hot water and a suitable floor cleaner for your surface.
While You Mop
- Change dirty water: If the water looks cloudy or dark, change it instead of continuing with dirty solution.
- Use two-bucket method when possible: One bucket for clean solution and one for rinsing the mop helps keep the mop head cleaner.
- Avoid over-soaking: Too much water makes drying harder and can damage some floor types.
After You Mop
- Rinse immediately: Do not let the mop sit with dirty water in the fibers. Rinse right after you finish.
- Check for stains or odors: If you notice discoloration or smell, plan a deeper wash instead of just a quick rinse.
- Rotate mop heads: If possible, keep at least two mop heads or pads and rotate them so each one can dry fully between uses.
When to Replace Instead of Clean
Even with careful cleaning and drying, there comes a point when a mop head is no longer worth saving. Knowing when to replace it helps you avoid wasting time on something that will not perform well.
Clear Signs It Is Time for a New Mop Head
- Persistent odor: The mop still smells sour or musty even after washing and fully drying.
- Frayed or thinning fibers: Strands are falling out, fraying, or the pad has worn spots.
- Stains that will not wash out: Dark or greasy patches that remain after a deep clean.
- Reduced absorbency: The mop pushes water around instead of soaking it up.
- Sponge damage: Cracks, peeling, or crumbling in a sponge mop head.
When these signs show up, replacing the mop head is usually more effective and hygienic than trying to revive it. Keeping a backup on hand makes it easy to swap out when needed.
Setting Up a Simple Mop Head Care Routine
Turning mop head cleaning and drying into a routine makes it easier to stay consistent. You do not need a complicated system, just a few habits that fit your household schedule.
Sample Routine for a Busy Household
- Every time you mop:
- Rinse the mop head in hot water with a small amount of detergent.
- Wring thoroughly and hang to dry in a ventilated area.
- Once a week:
- Deep clean mop heads that were used on kitchen or bathroom floors.
- Check for wear, stains, or lingering odors.
- Every 1–3 months:
- Replace sponge mop heads.
- Evaluate string and microfiber heads for signs of aging.
- Every 3–6 months:
- Replace heavily used string mop heads.
- Rotate in new microfiber pads as older ones lose effectiveness.
Consider storing your mop near a utility sink, laundry area, or shower where rinsing and hanging are quick and convenient. The easier the routine, the more likely you are to keep up with it.
Final Thoughts
Clean floors start with a clean mop. By paying attention to how you wash, dry, and replace your mop heads, you can dramatically improve how well your floors are cleaned and reduce the spread of germs in your home. Focus on three main habits: rinse after every use, deep clean on a regular schedule, and dry completely before storage. Add in timely replacement when your mop shows clear signs of wear, and you will have a simple, reliable system that keeps your cleaning tools working their best.
With these mop head cleaning, replacement, and drying habits in place, your regular mopping routine becomes more effective, more hygienic, and less of a chore. A little extra care for your mop goes a long way toward a cleaner, fresher home.
 How to Clean Shower Door Tracks and Prevent Slime Buildup for Good
 How to Clean Under Appliances Safely Without Moving Everything
 How to Clean Pet Bowls, Mats, and Feeding Areas Safely