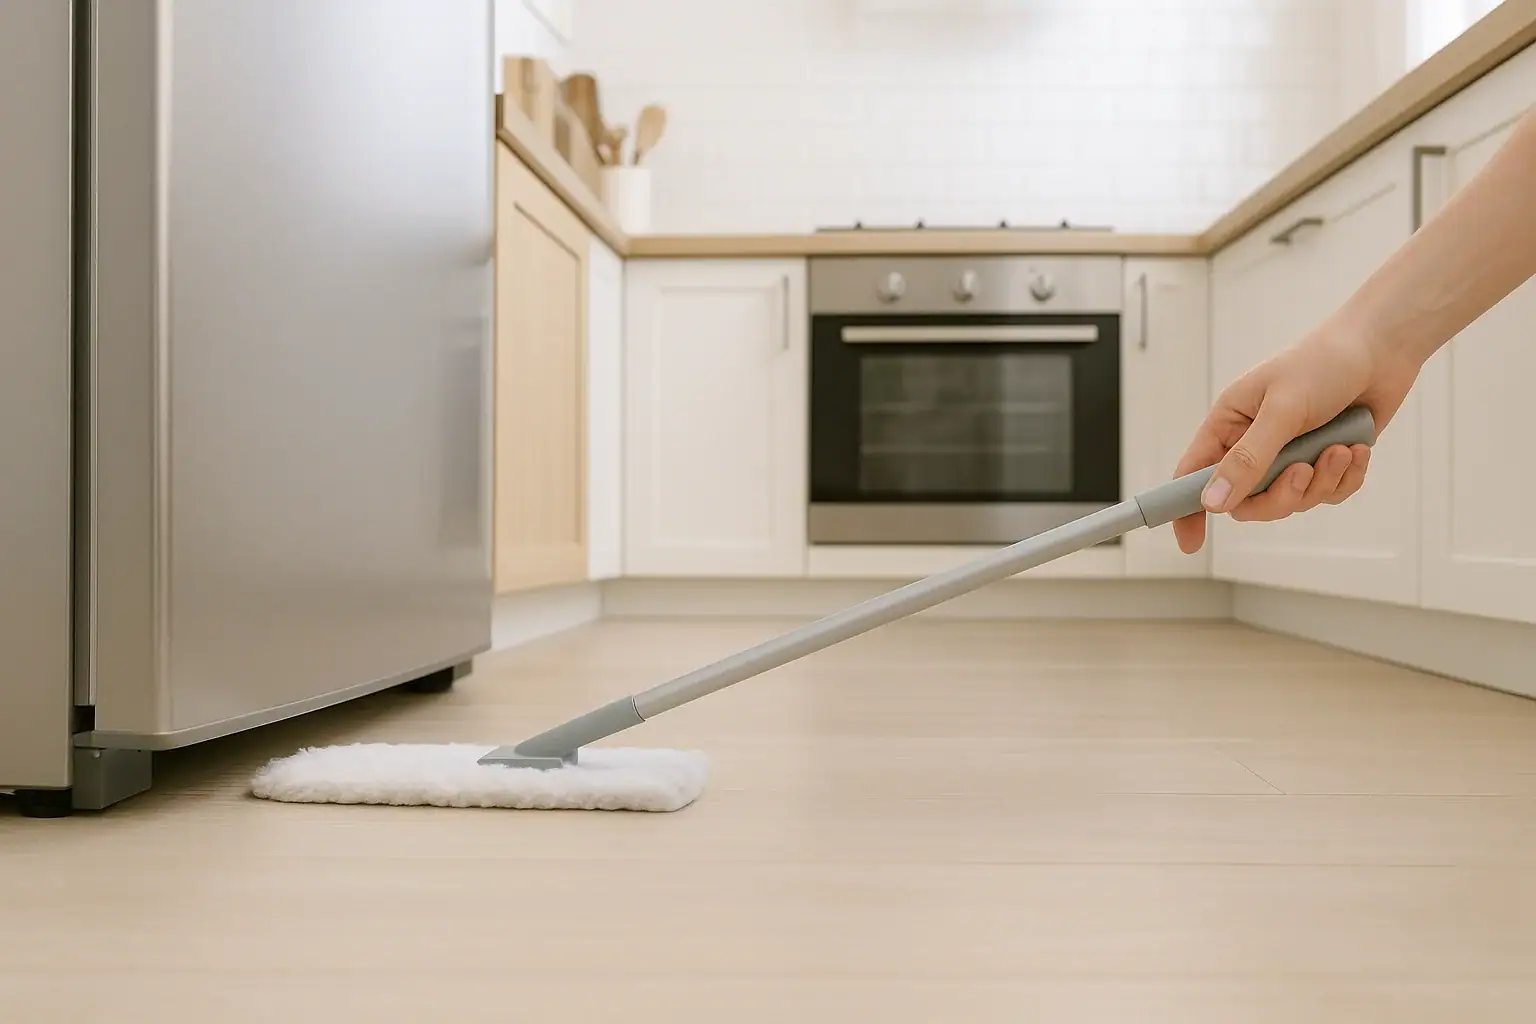
Dust, crumbs, and sticky spills love to hide under heavy appliances. The space under your refrigerator, stove, washer, and dryer can collect grime for years because it is hard to reach and even harder to move these bulky machines. The good news is that you do not have to drag every appliance into the middle of the room to keep your home clean and healthy. With the right tools, safe habits, and a simple routine, you can clean under appliances effectively while keeping your back, floors, and equipment protected.
This guide walks you through safe, step‑by‑step methods to clean under large appliances without fully moving them. You will learn what tools to use, how to reach tight spaces, what to do about stubborn buildup, and when it really is worth sliding an appliance out a few inches. You will also find a simple maintenance schedule to keep dirt, odors, and pests from building up again.
Why Cleaning Under Appliances Matters
It is easy to ignore what you cannot see, but the area under appliances has a big impact on cleanliness, air quality, and even safety.
Common problems hiding under appliances
- Dust and lint buildup: Thick layers of dust and lint can affect indoor air quality and aggravate allergies.
- Food crumbs and grease: Spills and crumbs attract pests and can create lingering odors in the kitchen.
- Moisture and mold: Small leaks or condensation can lead to mold, mildew, and warped flooring.
- Fire risk: Excess lint near heat sources can be a fire hazard, especially around dryers and ovens.
- Shortened appliance life: Dust around vents and coils can make appliances work harder and wear out faster.
Regularly cleaning these hidden areas, even without fully moving appliances, helps you avoid bigger problems later and keeps your home feeling fresher.
Safety First: Before You Clean Under Any Appliance
Before you start reaching under heavy appliances, take a few minutes to make the area safe. This reduces the risk of injury, damage, or electrical issues.
Basic safety steps
- Turn off or unplug when possible: For smaller appliances or when you can reach the plug safely, unplug them before cleaning nearby.
- Be careful with cords and hoses: Do not tug or lean on water lines, gas lines, or power cords. Avoid snagging them with tools.
- Avoid harsh scrubbing near gas lines: If you have a gas stove or dryer, do not twist or bump the gas line while cleaning.
- Protect your hands and eyes: Wear gloves to avoid sharp edges and safety glasses if you expect a lot of dust.
- Work slowly: Slide tools gently so you do not scratch floors or damage appliance feet.
If you ever smell gas, see damaged wiring, or notice a leak, stop cleaning and contact a qualified professional before using the appliance again.
Tools That Help You Clean Under Appliances Without Moving Them
You do not need special equipment, but a few simple tools make the job faster and safer.
Helpful cleaning tools
- Long, flat dusting wand: A slim duster with an extendable handle can slide under low appliances to grab dust and hair.
- Vacuum with crevice or under‑appliance attachment: Use a long, narrow nozzle to reach deep under and along edges.
- Flexible microfiber cloths: Wrap around a yardstick or long spatula to wipe surfaces you cannot reach by hand.
- Disposable dusting sheets: These cling to dust and can be wrapped around a flat tool for extra reach.
- Spray bottle with mild cleaner: A gentle all‑purpose or diluted dish soap solution works for most sealed floors.
- Shallow tray or pan: Helpful for catching debris you pull out from under appliances so it does not spread.
- Flashlight: A bright light lets you see where the worst buildup is so you can focus your efforts.
Gather everything before you start so you are not walking back and forth with dusty tools.
General Method: How to Reach Under Appliances Safely
This basic method works for most large appliances when you cannot or do not want to move them. You will loosen debris, pull it toward you, then vacuum or wipe it away.
Step‑by‑step cleaning process
- Clear the surrounding area.
- Remove mats, small rugs, and items from the floor near the appliance.
- Give yourself enough space to kneel or sit comfortably.
- Shine a light under the appliance.
- Use a flashlight or phone light to see where dust and debris are concentrated.
- Look for any signs of leaks, standing water, or damaged flooring.
- Dry dust first.
- Attach a dusting sheet or microfiber cloth to a long, flat tool.
- Gently slide it under the appliance as far as it will go.
- Pull it back slowly, bringing dust and crumbs with it.
- Repeat from different angles until you are not pulling out large clumps.
- Vacuum the loosened debris.
- Use a crevice tool to vacuum along the front edge and as far underneath as you can reach.
- Vacuum any piles of dust or crumbs you pulled out.
- Spot clean sticky areas.
- Lightly spray a cloth or mop head with a mild cleaner. Avoid soaking the floor.
- Attach the cloth to your long tool and slide it under the appliance.
- Wipe back and forth, focusing on areas where you saw spills or stains.
- Dry the area.
- Follow with a dry cloth or mop to remove moisture.
- Make sure the floor is dry to protect wood or laminate from swelling.
For most homes, this simple routine every few months keeps the space under appliances reasonably clean without the hassle of moving them.
How to Clean Under the Refrigerator Without Moving It
The refrigerator is one of the biggest dust and crumb collectors in the kitchen. It also has coils and vents that need airflow to work efficiently.
Focus areas under and around the refrigerator
- The front edge where crumbs roll underneath
- The space under the back or sides if there is a gap
- Vents and coils at the front or back, depending on the model
Steps to clean under the refrigerator
- Check the front grille or kick plate.
- If your refrigerator has a removable front grille, gently pop it off according to the user manual.
- Vacuum dust from the opening and visible coils.
- Use a long duster or vacuum attachment.
- Slide a long, flexible duster or vacuum attachment under the front of the refrigerator.
- Work it side to side to loosen dust and crumbs.
- Pull it out and vacuum the debris.
- Reach from the sides if possible.
- If there is a gap on one or both sides, slide your tool in from those angles too.
- This helps reach areas the front may not cover.
- Wipe the floor edge.
- Lightly dampen a cloth and wrap it around a flat tool.
- Wipe along the floor line under the front edge to remove sticky residue.
If your refrigerator has accessible coils at the front, gently vacuum them to improve efficiency. Do not force tools into tight spaces or bend any parts.
How to Clean Under the Stove or Range Safely
The area under a stove or range often collects grease, crumbs, and spills. Because gas or electrical connections are involved, move carefully and avoid putting pressure on lines or cords.
Steps to clean under the stove without fully moving it
- Inspect the gaps.
- Look along both sides of the stove where it meets the cabinets.
- Shine a flashlight under the front edge to see how much space you have.
- Dry dust first.
- Use a long duster or cloth‑wrapped tool to pull out loose crumbs and dust.
- Repeat from both sides and the front.
- Vacuum carefully.
- Use a crevice tool to vacuum along the front and sides.
- Avoid bumping gas lines or electrical connections behind the stove.
- Spot clean grease and spills.
- Spray a degreasing cleaner onto a cloth, not directly under the stove.
- Attach the cloth to a flat tool and slide it under to wipe sticky areas.
- Follow with a damp cloth to rinse, then a dry cloth to remove moisture.
If you notice heavy grease buildup, it may be worth carefully sliding the stove out a few inches with help. Always check your flooring type and protect it with cardboard or sliders before moving heavy appliances.
How to Clean Under the Washer and Dryer Without Lifting Them
Washer and dryer areas collect lint, detergent residue, and sometimes water. Keeping the floor underneath clean helps reduce odors and fire risk.
Steps for cleaning under a washer and dryer
- Check for moisture first.
- Shine a flashlight under the appliances.
- Look for signs of standing water, rust, or mold. If you see these, consider calling a professional to check for leaks.
- Remove loose lint and dust.
- Use a long duster or vacuum attachment to pull out lint and debris.
- Pay special attention to the back and sides where lint tends to collect.
- Vacuum thoroughly.
- Use a crevice tool to vacuum along the front edge and as far underneath as possible.
- Vacuum around the dryer vent area if you can reach it safely.
- Lightly mop under the appliances.
- Lightly dampen a microfiber cloth or flat mop head with a mild cleaner.
- Slide it under the washer and dryer, working it back and forth.
- Follow with a dry cloth to remove excess moisture, especially on wood or laminate floors.
For dryers, also follow the manufacturer’s instructions for cleaning the vent and lint path regularly. This is separate from floor cleaning but just as important for safety.
When You Should Move Appliances (Even Just a Little)
Most routine cleaning can be done without moving appliances, but there are times when sliding them out a few inches is worth the effort.
Signs it is time to move an appliance
- Strong odors that do not go away after surface cleaning
- Visible spills or stains at the front edge that extend farther back
- Evidence of pests, such as droppings or nesting material
- Repeated moisture issues, like dampness or mold spots
- Heavy grease buildup around a stove or range
How to move appliances more safely
- Get help from another adult instead of trying to move heavy items alone.
- Use furniture sliders or thick cardboard to protect floors.
- Move the appliance only as far as needed to reach the mess.
- Avoid pulling on doors, handles, or hoses to move the unit.
- Check cords and lines as you move the appliance to avoid stretching them.
Even moving an appliance forward just three to six inches can give you enough space to clean thoroughly and then slide it back into place.
How Often to Clean Under Appliances
You do not need to deep clean under appliances every week. A simple schedule keeps things under control without becoming overwhelming.
Suggested cleaning frequency
- Every 1–2 months: Quick dust and vacuum under the front edges of the refrigerator, stove, washer, and dryer.
- Every 3–6 months: More thorough cleaning with a long duster or vacuum attachment from multiple angles.
- Once a year: If practical, carefully slide appliances out a short distance for a deeper clean and inspection.
Households with pets, allergies, or heavy cooking may want to clean under appliances more often, especially in the kitchen and laundry room.
Simple Habits to Keep Areas Under Appliances Cleaner
A few small habits can greatly reduce the amount of buildup under your appliances, making each cleaning session faster and easier.
Prevention tips
- Use floor mats wisely: Place washable mats in front of the sink, stove, and washer to catch spills and lint before they roll underneath.
- Wipe spills right away: Clean up drips and splatters before they dry and spread under appliances.
- Check for leaks regularly: Look behind and beside appliances for signs of water or moisture.
- Keep pet hair under control: Regularly vacuum or sweep nearby floors if you have shedding pets.
- Use a handheld vacuum for quick touch‑ups: A few passes along the front edges each week keeps crumbs from migrating under appliances.
These small steps reduce the amount of dust, food, and moisture that can end up under your appliances in the first place.
Final Thoughts: Safe, Low‑Effort Cleaning Under Appliances
Cleaning under heavy appliances does not have to mean dragging them across the floor or risking injury. With a long duster, a vacuum attachment, and a few careful passes, you can reach most of the dust, crumbs, and lint that collect in these hidden spaces. Focus on dry dusting first, then spot clean sticky areas with a lightly dampened cloth.
By following safe practices, using simple tools, and sticking to a basic schedule, you will keep the areas under your refrigerator, stove, washer, and dryer much cleaner without moving everything around. Your home will smell fresher, your appliances can run more efficiently, and you will avoid many of the problems that come from letting hidden dirt build up for years.
If you are planning a bigger cleaning and organizing project, you can also explore more tips and room‑by‑room guides in the cleaning and organization section of your favorite home resource sites for additional ideas.
 How to Clean Pet Bowls, Mats, and Feeding Areas Safely
 How to Clean Air Vents and Registers Without Spreading Dust
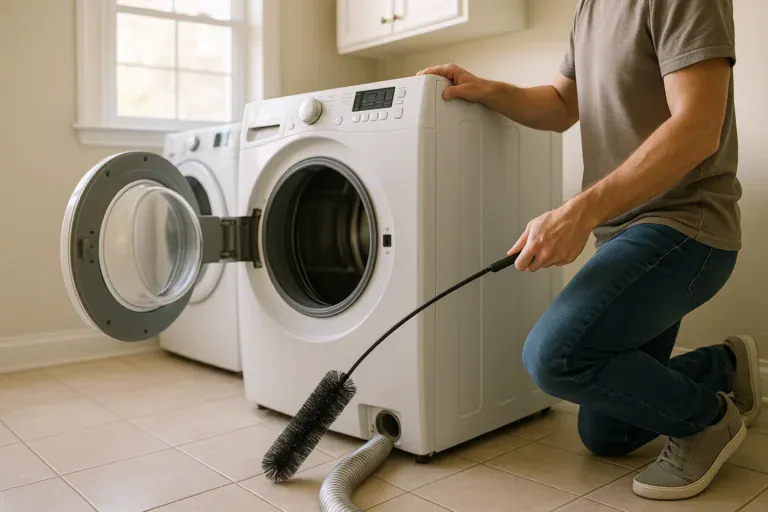 How to Clean a Dryer Vent Safely at Home