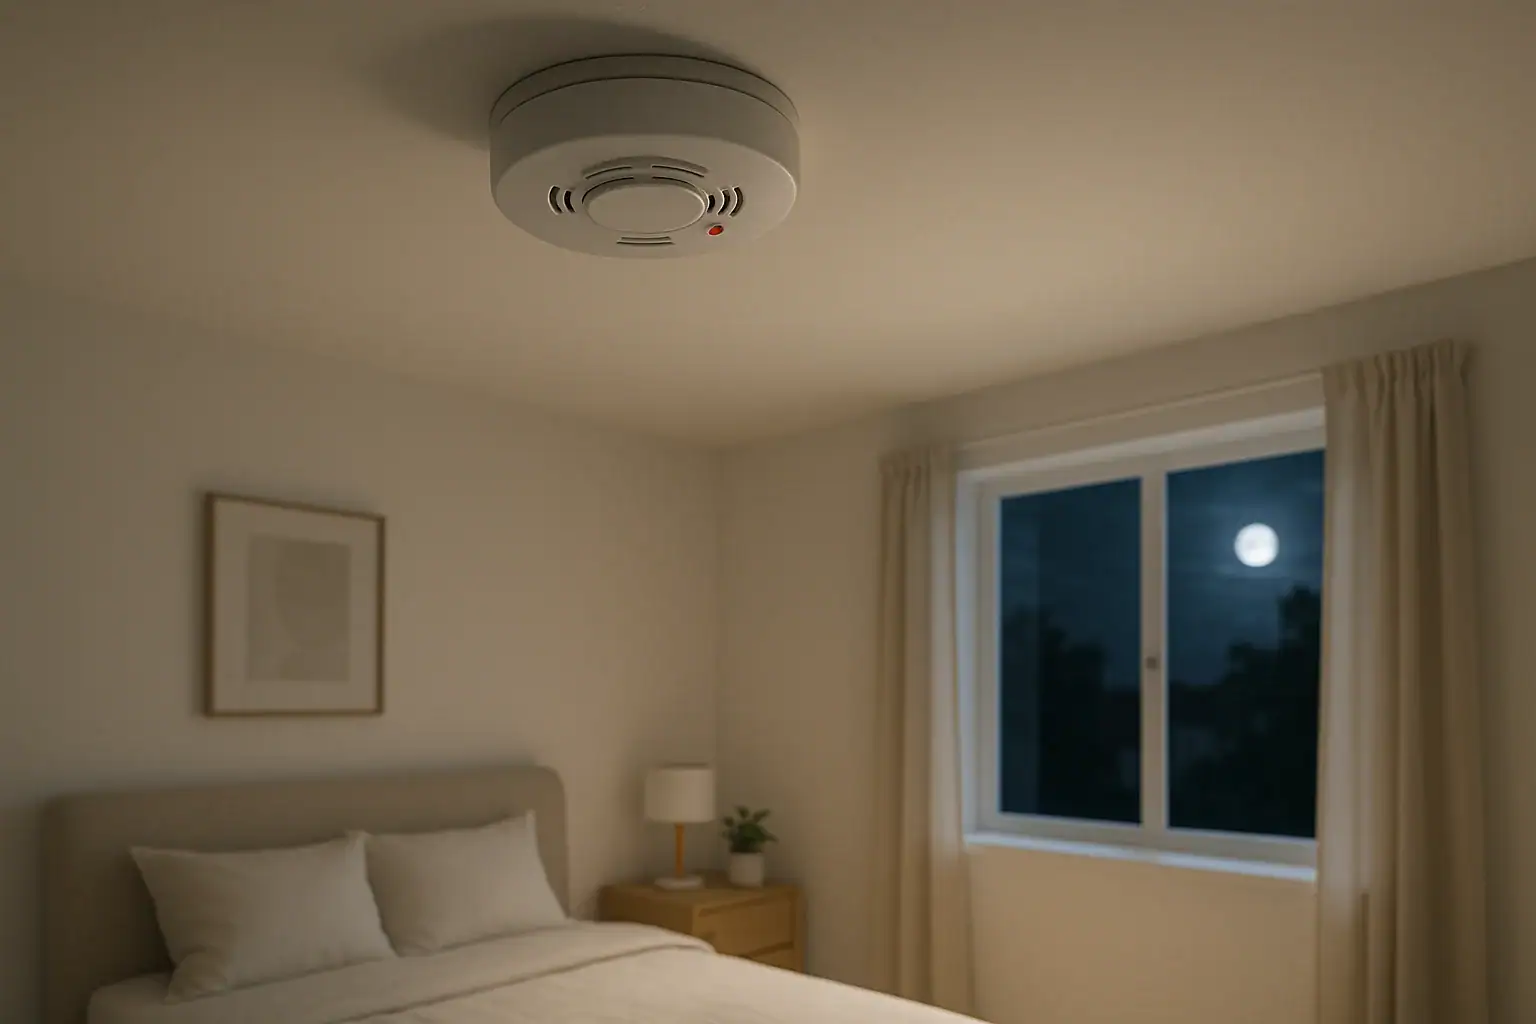
Few things are more frustrating than a smoke alarm that starts chirping in the middle of the night. The sound is sharp, repetitive, and almost impossible to ignore. While it may feel like your alarm is choosing the worst possible time to act up, there are real reasons this happens, and most of them are fixable with a little troubleshooting. Understanding those reasons will help you stop the noise and make sure your home stays protected.
On this page(click to collapse)
- Why Smoke Alarms Chirp, Especially at Night
- Step-by-Step: How to Stop a Chirping Smoke Alarm Safely
- What to Do If a New Battery Does Not Stop the Chirping
- Special Cases: Hardwired, Interconnected, and Battery-Only Alarms
- Preventing Late-Night Chirping in the Future
- Safety First: What Not to Do with a Chirping Smoke Alarm
- When to Call a Professional
- Final Thoughts: Quiet Nights and Safer Mornings
- Related guides
This guide walks you step-by-step through why a smoke alarm chirps, why it often happens at night, and what you can safely do about it. You will learn how to tell the difference between a low-battery chirp and a real alarm, how to reset or replace your detector, and when it is time to call a professional. By the end, you will know how to quiet the chirping without putting your family at risk.
Why Smoke Alarms Chirp, Especially at Night
Smoke alarms are designed to get your attention, even with small issues. A single, repeating chirp is usually a warning that something is wrong with the device, not that there is smoke or fire. Understanding what your alarm is trying to tell you is the first step toward fixing it.
Common Causes of Chirping
- Low battery: The most common cause. A dying battery cannot provide consistent power, so the alarm chirps to warn you.
- End of device life: Most smoke alarms last about 8–10 years. When they reach the end of their life, they may chirp even with a good battery.
- Loose or incorrectly installed battery: If the battery is not seated properly or the drawer is not fully closed, the alarm may chirp.
- Dust or insects inside the sensor: Built-up dust or tiny bugs can interfere with the sensor and cause false chirps or nuisance alarms.
- Power issues on hardwired alarms: A loose wire, tripped breaker, or power surge can cause intermittent chirping.
- Temperature and humidity changes: Rapid changes in temperature or moisture can affect the sensor and battery performance.
Why Chirping Often Starts at Night
Many people notice that the chirping starts in the middle of the night. This is not your imagination. There are a few reasons this happens:
- Cooler nighttime temperatures: Batteries perform worse when they are cold. As your home cools overnight, a weak battery may drop just enough in voltage to trigger the low-battery chirp.
- Quieter environment: You are more likely to notice a faint chirp at night when everything else is quiet.
- Long-running issues finally surfacing: A battery that has been weak for weeks may finally cross the threshold at night.
Even if the timing is annoying, nighttime chirping is a helpful warning. It means your alarm needs attention so it can continue to protect you.
Step-by-Step: How to Stop a Chirping Smoke Alarm Safely
Before you silence a chirping smoke alarm, always make sure there is no actual smoke or fire. Once you are sure it is a maintenance issue, use the steps below. Work carefully and do not disable alarms for long periods.
Step 1: Confirm the Sound You Are Hearing
Different sounds mean different things. Pay attention to the pattern:
- Single chirp every 30–60 seconds: Maintenance issue, usually low battery or device problem.
- Continuous loud alarm or rapid beeping: Possible smoke, fire, or heavy dust. Treat as an emergency until you are sure it is safe.
- Series of beeps followed by silence: May indicate a specific error code. Check the label on the alarm or the manual for details.
Step 2: Locate the Chirping Alarm
If you have multiple alarms, it can be hard to tell which one is making noise. Try this:
- Stand in the hallway and listen for the direction of the chirp.
- Move closer to each alarm until you find the loudest one.
- If alarms are interconnected, they may have indicator lights that flash on the unit with the issue.
Step 3: Replace the Battery (Most Common Fix)
If your alarm uses a replaceable battery, changing it is usually the fastest way to stop chirping. Do this even if the battery is not very old.
- Turn off power if hardwired: If the alarm is wired into your home, switch off the appropriate breaker before working on it.
- Remove the alarm from its base: Twist or slide the alarm off the mounting plate on the ceiling or wall.
- Open the battery compartment: This is usually a small door on the back or side.
- Remove the old battery: Note the orientation of the positive and negative ends.
- Install a fresh battery: Use a new, high-quality battery of the recommended type. Match the + and − markings.
- Close the battery door completely: Many alarms will chirp if the door is not fully latched.
- Reattach the alarm: Place it back on the mounting plate and twist or slide until it locks.
- Restore power and test: Turn the breaker back on if needed, then press the test button to confirm the alarm sounds.
If the chirping stops after a few minutes, the battery was likely the issue. If it continues, move on to the next steps.
What to Do If a New Battery Does Not Stop the Chirping
Sometimes, a brand-new battery does not solve the problem. In that case, the alarm may need a reset, cleaning, or full replacement.
Step 4: Reset the Smoke Alarm
Many alarms store error codes or low-battery warnings in memory. Resetting can clear those alerts.
- Turn off power for hardwired units: Switch off the breaker again for safety.
- Remove the alarm from its base: Take it down from the ceiling or wall.
- Remove the battery: Take out the new battery you just installed.
- Hold the test button: Press and hold the test button for 15–30 seconds to drain any remaining charge.
- Reinstall the battery: Put it back in, making sure it is seated firmly.
- Reattach the alarm and restore power: Mount the alarm and turn the breaker back on.
Listen for a few minutes. A brief series of beeps right after power is restored can be normal. Ongoing chirping is not.
Step 5: Clean the Alarm to Remove Dust and Debris
Dust, pet hair, and tiny insects can get inside the alarm and interfere with its sensor.
- Use a vacuum with a soft brush attachment to gently clean around the vents and openings.
- Use a can of compressed air to blow dust out of the openings. Do not spray cleaning chemicals into the alarm.
- Avoid painting over or taping over the alarm, which can block vents and cause malfunction.
After cleaning, reinstall the alarm and see if the chirping stops.
Step 6: Check the Age of Your Smoke Alarm
Even with a fresh battery and cleaning, an old alarm may continue to chirp. Most units have a limited lifespan.
- Remove the alarm and look for a manufacturing date printed on the back.
- If it is more than 8–10 years old, it is usually time to replace it.
- Some models will chirp in a specific pattern to signal end-of-life. Check the label on the alarm for details.
Replacing an outdated alarm is not just about stopping the noise. Older sensors can become less reliable over time, which may delay detection of smoke.
Special Cases: Hardwired, Interconnected, and Battery-Only Alarms
Your troubleshooting steps may vary slightly depending on how your alarms are powered and connected.
Battery-Only Smoke Alarms
These are the simplest to troubleshoot:
- Replace the battery first.
- Reset the alarm if chirping continues.
- Clean the unit to remove dust.
- Replace the entire alarm if it is older than its recommended lifespan.
Hardwired Smoke Alarms
Hardwired alarms are connected to your home’s electrical system and often have a backup battery.
- Always turn off the circuit breaker before removing or working on a hardwired alarm.
- Replace the backup battery regularly, even if the main power is working.
- If chirping continues after battery replacement and reset, there may be a wiring issue or the alarm may be at the end of its life.
- Consider contacting a licensed electrician if you suspect wiring problems or feel unsure about working with electrical components.
Interconnected Smoke Alarms
In many homes, alarms are linked so that when one detects smoke, they all sound. Chirping can be more confusing in these systems.
- Identify which alarm is chirping by listening closely or looking for a flashing indicator light.
- Work on one unit at a time so you do not lose coverage throughout the home.
- After replacing a unit, test the system to confirm that all alarms still communicate properly.
Preventing Late-Night Chirping in the Future
Once you have stopped the chirping, a few simple habits can greatly reduce the chances of it happening again, especially at night.
Replace Batteries on a Schedule
Do not wait for the chirp to remind you. Instead:
- Replace batteries at least once a year, or more often if recommended by the manufacturer.
- Choose a specific time of year, such as when you change clocks for daylight saving time, to make it easy to remember.
- Write the replacement date on a small piece of tape on the alarm or in a home maintenance log.
Test Alarms Monthly
Regular testing helps you catch weak batteries or failing units before they start chirping at night.
- Press and hold the test button on each alarm until it sounds.
- If an alarm does not sound or is very weak, replace the battery or the unit right away.
- Include smoke alarms in your broader home safety checks.
Keep Alarms Clean and Clear
Reduce false alerts and chirping by keeping alarms free of dust and debris.
- Vacuum around alarms a few times a year.
- Avoid installing alarms directly above cooking appliances or in very steamy bathrooms, where frequent false alarms can occur.
- Maintain good ventilation in areas with alarms to reduce humidity buildup.
Replace Alarms Before They Fail
Do not wait for end-of-life chirping to tell you an alarm is too old.
- Note the manufacture date when you move into a home or install a new alarm.
- Plan to replace each unit after about 8–10 years of service, or sooner if recommended.
- Consider upgrading to models that offer clearer status indicators, such as separate lights for power, alarm, and trouble.
Safety First: What Not to Do with a Chirping Smoke Alarm
When you are tired and frustrated, it can be tempting to take shortcuts. Some quick fixes may stop the noise but leave you unprotected.
Avoid Disabling Alarms for Convenience
- Do not remove the battery and leave the alarm disconnected overnight.
- Do not tape over the alarm or wrap it in plastic to muffle the sound.
- Do not turn off the breaker to a hardwired alarm and forget to turn it back on.
These actions may silence the chirp but also silence the alarm in an emergency.
Do Not Ignore Persistent Chirping
Chirping is a warning that something is wrong. If you cannot figure it out:
- Replace the alarm with a new unit rather than living with the noise.
- Contact a qualified professional if you suspect electrical issues or faulty wiring.
- Never assume that a chirping alarm is “just annoying” and not a safety concern.
When to Call a Professional
Most chirping issues can be handled with a new battery, cleaning, and a reset. However, there are times when it is safer and more effective to get help.
- Repeated chirping after full troubleshooting: If you have replaced the battery, reset the alarm, cleaned it, and checked the age, ongoing chirping may indicate a deeper problem.
- Hardwired systems you are not comfortable handling: If you are uneasy about turning off breakers or checking wiring, a licensed electrician can help.
- Multiple alarms chirping together: If several alarms are chirping, there may be an issue with the circuit, power supply, or interconnected system.
- Unclear alarm codes or patterns: If the beeps do not match the basic low-battery pattern, a professional can interpret the signals and recommend next steps.
Final Thoughts: Quiet Nights and Safer Mornings
A chirping smoke alarm in the middle of the night is more than an annoyance. It is your home’s way of telling you that something needs attention. By understanding the common causes and following a simple troubleshooting process, you can usually stop the noise quickly and safely.
Replace weak batteries, reset and clean the alarms, and do not ignore signs that a unit is reaching the end of its life. Regular testing and scheduled maintenance can help you avoid late-night surprises and keep your family protected around the clock.
If you ever feel unsure, do not hesitate to reach out to a qualified professional. A working, reliable smoke alarm is one of the most important parts of a safe home.
For more smart home and safety tips, you can explore related guides and resources to build a safer, more comfortable living space.
Recommended next:
Related posts
Browse this topic →
Carbon Monoxide Alarm End-of-Life Beeps: Troubleshooting and Safe Replacement
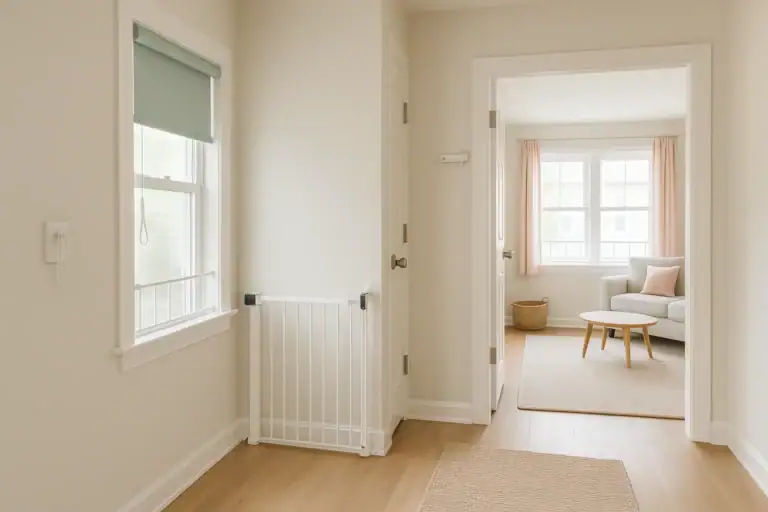
Childproofing Doors, Windows, Locks, Alarms, and Blind Cords: A Complete Checklist
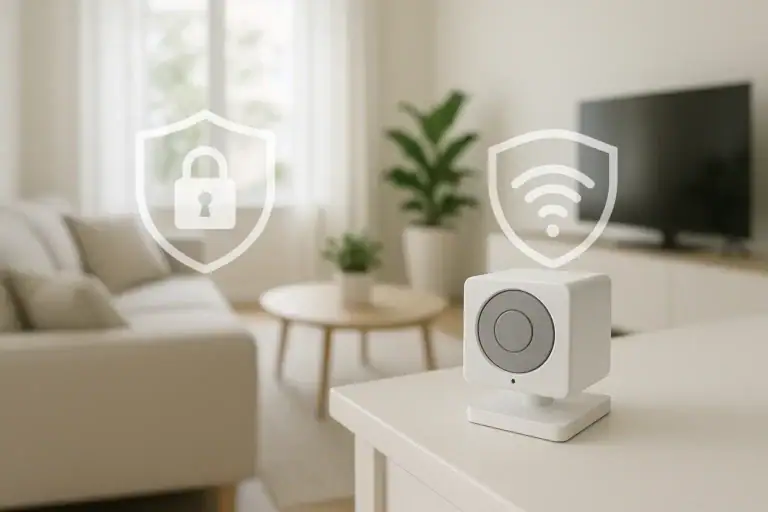
How to Keep Security Camera Footage Private Inside Your Home

Router Placement at Home for Better WiFi Without Extra Devices
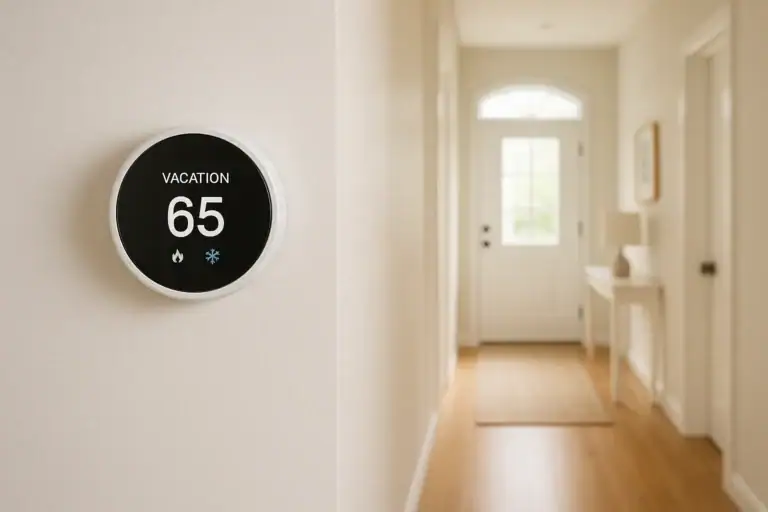
Smart Thermostat Vacation Mode Settings: A Complete Homeowner Guide

Emergency Lighting Plan for Power Outages Without Candles: A Practical Checklist
Keep reading
About this site
Signature Home Guide publishes practical, independent home guides. We aim to be clear, helpful, and transparent.
Affiliate disclosure
As an Amazon Associate, we earn from qualifying purchases. Some links on this site may be affiliate links. If you buy through these links, we may earn a small commission at no extra cost to you. This helps support our content. Learn more.