Smart video doorbells are great for keeping an eye on your front door, but the constant notifications can get old fast. Every passing car, swaying tree, or dog walker does not need to trigger an alert. The good news is that most modern video doorbells let you customize motion zones so you only get notified about what really matters. With a few careful adjustments, you can dramatically reduce false alerts while still keeping your home and family protected.
On this page(click to collapse)
- What Are Motion Zones on a Video Doorbell?
- Key Settings That Affect Motion Alerts
- Step‑by‑Step: How to Set Motion Zones for Fewer Alerts
- Step 1: Open the Motion Settings in Your App
- Step 2: Identify Problem Areas in the Camera View
- Step 3: Start with a Single Primary Motion Zone
- Step 4: Exclude the Street and Sidewalk
- Step 5: Adjust the Vertical Angle of the Camera (If Possible)
- Step 6: Set Motion Sensitivity to Medium
- Step 7: Turn On Person Detection (If Available)
- Step 8: Create a Secondary Zone for the Driveway (Optional)
- Step 9: Use Motion Schedules to Match Your Routine
- Step 10: Test and Fine‑Tune Over a Few Days
- Common Layouts and How to Set Motion Zones for Each
- Extra Tips to Reduce False Alerts Without Losing Security
- Balancing Fewer Alerts with Strong Home Security
- Related guides
This guide walks you through how motion zones work, what settings actually matter, and a step‑by‑step process to dial in your video doorbell for fewer, smarter alerts. Whether your doorbell faces a busy street or a quiet porch, you can tailor the motion detection to your home and your routine.
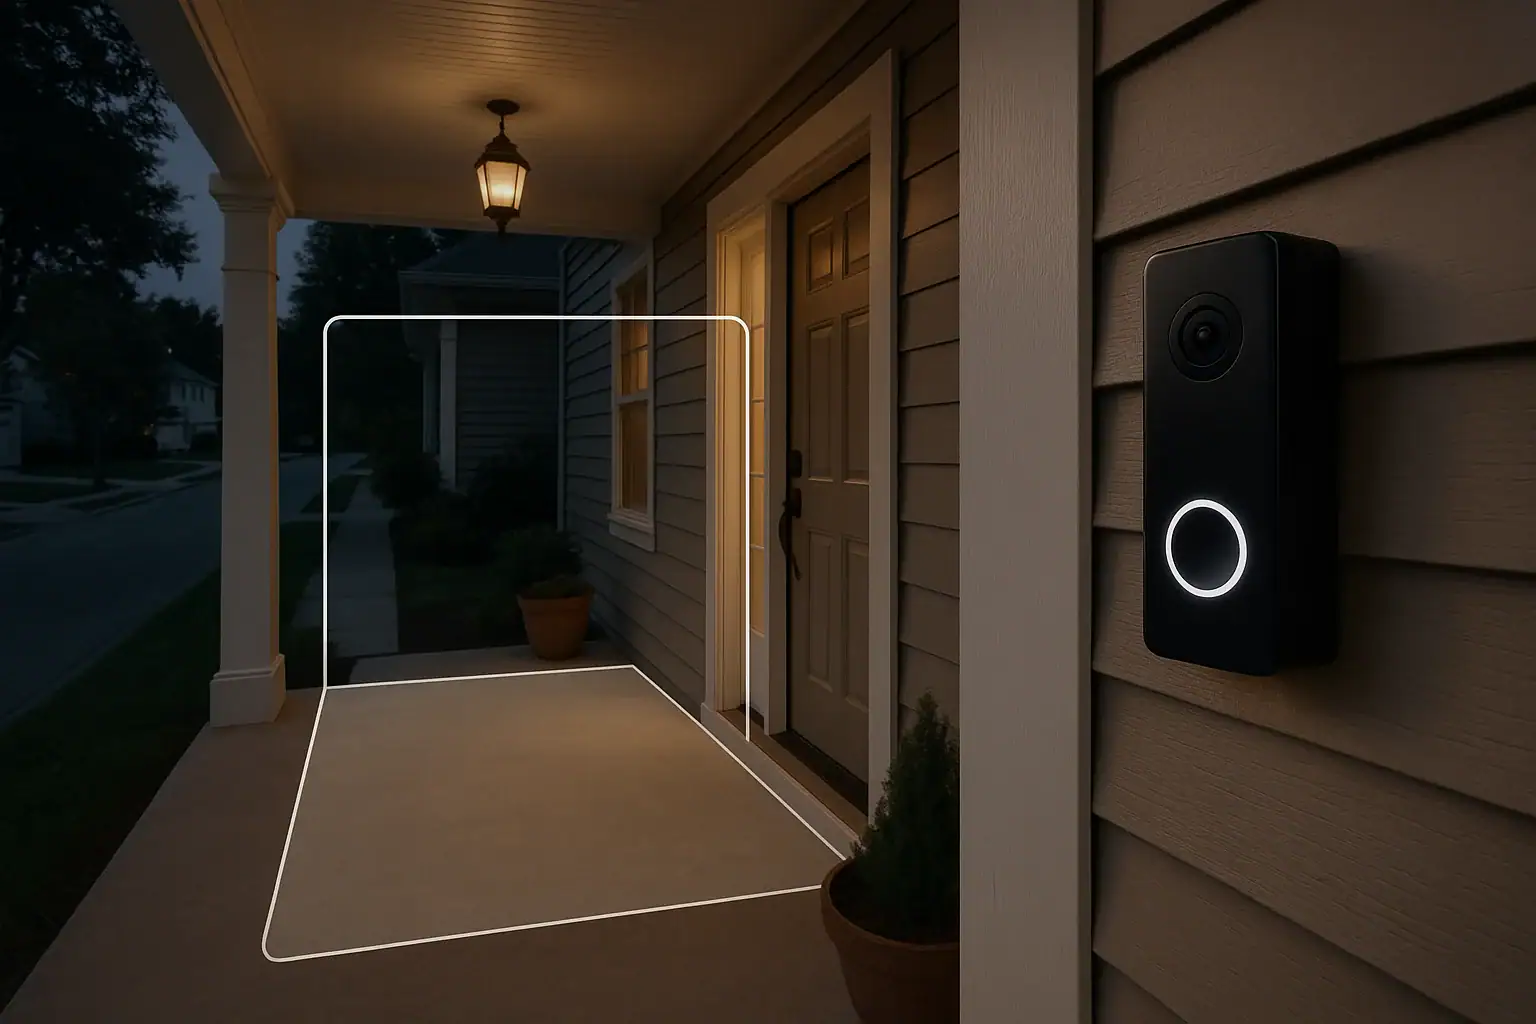
What Are Motion Zones on a Video Doorbell?
Motion zones are customizable areas within your doorbell camera’s field of view where motion detection is active. Instead of the camera watching everything it can see, you tell it which parts of the image to pay attention to and which to ignore.
Think of your camera view as a grid. Motion zones let you highlight only the squares where you care about movement, like your porch and walkway, and exclude areas that constantly change, like the street or sidewalk.
Why Motion Zones Matter
- Fewer false alerts: Reduce notifications from cars, pedestrians, and animals that are not approaching your home.
- Better awareness: Focus on areas where people actually approach your door or packages are delivered.
- More useful recordings: Your event history is less cluttered, making it easier to find important clips.
- Battery and data savings: Fewer motion events can help extend battery life and reduce data usage on some devices.
Key Settings That Affect Motion Alerts
Before you start drawing motion zones, it helps to understand the main settings that affect how often your doorbell sends alerts. Different apps use different names, but most offer similar controls.
1. Motion Sensitivity
Motion sensitivity controls how easily the camera decides that something is worth noticing. Higher sensitivity means it will react to small or distant movements. Lower sensitivity means it only reacts when something larger or closer moves.
For most homes, a medium sensitivity level is a good starting point. You can fine‑tune from there based on how many alerts you receive.
2. Activity or Motion Zones
These are the shapes or areas you draw on the camera view. Some apps let you draw custom shapes, while others use boxes or preset regions.
The more precise your zones, the easier it is to ignore unwanted movement, like traffic or sidewalk activity, while still catching visitors at your door.
3. Person or Object Detection (If Available)
Many video doorbells offer detection that can distinguish between people and general motion. When enabled, you can choose to receive alerts only when a person is detected, not when a car drives by or a tree moves.
If your doorbell supports this feature, turning on person detection for your main motion zones can sharply cut down on noise.
4. Motion Schedules
A motion schedule lets you choose when alerts are active. For example, you might want fewer alerts during the daytime when your street is busy, but more detailed alerts at night.
Combining schedules with well‑designed motion zones gives you more control over how and when your doorbell notifies you.
Step‑by‑Step: How to Set Motion Zones for Fewer Alerts
Every video doorbell app looks a little different, but the general process is similar. Use these steps as a guide while you work through the settings in your own app.
Step 1: Open the Motion Settings in Your App
On your phone or tablet, open the app that controls your video doorbell. Look for a section labeled something like:
- “Motion Settings”
- “Detection Settings”
- “Activity Zones” or “Motion Zones”
Select your doorbell device, then tap into the motion or detection area. You should see a live or static view from your doorbell camera.
Step 2: Identify Problem Areas in the Camera View
Before you start drawing zones, study the full camera view and think about what causes most of your false alerts. Common problem areas include:
- Busy streets with constant car traffic
- Sidewalks where people walk past but rarely approach your door
- Trees, bushes, or flags that move in the wind
- Driveways shared with neighbors
- Reflections from windows or shiny cars
Make a mental note of these areas. Your goal will be to exclude them from your motion zones as much as possible.
Step 3: Start with a Single Primary Motion Zone
Instead of turning on multiple zones right away, start with one primary zone that covers the most important area. This usually includes:
- Your front porch or stoop
- The path or walkway leading directly to your door
- The area where packages are typically left
Use the app’s tools to draw or resize the zone so it hugs these areas closely. Avoid letting the zone spill over into the street or sidewalk if you can help it.
Step 4: Exclude the Street and Sidewalk
Most false alerts come from movement that never actually reaches your home. To reduce this:
- Pull the bottom edge of your zone upward so it ends at the start of your driveway or yard, not at the street.
- Pull the sides of your zone inward so they cover only your property line or the area directly in front of your door.
- If your app supports multiple shapes, create a gap or hole in the zone where the sidewalk runs.
If your doorbell is close to the street and it is impossible to exclude it entirely, you will rely more on sensitivity settings and person detection in later steps.
Step 5: Adjust the Vertical Angle of the Camera (If Possible)
The physical angle of your doorbell affects how much of the street it sees. If your device allows for tilting or you have a wedge mount, consider aiming the camera slightly downward.
This helps in two ways:
- It focuses more on your porch and less on the road.
- It reduces detection of distant motion that is not relevant.
After adjusting the angle, revisit your motion zones in the app to make sure they still line up with the new view.
Step 6: Set Motion Sensitivity to Medium
Once your primary zone is in place, set the motion sensitivity to a medium level. This is usually the best balance between catching real visitors and ignoring minor movement.
Only set sensitivity to high if you find that you are missing events, such as people walking up to your door without triggering an alert. If you are getting too many alerts, try lowering it a notch instead.
Step 7: Turn On Person Detection (If Available)
If your doorbell supports person detection or similar smart detection features, enable them for your main motion zone. Then, in the alert preferences, choose to receive:
- “People only” alerts, or
- “People and important motion” if you also want to know when cars pull into your driveway.
This step alone can dramatically reduce alerts from animals, leaves, and passing cars.
Step 8: Create a Secondary Zone for the Driveway (Optional)
If you want to know when a car pulls into your driveway but not when it drives past on the street, consider adding a second motion zone just for the driveway area.
For this secondary zone:
- Keep it narrow and focused on the portion of the driveway closest to your home.
- Use a lower sensitivity than your main porch zone.
- Consider limiting alerts to certain times, like overnight or when you are away.
Step 9: Use Motion Schedules to Match Your Routine
Motion schedules help you control when alerts are most important. For example, you might:
- Reduce alerts during weekday business hours if your street is busy.
- Increase alerts in the evening and overnight when unexpected visitors are less common.
- Set a different schedule for weekends when you are home more often.
Within your app, look for “Schedules” or “Modes” and customize alert behavior for different times of day.
Step 10: Test and Fine‑Tune Over a Few Days
After setting your zones and preferences, live with them for a few days. Pay attention to:
- Alerts you did not want (for example, every car that passes).
- Events you missed (like a package delivery that did not trigger an alert).
Then make small adjustments:
- Trim zones back from problem areas by a small amount.
- Increase sensitivity slightly if you are missing important motion.
- Decrease sensitivity if you still get too many alerts.
A few rounds of fine‑tuning usually lead to a comfortable balance between awareness and peace and quiet.
Common Layouts and How to Set Motion Zones for Each
Different home layouts call for different motion zone strategies. Here are some examples to help you visualize what might work best for your setup.
1. Home Facing a Busy Street
If your front door looks directly onto a road with constant traffic, your priority is blocking out the street and sidewalk as much as possible.
- Draw a tight zone around your porch and front steps only.
- Raise the bottom edge of the zone so it stops well before the curb.
- Angle the camera slightly downward to reduce the view of the street.
- Use person detection and medium sensitivity.
2. Long Front Walkway
For homes with a long path leading from the sidewalk to the front door, you want to see people as they approach, but not everyone walking past.
- Create a narrow zone that follows the line of the walkway only.
- Exclude grass, bushes, and the street on either side of the path.
- Use person detection so you are alerted when someone walks up the path, not when a dog crosses the lawn.
3. Shared Driveway or Townhome Entrance
In shared spaces, you want awareness without being notified every time a neighbor comes and goes.
- Focus your main zone on your door, porch, and any private steps.
- If possible, avoid including your neighbor’s door or parking area.
- Use lower sensitivity and person detection to avoid constant alerts.
- Consider limiting alerts during peak times when neighbors are most active.
4. Porch with Lots of Plants or Decorations
Plants, flags, and hanging decorations can cause frequent motion triggers when the wind blows.
- Draw zones that exclude highly mobile items, like hanging plants.
- Lower the sensitivity slightly to ignore small movements.
- If possible, relocate very active decorations outside of the motion zone.
Extra Tips to Reduce False Alerts Without Losing Security
Fine‑tuned motion zones are the foundation, but a few additional habits can help keep alerts useful and manageable.
Use Modes for “Home” and “Away”
Some apps let you set different behavior based on whether you are home or away. For example:
- Home mode: Fewer alerts, maybe people only, with lower sensitivity.
- Away mode: More alerts, including motion near the driveway or yard.
Switching modes when you leave or return can help tailor notifications to your needs.
Review Event History Periodically
Every week or so, scroll through your video doorbell’s event history. Look for patterns:
- Times of day with lots of unhelpful alerts
- Areas that still trigger too often
- Any missed events near your door
Use what you see to make small adjustments to your zones, schedules, or sensitivity.
Combine with Other Smart Home Devices
If you use other smart home devices, you can sometimes link them with your video doorbell for smarter alerts. For example, you might:
- Turn on a porch light automatically when motion is detected at night.
- Trigger a chime inside your home only when a person is detected.
- Use a smart lock to check whether the door is locked after an alert.
These integrations can make each alert more useful without increasing how often your phone buzzes.
Balancing Fewer Alerts with Strong Home Security
It is tempting to turn off motion alerts altogether when they become overwhelming, but that defeats the purpose of having a video doorbell in the first place. The goal is not zero alerts; it is the right alerts.
By carefully setting motion zones, adjusting sensitivity, and using features like person detection and schedules, you can reach a comfortable middle ground. You will know when someone approaches your front door, when a package arrives, or when something unusual happens, without being interrupted every few minutes.
If you want to explore more ways to improve your home’s safety and smart features, you can find additional guides and tips in the smart home and safety section at Signature Home Guide.
Recommended next:
Related posts
Browse this topic →
Carbon Monoxide Alarm End-of-Life Beeps: Troubleshooting and Safe Replacement
Childproofing Doors, Windows, Locks, Alarms, and Blind Cords: A Complete Checklist
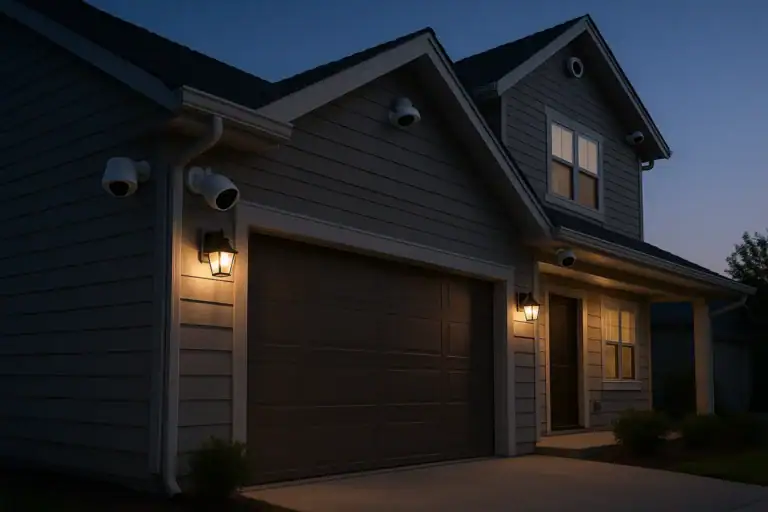
How to Keep Security Camera Footage Private Inside Your Home
Router Placement at Home for Better WiFi Without Extra Devices
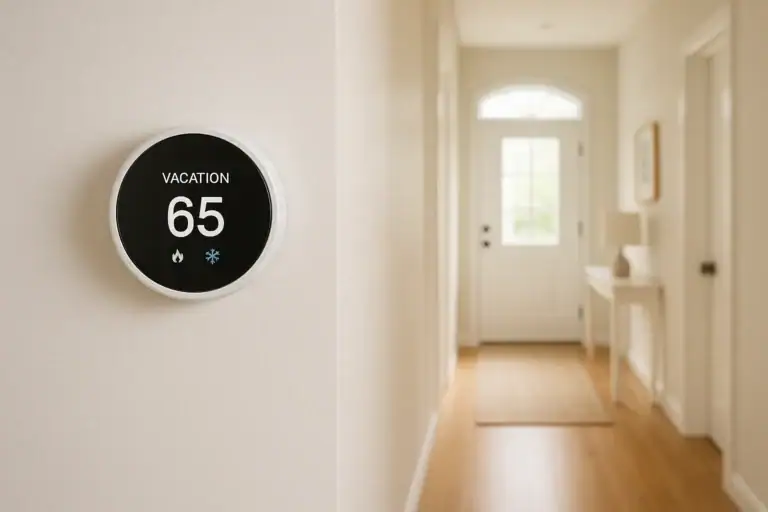
Smart Thermostat Vacation Mode Settings: A Complete Homeowner Guide
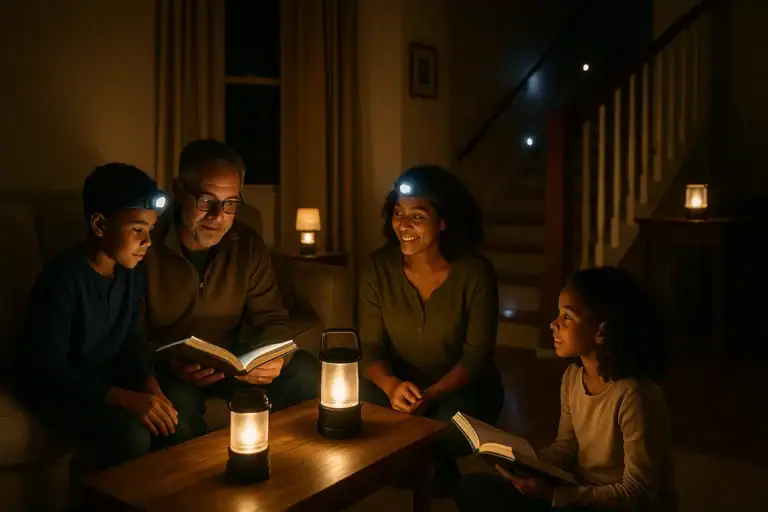
Emergency Lighting Plan for Power Outages Without Candles: A Practical Checklist
Keep reading

About this site
Signature Home Guide publishes practical, independent home guides. We aim to be clear, helpful, and transparent.
Affiliate disclosure
As an Amazon Associate, we earn from qualifying purchases. Some links on this site may be affiliate links. If you buy through these links, we may earn a small commission at no extra cost to you. This helps support our content. Learn more.