On this page(click to collapse)
- Plan Before You Mount Your Outdoor Camera
- Mounting Height and Angle for Better Coverage
- Weather-Proof Mounting: Protecting Your Camera Outdoors
- Reducing Glare and Reflections in Daytime Footage
- Improving Night Vision Performance
- Mounting on Different Surfaces: Walls, Eaves, and More
- Managing Cables and Power Safely
- Fine-Tuning Settings After Mounting
- Putting It All Together for Reliable Outdoor Coverage
- Related guides
Mounting an outdoor security camera seems simple: screw it to a wall, plug it in, and you are done. In reality, where and how you mount the camera has a huge impact on what it can actually see and how long it will last. The right position can mean the difference between a clear view of a visitor’s face and a useless shot of bright sky, headlight glare, or a fogged-up lens. Thoughtful placement also helps your camera survive rain, wind, heat, and freezing temperatures while still delivering sharp night vision footage.
This guide walks you through practical tips for mounting outdoor cameras with weather, glare, and night vision in mind. You will learn how high to mount cameras, which directions to avoid, how to reduce reflections from windows and lights, and how to protect your equipment from the elements. Whether you are installing your first camera or improving an existing setup, these steps will help you get more reliable coverage and better video quality around your home.
Plan Before You Mount Your Outdoor Camera
Before you pick up a drill, take a few minutes to plan your camera locations. A little planning prevents blind spots and frustrating re-mounts later.
Decide What You Want to See
Start by deciding the main purpose of each camera. Common goals include:
- Watching who comes to the front door
- Monitoring the driveway and vehicles
- Covering side yards, gates, or alley access
- Overseeing backyard activity and patio doors
- Checking on packages and deliveries
Once you know the goal, stand where you plan to mount the camera and look at the scene. Ask yourself:
- Can I clearly see faces, not just silhouettes?
- Are there obstacles like trees, posts, or railings?
- Will car headlights or yard lights shine directly into the lens?
- Is this spot exposed to heavy rain, snow, or direct sun all day?
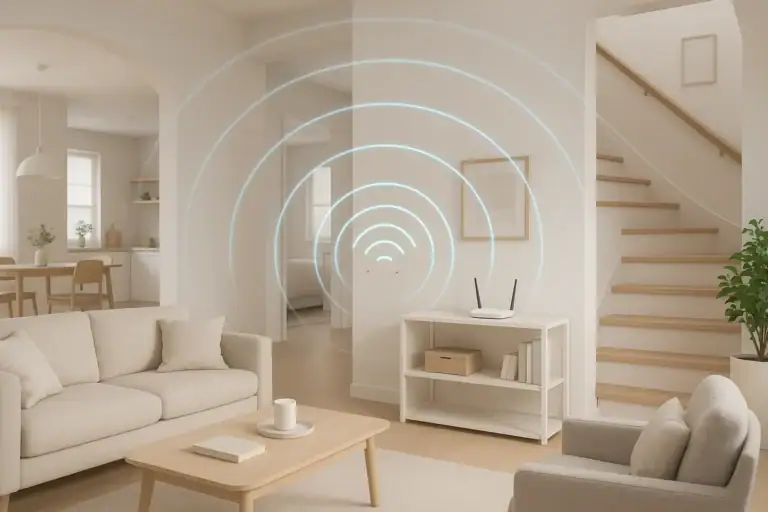
Check Power, Wi-Fi, and Cable Routes
Outdoor cameras are only as good as their power and connectivity. Before mounting:
- Power source: Confirm there is an outlet, low-voltage line, or junction box within safe reach, or that your battery or solar solution is realistic for the location.
- Wi-Fi signal: Stand where the camera will go and test signal strength with your phone. If your phone struggles, the camera likely will too.
- Cable runs: For wired systems, plan how cables will enter the house, avoid sharp bends, and remain protected from damage.
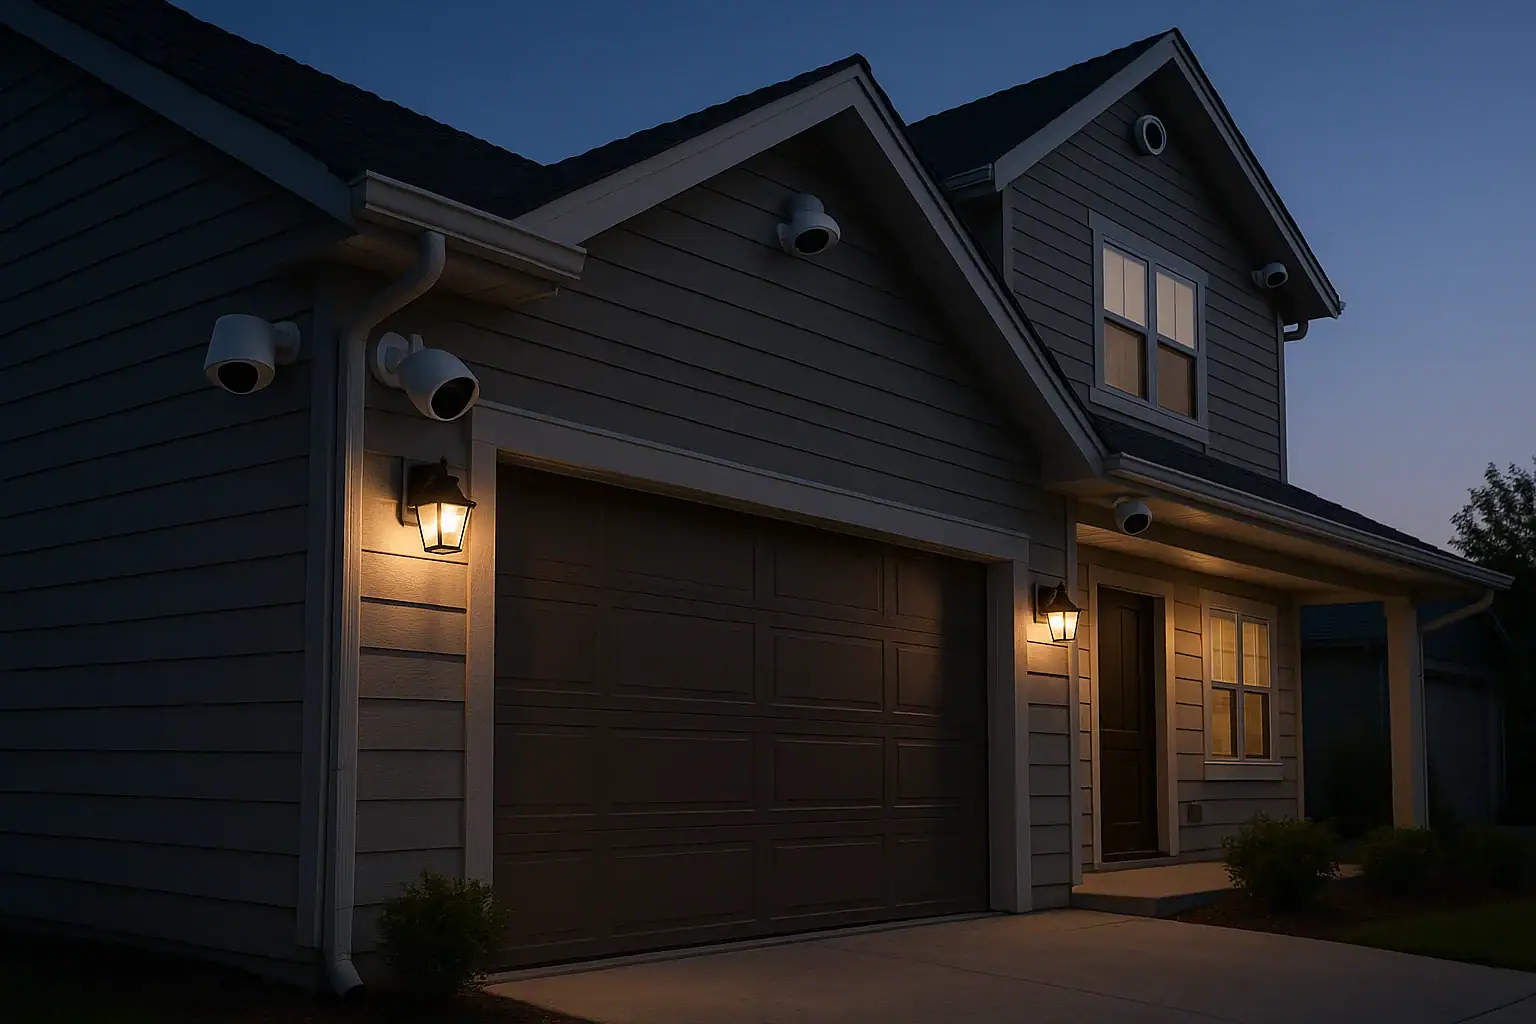
Mounting Height and Angle for Better Coverage
Height and angle matter for both image quality and security. Mounting too high or too low can ruin a good camera.
Ideal Mounting Height
For most outdoor locations, a mounting height between 8 and 10 feet above the ground works well. This range offers a good balance between field of view and protection from tampering.
Consider these guidelines:
- Front door and porch: Mount just above the door frame or on the ceiling of the porch, angled slightly downward toward the visitor’s face.
- Driveway: Mount on a garage corner or eave, high enough to see the entire driveway but low enough to capture license plates and faces.
- Backyard and side yard: Mount on the house or fence post, avoiding positions where foliage will grow into the field of view.
Set the Right Tilt and Field of View
Once height is set, adjust the tilt so the camera captures the area of interest without wasting pixels on sky or empty ground.
- Aim for faces, not feet: The center of the frame should be around chest to head height of a person standing in the monitored area.
- Limit sky in the frame: Too much bright sky can cause the rest of the image to appear dark and washed out.
- Cover entry points: Make sure doors, gates, and windows are clearly visible rather than being at the extreme edge of the frame.
Weather-Proof Mounting: Protecting Your Camera Outdoors
Outdoor cameras are built to handle weather, but smart mounting can greatly extend their life and reliability.
Use Overhangs and Sheltered Spots
Whenever possible, mount cameras under an eave, porch ceiling, or other overhang. This offers several benefits:
- Reduces direct rain and snow on the lens
- Helps prevent water spots that blur the image
- Shields the camera from direct sun that can overheat the housing
- Provides some protection from falling debris and hail
If no overhang is available, consider positioning the camera on the side of a post or wall rather than the top, so the body of the camera shields the lens from vertical rainfall.
Seal Cable Entry Points
Where cables pass through exterior walls, seal the openings to keep water and insects out of your home and away from connections.
- Use exterior-grade caulk around drilled holes.
- Install a drip loop in the cable so water runs down and away from the entry point.
- Avoid low spots where water can pool around connectors.
Consider Temperature Extremes
Many parts of the United States experience hot summers and cold winters. When choosing a mounting spot:
- Avoid placing cameras where they will bake in direct afternoon sun for hours.
- Keep them away from vents that blow hot or cold air directly onto the camera.
- In snowy climates, mount high enough to stay above typical snow accumulation and drifting.
Reducing Glare and Reflections in Daytime Footage
Glare is one of the most common problems with outdoor camera footage. Bright sunlight, headlights, and reflective surfaces can wash out important details.
Avoid Direct Sunlight into the Lens
When the sun shines directly into a camera, the image can become hazy or completely blown out. To reduce this:
- Avoid facing east or west directly: Morning and evening sun at low angles can cause strong glare.
- Angle slightly downward: A modest downward tilt reduces the amount of sky and direct sunlight in the frame.
- Use overhangs: Mounting under eaves can help shade the lens during the brightest parts of the day.
Minimize Headlight and Yard Light Glare
Car headlights and bright yard lights can also wash out your image or cause streaks and flares.
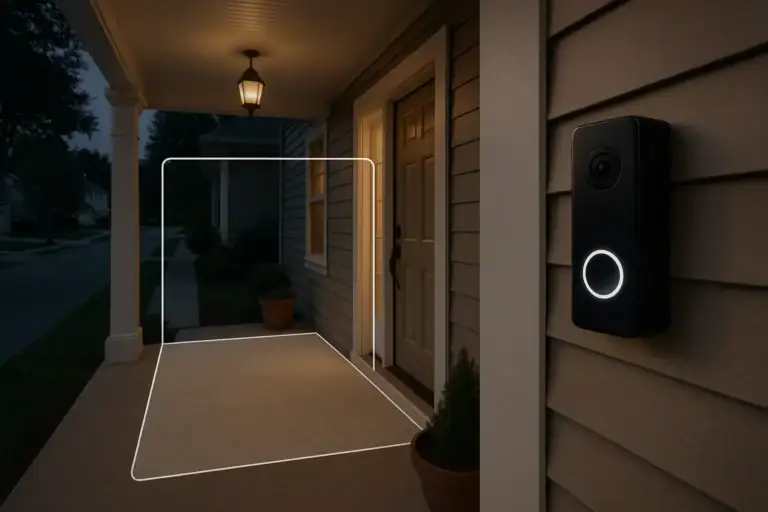
- Do not aim directly at driveways: Instead, angle the camera slightly to the side so headlights pass across the frame rather than straight into it.
- Offset from bright fixtures: Avoid mounting directly above or below a bright light. Move the camera a few feet to the side.
- Use diffused lighting: If possible, choose softer, indirect lighting near the camera rather than a single intense spotlight.
Avoid Shooting Through Glass
Mounting an outdoor camera indoors behind a window might seem convenient, but glass often creates reflections, especially at night.
- Reflections from interior lights and screens can obscure the view.
- Double-pane windows can introduce distortion and reduce clarity.
- Infrared night vision usually reflects off the glass, making the image unusable.
For reliable outdoor monitoring, mount the camera outside rather than behind a window.
Improving Night Vision Performance
Night vision is critical for outdoor security, but it can be easily ruined by poor placement. Infrared light, reflections, and competing light sources all affect nighttime footage.
Keep Infrared Light from Bouncing Back
Most outdoor cameras use infrared LEDs to see in the dark. If that light bounces back into the lens, you will see a bright haze instead of a clear image.
To prevent this:
- Avoid nearby walls or posts: Do not mount the camera so close to a wall or railing that the infrared light reflects straight back.
- Do not block the lens with eaves or trim: Make sure decorative trim, gutters, or brackets do not sit directly in front of the lens or LEDs.
- Keep the lens and housing clean: Dust, spider webs, and water spots can scatter infrared light and create a glowing fog effect.
Balance Ambient Light and Darkness
Night vision works best in consistent low light. Strong contrasts between bright and dark areas can confuse the camera’s exposure.
- Avoid pointing at very bright lights: Porch lights, floodlights, and streetlights in the frame can cause the rest of the image to look too dark.
- Use even, indirect lighting: If you add security lighting, aim it to illuminate the area, not the camera itself.
- Test with lights on and off: Check how your camera performs with porch lights on, off, and with motion lights triggered.
Test Night Vision After Dark
Do not rely on daytime testing alone. After mounting the camera, review actual footage at night.
- Walk through the monitored area to see if faces and clothing details are visible.
- Check for hot spots, glare, or washed-out zones caused by nearby lights.
- Adjust angle and lighting until you can clearly identify a person at typical distances.
Mounting on Different Surfaces: Walls, Eaves, and More
Outdoor cameras can be mounted on a variety of surfaces, and each type has its own best practices.
Mounting on Exterior Walls
For siding, brick, or stucco walls:
- Use appropriate anchors: Choose anchors rated for the wall material so the camera stays secure in wind and weather.
- Avoid mounting on loose siding panels: Attach to solid framing behind the surface whenever possible.
- Seal around holes: Apply exterior caulk around drilled holes to prevent moisture intrusion.
Mounting Under Eaves or Soffits
Mounting under eaves often provides great protection from weather and sun.
- Use brackets that allow you to angle the camera down and toward the area of interest.
- Confirm the soffit is securely attached and can support the camera’s weight.
- Route cables through attic spaces where possible to keep them hidden and protected.
Mounting on Poles or Fences
Sometimes the best view comes from a pole or fence post.
- Choose sturdy posts that do not sway in the wind, which can blur footage.
- Use weather-resistant straps or hardware designed for round or irregular surfaces.
- Protect exposed cables with conduit to prevent damage from weather and yard work.
Managing Cables and Power Safely
Clean cable management not only looks better but also keeps your system reliable and safe.
Hide and Protect Cables
Exposed cables are vulnerable to weather, animals, and accidental damage.
- Run cables along existing trim or corners to keep them discreet.
- Use exterior-rated cable clips or raceways to secure and protect wires.
- Avoid leaving slack that can catch on ladders, tools, or landscaping equipment.
Use Outdoor-Rated Components
Any part of the system that lives outside should be rated for outdoor use.
- Choose outdoor-rated extension cords and junction boxes when needed.
- Keep power adapters and connections inside or in weatherproof housings.
- Follow local electrical codes and consider professional help for complex wiring.
Fine-Tuning Settings After Mounting
Once your camera is physically installed, adjust its settings for the best real-world performance.
Adjust Motion Detection Zones
Motion alerts are only useful if they focus on what matters. Use your camera’s app or interface to:
- Draw zones that cover doors, walkways, and driveways.
- Exclude areas with constant movement, such as busy streets or tree branches.
- Fine-tune sensitivity to reduce false alerts from pets or small animals.
Test Day and Night Views Regularly
Lighting and landscaping change over time. Make it a habit to:
- Review recorded clips in different weather and lighting conditions.
- Trim branches or bushes that start to block the view or cause shadows.
- Clean the lens gently with a soft cloth to remove dust, pollen, and water spots.
Putting It All Together for Reliable Outdoor Coverage
Outdoor camera mounting is about more than just finding a convenient spot. Thoughtful placement protects your equipment from weather, reduces glare and reflections, and ensures that night vision works when you need it most. By choosing the right height, angle, and surface, shielding your camera from direct sun and rain, and testing both daytime and nighttime views, you can dramatically improve the quality and usefulness of your footage.
Take the time to plan each camera location around your home’s unique layout, lighting, and climate. A careful installation today can provide clearer evidence, fewer false alerts, and more peace of mind for years to come.
Recommended next:
Related posts
Browse this topic →
Carbon Monoxide Alarm End-of-Life Beeps: Troubleshooting and Safe Replacement
Childproofing Doors, Windows, Locks, Alarms, and Blind Cords: A Complete Checklist
How to Keep Security Camera Footage Private Inside Your Home
Router Placement at Home for Better WiFi Without Extra Devices
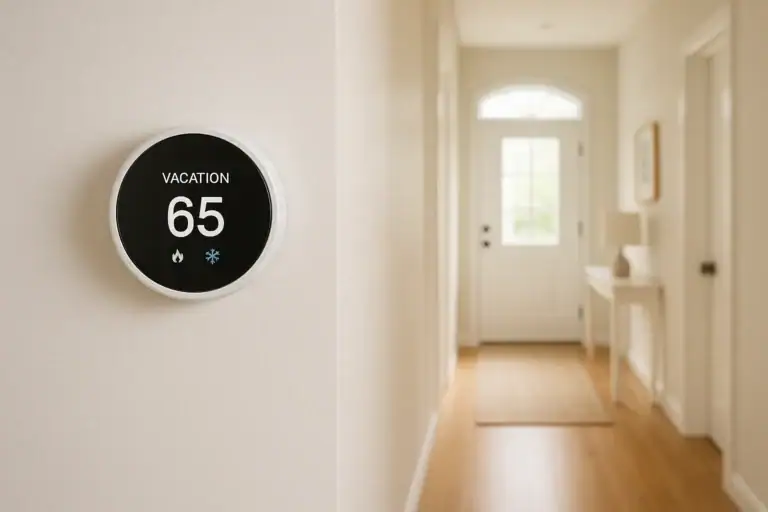
Smart Thermostat Vacation Mode Settings: A Complete Homeowner Guide
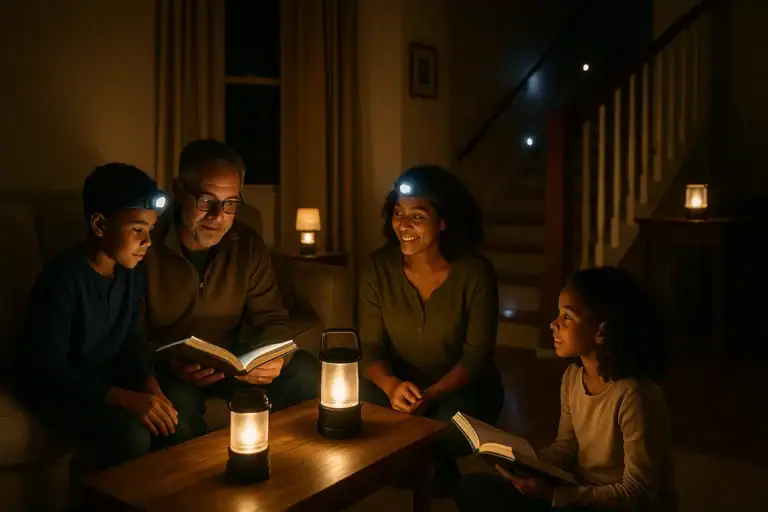
Emergency Lighting Plan for Power Outages Without Candles: A Practical Checklist
Keep reading

About this site
Signature Home Guide publishes practical, independent home guides. We aim to be clear, helpful, and transparent.
Affiliate disclosure
As an Amazon Associate, we earn from qualifying purchases. Some links on this site may be affiliate links. If you buy through these links, we may earn a small commission at no extra cost to you. This helps support our content. Learn more.