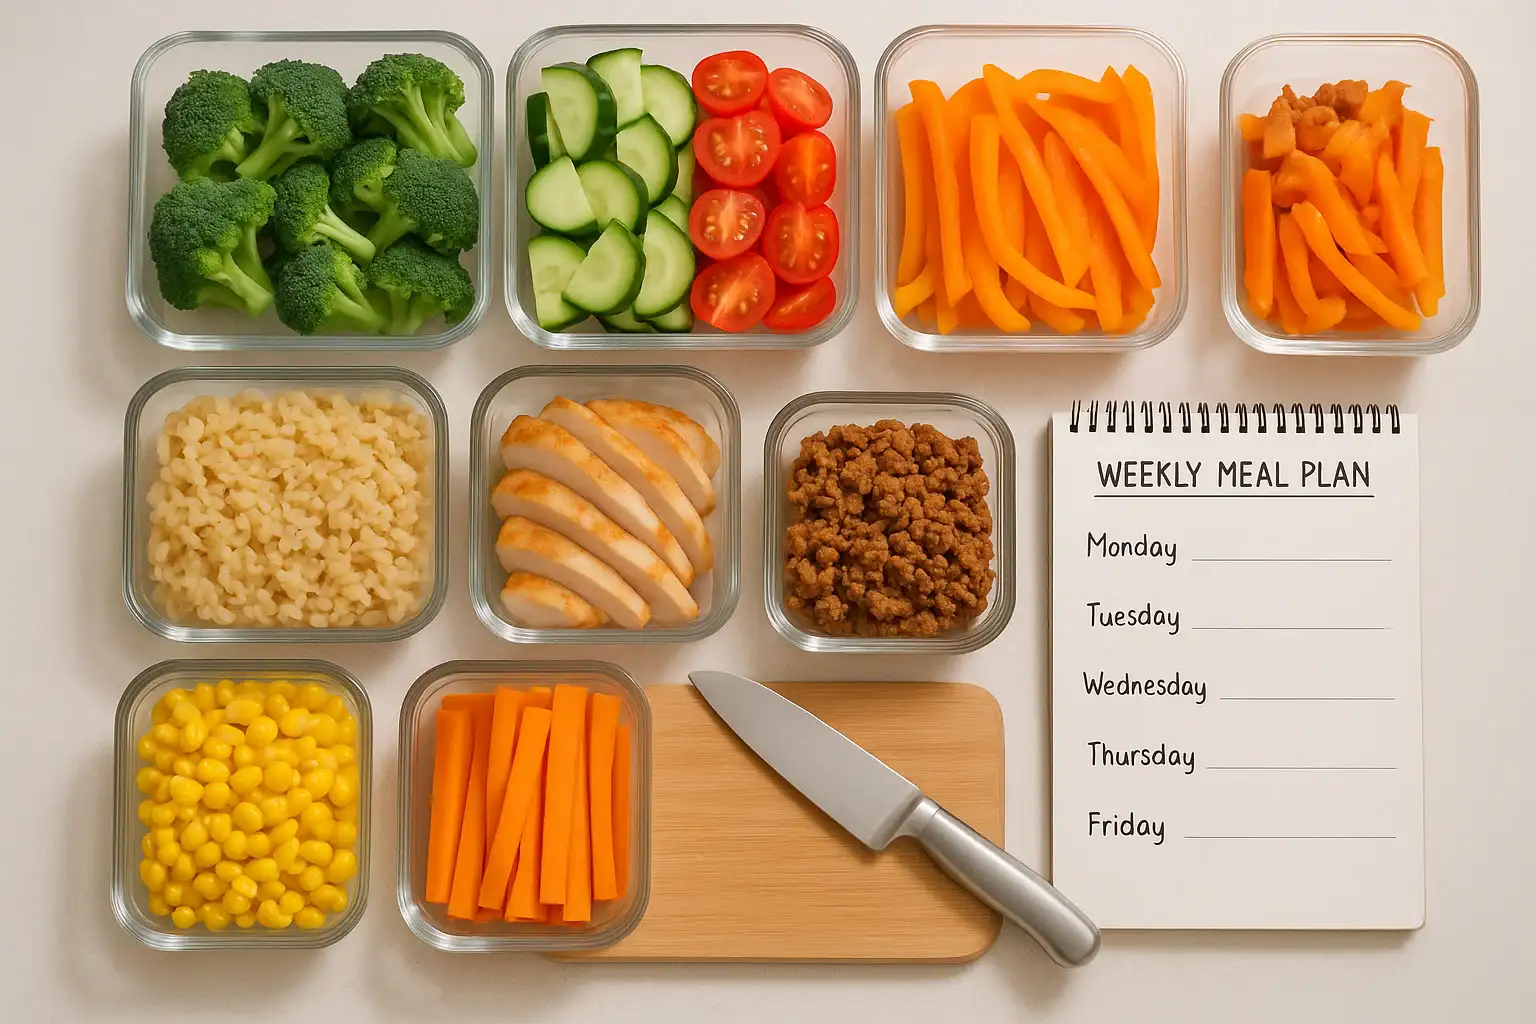
When life gets busy, cooking every night can feel impossible. A simple meal prep workflow can turn chaotic weeknights into calm, predictable routines. You do not need fancy tools or complicated recipes. With a clear plan, a few basic kitchen items, and smart storage habits, you can prep once and eat well all week. This guide walks you through a realistic, repeatable meal prep system designed for busy weeks. You will learn how to plan your menu, choose the right tools, prep ingredients efficiently, and store food safely so it actually gets eaten. Use this as a step-by-step guide you can follow every weekend or any day you choose to reset your kitchen.
On this page(click to collapse)
- Step 1: Plan Before You Prep
- Step 2: Make a Smart Shopping List
- Step 3: Set Up Your Meal Prep Zone
- Step 4: Follow a Logical Prep Order
- Step 5: Smart Food Storage for Safety and Freshness
- Step 6: Reheat and Serve with Minimal Effort
- Time-Saving Meal Prep Shortcuts
- Sample 2-Hour Meal Prep Workflow
- Make Meal Prep Work for Your Life
- Related guides
Step 1: Plan Before You Prep
A smooth meal prep day starts with a simple plan. Taking 10–15 minutes to plan saves you time, money, and stress later in the week.
Look at Your Week First
Before you choose recipes, look at your calendar.
- Busy nights: Plan quick heat-and-eat meals or leftovers.
- Flexible nights: Plan meals that need more cooking or assembly.
- Out-of-the-house nights: Skip cooking or plan portable meals.
Match your meals to your schedule so you are not trying to cook something complex on your longest workday.
Choose a Simple Weekly Structure
Instead of starting from scratch every week, use a loose theme structure. This reduces decision fatigue and keeps shopping simple.
- Example structure:
- Monday: Sheet pan dinner
- Tuesday: Grain bowl or salad bowl
- Wednesday: One-pot soup or stew
- Thursday: Skillet or stir-fry
- Friday: Wraps, tacos, or sandwiches
Within each theme, rotate different flavors and ingredients so you do not get bored.
Plan Around Overlapping Ingredients
To save time and reduce food waste, choose recipes that share ingredients.
- Use one large batch of grains in bowls, salads, and side dishes.
- Prep a big pan of roasted vegetables to use in wraps, pasta, and omelets.
- Cook a larger portion of protein to use in multiple meals.
Write a short list of 3–5 main meals plus any breakfasts, snacks, or lunches you want to prep.
Step 2: Make a Smart Shopping List
Once your meals are planned, build a shopping list that keeps you focused and on budget.
Group Items by Store Section
Organize your list by area of the store:
- Produce
- Proteins (meat, eggs, plant-based options)
- Grains and dry goods
- Dairy and refrigerated items
- Frozen foods
- Pantry staples and seasonings
This makes shopping faster and helps prevent forgotten items.
Check Your Kitchen First
Before you shop, quickly scan your pantry, fridge, and freezer.
- Use what you already have to build meals.
- Note items that are low and need restocking.
- Plan to use up produce that is close to its limit.
This habit cuts down on food waste and keeps your kitchen organized.
Step 3: Set Up Your Meal Prep Zone
Before you start chopping, set up your kitchen for an efficient prep session. A little organization makes a big difference.
Clear and Clean Your Workspace
Give yourself room to work.
- Clear counters of clutter and non-cooking items.
- Wash or load any dirty dishes so your sink is open.
- Wipe down counters and your cutting board.
Starting with a clean space keeps you focused and makes cleanup easier.
Gather Your Core Tools
You do not need a lot of equipment. A few reliable tools are enough for most meal prep workflows.
- Sharp chef’s knife and a small paring knife
- Large cutting board (or two, to separate produce and proteins)
- Large mixing bowls
- Sheet pans or baking dishes
- One or two large skillets or pots
- Measuring cups and spoons
- Colander or strainer
- Heat-safe utensils (spatula, tongs, ladle)
Lay out what you will use so you are not searching through drawers mid-prep.
Choose Storage Containers Wisely
Good storage is key to a successful meal prep routine. You want containers that are safe, stackable, and easy to label.
- Sizes: A mix of single-serve containers and larger family-size containers.
- Lids: Leak-resistant lids that seal tightly and are easy to match.
- Material: Food-safe containers that can handle the fridge and freezer.
- Extras: Small containers for sauces, dips, and toppings.
Keep a roll of masking tape and a marker nearby so you can label containers with the contents and date.
Step 4: Follow a Logical Prep Order
A smart order of operations helps you get more done in less time. Think about what takes the longest and what can cook while you work on other tasks.
1. Start with Ingredients That Need the Oven
Preheat your oven first. While it heats, you can wash and chop.
- Roast a large batch of vegetables on sheet pans.
- Cook proteins that bake well, such as chicken pieces or tofu.
- Bake breakfast items like egg cups or oatmeal bakes.
Once the oven is full, set timers and move on to the stove and cutting board.
2. Cook Grains and Long-Simmer Items
Next, start items that need time on the stove.
- Cook a big pot of rice, quinoa, or other grains.
- Simmer a soup, chili, or stew for midweek dinners.
- Boil pasta for a baked dish or cold pasta salad.
While these cook, you can focus on chopping and assembling cold items.
3. Wash and Chop Produce
Prep as many vegetables and fruits as you can realistically use in a few days.
- Wash, dry, and chop salad greens and sturdy vegetables.
- Slice vegetables for stir-fries, roasting, or snacking.
- Cut fruit for quick breakfasts and snacks, focusing on items that hold well.
Store delicate items separately from ingredients that release moisture to keep textures fresh.
4. Prep Proteins for Multiple Meals
Cook or marinate proteins in batches so you can use them in different recipes.
- Cook a large batch of ground meat or plant-based crumbles for tacos, bowls, or pasta.
- Grill or bake chicken, fish, or other proteins, then slice or shred once cooled.
- Portion uncooked proteins into freezer bags with simple marinades for future meals.
Always handle raw proteins last on your cutting board, then wash it thoroughly before using it again.
5. Assemble Ready-to-Eat and Ready-to-Cook Meals
Decide which meals you want fully assembled and which should stay in components.
- Fully assembled: Great for lunches and grab-and-go dinners.
- Component-style: Keep sauces, grains, proteins, and vegetables separate so you can mix and match.
Label everything clearly with the meal name and the date you prepped it.
Step 5: Smart Food Storage for Safety and Freshness
Storing food correctly keeps it safe and tasty throughout the week. Follow basic food safety guidelines and use your fridge and freezer strategically.
Know How Long Foods Last
General guidelines for refrigerated leftovers:
- Cooked grains and pasta: about 3–4 days
- Cooked meats and proteins: about 3–4 days
- Soups and stews: about 3–4 days
- Cut fruits and vegetables: about 2–4 days, depending on type
When in doubt, trust your senses. If something smells off, looks strange, or has been in the fridge longer than you remember, it is safer to discard it.
Use the Fridge and Freezer Together
Do not try to store a full week of meals only in the fridge. Instead, split your prep between the fridge and freezer.
- Keep meals for the first 3 days in the fridge.
- Freeze meals for later in the week and move them to the fridge to thaw 1–2 days before you need them.
This approach keeps food fresher and gives you more flexibility if your plans change.
Cool Food Safely Before Storing
To keep food safe and avoid raising the temperature inside your fridge:
- Let hot foods cool slightly at room temperature, but do not leave them out for more than 2 hours.
- Divide large batches into shallow containers so they cool faster.
- Place containers in the fridge with some space around them for air circulation.
Label containers with the date so you know what to eat first.
Store by Meal or by Ingredient
Choose a storage style that fits how you like to eat.
- By meal: Pack full meals in single-serve containers for easy grab-and-go options.
- By ingredient: Store cooked grains, proteins, and vegetables separately so you can build different meals from the same base ingredients.
Many people use a mix of both: individual lunches and flexible components for dinners.
Step 6: Reheat and Serve with Minimal Effort
Meal prep only helps if reheating is simple. Plan meals that reheat well and keep textures in mind.
Reheating Tips
- Add a splash of water or broth to grains and pasta before reheating to keep them from drying out.
- Cover food loosely to help it heat evenly.
- Stir or flip halfway through reheating.
- Reheat only what you plan to eat to keep leftovers fresher.
For crisp textures, use the oven or a skillet instead of only relying on the microwave when you have time.
Keep Simple Toppings and Add-Ons
Small extras can make prepped meals feel fresh and different.
- Fresh herbs or sliced green onions
- Lemon or lime wedges
- Grated cheese or crumbled cheese alternatives
- Nuts, seeds, or crunchy toppings
- Simple sauces and dressings stored separately
Store these in small containers and add them right before eating.
Time-Saving Meal Prep Shortcuts
If you are short on time, you can still benefit from a partial meal prep routine. Focus on the tasks that give you the biggest return.
Prep Only the Toughest Parts
Instead of cooking full meals, prep the parts that usually slow you down on weeknights.
- Wash and chop vegetables for quick cooking.
- Cook a large batch of grains for the week.
- Marinate proteins so they are ready to cook.
- Make one big batch of a versatile sauce or dressing.
Even 30–45 minutes of prep can make weeknight cooking feel easier.
Use One-Pan and One-Pot Recipes
Choose recipes that limit dishes and cleanup.
- Sheet pan meals with protein and vegetables cooked together.
- One-pot soups, stews, and pasta dishes.
- Skillet meals where everything cooks in stages in the same pan.
These recipes are ideal for batch cooking and often reheat well.
Repeat a Few Favorites
You do not need a brand-new menu every week. Keep a short list of reliable, easy meals that your household enjoys.
- Rotate 2–3 favorite breakfast options.
- Repeat a couple of lunch ideas that pack and reheat well.
- Change sauces and seasonings to keep things interesting.
Familiar meals are faster to prep because you already know the steps.
Sample 2-Hour Meal Prep Workflow
Here is an example of how you might structure a two-hour weekend prep session for a busy week.
What You Will Prep
- Large batch of roasted vegetables
- Cooked grains for bowls and sides
- One pot of soup or chili
- Cooked protein for multiple meals
- Overnight oats or simple breakfast jars
Suggested Timeline
- Minutes 0–10: Preheat oven, clear counters, gather tools and containers.
- Minutes 10–30: Wash and chop vegetables, season, and place on sheet pans. Start roasting.
- Minutes 30–45: Start cooking grains and begin soup or chili base.
- Minutes 45–70: Cook proteins on the stove or in the oven, stir soup or chili as needed.
- Minutes 70–90: Assemble breakfast jars, portion cooked grains and vegetables into containers.
- Minutes 90–120: Cool foods, label containers, store in fridge and freezer, and do final cleanup.
Adjust the plan based on your own recipes and how much food you need for the week.
Make Meal Prep Work for Your Life
The best meal prep workflow is the one you will actually use. Start small, choose a few key tasks that remove stress from your busiest days, and build from there. Over time, you will discover which tools you reach for most, which storage containers keep your food fresh, and which recipes fit your schedule. With a little planning and a clear system, you can turn a couple of focused hours into a week of easier, faster meals, less food waste, and calmer evenings at home.
If you want to go deeper into kitchen organization, food storage, and simple cooking systems, explore more guides and resources at this kitchen and home hub.
Related posts
Browse this topic →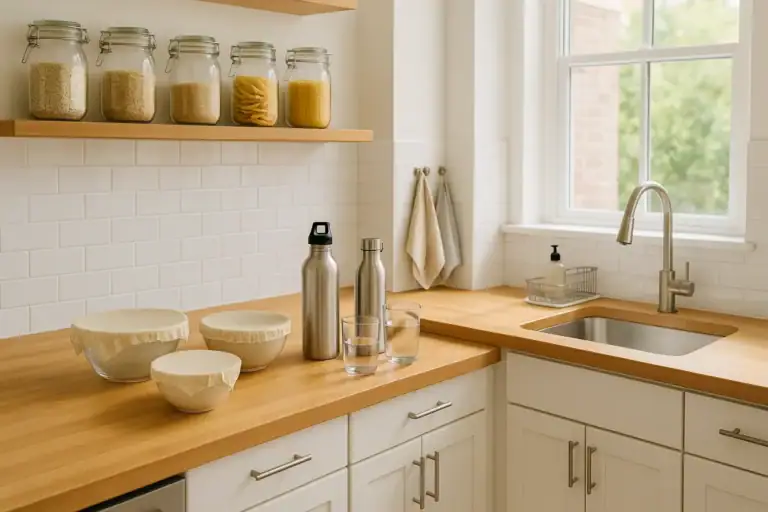
How to Reduce Plastic in the Kitchen: Practical Swaps That Last
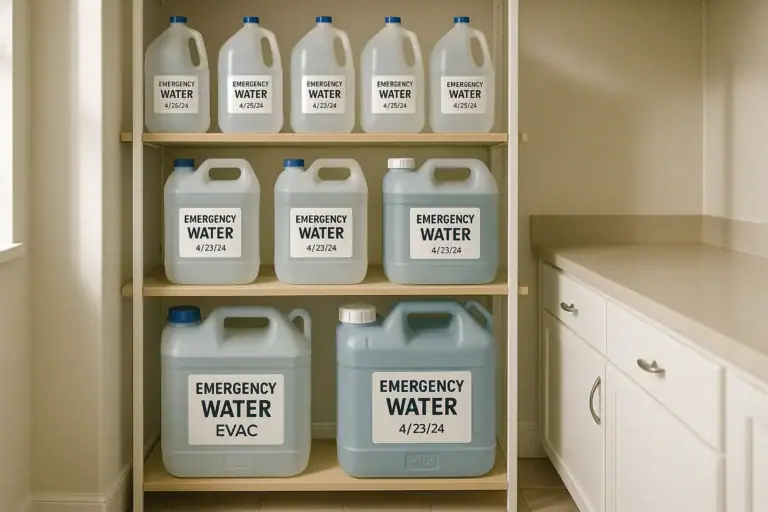
How to Store Emergency Water Safely: Containers, Rotation, and Taste Tips
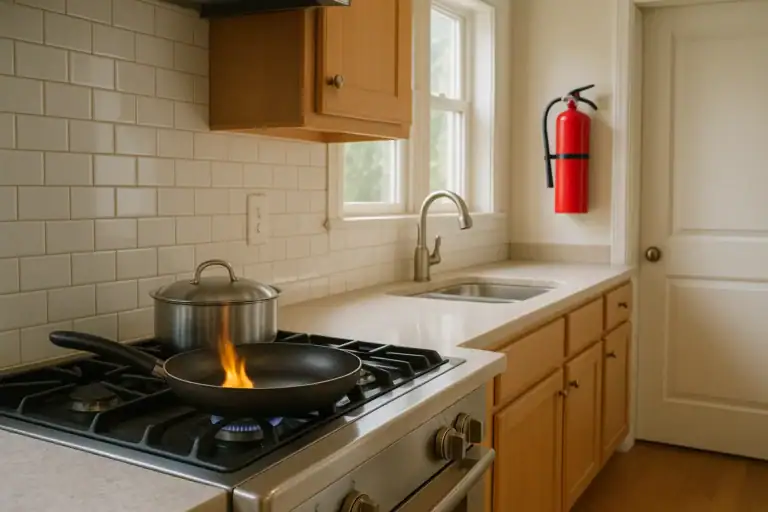
Kitchen Fire Safety: Grease Fires and Extinguisher Basics Explained
How to Detect and Handle Limescale in Pipes and Fixtures at Home
Whole-House Sediment Filters: Sizing and Replacement Schedule Guide
Under-Sink Filter vs RO: Taste, Waste Water, and Maintenance Compared
Keep reading
About this site
Signature Home Guide publishes practical, independent home guides. We aim to be clear, helpful, and transparent.
Affiliate disclosure
As an Amazon Associate, we earn from qualifying purchases. Some links on this site may be affiliate links. If you buy through these links, we may earn a small commission at no extra cost to you. This helps support our content. Learn more.