Limescale is a common problem in homes with hard water. It can clog pipes, stain fixtures, reduce water pressure, and shorten the life of water-using appliances. If you have noticed chalky white buildup around your faucets or cloudy spots on your dishes, there is a good chance limescale is to blame. The good news is that you can learn how to spot it early, remove it safely, and take steps to keep it from coming back as quickly.
On this page(click to collapse)
- What Is Limescale and Why It Forms
- How to Detect Limescale in Fixtures
- How to Detect Limescale in Pipes and Appliances
- Safety Tips Before You Start Removing Limescale
- How to Remove Limescale from Faucets and Showerheads
- How to Remove Limescale from Sinks, Tubs, and Toilets
- Handling Limescale in Appliances and Water Heaters
- When to Call a Professional for Limescale Problems
- How to Prevent Limescale Buildup in the Future
- Summary: A Practical Plan for Handling Limescale
- Related guides
This guide explains how to detect limescale in pipes and fixtures, what it does to your plumbing system, and practical methods to handle it. You will find simple visual checks, easy tests, step-by-step cleaning methods, and tips for long-term prevention. Most of the steps can be done with basic household supplies, and you will also learn when it is wiser to call a plumbing professional.
What Is Limescale and Why It Forms
Limescale is a hard, chalky deposit made mostly of calcium carbonate and other minerals. It forms when hard water is heated or left to evaporate, leaving mineral deposits behind. Over time, these deposits harden and cling to surfaces that come into regular contact with water.
Hard water is water that contains higher levels of dissolved minerals, mainly calcium and magnesium. Many municipal and well water supplies in the United States are considered moderately to very hard. The harder the water, the faster limescale builds up.
Common places limescale shows up
- Faucet spouts and aerators
- Showerheads and handheld sprayers
- Sink and tub drains
- Toilet bowls and under the rim
- Dishwashers and clothes washers
- Water heater and hot water lines
- Kettles, coffee makers, and similar appliances
How to Detect Limescale in Fixtures
Limescale on visible fixtures is usually easier to spot than buildup inside pipes. Regular inspection around sinks, tubs, and showers can help you catch it early before it becomes a major problem.
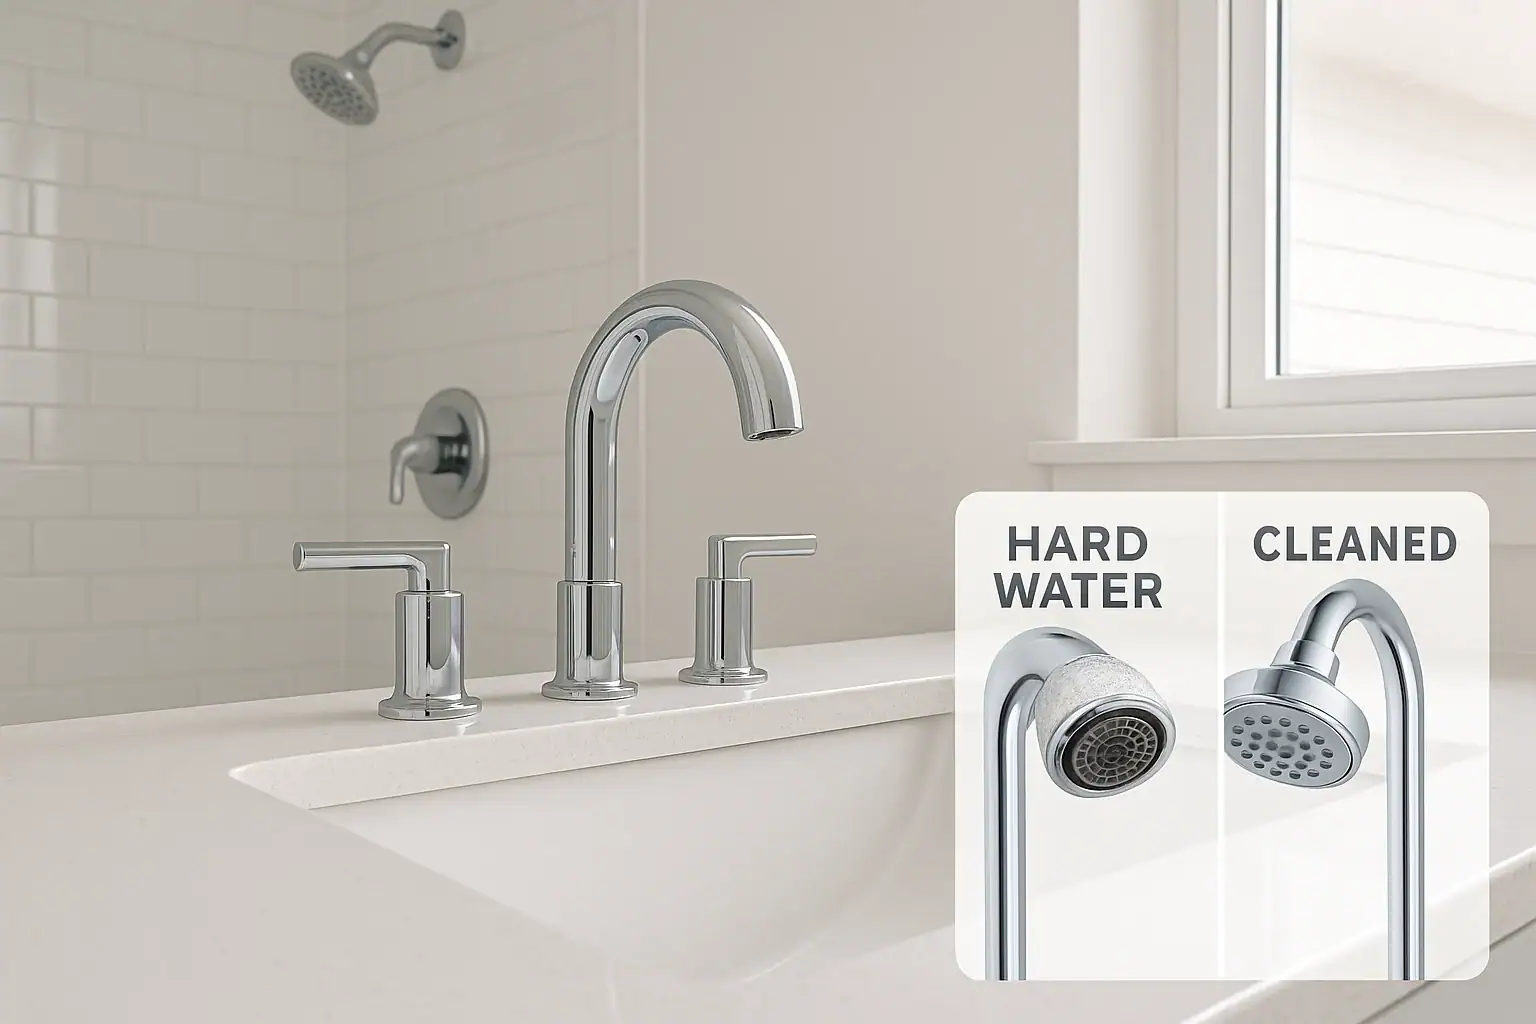
Visual signs on faucets and showerheads
Look closely at areas where water exits or pools:
- White or off-white crust: Chalky, rough deposits around the end of the faucet spout or showerhead nozzles.
- Greenish or brownish tinge: Mineral deposits that have trapped other impurities, giving them a darker color.
- Ring around fixtures: A rough ring where water tends to sit or drip, such as around the base of a faucet.
- Spots and film: Cloudy spots on metal, glass shower doors, and sink surfaces that do not fully wipe away with normal cleaning.
Changes in water flow
Limescale can narrow the openings where water comes out, causing noticeable changes in flow:
- Reduced water pressure at one faucet or showerhead while others in the home seem normal.
- Uneven spray pattern from a showerhead, with some jets blocked and others shooting sideways.
- Dripping or irregular flow from a faucet even when the cartridge or valve is in good condition.
Signs in toilets, sinks, and tubs
- Hard rings in toilets: A white, gray, or slightly brown ring at the water line that does not scrub off easily.
- Rough patches: Areas in sinks or tubs that feel rough to the touch even after cleaning.
- Persistent spots: Dull or cloudy spots on porcelain or enamel that remain after using regular bathroom cleaners.
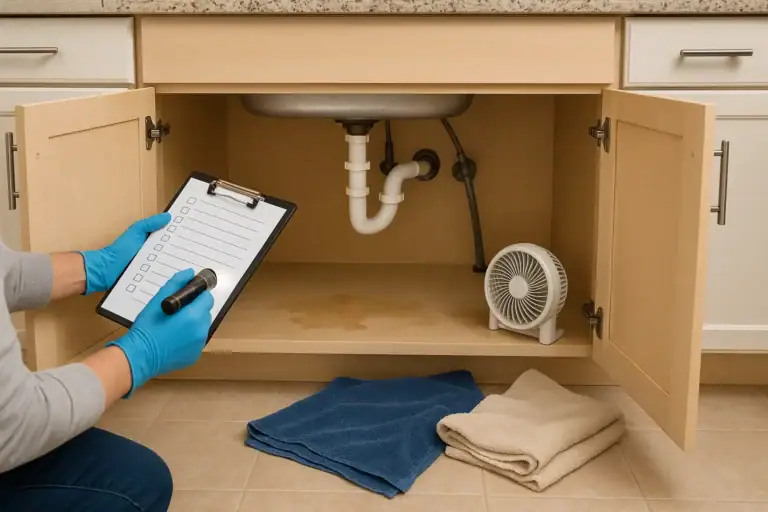
How to Detect Limescale in Pipes and Appliances
Because pipes are hidden, limescale inside them is harder to confirm directly. Instead, you look for indirect signs and patterns throughout the home.
Household signs of limescale in pipes
- Gradual drop in hot water pressure: Limescale often forms faster in hot water lines, so reduced pressure at hot taps only can be a clue.
- Inconsistent water temperature: Limescale in a water heater can interfere with heating, causing temperature swings during showers.
- Rattling or popping sounds from the water heater: Mineral deposits can cause noise as water heats and bubbles around them.
- Frequent clogs in aerators and showerheads: If you keep cleaning them and they quickly clog again, buildup in supply lines may be feeding the problem.
- Shorter appliance lifespan: Dishwashers, washing machines, and water-using appliances may fail sooner when internal lines and heating elements are coated with limescale.
Simple home tests for hard water
Because limescale is closely tied to hard water, checking your water hardness can help you understand your risk level.
- Soap test: Fill a clear bottle with a small amount of tap water and a few drops of liquid soap. Shake well. If the water looks milky and produces little foam, your water is likely hard.
- Water test strips or kits: Basic hardness test kits are widely available and can give you a rough grains-per-gallon or parts-per-million reading at home.
- Municipal water report: Many local water utilities publish annual water quality reports online that include hardness levels.
Safety Tips Before You Start Removing Limescale
Before handling limescale removal, it is important to protect yourself and your plumbing system.
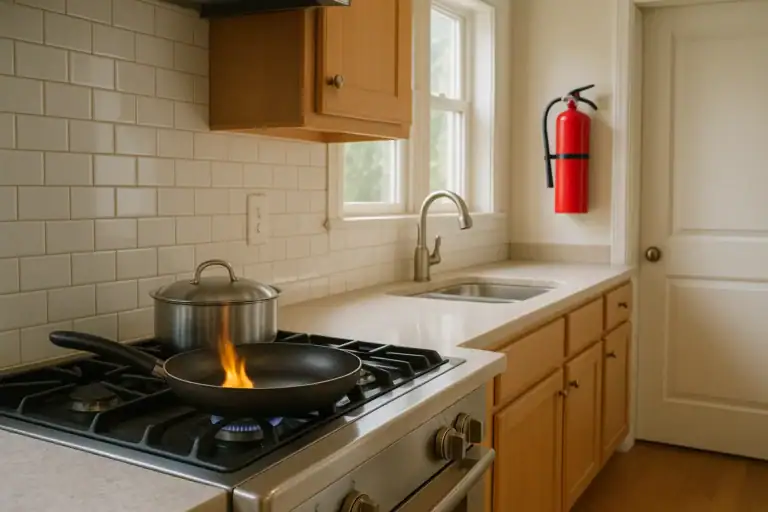
- Ventilate the area: Open windows or run a fan when using any cleaning solution, even mild ones.
- Wear basic protection: Use gloves and, if spraying, eye protection to avoid irritation.
- Test on a small area: Always test your chosen cleaner on a hidden spot to make sure it does not damage finishes.
- Avoid mixing cleaners: Never mix different chemical cleaners together. Rinse surfaces thoroughly between products.
- Turn off water if disassembling: If you plan to remove aerators, showerheads, or valves, shut off water to those fixtures first.
How to Remove Limescale from Faucets and Showerheads
Faucets and showerheads are often the first places you will notice limescale, and they are usually the easiest to clean.
Step-by-step: Soak method for faucets
- Prepare a mild acidic solution: Use a mixture of equal parts warm water and a household-safe mild acid such as white vinegar or a similar food-safe option.
- Fill a small bag: Pour the solution into a plastic bag large enough to fit over the faucet spout.
- Secure the bag: Place the bag over the faucet so the spout is submerged in the solution and secure it with a rubber band.
- Soak: Let it sit for 30 minutes to a few hours, depending on how heavy the buildup is.
- Scrub gently: Remove the bag and use a soft brush or old toothbrush to scrub away loosened deposits.
- Rinse thoroughly: Run water for a minute or two to flush out any remaining debris.
Cleaning removable aerators
- Unscrew the aerator from the tip of the faucet using your fingers or a soft cloth-wrapped tool to avoid scratching.
- Disassemble the aerator parts and soak them in a mild acidic solution for 30 minutes.
- Use a soft brush or toothpick to clear any blocked holes.
- Rinse all parts thoroughly and reassemble.
- Screw the aerator back onto the faucet and test the flow.
Unclogging showerheads
You can clean a showerhead in place or by removing it.
- In place: Fill a bag with a mild acidic solution, secure it around the showerhead, soak, then scrub and rinse, similar to the faucet method.
- Removed: Unscrew the showerhead, soak it in a bowl of solution, scrub nozzles with a soft brush, rinse well, and reinstall.
How to Remove Limescale from Sinks, Tubs, and Toilets
Limescale on larger surfaces can be stubborn, but with patience and the right approach you can often restore the original finish.
Dealing with limescale in sinks and tubs
- Wipe down first: Clean away soap scum and loose dirt with a mild cleaner so you can see where the limescale is.
- Apply a mild acidic solution: Spray or apply it directly to the affected areas.
- Let it sit: Allow it to work for 10–20 minutes, keeping the area damp.
- Scrub gently: Use a non-scratch sponge or soft brush to work on the deposits. Avoid abrasive pads on delicate finishes.
- Rinse and repeat: Rinse well and repeat the process on any remaining rough spots.
Removing toilet limescale rings
- Lower the water level: Turn off the toilet’s water supply and flush to drop the water level below the ring.
- Apply cleaner: Pour a mild acidic solution around the bowl, focusing on the ring and under the rim.
- Soak: Let it sit for 30 minutes or longer for heavy buildup.
- Scrub: Use a toilet brush or a non-metallic scrubber to work on the ring. For stubborn areas, a gentle pumice-style tool designed for toilets can help, used carefully.
- Restore water and flush: Turn the supply back on, let the tank fill, and flush to rinse.
Handling Limescale in Appliances and Water Heaters
Limescale inside appliances and water heaters can reduce efficiency, increase energy use, and lead to breakdowns. Regular maintenance can slow the damage.
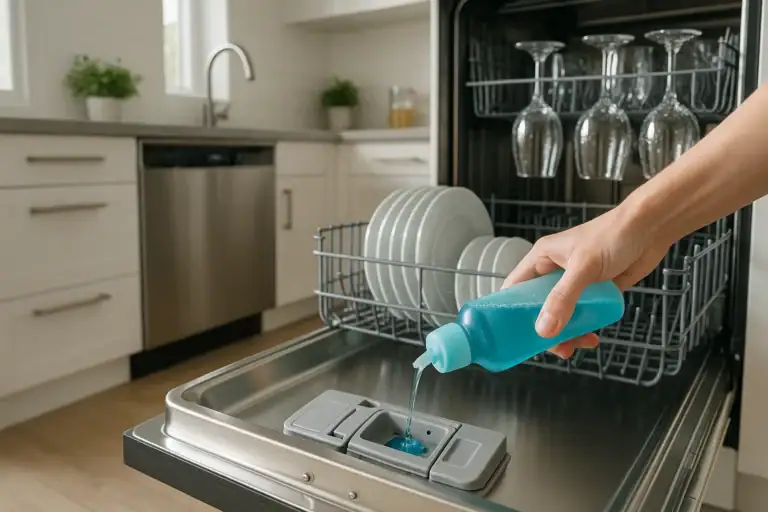
Dishwashers and clothes washers
- Run periodic cleaning cycles using a cleaner suitable for your appliance.
- Check and clean filters, screens, and spray arms to remove mineral particles.
- Wipe rubber seals and door edges to remove any chalky residue.
Water heater maintenance
Because water heaters deal with heated water constantly, they are prime spots for limescale buildup.
- Check the manual: Review your water heater’s instructions for safe draining and flushing.
- Turn off power or gas: For electric units, switch off the breaker. For gas units, turn the control to the recommended safe setting.
- Shut off water supply: Close the cold-water inlet valve.
- Attach a hose: Connect a garden hose to the drain valve and route it to a floor drain or outdoors.
- Drain and flush: Open the drain valve and a hot water tap in the house to let air in. Once drained, briefly open the cold-water inlet to stir up sediment, then drain again.
- Close valves and restore service: Close the drain, remove the hose, open the cold-water inlet, and once the tank is full, restore power or gas.
If you are not comfortable performing these steps, consider hiring a licensed plumber for periodic flushing and inspection.
When to Call a Professional for Limescale Problems
Some limescale issues are beyond simple DIY cleaning. A professional can help when:
- Multiple fixtures have low water pressure, especially on the hot side.
- You suspect significant buildup in older galvanized or copper pipes.
- Your water heater makes loud noises or struggles to keep up with demand.
- Appliances fail repeatedly due to internal mineral buildup.
- You are unsure how to safely disassemble or reassemble plumbing components.
A plumbing professional can inspect your system, confirm whether limescale is the main issue, and suggest options such as pipe replacement, more thorough descaling, or system-wide water treatment.
How to Prevent Limescale Buildup in the Future
Once you have removed existing limescale, prevention becomes the key to keeping your pipes and fixtures in better shape.
Daily and weekly habits
- Wipe fixtures dry: After using sinks, tubs, and showers, quickly wipe metal fixtures to remove standing water.
- Use a squeegee on shower walls and doors: This cuts down on mineral spots and soap scum.
- Clean aerators regularly: Remove and rinse aerators every few months, or more often if you see buildup.
- Run appliance cleaning cycles: Follow the recommended schedule for dishwashers and washers to keep internal parts cleaner.
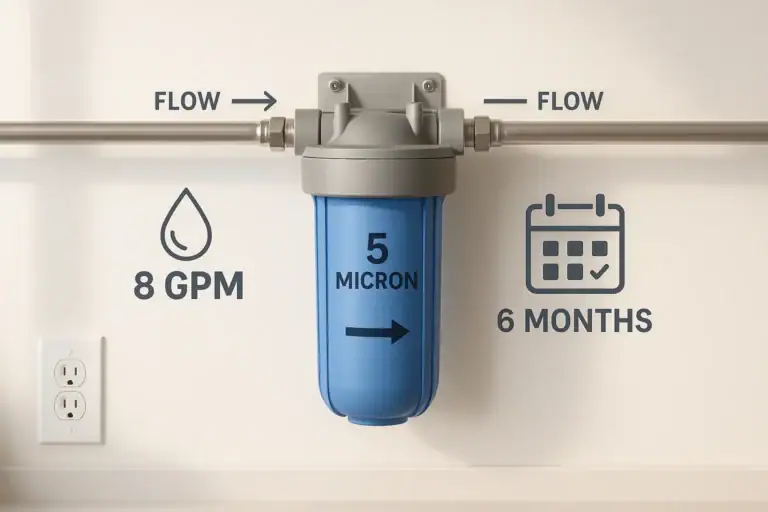
System-wide strategies
If your water is very hard, you may want to consider whole-home solutions. Options can include systems that reduce mineral content or help prevent minerals from sticking to surfaces. A licensed plumber or water treatment specialist can test your water and recommend an approach that fits your budget and plumbing setup.
Protecting your plumbing investment
Even small changes can extend the life of your plumbing system:
- Schedule regular plumbing checkups, especially in older homes.
- Flush your water heater annually, or as recommended by the manufacturer.
- Address slow drains and pressure changes promptly instead of waiting for major clogs.
- Keep a simple maintenance log of what you clean and when, so you can spot patterns.
Summary: A Practical Plan for Handling Limescale
Limescale is a normal side effect of hard water, but it does not have to damage your home. Start by learning the visual signs on faucets, showerheads, and fixtures, and pay attention to changes in water pressure and appliance performance. Use safe, mild acidic solutions and gentle scrubbing to remove deposits, and follow basic safety steps as you work.
For issues inside pipes and water heaters, combine simple maintenance tasks with help from a professional when needed. Finally, build preventive habits into your daily and weekly routines and consider system-wide options if your water is very hard. With consistent attention, you can keep limescale under control, protect your plumbing, and enjoy clearer water flow throughout your home.
Recommended next:
Related posts
Browse this topic →
How to Clean an Induction Cooktop Without Scratches: Step-by-Step Guide
How to Tame Kitchen Countertop Clutter Zones for Coffee Prep and Drop Areas
Fridge Door Seal Test Checklist for Better Energy Use and Food Safety
Under Sink Cabinet Water Damage: What To Check Before It Gets Worse

How to Store Flour, Rice, and Pasta to Prevent Pests at Home
Dishwasher Rinse Aid Basics: What It Does and When It Actually Helps
Keep reading
About this site
Signature Home Guide publishes practical, independent home guides. We aim to be clear, helpful, and transparent.
Affiliate disclosure
As an Amazon Associate, we earn from qualifying purchases. Some links on this site may be affiliate links. If you buy through these links, we may earn a small commission at no extra cost to you. This helps support our content. Learn more.