A refrigerator water dispenser is a convenient way to enjoy cold drinking water at home, but the dispenser nozzle can easily become a hidden source of buildup and germs. Minerals in your water, tiny food splashes, and everyday use can leave residue on and inside the nozzle. Over time, this can affect water flow, create off tastes or odors, and make the dispenser look dirty. Cleaning the nozzle regularly keeps your water fresher and helps your appliance work properly.
On this page(click to collapse)
- Why the Refrigerator Water Dispenser Nozzle Needs Regular Cleaning
- Safety First: Important Precautions Before You Start
- Tools and Supplies for Safe Nozzle Cleaning
- Step-by-Step: How to Clean the Exterior of the Nozzle
- How to Safely Clean Inside the Water Dispenser Nozzle
- Dealing With Mineral Deposits and Tough Buildup
- Keeping the Nozzle Clean Longer: Simple Maintenance Habits
- When to Call a Professional for Dispenser Cleaning
- Frequently Asked Questions About Cleaning a Water Dispenser Nozzle
- Final Thoughts
- Related guides
This step-by-step guide walks you through how to clean a refrigerator water dispenser nozzle safely using simple tools and gentle cleaners you likely already have at home. You will learn how to prepare the area, choose safe cleaning solutions, remove buildup, and keep the nozzle clean longer. These tips focus on non-toxic methods that are safe for your family while still being effective against mineral deposits, slime, and everyday grime.
Why the Refrigerator Water Dispenser Nozzle Needs Regular Cleaning
The dispenser nozzle is the last point of contact before water reaches your glass, so anything that builds up there can affect what you drink. Even if your refrigerator has a filter, the nozzle and surrounding parts can still collect residue.
Common problems caused by a dirty nozzle
- Slow or uneven water flow: Mineral deposits and debris can partially block the opening.
- Strange taste or odor: Bacteria and biofilm can develop on moist surfaces if they are not cleaned.
- Visible discoloration or slime: Pink, green, or brown films can sometimes appear on or around the nozzle.
- Drips and leaks: Buildup can prevent the valve from closing cleanly, causing drips after dispensing.
How often should you clean the water dispenser nozzle?
How often you clean depends on how much you use the dispenser and the hardness of your water. As a general guideline:
- Light use: Clean the nozzle every 2–3 months.
- Moderate to heavy use: Clean every 4–6 weeks.
- Hard water or visible buildup: Inspect monthly and clean as soon as you see deposits.
In addition to regular deep cleaning, it helps to wipe the nozzle exterior quickly once a week with a damp cloth to prevent buildup from starting.
Safety First: Important Precautions Before You Start
Because you are working on a part that touches your drinking water, safety and cleanliness are essential. Take a few minutes to prepare so you can clean the nozzle effectively without damaging the refrigerator or contaminating the water system.
Basic safety steps
- Unplug the refrigerator if you will be working near electrical components or removing panels. This reduces the risk of electric shock.
- Turn off the water supply to the refrigerator if you plan to detach any water lines or internal parts. There is usually a shutoff valve behind or under the refrigerator or in the basement.
- Wash your hands thoroughly with soap and warm water before you touch the nozzle or any internal parts.
- Avoid harsh chemicals such as bleach sprays, oven cleaners, or abrasive powders directly on the nozzle. These can damage finishes and may leave harmful residues.
Check your refrigerator manual
Every refrigerator design is slightly different. Before you begin, look for the section in your user manual that covers cleaning the water dispenser. It may show:
- Whether the nozzle or spout tip is removable
- Parts that should never be soaked or submerged
- Recommended cleaning solutions or ones to avoid
If you no longer have the printed manual, you can usually find a digital version on the manufacturer’s website by searching for your model number.
Tools and Supplies for Safe Nozzle Cleaning
You do not need specialty products to clean a refrigerator water dispenser nozzle safely. Most of the supplies are common household items.
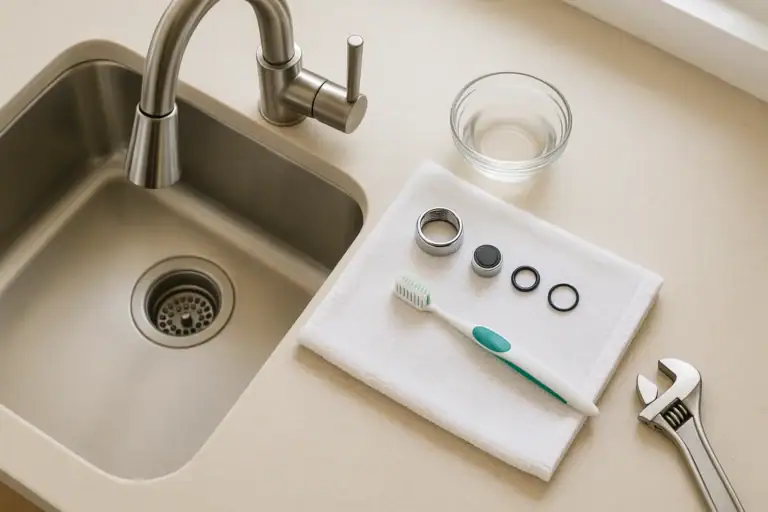
Recommended tools
- Soft microfiber cloths or clean cotton rags
- Soft-bristled toothbrush or small bottle brush
- Cotton swabs or small foam swabs
- A small bowl or measuring cup
- A cup or pitcher to catch and flush water
- Optional: a plastic syringe or turkey baster for targeted rinsing
Safe cleaning solutions
- Warm soapy water: A few drops of mild dish soap in warm water works well for general cleaning.
- White vinegar solution: Mix equal parts white vinegar and warm water to dissolve mineral deposits and help with odors.
- Baking soda paste (optional): For stubborn stains, mix baking soda with a small amount of water to form a gentle scrub.
- Clean water: Use filtered or tap water for thorough rinsing after cleaning.
Avoid using anything overly abrasive, such as steel wool or rough scrub pads, which can scratch plastic or metal surfaces and make them harder to keep clean in the future.
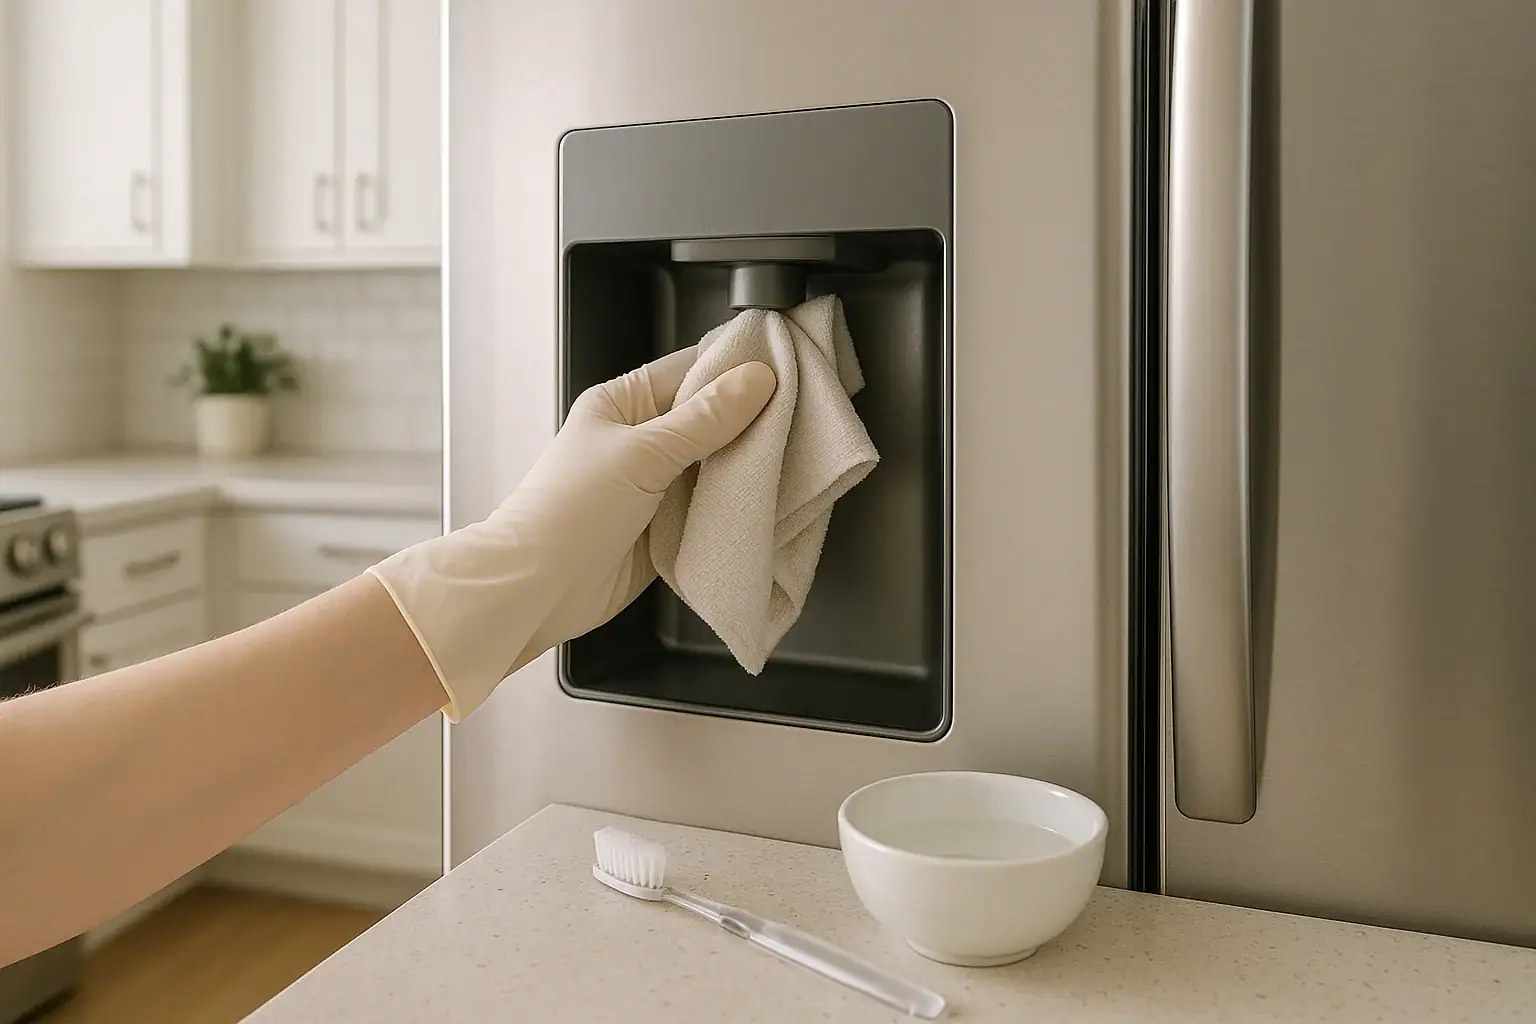
Step-by-Step: How to Clean the Exterior of the Nozzle
Start with the exterior of the dispenser nozzle and surrounding area. This is where you will usually see visible residue, drips, or dried spots.
1. Prepare the dispenser area
- Clear the area around the dispenser, removing any cups, magnets, or items on the door that might get in the way.
- Place a towel or shallow container on the drip tray to catch any drips from cleaning.
- If your refrigerator is not built into a tight space, gently pull it forward a few inches to give yourself more room to work if needed.
2. Wipe away loose residue
- Dampen a soft cloth with warm water.
- Wipe the outside of the nozzle, the underside of the dispenser area, and the drip tray.
- Pay attention to corners and seams where splashes can collect.
3. Clean with a mild solution
- Mix a small bowl of warm soapy water or a half-vinegar, half-water solution.
- Dip a soft cloth or sponge into the solution, wring it out so it is damp but not dripping.
- Gently scrub the nozzle exterior, focusing on any visible discoloration or sticky spots.
- Use a soft toothbrush or cotton swab dipped in the solution to reach tight areas around the nozzle opening and seams.
4. Rinse and dry the exterior
- Dampen a clean cloth with plain water.
- Wipe down the nozzle and surrounding surfaces to remove any soap or vinegar residue.
- Dry thoroughly with a clean towel to prevent water spots and new mineral deposits.
How to Safely Clean Inside the Water Dispenser Nozzle
The interior of the nozzle is harder to see, but it is just as important to keep clean. Depending on your refrigerator design, you may or may not be able to remove the nozzle tip. Follow these general steps and adjust based on your specific model.
1. Determine if the nozzle tip is removable
Look closely at the end of the nozzle:
- If you see a small plastic cap or insert, it may twist or pull off gently.
- If the nozzle appears to be one solid piece with no seams, it is likely not designed to be removed.
Never force a part that does not move easily. If you are unsure, consult your manual before attempting to detach anything.
2. Cleaning a removable nozzle tip
- Turn off the water supply to the refrigerator if recommended by your manual.
- Gently twist or pull the nozzle tip according to the instructions in your manual.
- Place the tip in a small bowl of warm soapy water or vinegar solution.
- Let it soak for 10–15 minutes to loosen mineral deposits and slime.
- Use a soft toothbrush or small bottle brush to scrub the inside and outside of the tip.
- Rinse thoroughly under running water until no soap or vinegar smell remains.
- Set the tip on a clean towel to air-dry while you clean the rest of the dispenser area.
3. Cleaning a non-removable nozzle interior
- Prepare a cup of warm vinegar solution (half white vinegar, half water).
- Dip a cotton swab or small brush into the solution and gently insert it into the nozzle opening.
- Rotate the swab to loosen any buildup, being careful not to push debris deeper into the line.
- Repeat with fresh swabs until they come out relatively clean.
- Use a plastic syringe or turkey baster filled with clean water to gently flush the nozzle opening from the outside, catching the water in a cup.
4. Reattach and flush the system
- If you removed a nozzle tip, reattach it carefully, making sure it is fully seated and aligned.
- Turn the water supply back on, if you turned it off.
- Dispense and discard several glasses of water (usually 2–4 quarts) to flush out any remaining cleaning solution or loosened debris.
- Check for leaks or drips around the nozzle while dispensing and afterward.
Dealing With Mineral Deposits and Tough Buildup
If you live in an area with hard water, you may notice white, chalky deposits around the nozzle or where water drips. These mineral deposits can be stubborn but are usually harmless; they just need a little extra attention.
Using vinegar for mineral deposits
- Soak a small piece of paper towel or cloth in white vinegar.
- Wrap it around the area with buildup, making sure the vinegar-soaked material is in contact with the deposits.
- Let it sit for 10–20 minutes, checking occasionally to ensure it stays damp.
- Remove the cloth and gently scrub the area with a soft toothbrush.
- Rinse thoroughly with clean water and dry.
Using baking soda for stains
- Mix a small amount of baking soda with water to form a thick paste.
- Apply the paste to stained or discolored areas around the nozzle.
- Let it sit for 5–10 minutes.
- Gently scrub with a soft brush or cloth.
- Rinse well with clean water and wipe dry.
Never use sharp tools, knives, or metal picks to scrape deposits from the nozzle. They can scratch or puncture the surface, leading to leaks or places where bacteria can hide.
Keeping the Nozzle Clean Longer: Simple Maintenance Habits
Once you have done a thorough cleaning, a few quick habits can help keep the refrigerator water dispenser nozzle cleaner between deep cleans.
Wipe regularly
- Once a week, wipe the nozzle and surrounding area with a damp cloth.
- Dry the area to prevent water spots and new mineral buildup.
Watch for early signs of buildup
- Look for slow water flow, unusual tastes, or visible residue.
- Address small issues right away instead of waiting for heavy buildup.
Change water filters on schedule
Most refrigerators have a recommended schedule for replacing the water filter, often every 6 months or based on usage. A clogged or old filter can:
- Reduce water flow, making the dispenser work harder
- Allow more particles to reach the nozzle
- Contribute to off tastes or odors
Replacing the filter on time supports your cleaning efforts and helps the entire water system run more smoothly.
When to Call a Professional for Dispenser Cleaning
Most of the time, you can safely clean a refrigerator water dispenser nozzle yourself with the steps above. However, there are situations where it is better to contact a qualified appliance technician.
Signs you may need professional help
- Persistent bad taste or odor even after thorough cleaning and filter replacement
- Visible mold or heavy slime inside areas you cannot reach
- Leaks from inside the door or around water lines
- Cracked or damaged nozzle or housing
- Electrical issues, such as the dispenser not turning off or lights flickering
A professional can disassemble internal components, inspect water lines, and safely replace damaged parts. This can be especially important if your refrigerator is still under warranty, since improper self-repairs may affect coverage.
Frequently Asked Questions About Cleaning a Water Dispenser Nozzle
Is vinegar safe to use on a refrigerator water dispenser?
Yes, diluted white vinegar is generally safe for cleaning the exterior and removable parts of a water dispenser nozzle. Always rinse thoroughly with clean water afterward, and avoid soaking electrical components or areas the manual says not to expose to liquid.
Can I use bleach to clean the nozzle?
A mild, properly diluted bleach solution can disinfect surfaces, but it must be used with caution. For everyday nozzle cleaning, gentler options like vinegar and soap are usually enough. If you choose to use bleach, follow the instructions on the label carefully, avoid mixing it with other cleaners, and flush the dispenser thoroughly with water afterward. Never use full-strength bleach directly on the nozzle.
Why does my dispenser nozzle get slimy?
A slimy film, sometimes called biofilm, can form in damp areas where water sits and is not cleaned regularly. It is often made up of bacteria and organic material. Regular cleaning with mild cleaners and keeping the area dry between uses can help prevent slime from forming.
How do I know if the nozzle is clean enough?
After cleaning, the nozzle and surrounding area should look free of visible residue, slime, or discoloration. Water should flow smoothly without sputtering. The water should taste and smell clean, especially after you have flushed several glasses through the system.
Final Thoughts
Cleaning a refrigerator water dispenser nozzle safely does not have to be complicated or time-consuming. With a few basic tools and gentle cleaning solutions, you can remove buildup, improve water taste, and reduce the risk of germs collecting where you least want them. By combining occasional deep cleaning with simple weekly wipe-downs and on-time filter changes, you help keep your kitchen water source fresh and reliable for your household.
If you want to explore more ways to keep the water and kitchen areas in your home clean and efficient, you can find additional guides and tips at Signature Home Guide: Water & Kitchen.
Recommended next:
Related posts
Browse this topic →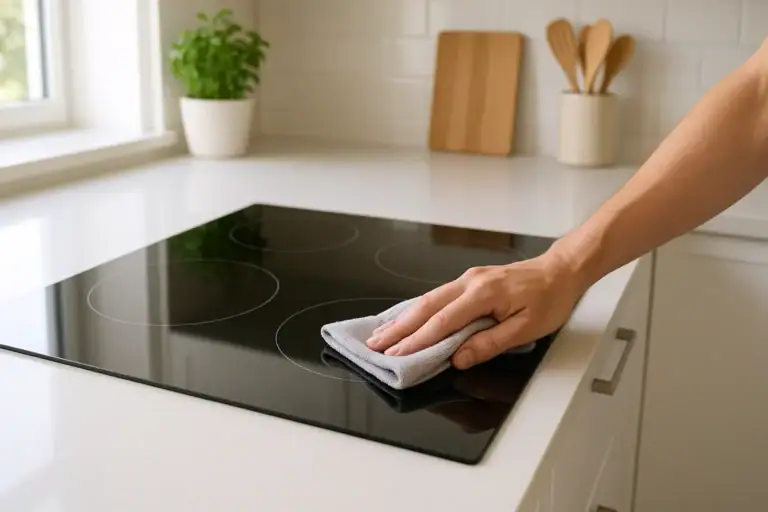
How to Clean an Induction Cooktop Without Scratches: Step-by-Step Guide
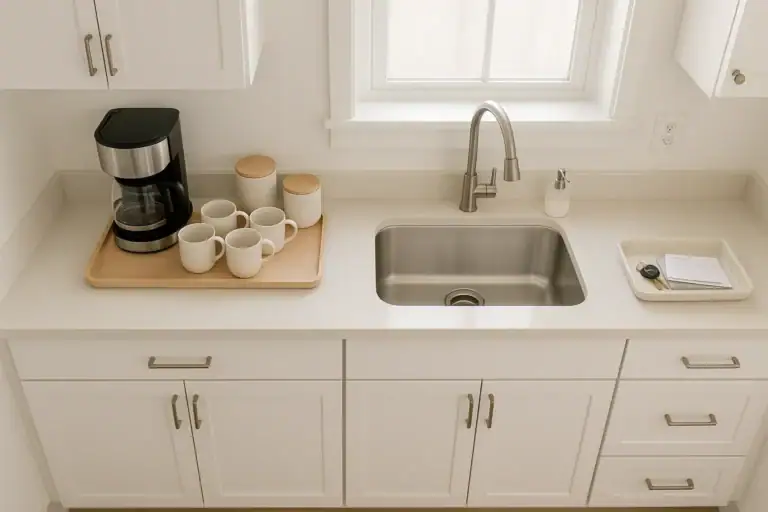
How to Tame Kitchen Countertop Clutter Zones for Coffee Prep and Drop Areas
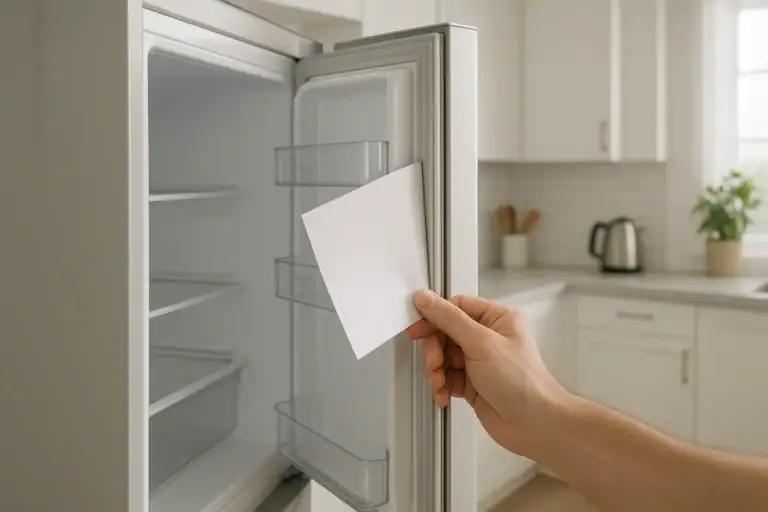
Fridge Door Seal Test Checklist for Better Energy Use and Food Safety
Under Sink Cabinet Water Damage: What To Check Before It Gets Worse
How to Store Flour, Rice, and Pasta to Prevent Pests at Home
Dishwasher Rinse Aid Basics: What It Does and When It Actually Helps
Keep reading
About this site
Signature Home Guide publishes practical, independent home guides. We aim to be clear, helpful, and transparent.
Affiliate disclosure
As an Amazon Associate, we earn from qualifying purchases. Some links on this site may be affiliate links. If you buy through these links, we may earn a small commission at no extra cost to you. This helps support our content. Learn more.