That little sponge by your sink works hard every day, scrubbing dishes, wiping counters, and soaking up spills. But it can also quietly collect grease, food particles, and bacteria. Understanding when to replace your kitchen sponge and how to sanitize it properly can make a big difference in the cleanliness of your kitchen and the safety of your food preparation. With a few simple habits and a clear routine, you can keep your sponge fresher for longer, reduce unwanted odors, and cut down on germs that may spread around your sink and countertops.
On this page(click to collapse)
- Why Kitchen Sponge Hygiene Matters
- How Often Should You Replace a Kitchen Sponge?
- How to Sanitize a Kitchen Sponge Safely
- Daily Habits to Keep Your Sponge Cleaner
- When to Avoid Using a Sponge
- Alternatives to Traditional Kitchen Sponges
- Building a Simple Kitchen Sponge Hygiene Routine
- Keeping Your Whole Sink Area Cleaner
- Related guides
This guide walks you through how long a sponge should last, the signs it is time to toss it, and several effective methods to sanitize it between replacements. You will also learn how to store sponges correctly, when to choose alternatives like dishcloths or brushes, and how to build a simple weekly routine that fits a busy household. The goal is not perfection, but a practical, realistic approach to kitchen sponge hygiene that keeps your home safer and your cleaning tools under control.
Why Kitchen Sponge Hygiene Matters
A kitchen sponge is designed to be absorbent, which makes it a perfect tool for cleaning but also a convenient place for moisture and food residue to collect. In a warm, damp environment, bacteria can multiply quickly. While most household bacteria will not make a healthy person sick, poor sponge hygiene can increase the chance of cross-contamination, especially when you are handling raw meat, eggs, or unwashed produce.
Good sponge hygiene supports several goals:
- Reducing cross-contamination: Keeping germs from moving from your sponge to dishes, cutting boards, and counters.
- Improving food safety: Lowering the risk that bacteria from raw foods end up on ready-to-eat items.
- Cutting down on odors: A clean sponge is far less likely to smell sour or musty.
- Saving time and money: A clear routine helps you use sponges efficiently without overusing or under-replacing them.
By paying attention to how you use, sanitize, and replace your sponge, you can keep your kitchen more sanitary without adding a lot of extra work.
How Often Should You Replace a Kitchen Sponge?
There is no single rule that fits every home, but most households should plan to replace the main kitchen sponge regularly. The more you use it, the more often it should be replaced.
General Replacement Guidelines
For typical home use, a good starting point is:
- Every 1 to 2 weeks for a heavily used sponge that washes most dishes and wipes counters daily.
- Every 2 to 3 weeks for a lightly used sponge that handles only occasional dishwashing or small cleanups.
- Immediately after cleaning up raw meat juices, spoiled food, or anything that could carry a higher load of harmful bacteria.
These time frames assume you are also sanitizing your sponge regularly. If you rarely sanitize it, you may want to replace it even more often.
Signs Your Sponge Needs to Be Tossed
Instead of relying only on the calendar, watch for clear signs that your sponge is past its prime. Replace it when you notice:
- Persistent odor: A sour or musty smell that does not go away even after rinsing or sanitizing.
- Visible discoloration: Dark spots, stains, or a slimy surface that looks different from normal wear.
- Crumbled or worn texture: The sponge is falling apart, tearing, or leaving little bits behind.
- Greasy feel: It still feels slick or greasy even after washing and rinsing with hot water.
If you are unsure, it is usually safer to replace the sponge. They are inexpensive compared with the potential cost of foodborne illness or a kitchen deep clean.
How to Sanitize a Kitchen Sponge Safely
Sanitizing your sponge does not replace the need to throw it out regularly, but it helps reduce the number of germs between replacements. Below are several common methods, along with tips to do them safely. Always check that your sponge material can handle heat or cleaning products before using these methods.
1. Hot Soapy Rinse After Each Use
This is your first line of defense and should be part of your daily routine.
- After washing dishes or wiping surfaces, rinse the sponge thoroughly under hot running water.
- Add a small amount of dish soap and work it into a thick lather, squeezing repeatedly.
- Rinse until the water runs clear and no soap remains.
- Squeeze out as much water as possible and store the sponge in a dry, well-ventilated spot.
Rinsing with hot, soapy water removes many food particles and some bacteria, setting the stage for deeper sanitizing methods.
2. Boiling Water Soak
Boiling water is a simple and effective way to sanitize many types of sponges, especially plain cellulose or foam sponges without metal or special coatings.
- Bring a pot of water to a rolling boil on the stove.
- Using tongs, carefully submerge the sponge in the boiling water.
- Let it boil for about 5 minutes.
- Turn off the heat, remove the sponge with tongs, and allow it to cool.
- Squeeze out excess water and let it air-dry completely.
Use this method once or twice a week, or after handling raw meat juices, to cut down on germs.
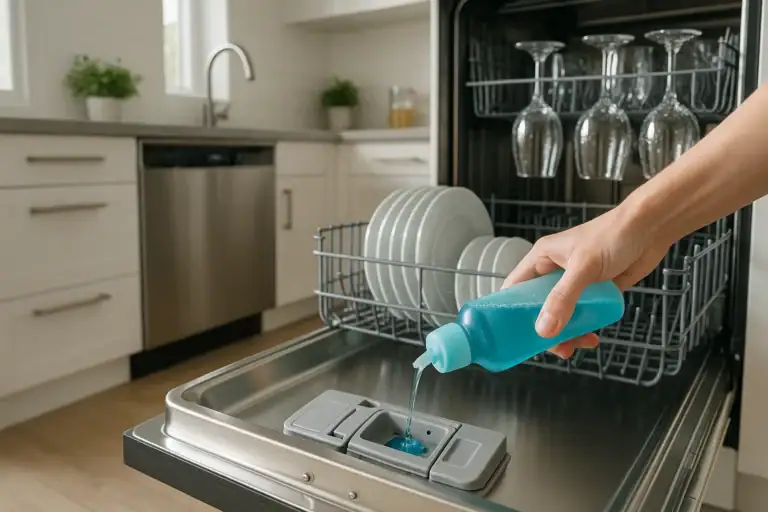
3. Dishwasher Sanitizing Cycle
If you run your dishwasher regularly, you can sanitize your sponge at the same time as your dishes, as long as the sponge is dishwasher-safe.
- Rinse the sponge thoroughly with hot water to remove loose food particles.
- Place the sponge in the top rack of the dishwasher.
- Run a full wash cycle using hot water and a heated dry setting if available.
- Allow the sponge to dry completely before using it again.
This method is convenient and uses heat and detergent to help reduce bacteria, but it is still important to replace the sponge regularly.
4. Diluted Bleach Solution
A diluted bleach solution can effectively sanitize a sponge when used carefully and in a well-ventilated area. Always follow safety directions on the product label and keep chemicals away from children and pets.
- Prepare a solution of about 3/4 cup of regular liquid bleach in 1 gallon of water, or follow the dilution recommended on the label for kitchen sanitizing.
- Fully submerge the sponge in the solution.
- Let it soak for about 5 minutes.
- Remove the sponge and rinse thoroughly under running water until the bleach smell is mild.
- Squeeze out excess water and allow the sponge to air-dry completely.
Limit this method to sponges that can handle chemical exposure and avoid mixing bleach with other cleaning products.
5. Methods to Avoid or Use With Caution
Some commonly mentioned methods may not be ideal for every household:
- Microwaving sponges: This can be risky if the sponge contains metal components or if it is very dry, which may cause sparks or fire. It can also create hot spots that are easy to touch accidentally. If you choose this method, follow detailed safety steps from a trusted source and never microwave a dry or metal-containing sponge.
- Using only cold water: Rinsing in cold water alone will not significantly reduce bacteria. Always pair rinsing with hot water and soap or another sanitizing method.
Whichever method you choose, remember that sanitizing extends the usefulness of a sponge but does not make it last forever.
Daily Habits to Keep Your Sponge Cleaner
Small changes in how you use and store your sponge can make a big difference in how quickly it becomes dirty or smelly. These habits are easy to add to your existing kitchen routine.
Rinse and Dry After Every Use
After each use, take a moment to rinse and squeeze your sponge thoroughly. The goal is to remove as much food residue and moisture as possible.
- Rinse under hot running water until clear.
- Squeeze repeatedly to push out trapped particles.
- Wring out until it is as dry as you can make it by hand.
A sponge that dries quickly is less welcoming to bacteria than one that stays wet for hours.
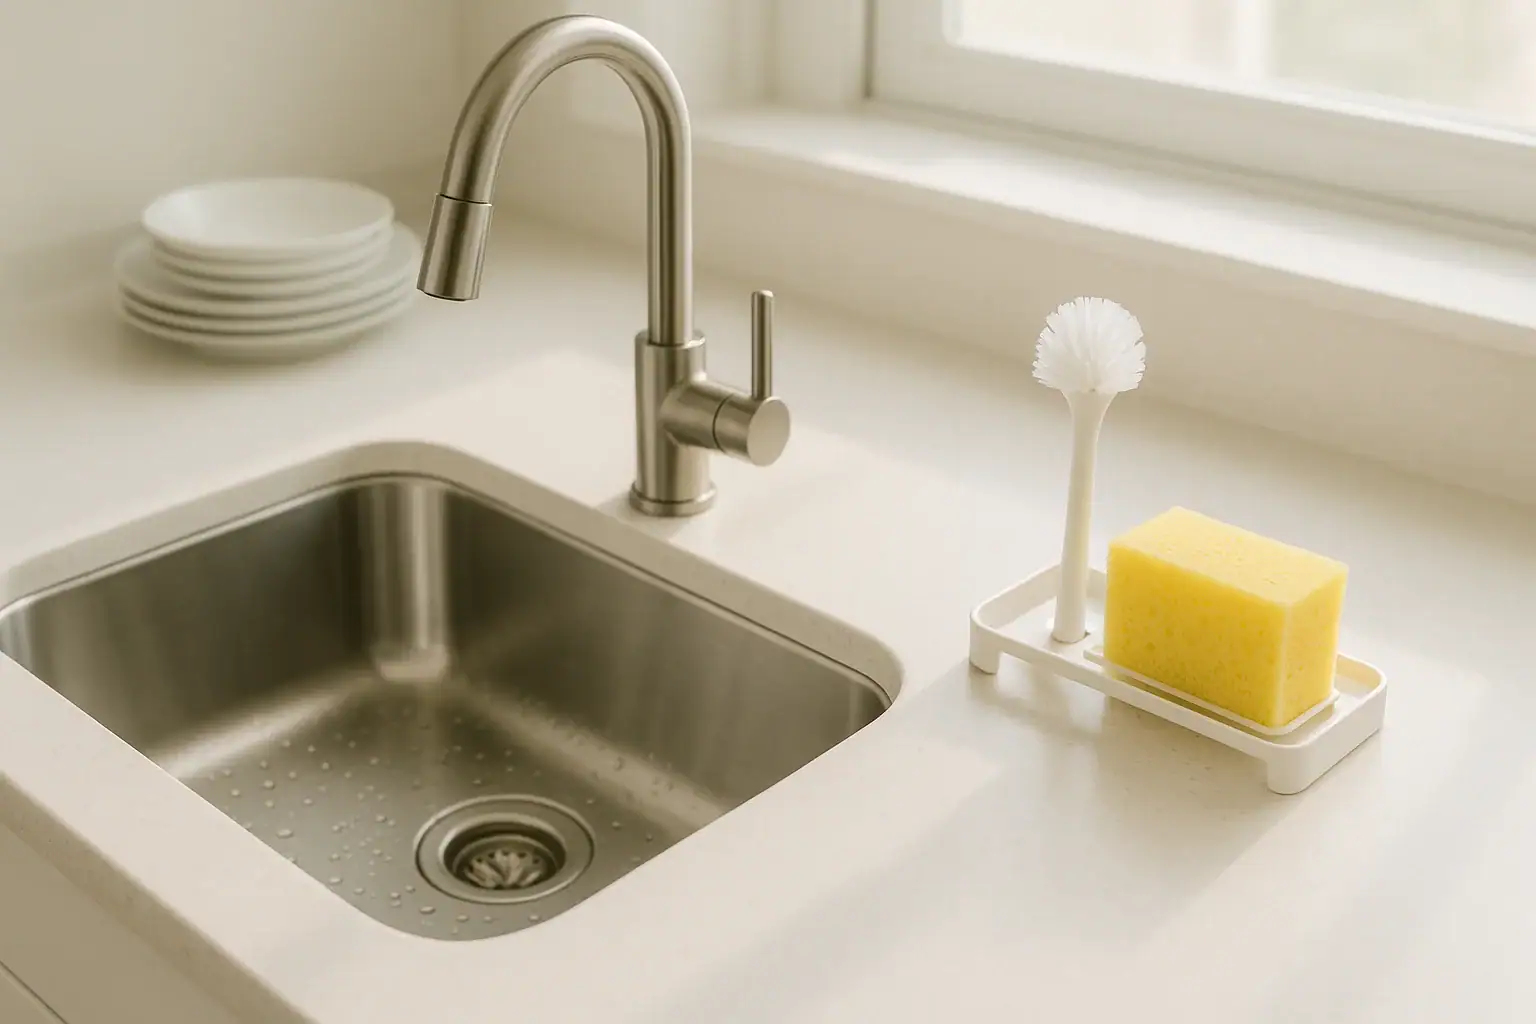
Store Sponges So They Can Air-Dry
Where you keep your sponge between uses matters. Avoid leaving it in the bottom of the sink or in a puddle of water.
- Use a raised holder or rack that allows air to circulate around the sponge.
- Keep it away from standing water and heavily splashed areas.
- Allow it to dry completely overnight whenever possible.
Good airflow helps moisture evaporate and slows down bacterial growth.
Use Separate Sponges for Different Tasks
Using one sponge for everything can spread germs around your kitchen. Instead, consider assigning different sponges or tools for specific jobs.
- One sponge for dishes and glassware.
- Another sponge or cloth for countertops and the stove.
- Separate cleaning tools for the sink, trash area, and floors.
Color-coding or storing them in different spots can help you remember which sponge is for which task.
When to Avoid Using a Sponge
Sometimes a sponge is not the best tool for the job. Knowing when to reach for something else can improve hygiene and protect your surfaces.
Raw Meat, Poultry, and Seafood Juices
Raw animal products can carry higher levels of harmful bacteria. Using your regular sponge to wipe up these juices can spread those germs to everything else you clean with it.
Instead, consider these options:
- Use disposable paper towels to wipe up raw meat juices, then clean the area with hot, soapy water.
- If you do use a sponge, treat it as single-use for that cleanup and throw it away immediately afterward.
- Sanitize the sink and nearby surfaces after handling raw meat or seafood.
Heavy Grease and Oily Messes
Thick grease can be difficult to rinse out of a sponge completely, leaving it feeling slick and causing odors.
- Scrape excess grease into the trash before washing dishes.
- Use a paper towel or designated cloth for very greasy pans.
- Rinse cookware with hot water before applying soap and using a sponge.
Reducing the amount of grease that reaches your sponge helps it stay cleaner and last longer.
Alternatives to Traditional Kitchen Sponges
While sponges are convenient, they are not your only option for everyday cleaning. Mixing in other tools can reduce how often you rely on a single sponge and may simplify your hygiene routine.
Dishcloths and Towels
Reusable dishcloths and towels can be a good choice for wiping counters, drying dishes, and handling lighter cleaning tasks.
- Use fresh cloths daily or more often if they become heavily soiled.
- Wash them in hot water and dry them thoroughly before reusing.
- Assign separate cloths for dishes, counters, and floors to prevent cross-contamination.
Dish Brushes
Stiff or soft-bristled dish brushes dry more quickly than sponges and can be easier to rinse clean.
- Use brushes for scrubbing pots, pans, and dishes with stuck-on food.
- Rinse thoroughly with hot water after each use and let them air-dry.
- Sanitize occasionally using hot water, a dishwasher cycle, or a safe cleaning solution.
Scrub Pads and Specialty Tools
Scrub pads, scrapers, and other specialty tools can handle tough messes without relying on your everyday sponge.
- Reserve heavy-duty scrubbers for baked-on food or cookware.
- Clean and dry them after use, and replace them when they become worn.
- Store them separately from your main dishwashing sponge.
Building a Simple Kitchen Sponge Hygiene Routine
To make sponge hygiene easy to maintain, turn it into a short routine that fits your schedule. You do not need a complicated system. A few repeating habits are enough.
Sample Weekly Routine
Use this example as a starting point and adjust based on how much you cook and clean.
- Daily: Rinse the sponge with hot, soapy water after each use, squeeze it dry, and store it where it can air-dry. Avoid using it on raw meat juices.
- Two to three times per week: Sanitize the sponge using boiling water, a dishwasher cycle, or a safe cleaning solution.
- Weekly or every other week: Replace the sponge with a new one, even if it still looks fine.
- As needed: Throw away any sponge that smells bad, looks discolored, or feels slimy or greasy.
Tips to Help You Remember
It is easy to forget when you last changed your sponge. These small tricks can help:
- Write the date you opened a new sponge on the package or on a small note near the sink.
- Set a recurring reminder on your phone to replace your sponge every week or two.
- Keep a small backup supply of sponges so you can swap them out without delay.
Once you get into a rhythm, replacing and sanitizing your sponge becomes just another quick part of your kitchen routine.
Keeping Your Whole Sink Area Cleaner
Your sponge is only one part of the picture. A clean sink area supports everything you do to keep that sponge sanitary.
- Clean the sink basin daily: Rinse away food bits, then scrub with hot, soapy water or a gentle cleaner.
- Disinfect high-touch spots: Wipe faucet handles, soap dispensers, and sink edges regularly, especially after handling raw foods.
- Empty and rinse the drain strainer: Food scraps left in the strainer can smell and attract pests.
- Keep dish racks and holders dry: Wipe away standing water and clean sponge holders or trays weekly.
By taking care of the entire sink area, you create a cleaner environment for your sponge, your dishes, and your food preparation.
Recommended next:
Related posts
Browse this topic →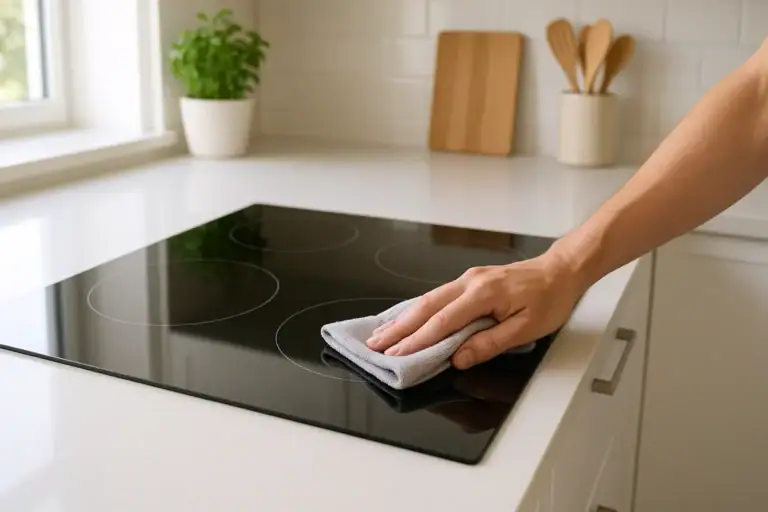
How to Clean an Induction Cooktop Without Scratches: Step-by-Step Guide

How to Tame Kitchen Countertop Clutter Zones for Coffee Prep and Drop Areas

Fridge Door Seal Test Checklist for Better Energy Use and Food Safety
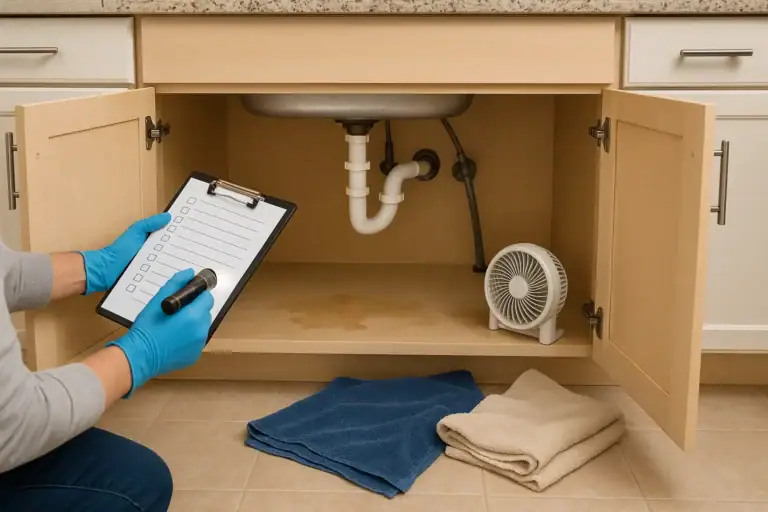
Under Sink Cabinet Water Damage: What To Check Before It Gets Worse
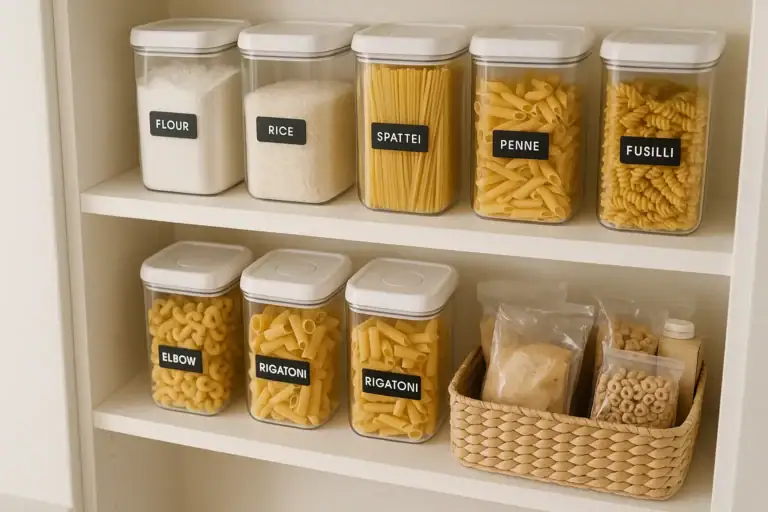
How to Store Flour, Rice, and Pasta to Prevent Pests at Home
Dishwasher Rinse Aid Basics: What It Does and When It Actually Helps
Keep reading

About this site
Signature Home Guide publishes practical, independent home guides. We aim to be clear, helpful, and transparent.
Affiliate disclosure
As an Amazon Associate, we earn from qualifying purchases. Some links on this site may be affiliate links. If you buy through these links, we may earn a small commission at no extra cost to you. This helps support our content. Learn more.