A weak trickle from the kitchen faucet is frustrating, especially when you are trying to rinse dishes or fill a pot in a hurry. In many homes, the problem is not the plumbing or the faucet itself, but a small part at the tip of the spout called the aerator. Over time, this screen and its internal parts can clog with mineral deposits, sand, rust, or small bits of debris from the water supply. The good news is that cleaning a kitchen faucet aerator is usually simple, requires only basic tools, and can dramatically improve water flow in just a few minutes. This guide walks you through how to remove, clean, and reinstall your aerator safely, plus how to prevent future buildup.
On this page(click to collapse)
- What Is a Kitchen Faucet Aerator?
- Signs Your Aerator Needs Cleaning
- Tools and Supplies You Will Need
- Step-by-Step: How to Remove a Kitchen Faucet Aerator
- How to Clean a Kitchen Faucet Aerator
- How to Reassemble and Reinstall the Aerator
- Test the Water Flow After Cleaning
- How Often Should You Clean a Kitchen Faucet Aerator?
- Tips to Prevent Future Buildup and Flow Problems
- Frequently Asked Questions About Aerator Cleaning
- Enjoy Better Water Flow With a Clean Aerator
- Related guides
What Is a Kitchen Faucet Aerator?
The aerator is the small fitting at the end of the faucet spout where the water comes out. It usually looks like a metal or plastic ring with a screen inside. Many aerators can be unscrewed by hand, while others may need a wrench or a special key.
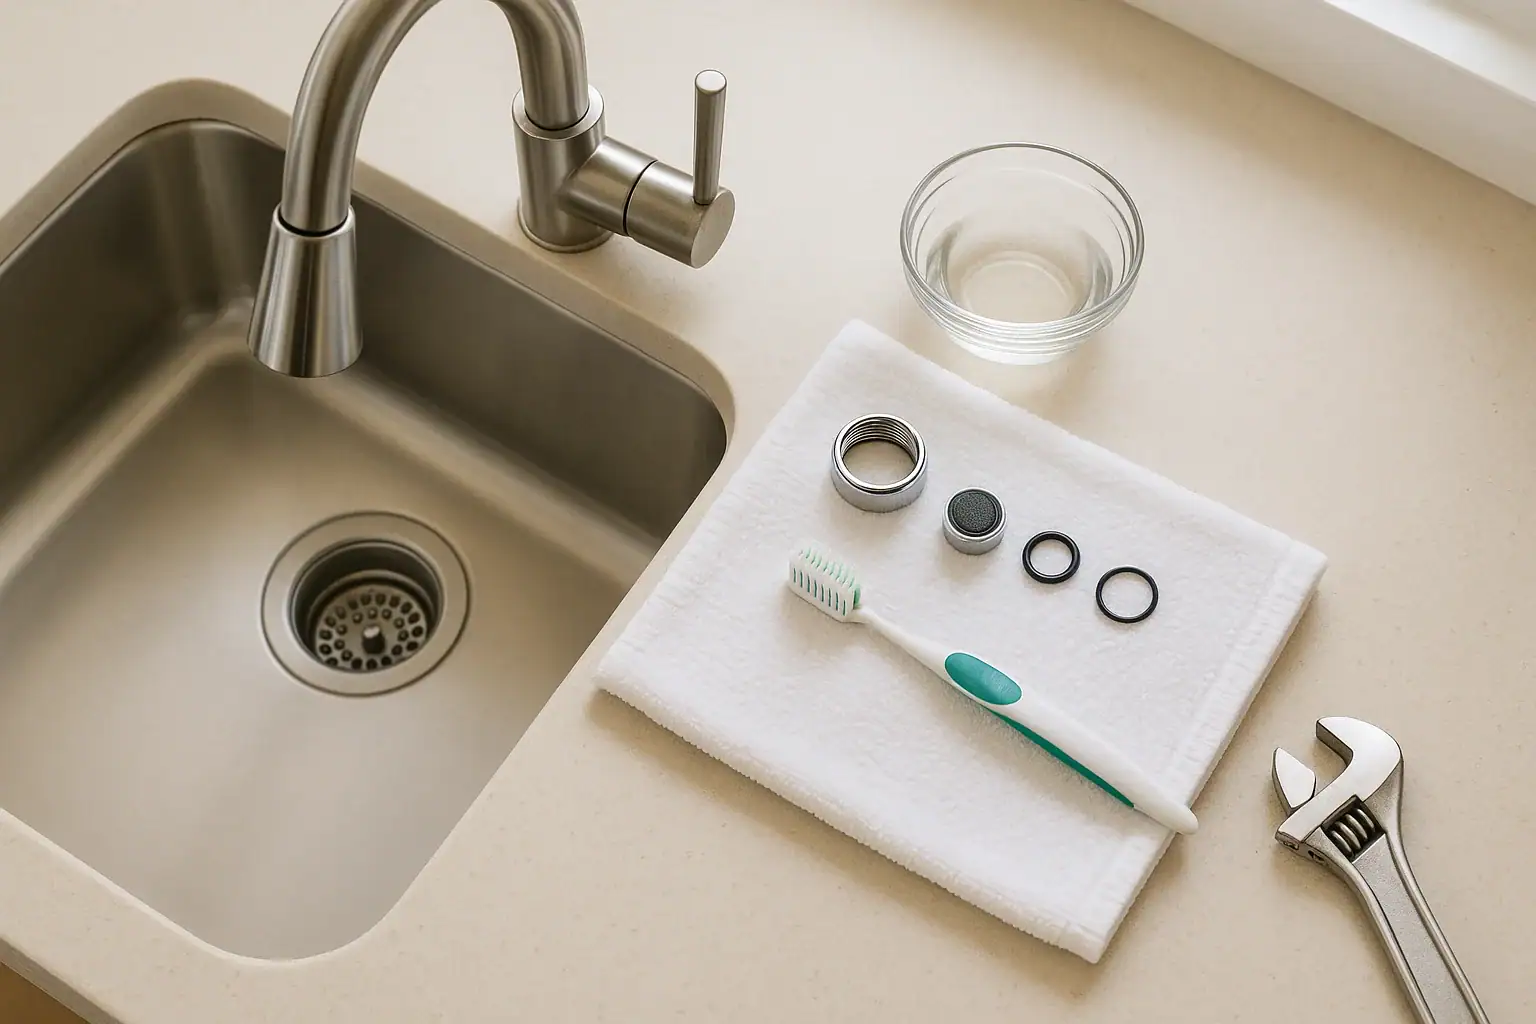
Inside a typical aerator you will find:
- Outer housing: The metal or plastic shell that threads onto the faucet spout.
- Screen: A fine mesh that catches debris such as sand, rust flakes, and sediment.
- Flow restrictor or insert: A small plastic piece that shapes the stream and limits flow to save water.
- Rubber washer or O-ring: A gasket that seals the connection and prevents leaks.
The aerator mixes air with the water stream, which helps reduce splashing, saves water, and creates a smooth, even flow. When minerals or debris clog this small assembly, the result is a weak or uneven stream, spraying, or water shooting sideways.
Signs Your Aerator Needs Cleaning
Not every low-flow issue is caused by the aerator, but it is one of the easiest things to check first. Common signs that your aerator needs attention include:
- Noticeably reduced water flow at the kitchen sink while other fixtures seem normal
- Water spraying at odd angles or splashing more than usual
- Uneven stream with gaps or multiple small streams instead of one smooth flow
- Visible debris or discoloration on the screen when you look at the tip of the faucet
- Recent plumbing work or water shutoff that may have loosened sediment in the pipes
If you see any of these issues, cleaning the aerator is a quick, low-cost first step before calling a plumber or replacing the faucet.
Tools and Supplies You Will Need
Most homeowners can clean a kitchen faucet aerator with basic household items. Gather these supplies before you start:
- Adjustable wrench or slip-joint pliers (if the aerator is tight)
- Soft cloth or masking tape (to protect the faucet finish)
- Small bowl or cup for soaking parts
- White vinegar for dissolving mineral deposits
- Old toothbrush or small soft brush
- Toothpick, sewing needle, or straight pin (for stubborn clogs in tiny holes)
- Clean water for rinsing
- Small towel to cover the sink drain so you do not lose small parts
If your faucet uses a recessed or hidden aerator, you may also need a small aerator key or hex wrench that matches your faucet style. Many faucets include this tool at installation, so check under the sink or in your hardware drawer.
Step-by-Step: How to Remove a Kitchen Faucet Aerator
Removing the aerator is the first step in restoring proper water flow. Take your time so you do not damage the threads or finish.
1. Prepare the Sink Area
Before you start, plug or cover the sink drain with a towel or drain cover. Aerators contain small washers and inserts that are easy to drop and lose. Turn off the faucet to avoid accidental splashes.
2. Identify Your Aerator Type
Look at the end of your faucet spout:
- Standard external aerator: The housing is visible and slightly larger than the spout. You can usually grip it with your fingers.
- Recessed or hidden aerator: The end of the spout looks smooth and flat, with no visible housing. The aerator sits inside and often needs a small key.
3. Try to Unscrew by Hand
For a standard aerator, grip the metal or plastic ring at the end of the faucet and turn it counterclockwise (lefty-loosey). If it turns, keep unscrewing until the entire aerator assembly comes off.
4. Use a Wrench or Pliers if Needed
If the aerator will not budge by hand, wrap a soft cloth or a layer of masking tape around it to protect the finish. Then gently grip it with an adjustable wrench or slip-joint pliers and turn counterclockwise. Use steady pressure rather than sudden force to avoid stripping the threads.
5. Remove a Recessed Aerator
For a recessed aerator, look for small notches or a hex-shaped opening inside the spout. Insert the proper aerator key or hex wrench, then turn counterclockwise to loosen and remove the internal aerator assembly.
6. Keep Track of Small Parts
Once the aerator is off, gently tap it into your hand or onto a towel. You may see several pieces: a screen, one or more plastic inserts, and a rubber washer. Note the order and orientation of each part so you can reassemble it correctly later. A quick photo with your phone can be helpful.
How to Clean a Kitchen Faucet Aerator
With the aerator removed, you can now clear out the buildup that is restricting water flow.
1. Disassemble the Aerator
Over a towel or bowl, carefully separate the aerator into its individual parts:
- Outer housing
- Metal or plastic screen
- Flow restrictor or internal inserts
- Rubber washer or O-ring
Do not force anything that seems stuck. Many inserts simply slide out with gentle pressure. If a part does not want to move, you can soak the entire housing in warm vinegar for a while before trying again.
2. Soak in White Vinegar
Fill a small bowl or cup with enough white vinegar to fully cover the aerator parts. Place the metal and plastic components (except rubber washers) into the vinegar and let them soak for at least 15 to 30 minutes. For heavy mineral buildup, soaking for a few hours or even overnight can help dissolve stubborn deposits.
Keep rubber washers and O-rings out of strong vinegar so they do not degrade. Wipe them gently with a damp cloth instead.
3. Scrub Away Remaining Deposits
After soaking, use an old toothbrush or small soft brush to scrub each piece. Focus on:
- The screen mesh, where sand and rust often collect
- Small channels or holes in plastic inserts
- The inside of the outer housing, especially near the threads
If tiny holes are still blocked, use a toothpick, sewing needle, or straight pin to gently clear them. Work carefully so you do not enlarge or damage the openings.
4. Rinse Thoroughly
Once the parts look clean, rinse them under running water to remove any loosened debris and vinegar. Check the screen by holding it up to the light; you should see open mesh with no solid patches. Rinse the housing and inserts until the water runs clear.
5. Inspect for Wear or Damage
Before reassembling, inspect each part:
- Look for torn or misshapen screens.
- Check plastic inserts for cracks or warping.
- Examine rubber washers for flattening, cracks, or brittleness.
If any piece is damaged, you can usually replace the entire aerator with a compatible model that matches your faucet size and thread type.
How to Reassemble and Reinstall the Aerator
Putting the aerator back together correctly is important for proper flow and to prevent leaks.
1. Reassemble in the Correct Order
Use your earlier notes or photo as a guide. A common order from the faucet side outward is:
- Plastic flow insert or mixing disk
- Screen
- Support ring or additional insert (if present)
- Rubber washer at the very end, closest to the faucet
Slide each piece into the housing so it sits flat and snug. The washer should rest at the top of the housing where it will contact the faucet spout.
2. Thread the Aerator Back Onto the Faucet
Hold the assembled aerator up to the faucet spout and gently start threading it on by hand, turning clockwise. It should start easily. If you feel resistance or cross-threading, back it off and try again. For recessed aerators, insert the assembly and use the key or hex wrench to start it straight.
3. Hand-Tighten First
Once the aerator is threaded correctly, tighten it firmly by hand. In many cases, this is enough to seal the connection and prevent leaks. Avoid over-tightening, which can damage threads or crush the washer.
4. Use a Wrench Only if Necessary
If the aerator still feels loose or drips around the edges when you test it, wrap it with a cloth and give it a small additional turn with a wrench or pliers. A slight snugging is usually all that is needed.
Test the Water Flow After Cleaning
With the aerator reinstalled, it is time to see if your efforts paid off.
- Turn the faucet on slowly and let the water run for 20 to 30 seconds. This flushes out any remaining debris.
- Observe the stream. It should be even, with a consistent shape and strong flow.
- Check around the base of the aerator for leaks or drips.
- Switch between hot and cold to confirm both sides have good pressure.
If the flow is still weak after a thorough aerator cleaning, you may have a different issue such as a partially closed shutoff valve under the sink, a clogged supply line, or a problem in the faucet cartridge. In that case, further troubleshooting or professional help may be needed.
How Often Should You Clean a Kitchen Faucet Aerator?
The ideal cleaning frequency depends on your local water quality and how often you use the sink. As a general guideline:
- Every 3 to 4 months if you have hard water or visible mineral deposits
- Every 6 to 12 months in areas with softer water and minimal buildup
- After any plumbing work that may have disturbed sediment in the pipes
Regular cleaning helps maintain strong water flow, reduces splashing, and can extend the life of your faucet by preventing mineral buildup from spreading further into the fixture.
Tips to Prevent Future Buildup and Flow Problems
Beyond routine cleaning, a few habits can keep your kitchen faucet running smoothly for longer.
- Flush new plumbing lines: After any repair or installation, remove the aerator and run the water for a minute to wash out debris before reinstalling it.
- Wipe the spout regularly: A quick wipe with a damp cloth removes early mineral deposits before they harden.
- Use a gentle cleaner: Avoid harsh chemicals or abrasive pads on the aerator and faucet finish; they can damage surfaces and seals.
- Consider water treatment: If you constantly battle mineral buildup, a whole-house or under-sink treatment system can help reduce hardness.
- Keep a spare aerator: Having an extra on hand lets you swap it out quickly if one becomes clogged or damaged.
Frequently Asked Questions About Aerator Cleaning
Can I run the faucet without an aerator?
Yes, you can run the faucet briefly without an aerator while you are cleaning it. In fact, turning on the water for a few seconds with the aerator removed can help flush out loose debris from the spout. Just be prepared for a stronger, more forceful stream that may splash more than usual.
Is vinegar safe for all faucet finishes?
White vinegar is generally safe for metal and plastic aerator parts when used in a small bowl. However, avoid soaking the entire faucet or letting strong vinegar sit on decorative finishes. Wipe up any drips promptly and rinse surfaces with water afterward.
What if the aerator is stuck and will not come off?
If the aerator is stuck, try these steps:
- Wrap the aerator with a cloth for better grip and to protect the finish.
- Use an adjustable wrench or pliers with gentle, steady pressure.
- Apply a small amount of penetrating oil around the threads, wait a few minutes, then try again.
If it still will not move, you may need help from a plumbing professional to avoid damaging the faucet.
How do I know what size replacement aerator to buy?
If you decide to replace the aerator, take the old one with you when you shop. You will need to match:
- Thread size (common sizes are standard and small)
- Thread type (male or female threads)
- Desired flow rate, usually listed in gallons per minute
A store associate can often help you find a compatible replacement if you show them the old aerator.
Enjoy Better Water Flow With a Clean Aerator
Cleaning a kitchen faucet aerator is a simple home maintenance task that can make a noticeable difference in everyday use. With just a few tools, some white vinegar, and a little time, you can remove mineral deposits, clear out debris, and restore a strong, even water stream. By checking and cleaning the aerator a few times a year, you help protect your faucet, improve water flow, and keep your kitchen sink working the way it should.
Related posts
Browse this topic →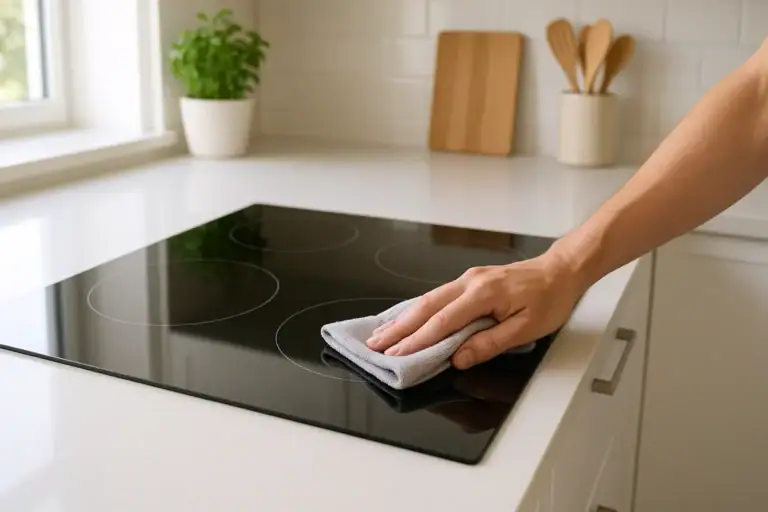
How to Clean an Induction Cooktop Without Scratches: Step-by-Step Guide
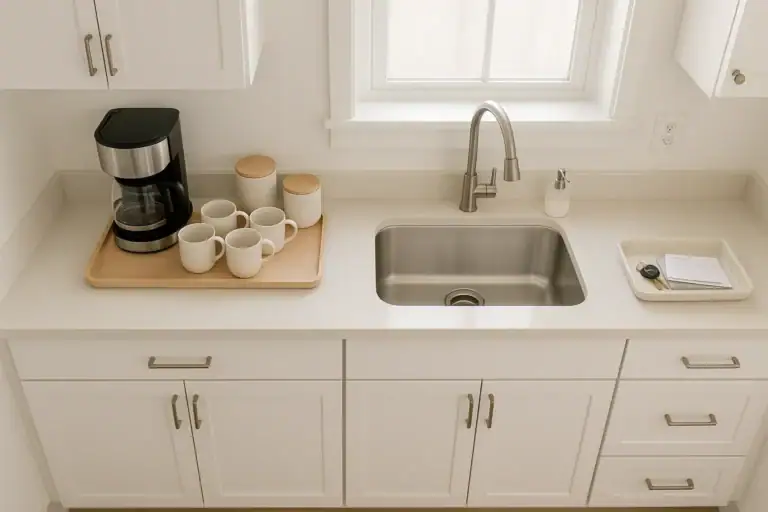
How to Tame Kitchen Countertop Clutter Zones for Coffee Prep and Drop Areas

Fridge Door Seal Test Checklist for Better Energy Use and Food Safety
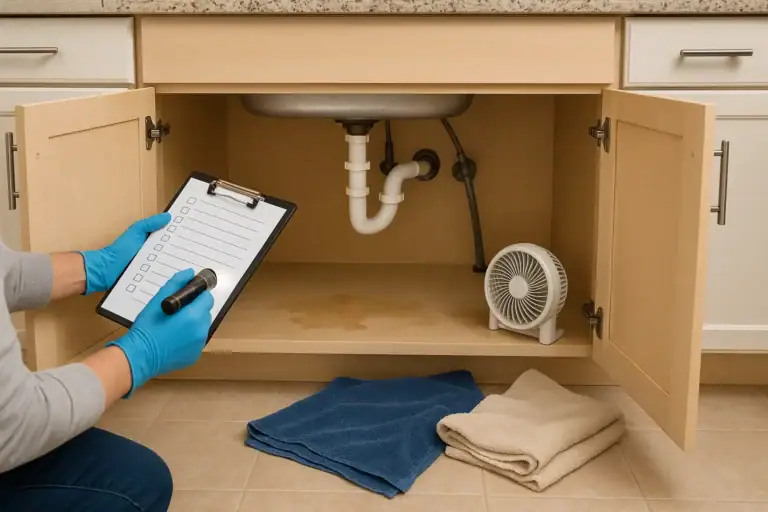
Under Sink Cabinet Water Damage: What To Check Before It Gets Worse

How to Store Flour, Rice, and Pasta to Prevent Pests at Home
Dishwasher Rinse Aid Basics: What It Does and When It Actually Helps
Keep reading

About this site
Signature Home Guide publishes practical, independent home guides. We aim to be clear, helpful, and transparent.
Affiliate disclosure
As an Amazon Associate, we earn from qualifying purchases. Some links on this site may be affiliate links. If you buy through these links, we may earn a small commission at no extra cost to you. This helps support our content. Learn more.