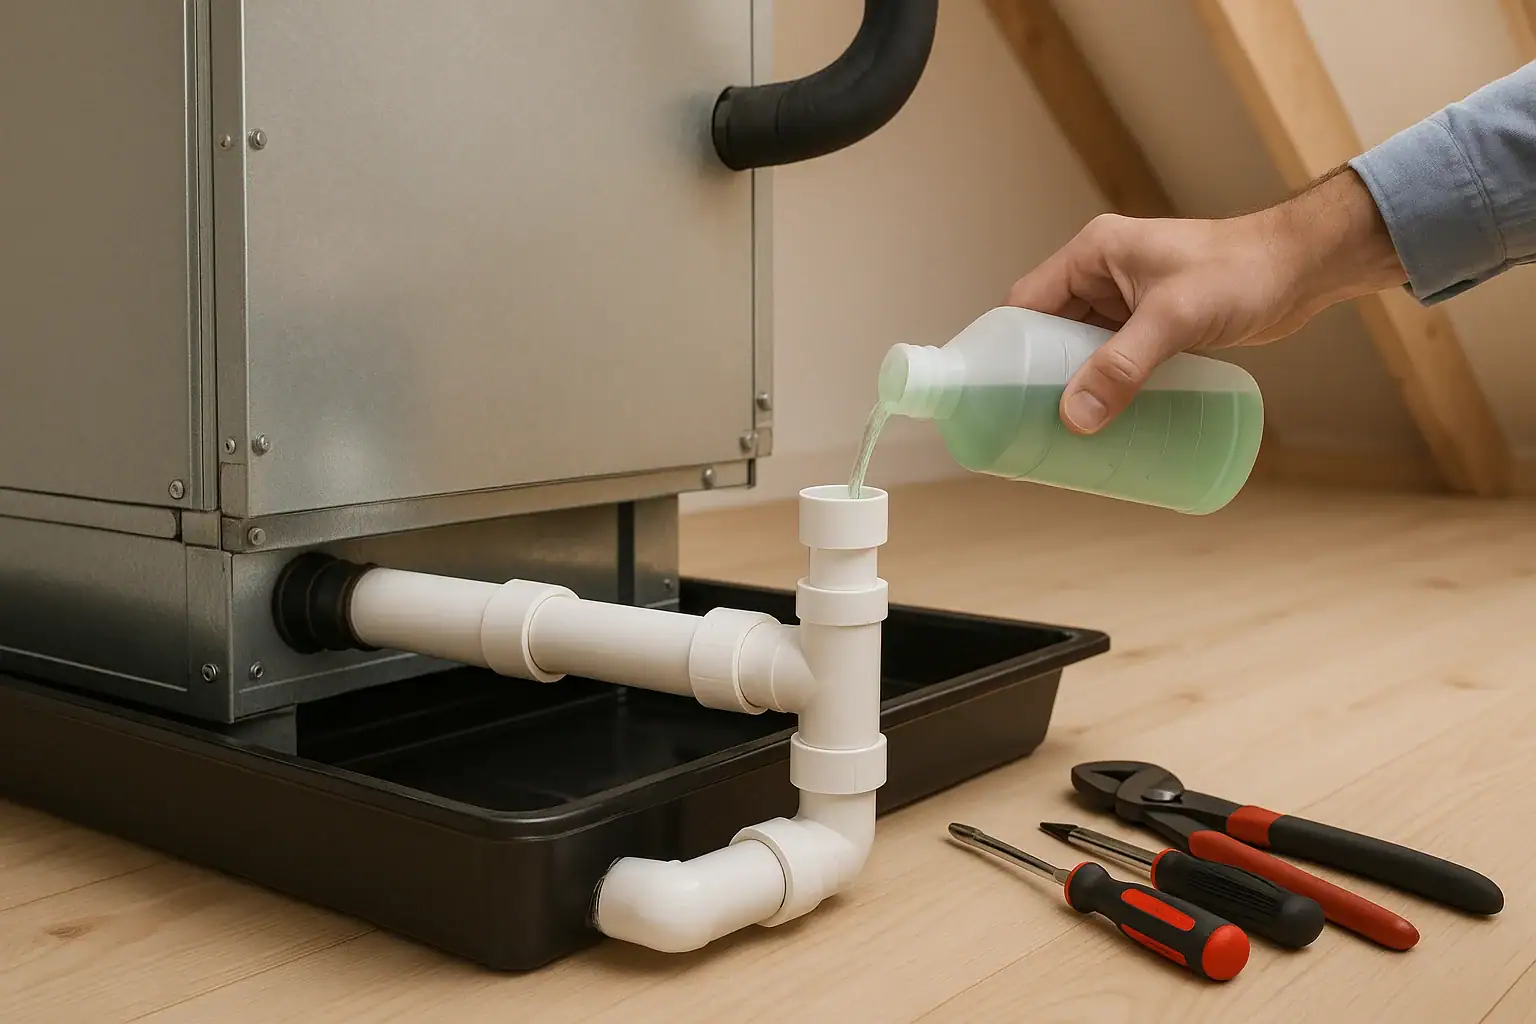
The quiet little pipe running from your indoor cooling equipment may not get much attention, but it plays a big role in keeping your home dry and comfortable. That pipe is the condensate drain line, and when it clogs or leaks, you can end up with water stains on ceilings, soggy drywall, mold growth, or a system that suddenly shuts down. The good news is that basic condensate drain line maintenance is something many homeowners can handle with a simple checklist and a few household supplies. This guide walks you through what the drain line does, warning signs of trouble, and a clear, step‑by‑step maintenance checklist you can follow throughout the year.
What Your HVAC Condensate Drain Line Actually Does
When your cooling system runs, it removes heat and moisture from indoor air. That moisture condenses on the evaporator coil and drips into a shallow pan. From there, it flows through the condensate drain line to a safe discharge point, usually outside or to a floor drain.
If the line becomes clogged with algae, dust, rust, or debris, water backs up into the drain pan. Modern systems often include safety switches that shut the system off when water rises too high, but older systems may simply overflow, sending water into walls, ceilings, or floors.
Regular inspection and cleaning of this small but important component can prevent many water damage headaches and keep your cooling equipment running reliably.
Key Warning Signs of Condensate Drain Line Problems
Before diving into the checklist, it helps to know what trouble looks like. If you notice any of these warning signs, move your maintenance tasks to the top of your to‑do list.
Common symptoms of a clogged or failing drain line
- Water around the indoor unit: Puddles, damp spots, or stains near the air handler or furnace cabinet.
- Ceiling or wall stains: Brownish water marks below where the indoor unit or drain line runs.
- Musty or sour odors: Smells near supply vents or around the indoor unit, often caused by standing water and microbial growth.
- System shutting off unexpectedly: The unit runs briefly, then stops, sometimes due to a tripped float or safety switch in the drain pan.
- Visible algae or slime: Green, black, or slimy buildup at the drain outlet outside the home or in the access tee.
- Slow or no water discharge: Little or no water dripping from the outdoor drain line during hot, humid weather when the system is running.
If you see any of these issues, do not ignore them. A small amount of time spent on the drain line now can prevent costly repairs later.
Tools and Supplies for Basic Drain Line Maintenance
You do not need specialized tools to complete most of this checklist. Many homeowners already have what they need on hand.
Simple supplies to gather
- Flashlight or headlamp
- Small bucket or shallow pan
- Rags or paper towels
- Wet/dry vacuum (shop vacuum), if available
- Measuring cup or small pitcher
- Distilled white vinegar or a mild cleaning solution recommended by a professional
- Soft brush or old toothbrush
- Protective gloves and eye protection
- Step stool or ladder, if the indoor unit is in an attic
Never use harsh chemicals, drain cleaners, or anything that could damage plastic piping or create fumes in your home. When in doubt, consult a licensed professional for guidance.
HVAC Condensate Drain Line Maintenance Checklist
Use this checklist as a routine schedule to keep your condensate drain line clear and functioning. You can print it, save it to your phone, or add it to your seasonal home maintenance calendar.
1. Safety First: Power Down the System
- Turn off the cooling system at the thermostat.
- Switch off power to the indoor unit at the breaker panel or disconnect switch, if accessible.
- Confirm that the system is off before opening any panels or working near wiring.
Shutting off power helps protect you and the equipment while you inspect and clean the drain components.
2. Locate the Drain Pan and Condensate Line
Find your indoor unit, which may be in a closet, basement, crawlspace, or attic. Look for:
- Primary drain pan: A shallow metal or plastic pan directly under the evaporator coil inside the air handler or furnace cabinet.
- Secondary or auxiliary pan: A larger pan under the entire unit, common in attic installations.
- Condensate drain line: Typically a white or gray plastic pipe (often PVC) connected to the pan and exiting the home.
Take a moment to trace where the line runs and where it discharges outside or into a floor drain.
3. Inspect the Drain Pan for Standing Water or Damage
- Shine a flashlight into the primary pan and look for standing water, rust, cracks, or corrosion.
- If there is water in the pan, use a small cup or wet/dry vacuum to remove it into a bucket.
- Check the secondary pan, if present, for water or rust stains that indicate frequent overflow.
- Look for any signs of previous leaks on nearby framing, insulation, or drywall.
Document any damage with photos and consider having a professional evaluate cracked or heavily rusted pans.
4. Clear Debris from the Drain Pan
- Use a soft brush or cloth to gently remove dirt, algae, or slime from the pan surface.
- Wipe the pan dry with rags or paper towels.
- Avoid scraping aggressively, which can damage thin metal or plastic.
A clean pan helps water flow smoothly into the drain line and reduces the chance of microbial growth.
5. Check the Condensate Line Access Point
Most drain lines have a vertical tee with a removable cap near the indoor unit. This is your main access point for cleaning.
- Carefully remove the cap from the tee or access port.
- Look inside with a flashlight for visible algae, slime, or blockages.
- Place a towel or small pan under the tee in case of drips.
6. Flush the Drain Line with a Mild Cleaning Solution
Flushing the line helps break up organic buildup and keep the interior clear.
- Mix a solution of one part distilled white vinegar to one or two parts warm water, unless a professional has recommended a different mixture.
- Slowly pour 1 to 2 cups of the solution into the access tee.
- Allow the solution to sit in the line for at least 30 minutes to loosen deposits.
- Do not immediately run the system while the solution is sitting in the line.
If you are sensitive to vinegar odors, ensure good ventilation in the area or ask a professional about alternative cleaning options.
7. Use a Wet/Dry Vacuum at the Drain Outlet (If Accessible)
If your drain line terminates outside the home and is easy to reach, a wet/dry vacuum can help remove clogs.
- Locate the end of the drain line outside, usually near the foundation or above a window.
- Place the vacuum hose over the end of the pipe and create a tight seal using a rag or tape.
- Run the vacuum for 30 to 60 seconds to pull out water, algae, and debris.
- Check the vacuum canister to see what was removed and repeat if needed.
Do not use excessive suction or compressed air from the indoor side, which can damage fittings or push clogs deeper into the system.
8. Confirm Proper Drainage
- After flushing and vacuuming, pour another cup of clean water into the access tee.
- Watch the drain pan to ensure water flows out quickly without backing up.
- Go outside and verify that water is dripping steadily from the drain outlet.
- Check for leaks along the visible sections of the drain line.
If water still backs up or drains very slowly, it is time to call a licensed professional for further diagnosis.
9. Inspect the Float Switch or Safety Devices
Many systems include a float switch in the primary or secondary pan that shuts off the system if water rises too high.
- Gently move the float to confirm it is not stuck in the raised position.
- Look for corrosion, loose wiring, or signs that the switch has been submerged repeatedly.
- Do not bypass or disconnect safety devices. If a switch appears faulty, schedule a repair.
10. Restore Power and Test the System
- Replace the access cap securely on the drain line tee.
- Turn power back on at the breaker or disconnect.
- Set the thermostat to cool and allow the system to run.
- After 30 to 60 minutes of operation in humid weather, verify that water is draining properly outside.
Continue to monitor the area around the indoor unit for any signs of leaking after your maintenance is complete.
Suggested Maintenance Schedule
The right schedule depends on your climate, how often your system runs, and indoor air quality. As a general guide:
Monthly during heavy cooling season
- Visually check the drain pan for standing water.
- Confirm that water is dripping from the outdoor drain outlet when the system is running.
- Listen and sniff for new musty odors near the indoor unit.
Every 3 months
- Remove the access cap and pour a small amount of cleaning solution into the drain line.
- Wipe any visible algae or slime from the pan and fittings.
- Check that the float switch moves freely.
Annually
- Perform the full checklist, including flushing, vacuuming, and a thorough inspection.
- Schedule a professional tune‑up that includes coil, pan, and drain line inspection.
- Review any signs of past leaks and address them before the next cooling season.
Homes in hot, humid regions or with pets and high indoor dust may benefit from more frequent checks.
Preventive Tips to Reduce Future Drain Line Problems
Beyond the basic checklist, a few preventive habits can keep your condensate system cleaner and more reliable.
Keep filters clean
Dirty air filters allow more dust to reach the evaporator coil and drain pan, which can mix with moisture and feed algae growth. Follow the manufacturer’s recommendations for filter changes and check them more often during peak use.
Maintain good indoor air quality
Reducing dust, pet dander, and other particles in your home lessens what ends up in the drain pan. Regular vacuuming, controlling humidity, and minimizing clutter near return vents can all help.
Protect the outdoor drain outlet
Keep grass, mulch, and landscaping away from the end of the drain line. Do not bury or cap the outlet. Make sure it slopes away from the foundation and remains visible so you can easily confirm flow.
Label the drain line and access point
A simple label or tag on the access tee and outdoor outlet can remind you and future occupants where to flush and check for clogs. This is especially helpful if the indoor unit is in a tight attic or closet.
When to Call a Professional
While many homeowners can handle basic condensate drain line maintenance, there are times when expert help is the safest option.
Contact a licensed professional if you notice:
- Repeated clogs or backups even after cleaning and flushing
- Water damage to ceilings, walls, or flooring near the indoor unit
- Rust holes, cracks, or sagging in the primary or secondary drain pans
- Persistent musty odors that do not improve after cleaning
- Float switches tripping frequently or the system shutting off without clear cause
- Any uncertainty about safely working around electrical components
A professional can inspect the entire drainage system, including hidden sections of piping, and recommend long‑term solutions such as improved pan design, additional safety switches, or re‑routing of the drain line.
Putting Your Checklist Into Action
Adding condensate drain line maintenance to your regular home care routine is a simple way to protect your home from hidden water damage and keep your cooling system running smoothly. With a flashlight, a bit of cleaning solution, and this checklist, you can catch clogs early, keep pans clear, and spot problems before they spread into walls or ceilings.
Consider pairing this checklist with other seasonal tasks, such as changing filters, checking smoke alarms, and inspecting weatherstripping. A few minutes of attention now can save you from costly repairs and help maintain a comfortable, healthy indoor environment throughout the hottest months of the year.
For more guidance on keeping your home comfortable and efficient, explore additional air and comfort resources and build a maintenance plan that fits your climate and lifestyle.
 Window AC Maintenance Checklist Before Summer Heat Arrives
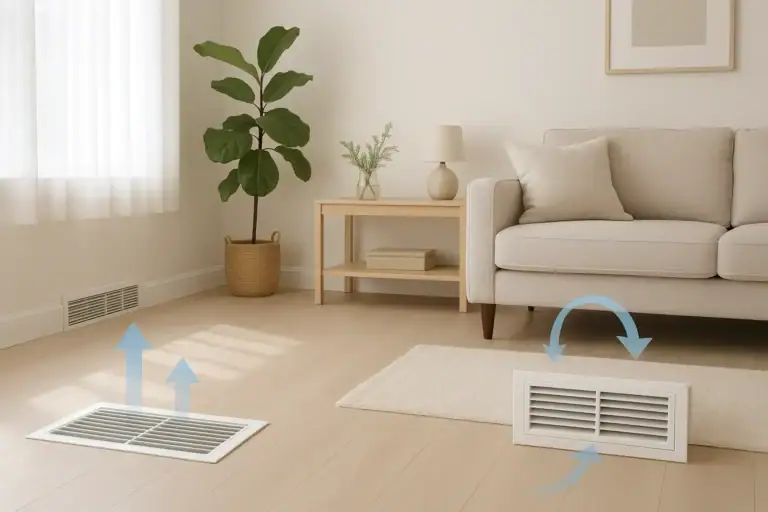 Supply Vent vs Return Vent: How to Tell the Difference in Your Home
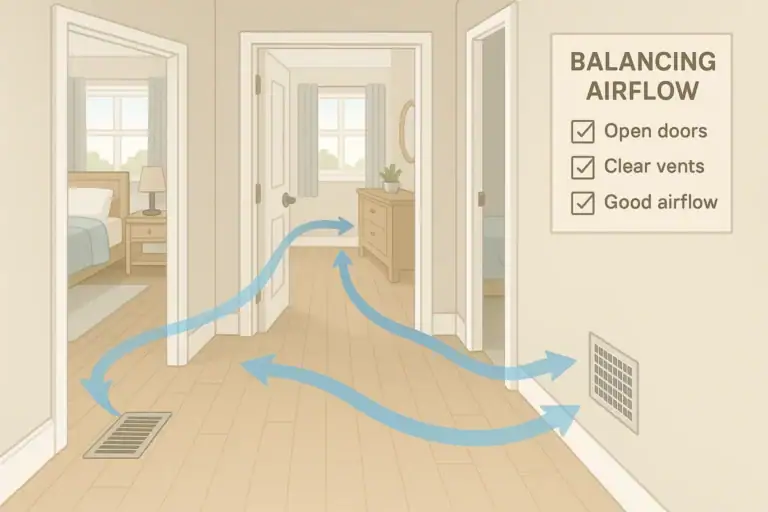 How to Balance Airflow Between Rooms at Home: A Practical Checklist