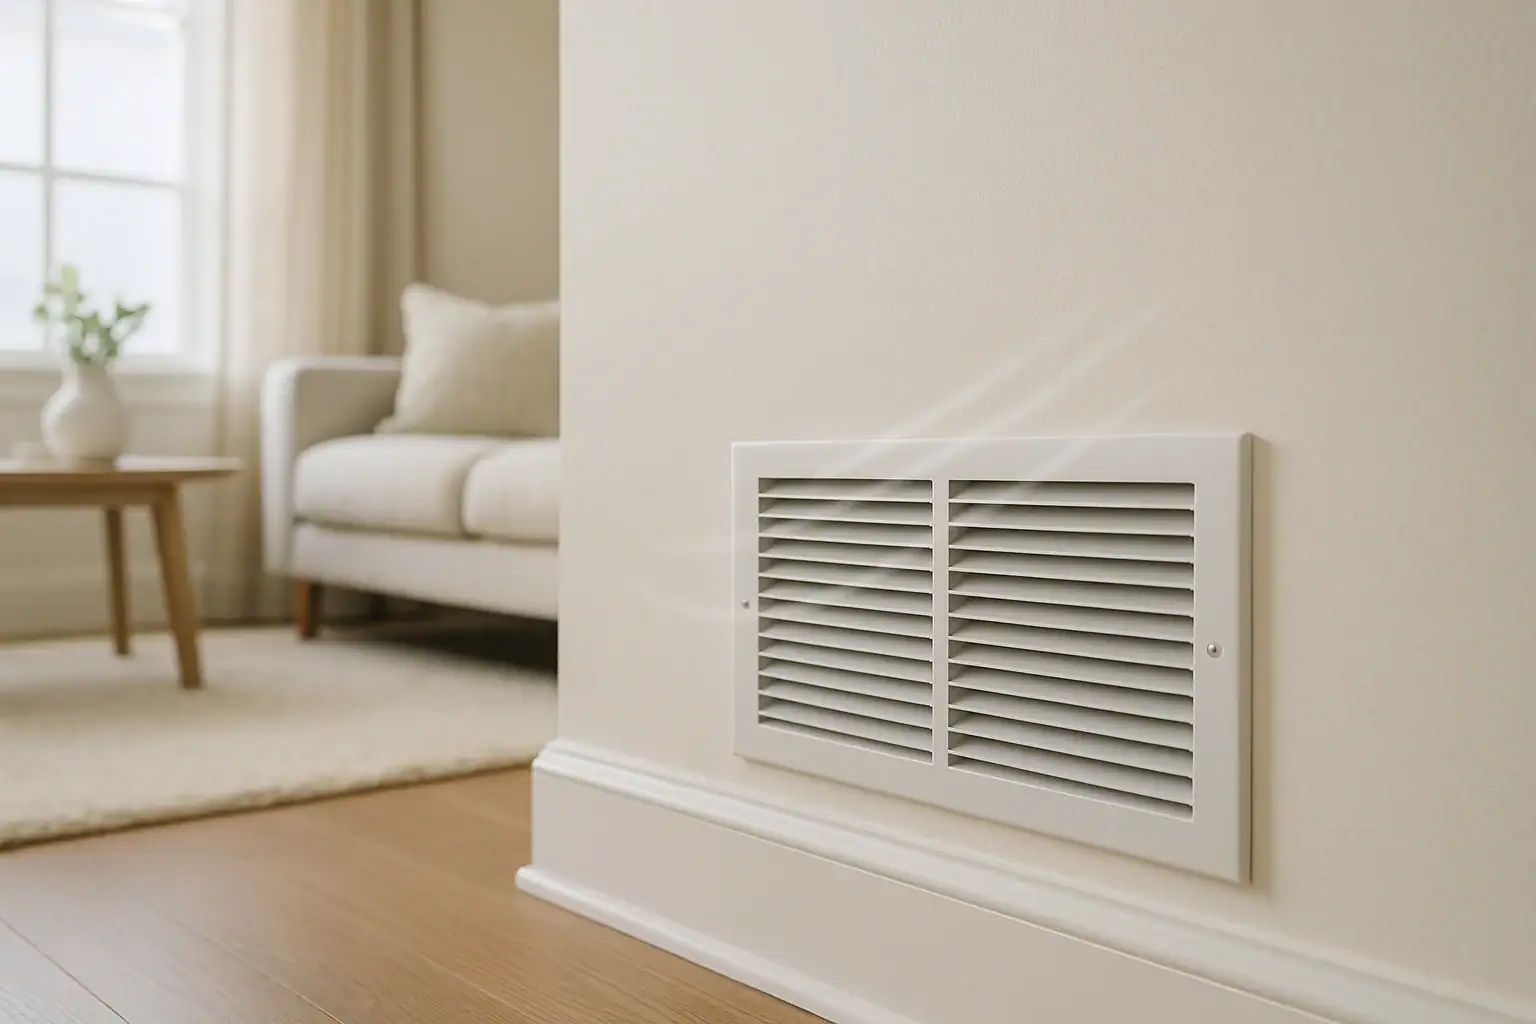
If your HVAC vents are rattling, whistling, or roaring every time the system turns on, it can turn a comfortable home into a noisy distraction. The good news is that many vent noises come from simple issues like loose covers, airflow restrictions, or minor duct problems you can troubleshoot yourself. Understanding what different sounds mean will help you decide what you can safely fix and when it is time to call a professional.
This guide walks through the most common causes of noisy HVAC vents, how to identify them by sound, and practical step‑by‑step fixes. You will also learn how to prevent noise in the future with basic maintenance and better airflow habits. Use this as a troubleshooting checklist to make your home quieter and more comfortable season after season.
How HVAC Vents Work and Why They Make Noise
HVAC vents are the final stop for conditioned air traveling through your ductwork. The system pulls air from your home through return vents, heats or cools it, then pushes it back through supply vents into each room. Any restriction, loose part, or sudden change in air pressure along this path can create noise.
Most noises fall into a few categories:
- Whistling or whooshing: Air is being forced through a small opening or blockage.
- Rattling or buzzing: Something is loose or vibrating when the air flows.
- Banging or popping: Metal ducts or vents are expanding and contracting.
- Roaring or loud rushing air: Airflow is too strong for the size or number of vents.
By matching the sound you hear with the likely cause, you can narrow down what to inspect first and which simple fixes to try.
Safety First: Before You Start Troubleshooting
Most vent-related fixes are simple and low risk, but it is still important to work safely.
- Turn off the HVAC system at the thermostat before removing vent covers or reaching into ducts.
- Use a sturdy step stool or ladder when working on ceiling vents.
- Wear work gloves and a dust mask if you expect a lot of dust or debris.
- Do not reach far into ducts or attempt electrical work; leave that to a licensed technician.
If you ever smell burning, see damaged wiring, or suspect a serious mechanical issue, stop troubleshooting and schedule professional service.
Whistling Vents: Common Causes and Easy Fixes
Whistling is one of the most common vent complaints. It usually means air is being forced through a small gap or restriction.
1. Vent Registers That Are Partially Closed
When vent louvers are mostly closed, air squeezes through the small remaining openings and creates a whistle or high‑pitched whoosh.
How to fix it
- Open the vent fully and run the system.
- If the noise stops or gets much quieter, the closed vent was the cause.
- Leave high‑whistling vents mostly open and adjust temperature in that room with curtains, fans, or doors instead of shutting vents completely.
2. Air Filter That Is Dirty or Too Restrictive
A clogged or high‑resistance filter makes the system work harder to pull air, which can create whistling at return vents.
How to fix it
- Turn off the system and locate the main air filter, usually near the return vent or at the air handler.
- Slide out the filter and check for dust buildup or discoloration.
- Replace disposable filters or clean reusable ones according to the manufacturer instructions.
- Use a filter type recommended for your system; extremely dense filters can increase noise and strain equipment.
3. Gaps Around Vent Grilles
If there is a gap between the vent grille and the wall or ceiling, air can leak around the edges and whistle.
How to fix it
- Remove the vent cover by unscrewing it.
- Check for gaps between the duct opening and the drywall.
- Seal small gaps with caulk or low‑expansion spray foam, being careful not to get material inside the duct.
- Reinstall the vent cover snugly and test for noise.
Rattling, Buzzing, and Vibrating Vents
Rattling or buzzing usually points to loose metal, screws, or debris. These sounds often start or get louder when the blower turns on.
4. Loose Vent Covers or Screws
Over time, vent covers can loosen and vibrate when air flows through.
How to fix it
- With the system off, gently wiggle the vent cover. If it moves, it may be the source of the rattle.
- Tighten the mounting screws with a screwdriver. Do not overtighten into drywall, which can strip the holes.
- If the screw holes are worn, use slightly larger screws or plastic wall anchors for a more secure hold.
- Place a thin foam gasket or weatherstripping behind the vent frame to reduce vibration against the wall or ceiling.
5. Objects or Debris in the Duct Near the Vent
Small items, construction debris, or pieces of insulation can get into ducts and rattle when air passes by.
How to fix it
- Remove the vent cover.
- Use a flashlight to look a short distance into the duct.
- If you see loose debris within easy reach, carefully remove it with a gloved hand or a vacuum with a hose attachment.
- Do not reach deep into ducts or dislodge anything attached; if you cannot reach it safely, consider a duct cleaning service.
6. Ducts Vibrating Against Framing
Metal ducts can vibrate against joists or framing, especially when the blower runs at higher speeds.
What you can do
- Listen carefully to locate the general area of the vibration.
- If the noise seems to come from behind walls or ceilings rather than at the vent itself, the ducts may need additional support or padding.
- This usually requires access to attic or crawl spaces and is best handled by a professional who can add hangers or vibration‑dampening material.
Banging, Popping, and Clicking Sounds
Sharp bangs or pops often come from ductwork expanding and contracting as it heats and cools. Clicking can be related to dampers or moving parts in the system.
7. Metal Duct Expansion and Contraction
When the system turns on, ducts quickly change temperature. Thin metal can flex, making loud popping or booming sounds that travel through vents.
What may help
- Check if the noise happens mainly at startup or shutdown. If so, expansion is likely the cause.
- Ensure vents are not blocked, which can increase pressure and flexing.
- Have a technician inspect accessible ducts to add supports or replace sections that are too thin or oil‑canning.
8. Automatic Dampers Opening and Closing
Some systems have dampers inside ducts that open or close to balance airflow. These can click, tap, or thump when they move.
What you can do
- Note whether the sound coincides with changes in system mode or fan speed.
- Look for manual dampers near the main trunk lines in basements or attics; partially closed dampers can also cause noise.
- Do not attempt to adjust powered dampers on your own. If the noise is new or very loud, have a professional check the damper motors and settings.
Loud Roaring or Rushing Air from Vents
Some airflow noise is normal, but if your vents sound like a wind tunnel, the system may be pushing too much air through too few or too small vents.
9. High Fan Speed or Oversized Equipment
If the blower runs at a very high speed, air can rush loudly through vents and ductwork.
Steps to take
- Check your thermostat fan setting. If it is set to high or a continuous fan mode, switch to auto and see if the noise changes.
- Make sure all supply and return vents are open and unblocked to spread airflow more evenly.
- If the system is still extremely loud, a technician can evaluate blower settings and whether the equipment is properly sized for your home.
10. Blocked or Covered Vents
When furniture, rugs, or curtains block vents, air is forced through smaller openings, increasing noise and reducing comfort.
How to fix it
- Walk through your home and inspect every vent.
- Move furniture, rugs, or storage items at least several inches away from vents.
- Do not close off multiple vents in unused rooms; this can increase pressure and noise in the remaining vents.
- After clearing obstructions, run the system again to see if the rushing sound decreases.
Return Vents vs. Supply Vents: Different Noises, Different Fixes
It helps to know whether the noise is coming from a supply vent (blowing air into the room) or a return vent (pulling air back to the system).
- Supply vents: Usually smaller with adjustable louvers. Noise here often relates to high airflow, closed louvers, or loose covers.
- Return vents: Often larger grilles without adjustable louvers. Noise here often points to dirty filters, undersized returns, or blocked grilles.
When you hear noise, place your hand near the vent to feel whether air is blowing out or being pulled in. Use that clue to focus on filter issues and blockages for returns, and on vent settings and obstructions for supplies.
When to Call a Professional for Noisy Vents
Not every noise can or should be fixed with a simple adjustment. In some cases, noise is a warning sign of a larger problem.
Signs you should get professional help
- New or worsening noises that started suddenly.
- Noise combined with weak airflow or rooms that never reach the right temperature.
- Burning smells, musty odors, or visible mold near vents.
- Very loud banging, grinding, or squealing from the furnace or air handler area.
- Evidence of damaged or disconnected ducts in the attic, basement, or crawl space.
A qualified technician can check blower settings, static pressure, duct sizing, and connections. In some homes, adding additional return vents, resizing ducts, or adjusting fan speeds is the only way to permanently reduce noise.
Simple Maintenance Habits to Keep Vents Quiet
Once you have tracked down and fixed the main source of noise, a few basic habits can help keep your HVAC vents running quietly.
- Change filters regularly: Set a reminder to check filters every one to three months, depending on usage and dust levels.
- Keep vents clean: Vacuum vent grilles and the area around them to reduce dust and debris that can restrict airflow.
- Avoid closing too many vents: Keep most vents at least partially open so the system can move air without excessive pressure.
- Protect vents from damage: Avoid stepping on floor vents or using them to support furniture or heavy objects.
- Schedule regular tune‑ups: Annual maintenance helps keep fans, motors, and ducts in good working order, which can also reduce noise.
Quiet vents are usually a sign of a balanced, efficient system. By paying attention to new or unusual sounds, you can catch small issues early and keep your home comfortable with less background noise.
 Why Your Bedroom Feels Stuffy Even With the AC On (Troubleshooting Guide)
 Why Your Home Feels Dry Even When Humidity Is Normal
 Does Sleeping With a Fan Cause a Dry Throat? Simple Airflow and Humidity Fixes