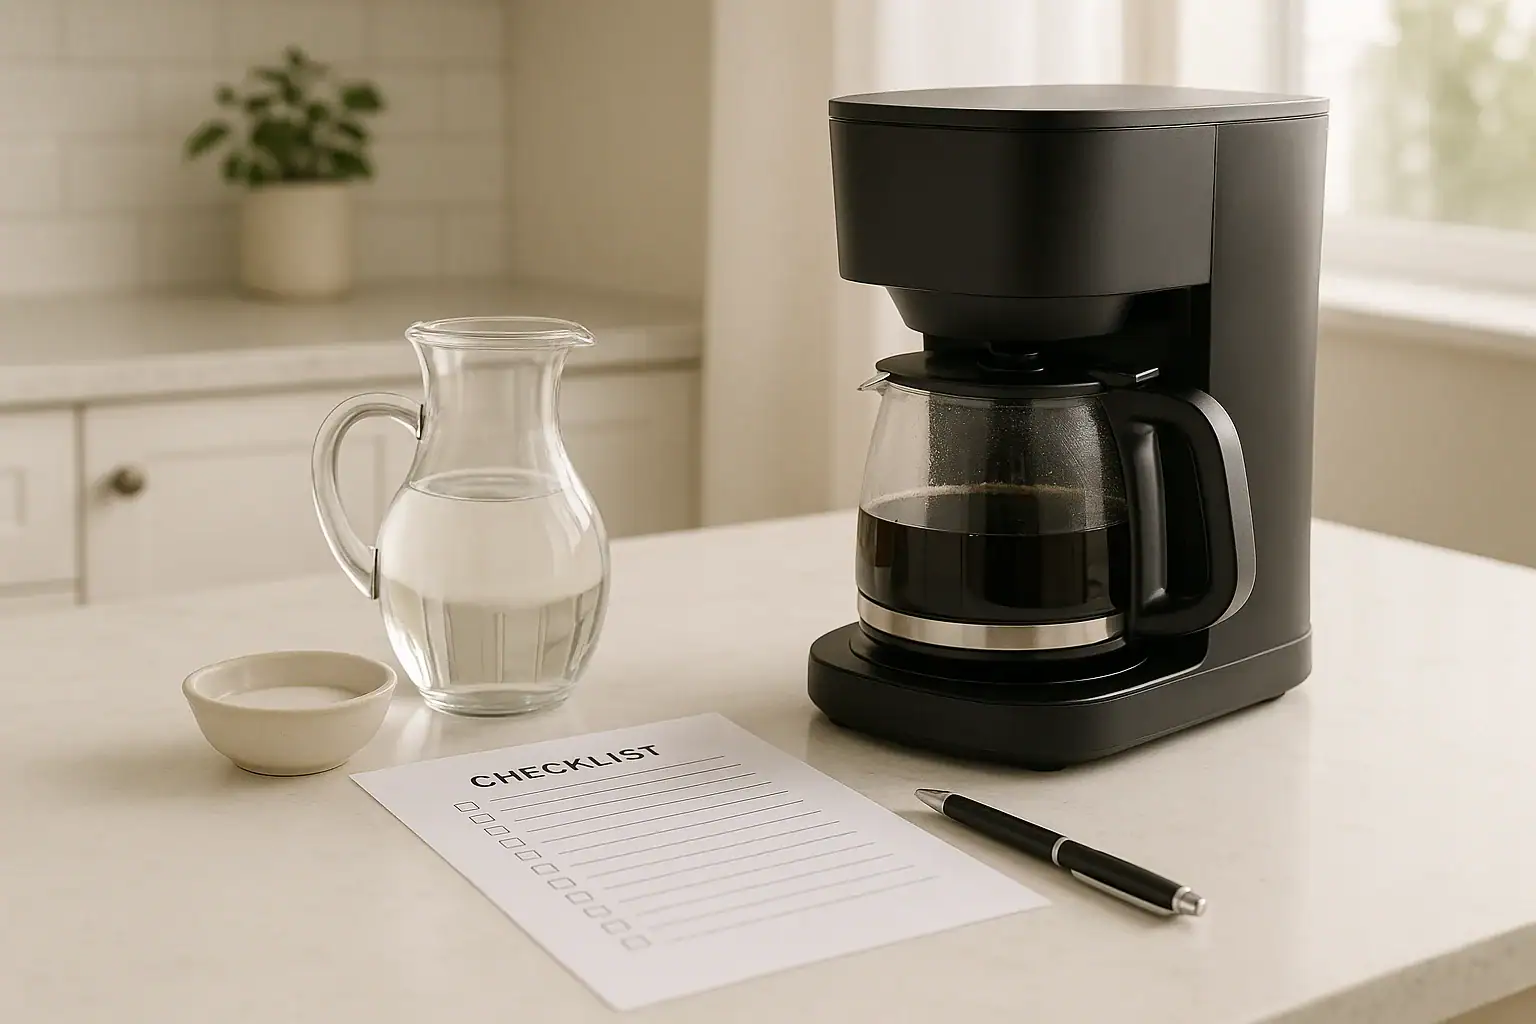
If your morning coffee has started to taste bitter, weak, or just not as smooth as it used to, mineral buildup inside your coffee maker may be the reason. Hard water leaves behind calcium and limescale that cling to the internal parts of your machine. Over time, this buildup slows water flow, interferes with heating, and changes the flavor of every cup. The solution is regular descaling on a schedule that matches your water quality and brewing habits. With a simple routine, you can protect your coffee maker, improve taste, and avoid surprise breakdowns.
This guide walks you through an easy descaling schedule, clear signs your machine needs attention, and a practical checklist you can follow every time. Whether you use a drip machine, single-serve pod brewer, or a basic countertop model, these steps will help you get better-tasting coffee with less effort. Use this as a reference you can return to whenever you are not sure if it is time to descale again.
Why Descaling Matters for Coffee Taste
Water naturally contains dissolved minerals such as calcium and magnesium. When water is heated inside your coffee maker, those minerals can separate and form a hard, chalky layer called scale. This buildup forms on heating elements, tubes, and any surface that hot water touches.
Descaling removes this mineral layer and restores your machine’s internal pathways. When you stay on top of descaling, you help your coffee maker:
- Heat water to the right temperature so coffee grounds extract properly
- Maintain consistent water flow for even saturation of the grounds
- Deliver a cleaner, smoother taste without metallic or chalky notes
- Last longer by preventing clogs and strain on the pump and heater
Skipping descaling does not just affect flavor. It can also lead to longer brew times, louder operation, and eventually a machine that fails sooner than it should. A simple schedule keeps all of this under control.
How Often Should You Descale Your Coffee Maker?
There is no single schedule that works for every household. The ideal descaling frequency depends mainly on how often you brew and how hard your water is. Use the guidelines below as a starting point, then adjust based on your experience.
Descaling Frequency by Water Hardness
If you know whether your home has soft, moderate, or hard water, you can plan a schedule more accurately.
- Soft water (low mineral content): descale every 3 to 4 months
- Moderate water: descale every 2 to 3 months
- Hard water (high mineral content): descale every 4 to 6 weeks
If you are not sure about your water hardness, you can:
- Check your city or county water quality report online
- Use simple test strips sold for home water testing
- Look for signs such as white spots on faucets and dishes
Descaling Frequency by Brewing Habits
Your brewing volume matters just as much as your water quality. Consider the following rough schedule:
- Light use (1 pot or a few cups per day): every 3 months
- Moderate use (2 to 3 full pots or multiple pod brews per day): every 6 to 8 weeks
- Heavy use (office, large family, or all-day brewing): every 4 weeks or even more often
If you have both hard water and heavy use, lean toward the more frequent side of these ranges.
A Simple Rule of Thumb
When in doubt, descaling every 2 months is a safe default for most households. If you notice taste or performance issues sooner, shorten the time between descaling sessions. If everything tastes great and the machine runs smoothly, you may be able to stretch the interval slightly, but do not skip it entirely.
Signs Your Coffee Maker Is Overdue for Descaling
Even if you follow a schedule, your coffee maker will often tell you when it needs attention. Watch for these common warning signs that descaling is overdue:
- Weaker or inconsistent flavor even when you use the same coffee and measurements
- Bitter, sour, or metallic taste that does not improve with fresh beans or grounds
- Longer brew times than usual or a brew cycle that seems to pause
- Reduced coffee volume in the pot compared to the amount of water you added
- Gurgling, sputtering, or unusual noises during brewing
- Visible white or chalky residue in the reservoir or on removable parts
- Indicator light or message on machines that have a cleaning alert
If you notice two or more of these signs, plan to descale as soon as possible, even if it seems early according to your calendar.
Descaling Checklist: Step-by-Step for Better Tasting Coffee
Use this simple checklist every time you descale your coffee maker. It works for most standard drip machines and many single-serve brewers. Always read your user manual first and follow any specific instructions for your model.
Before You Start
- Check the manual for any warnings about cleaning solutions.
- Plan for at least 30 to 60 minutes of time when you will not need to brew.
- Gather your supplies.
What You Will Need
- Descaling solution or a mixture of white vinegar and water
- Fresh, cool water for rinsing
- A clean, empty carafe or mug
- A soft cloth or sponge
- A small brush or toothpick for tight areas, if needed
Step 1: Empty and Rinse
- Turn the coffee maker off and unplug it.
- Remove any used coffee grounds or pods.
- Empty the carafe and rinse it with warm water.
- Rinse the filter basket or pod holder to remove loose coffee residue.
Step 2: Mix Your Descaling Solution
You can use a commercial descaling product or a basic vinegar solution. Follow the instructions on any packaged descaler. For a vinegar solution, a common ratio is:
- Equal parts white vinegar and water for heavy buildup
- One part vinegar to two parts water for lighter buildup or more frequent cleaning
Pour the mixture into the water reservoir up to the maximum fill line.
Step 3: Run a Partial Brew Cycle
- Place the empty carafe on the warming plate or a large mug under the dispenser.
- Plug the machine back in and start a brew cycle as if you were making coffee.
- Allow the machine to brew until about halfway through the cycle.
- Pause or turn off the machine and let the solution sit inside for 15 to 30 minutes. This soaking time helps dissolve stubborn mineral deposits.
Step 4: Complete the Brew Cycle
- After soaking, turn the machine back on and let it finish the brew cycle.
- Once the cycle is complete, discard the used solution from the carafe or mug.
- If your machine has a removable reservoir, you can also rinse it at this stage.
Step 5: Rinse with Fresh Water
Rinsing is essential to remove any remaining descaling solution or vinegar taste.
- Fill the reservoir with fresh, cool water.
- Run a full brew cycle with only water.
- Discard the water from the carafe or mug.
- Repeat this fresh water cycle at least one more time. For strong vinegar smells, a third rinse cycle may be helpful.
Step 6: Clean Removable Parts
- Remove the filter basket, pod holder, drip tray, and any other removable parts.
- Wash them in warm, soapy water and rinse thoroughly.
- Use a small brush or toothpick to clear any clogged holes or tight spaces.
- Dry all parts with a clean towel or let them air dry completely.
Step 7: Wipe Down the Exterior
- Use a damp cloth to wipe the exterior surfaces of the coffee maker.
- Pay attention to buttons, the warming plate, and around the spout.
- Dry with a soft cloth to prevent water spots.
Step 8: Reassemble and Test Brew
- Reinstall all removable parts.
- Fill the reservoir with fresh water and brew a small test batch.
- Smell and taste the water to confirm there is no lingering vinegar or chemical odor.
- If needed, run one more plain water cycle.
Once everything tastes and smells neutral, your coffee maker is ready to use again.
Weekly and Monthly Coffee Maker Care Checklist
Descaling is only part of keeping your coffee tasting great. Regular light cleaning keeps oils, residue, and bacteria from building up between deep cleanings. Use this quick checklist to stay on track.
After Every Brew
- Discard used grounds or pods right away.
- Rinse the carafe or mug with warm water.
- Rinse the filter basket or pod holder to remove coffee residue.
Once a Week
- Wash the carafe with warm, soapy water and a soft sponge.
- Clean the filter basket, pod holder, and drip tray with soap and water.
- Wipe the exterior of the machine with a damp cloth.
- Check the water reservoir for any film or discoloration and wipe if needed.
Once a Month
- Inspect the machine for any visible mineral deposits.
- Run a light cleaning cycle with a weaker vinegar solution if you notice buildup.
- Check the user manual for any filters that need replacement or rinsing.
Every 1 to 3 Months
- Perform a full descaling using the step-by-step checklist above.
- Note the date on a calendar, planner, or phone reminder.
- Adjust your schedule if you notice taste changes before your next planned cleaning.
Tips to Reduce Scale Buildup Between Descaling Sessions
While you cannot completely avoid mineral buildup, you can slow it down. Small changes in how you use and care for your coffee maker can stretch the time between descaling sessions and keep taste more consistent.
- Use filtered water when possible. This reduces the amount of minerals entering your machine.
- Avoid leaving water in the reservoir for days. Empty and refill with fresh water regularly.
- Turn the machine off when not in use. Constant heat can encourage deposits to harden.
- Do not overfill the reservoir. Stay within the maximum fill line to avoid spills and residue.
- Store the lid open when the machine is off. Allowing the reservoir to dry can reduce film and odors.
- Clean spills right away. Dried coffee on the warming plate or exterior can become stubborn stains.
These habits will not replace descaling, but they will make each cleaning easier and more effective.
Sample Descaling Schedule You Can Follow
If you want a simple plan you can put on your calendar today, use this example and adjust as needed:
For Most Households
- Week 1: Note your starting point and perform a full descale.
- Weeks 2 to 7: Follow the weekly and monthly cleaning checklists.
- Week 8: Perform your next full descale.
If you notice taste changes or slower brewing before week 8, move your next descaling up by a week or two. If everything still tastes great at week 8, keep the schedule anyway to prevent hidden buildup.
For Hard Water or Heavy Use
- Plan a full descale every 4 to 6 weeks.
- Consider using filtered water to reduce mineral load.
- Watch closely for the warning signs of scale buildup and respond quickly.
Enjoy Better Coffee with a Consistent Descaling Routine
Keeping your coffee maker clean inside is one of the easiest ways to improve the taste of every cup. With a clear descaling schedule and a simple checklist, you do not have to guess when it is time to clean or worry about damaging your machine. Instead, you can rely on a routine that protects your equipment, supports consistent brewing, and brings out the best flavor in your favorite coffee.
Choose a starting date, set a reminder for your next descaling session, and keep this checklist handy in your kitchen. Over time, you will notice smoother taste, more reliable performance, and fewer surprises from your coffee maker. For more tips on caring for the water and kitchen tools you use every day, explore the resources available at this home water and kitchen hub.
 Ice Maker Water Tastes Bad: Common Causes and Easy Fixes
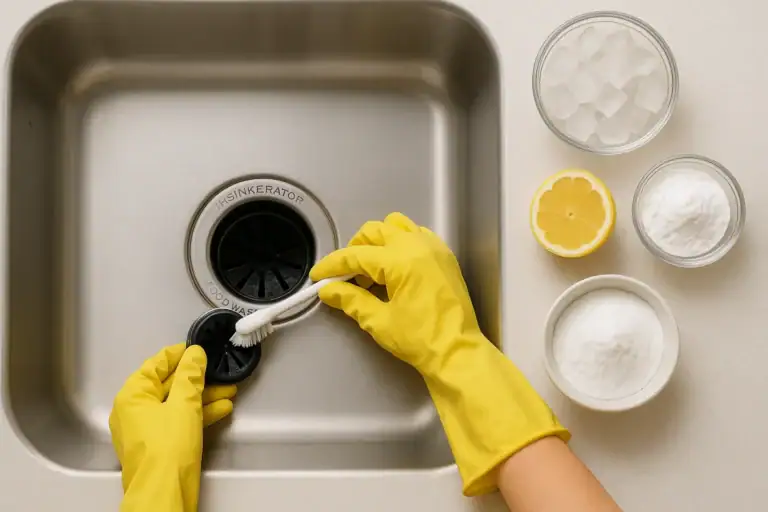 Garbage Disposal Smell Causes and a Simple Cleaning Routine That Works
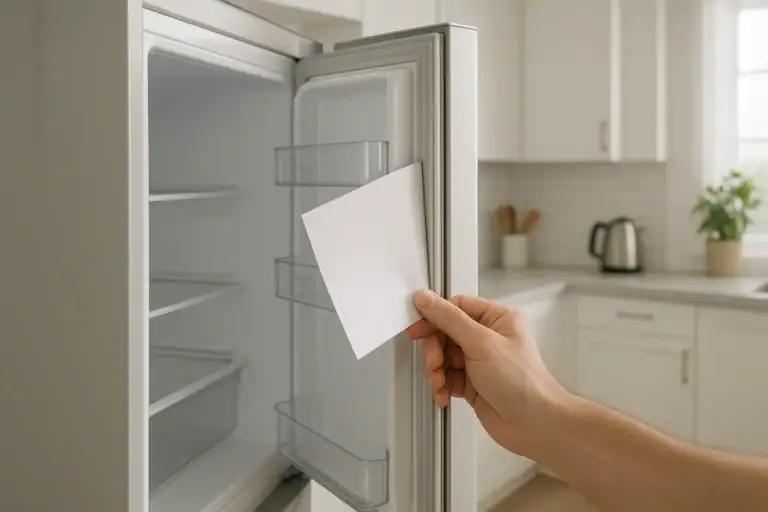 Fridge Door Seal Test Checklist for Better Energy Use and Food Safety