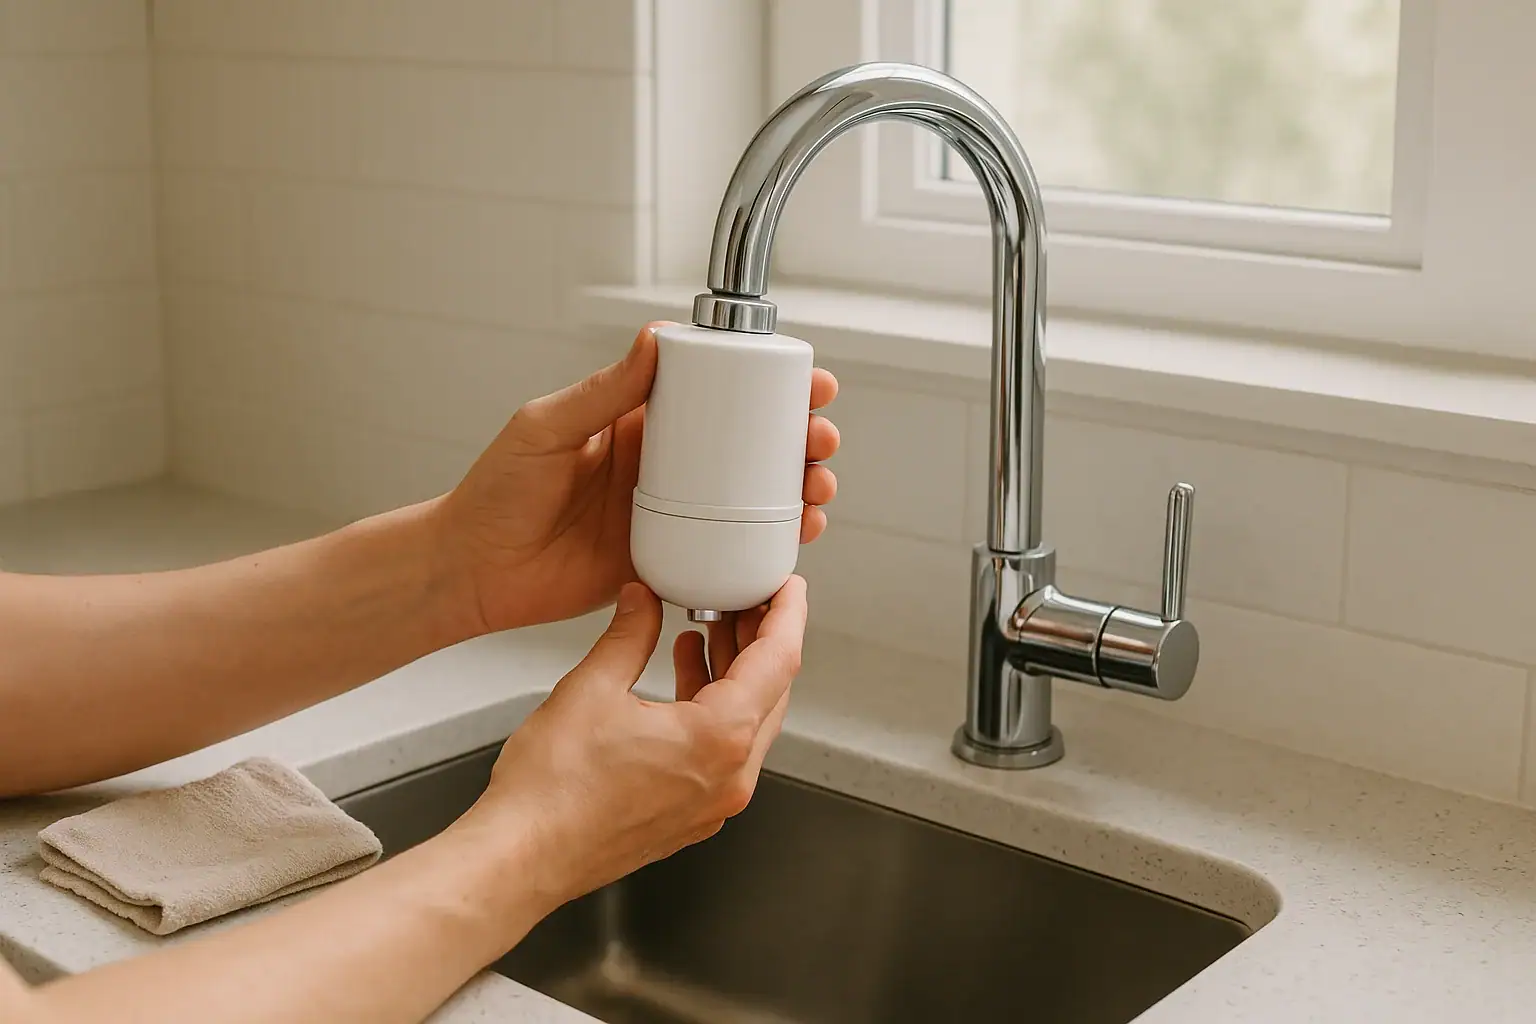
First steps when your faucet-mount filter is leaking
If your faucet-mount water filter is leaking, start by turning off the water and switching the filter to the “off” or “bypass” position. Most leaks come from a loose connection, worn gasket, or a cartridge that isn’t seated correctly. In many cases you can stop the drip with a quick inspection, cleaning, and a new O-ring or adapter.
Before you begin, have a towel handy and avoid using tools unless your manufacturer specifically allows them. Overtightening plastic parts can crack the housing and make the leak worse.
Common leak locations and what they mean
Look closely to see where the water is coming from. That usually points to the cause.
- Leak at the faucet threads or adapter: Often caused by a loose adapter, missing washer, or mismatched threads.
- Leak between the filter housing and its cap: Usually a twisted, dirty, or worn O-ring or gasket.
- Leak from the diverter valve or mode switch: Mineral buildup, internal wear, or a damaged seal inside the valve.
- Leak from seams or a hairline crack in the body: Physical damage or overtightening; the housing may need replacement.
How to fix leaks at the faucet connection
Most faucet-mount filters attach with a metal or plastic adapter and one or more small washers. If water is spraying or dripping from the base where the filter meets the faucet, work through these checks:
- Confirm the adapter type
Make sure you’re using the correct adapter for your faucet style (threaded vs. unthreaded, inside vs. outside threads). If your faucet is non-standard or has a pull-out sprayer, it may not be compatible with a faucet-mount filter at all. In that case, consider a different style of filter, such as a countertop or under-sink unit, which you can compare in your broader faucet-mount filter planning. - Remove and inspect the adapter
Unscrew the filter or adapter from the faucet. Look for:- Cross-threading (threads look chewed or uneven)
- Cracked plastic or bent metal
- A missing or flattened rubber washer inside the adapter
- Clean the faucet threads and aerator area
Wipe away mineral deposits and debris with a damp cloth. If there’s heavy scale, a brief soak of the aerator parts in white vinegar can help, but keep vinegar away from rubber parts that the manufacturer warns against soaking. - Reinstall with the washer in place
Make sure the rubber washer is seated flat inside the adapter. Screw the adapter or filter onto the faucet by hand only, turning slowly so the threads catch evenly. - Tighten gently and test
Turn on the cold water slowly and watch the joint. If it still leaks slightly, tighten by hand another quarter-turn. If the leak worsens or the adapter feels like it’s binding, stop and remove it to prevent damage.
If you can’t get a drip-free seal even with a new washer and careful threading, the faucet or filter may simply not be a good match. Check your manual or the manufacturer’s compatibility list.
Fixing leaks at the filter housing seam
When water seeps from the joint where the filter housing twists together, the O-ring or gasket is usually the culprit.
- Turn off water and relieve pressure
Switch the diverter to regular tap water and shut off the faucet. Wait a few seconds so pressure inside the housing drops. - Open the housing carefully
Follow the manufacturer’s instructions to twist or unlatch the housing. Keep it upright to avoid spilling water. - Inspect the O-ring or gasket
Look for:- Twists or kinks
- Cracks, flat spots, or brittleness
- Debris, sand, or mineral buildup on the seal or groove
- Clean and reseat the seal
Wipe the O-ring and its groove with a clean, damp cloth. Reseat the O-ring so it lies flat without stretching. If your manual allows, a tiny amount of food-grade silicone lubricant can help the O-ring seal and reduce twisting, but avoid petroleum-based products that can damage rubber. - Check the cartridge position
Make sure the filter cartridge is fully seated on its post or alignment tabs. A cartridge that’s slightly off-center can keep the housing from closing evenly and cause leaks. - Reassemble and hand-tighten
Close the housing, turning until it stops, then add only a small extra snug turn if recommended. Do not use pliers unless the manufacturer specifically says it’s safe. - Test for leaks
Turn on cold water slowly and switch to the filtered setting. Watch the seam for at least 30–60 seconds; small leaks can take a moment to appear.
If the O-ring is damaged or won’t hold a seal, replace it with the exact part specified for your model. Using a random O-ring that “almost fits” can still leak.
Dealing with leaks at the diverter valve or mode switch
Leaks from the diverter lever, button, or mode switch usually point to internal wear or mineral buildup.
- Cycle the diverter a few times
With the water off, move the lever or button between tap and filter modes several times. Sometimes a small piece of debris can be dislodged this way. - Flush on tap mode
Turn on the faucet with the filter set to regular tap water and let it run briefly. Then switch to filtered mode and check for leaks around the diverter area. - Check for visible buildup
If you can see mineral deposits around the moving parts, gently clean the exterior with a damp cloth. Avoid forcing water or cleaners into openings unless the manual allows it. - Review the manual for serviceable parts
Some models allow replacement of the diverter assembly; others require replacing the entire filter unit if the valve fails. If the leak is steady and internal seals aren’t user-serviceable, replacement is usually the practical fix.
Cracks, damage, and when to replace the unit
If you see a hairline crack in the housing, adapter, or any pressurized part, do not keep using the filter. Cracks can suddenly worsen and spray water across the sink area.
- Stop using the filter immediately if you see structural damage.
- Do not try to glue or tape the crack; that’s unlikely to hold under pressure and can fail without warning.
- Replace the damaged part or the entire filter according to the manufacturer’s guidance.
When choosing a replacement, look for models that are certified to relevant standards, such as NSF/ANSI drinking water treatment standards. The NSF guide to home water filters explains what different certifications mean for performance and safety.
When leaks start after a cartridge change
It’s common for a faucet-mount filter to start leaking right after you replace the cartridge. If that happens:
- Confirm the cartridge is the correct model
Even small differences in length or seal design can prevent a proper seal. - Remove and reinstall the cartridge
Make sure it’s fully seated and aligned with any tabs or keys. Do not force it if it doesn’t match the guide rails. - Inspect the housing seal again
Sometimes the O-ring gets disturbed during a cartridge swap. Reseat it and clean away any trapped grit. - Flush according to the manual
Many cartridges require an initial flush at a specific flow rate. Follow the manufacturer’s instructions; this can help clear air pockets that sometimes look like brief spurts or drips.
Preventing future leaks
A few simple habits can reduce the chances of your faucet-mount filter leaking again:
- Use cold water only unless the manufacturer explicitly allows warm. Hot water can damage filter media and seals; the U.S. EPA home filtration fact sheet also notes that filters are typically designed for cold water use.
- Replace cartridges on schedule so the media doesn’t clog and create excess backpressure.
- Avoid overtightening adapters and housings; snug by hand is usually enough.
- Check for drips periodically around the faucet connection and housing seam, especially after any maintenance.
- Follow the manufacturer’s instructions for cleaning and storage, especially if you remove the filter seasonally.
If you find yourself repeatedly fighting leaks or compatibility issues, it may be time to reassess whether a faucet-mount filter is the right style for your sink and plumbing. A broader look at faucet-mount filter options and alternatives can help you choose a setup that’s easier to live with long term.
When to call a plumber or contact the manufacturer
For most faucet-mount filters, you can handle basic leak troubleshooting yourself. However, get extra help when:
- The faucet itself is loose, corroded, or leaking from under the sink.
- You see damage to the faucet threads that might require repair or replacement.
- You’ve followed the manual and still can’t get a reliable seal.
In those cases, a licensed plumber can assess whether the faucet or connections need work. For product-specific issues such as defective housings, missing parts, or unclear instructions, contact the filter manufacturer’s customer support with your model number and a description or photo of the leak.
Until the leak is resolved, it’s safest to remove or bypass the filter so you’re not leaving a pressurized, dripping connection unattended.
 How to Safely Remove a Stuck Refrigerator Water Filter
 Troubleshooting Water Hammer After a Dishwasher or Washer Cycle
 Fixing Low Hot Water Pressure at One Faucet