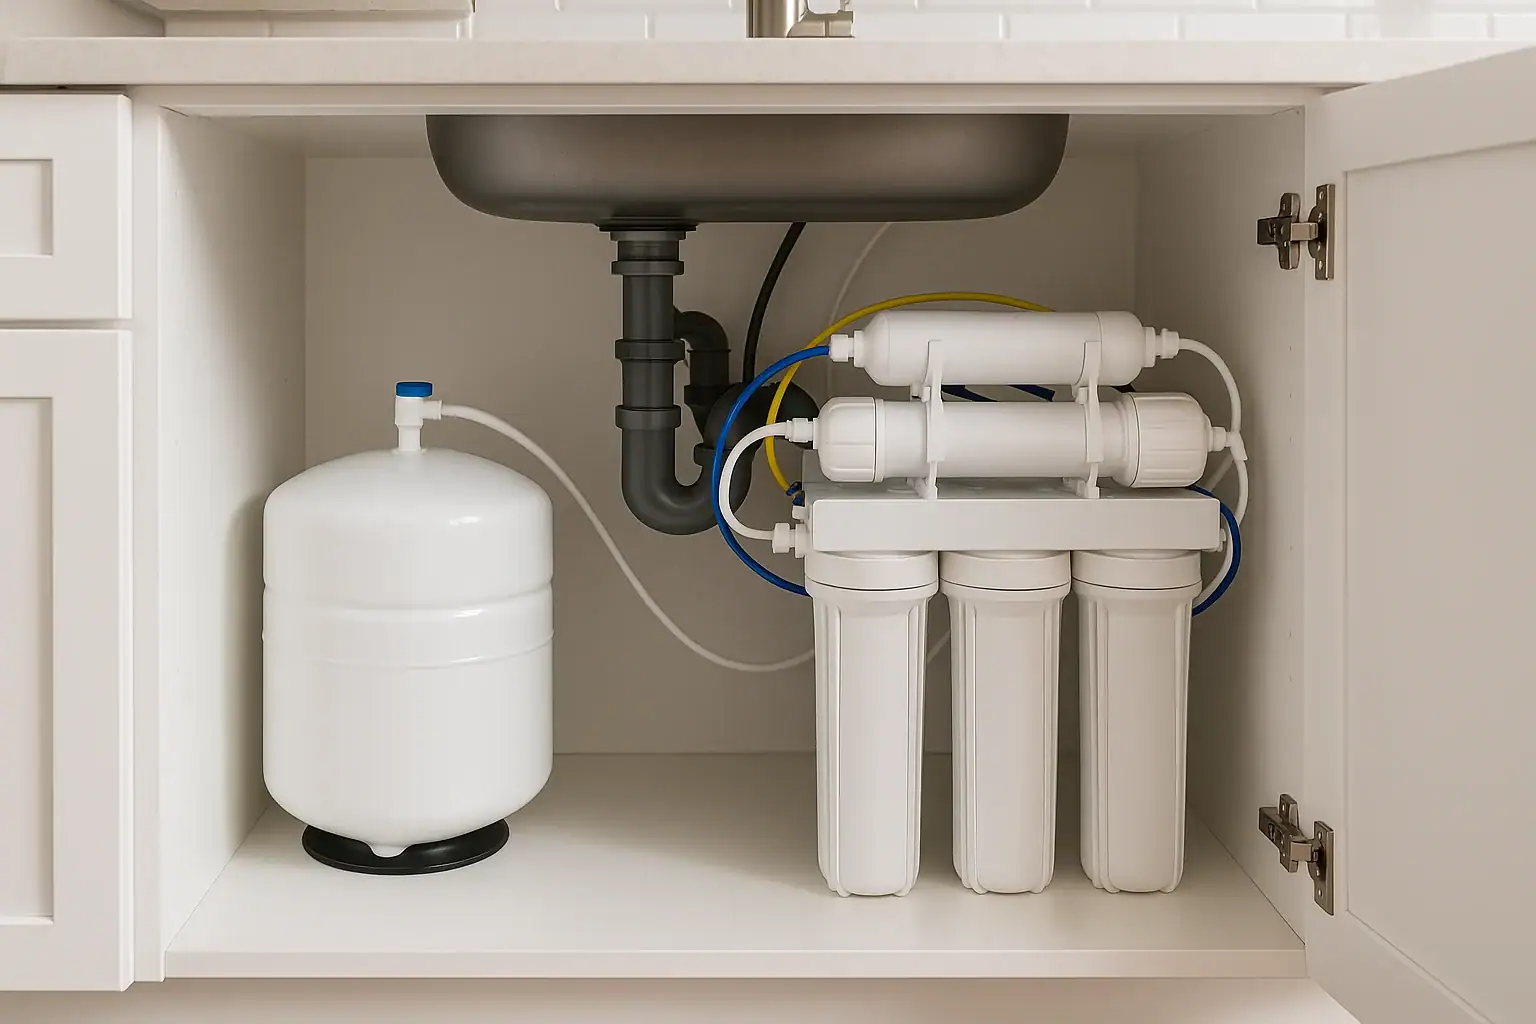
First checks when an RO tank is not filling
If your reverse osmosis (RO) faucet has little or no flow, but the system seems to run constantly, the storage tank is usually not filling. In most homes this comes down to one of a few issues: a closed valve, low feed pressure, a clogged filter or membrane, or the tank’s internal air charge being out of range.
Before replacing parts, work through a few quick checks:
- Make sure the tank valve and feed water valve are fully open.
- Confirm you have normal cold water pressure at nearby faucets.
- Check for kinked or pinched RO tubing.
- Test the tank’s air pressure and recharge it if needed.
These steps solve most “RO tank not filling” problems. If you find damaged parts, heavy leaks, or unclear instructions, it is reasonable to contact a licensed plumber or the system manufacturer.
Safety and water quality notes
RO systems are often used for drinking water, so treat any changes in taste, odor, or appearance seriously. If your water looks cloudy, discolored, or has a strong odor, avoid drinking it until the cause is understood and corrected. For general guidance on drinking water contaminants and treatment, see the U.S. Environmental Protection Agency drinking water resources.
Always depressurize the system before disconnecting tubing or opening housings. If you are unsure about any step, or if your installation involves hard-to-access plumbing, consider professional help. You can also review other troubleshooting topics at the Signature Home Guide troubleshooting hub.
Step 1: Confirm all valves are open
Most under-sink RO systems have at least three key valves:
- Feed water valve – connects the cold water line to the RO system.
- Tank shutoff valve – on top of the storage tank.
- Faucet or ice-maker line valve (if present) – controls water leaving the tank.
To check them:
- Locate the small saddle or tee valve on the cold water line. Make sure its handle is parallel to the tubing (open position).
- Find the valve on top of the RO tank. Turn it so it is in line with the tubing (open).
- If your system has any additional inline shutoff valves, verify they are also open.
If any of these were closed, open them and allow 1–2 hours for the tank to begin filling, then test the faucet again.
Step 2: Check household water pressure and feed line
RO systems need a minimum incoming water pressure (often around 40–50 psi; check your manufacturer’s manual). If your home’s pressure is very low, the membrane may produce water too slowly to fill the tank.
Do a quick check:
- Turn on the cold water at the kitchen sink. If the flow is weak throughout the home, you may have a general pressure issue or partially closed main valve.
- Inspect the small tubing from the cold water line to the RO prefilter. Look for kinks, sharp bends, or visible damage.
If your whole-house pressure is low or inconsistent, contact your water utility or a plumber. If only the RO feed line is kinked or damaged, straighten or replace that section of tubing.
Step 3: Test whether the tank is actually empty
Sometimes the tank is filling, but the faucet flow is restricted by a clogged postfilter or faucet assembly. To see what the tank is doing, bypass the faucet:
- Turn off the feed water valve to the RO system.
- Open the RO faucet to relieve pressure, then close it.
- Disconnect the tubing from the tank valve outlet (have a towel ready).
- Place the tubing into a bucket and briefly open the tank valve.
Observe what happens:
- Strong, steady flow from the tank – the tank is filling; your restriction is likely in the postfilter or faucet.
- Weak or no flow from the tank – the tank is not filling properly, or the bladder/air charge is incorrect.
Close the tank valve and reconnect the tubing after this test.
Step 4: Check filter and membrane condition
Clogged prefilters or a fouled RO membrane can slow production so much that the tank never seems to fill. Most manufacturers recommend changing sediment and carbon prefilters every 6–12 months and the membrane every 2–5 years, depending on water quality and usage.
Signs your filters or membrane may be restricting flow include:
- Filters are well past their recommended replacement interval.
- Noticeable drop in RO faucet flow over time.
- System runs (you can hear water at the drain) but the tank remains low.
Follow your system’s manual for the exact replacement procedure. After installing new filters or a new membrane, allow the tank to fill fully and then flush at least one full tank before using the water for drinking, as many manufacturers recommend.
Step 5: Inspect the automatic shutoff valve (ASO)
The automatic shutoff valve senses tank pressure and stops the RO from producing water when the tank is full. If it fails, it can either let the system run constantly or prevent water from reaching the tank.
Common symptoms of a faulty ASO:
- System never shuts off, and water runs to the drain continuously.
- Tank stays empty even though prefilters and membrane are in good shape.
A simple functional check (general approach; confirm details with your manual):
- With the tank valve open, listen for water at the drain line. When the tank is full, flow to the drain should slow or stop.
- Close the tank valve. If the ASO is working, water flow to the drain should stop within a short time.
If the ASO does not respond as expected, it may need replacement. This is usually a small plastic block with four tubing connections. If you are not comfortable identifying or replacing it, a plumber or water treatment technician can do this.
Step 6: Check the tank air pressure and bladder
RO tanks use an internal air bladder to push water out. If the air charge is too low or too high, the tank may not fill correctly or may deliver very little water.
Most manufacturers specify a precharge of about 5–8 psi when the tank is completely empty (verify in your manual). You will need a low-range tire gauge and a bicycle pump or small hand pump.
How to measure and adjust tank pressure
- Turn off the feed water valve to the RO system.
- Open the RO faucet and let it run until water stops to fully depressurize and drain the tank.
- Close the RO faucet.
- Locate the air valve (Schrader valve) on the tank, usually under a cap.
- Use the tire gauge to measure the air pressure.
Compare your reading to the manufacturer’s recommended empty-tank pressure:
- If pressure is too low – add air with the pump in small bursts, checking frequently.
- If pressure is too high – briefly press the valve core to release air, then recheck.
Once adjusted, turn the feed water back on and allow several hours for the tank to refill. If the tank still does not fill or only holds a very small amount of water, the internal bladder may be damaged, and the tank may need replacement.
Step 7: Look for leaks and drain line issues
Leaks or an incorrectly installed drain line can keep the tank from filling because water is constantly escaping instead of being stored.
- Inspect all fittings and housings for drips or dampness.
- Check the drain saddle connection on the sink drainpipe. Make sure the hole in the pipe aligns with the saddle fitting and that the tubing is not blocked or kinked.
- Listen for continuous, strong flow at the drain line even when the tank should be full. This can indicate a problem with the flow restrictor, ASO, or drain connection.
Any active leaks should be addressed immediately to avoid water damage. If you cannot identify the source, shut off the feed water to the RO system and contact a professional.
When to call a professional
It is reasonable to call a plumber or water treatment specialist when:
- You have worked through the basic valve, filter, and pressure checks and the tank still will not fill.
- You suspect a damaged bladder tank or need to replace the tank entirely.
- There are persistent leaks, or fittings are corroded or difficult to access.
- Your home has complex plumbing, booster pumps, or other equipment tied into the RO system.
If you rely on a private well, you may also want to review well and treatment guidance from your state or local health department or from the U.S. Centers for Disease Control and Prevention private wells information. For more home troubleshooting topics, you can return to the Signature Home Guide troubleshooting hub.
By methodically checking valves, feed pressure, filters, the ASO valve, and the tank’s air charge, most homeowners can identify why a reverse osmosis tank is not filling and decide whether a simple adjustment or a professional repair is the right next step.
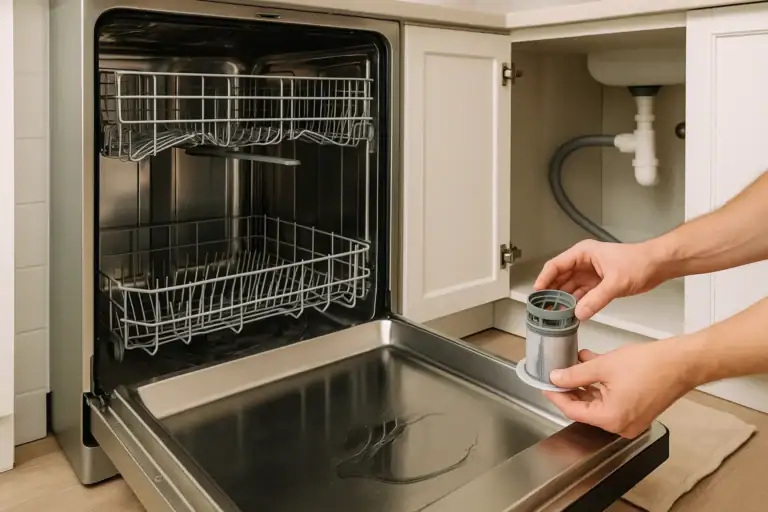 Dishwasher Not Draining: Step‑by‑Step Fix Guide
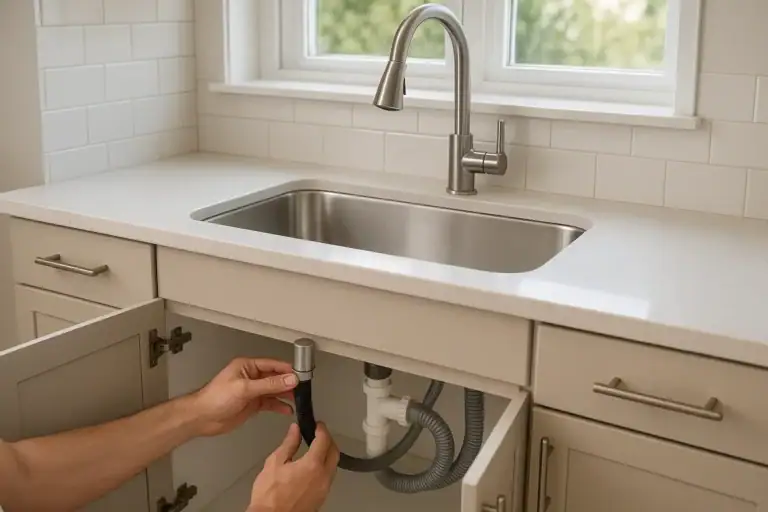 Dishwasher Air Gap Leaking: How to Find and Fix the Cause
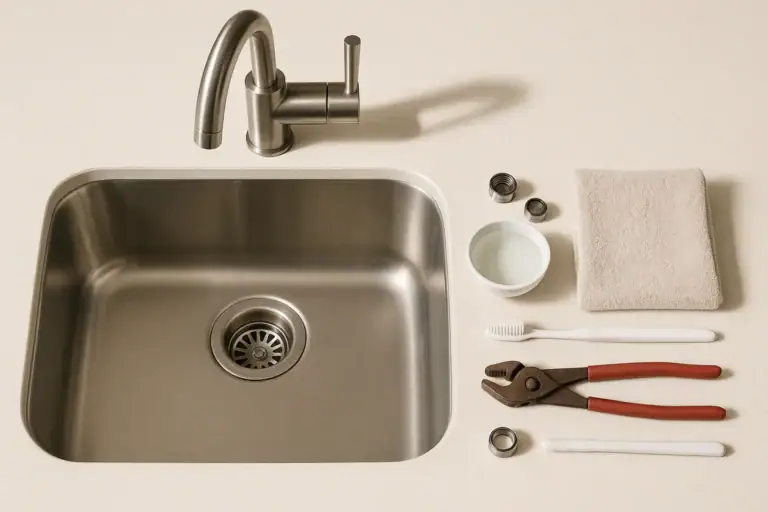 Kitchen Sink Aerator Cleaning for Low Water Flow: A Step-by-Step Guide