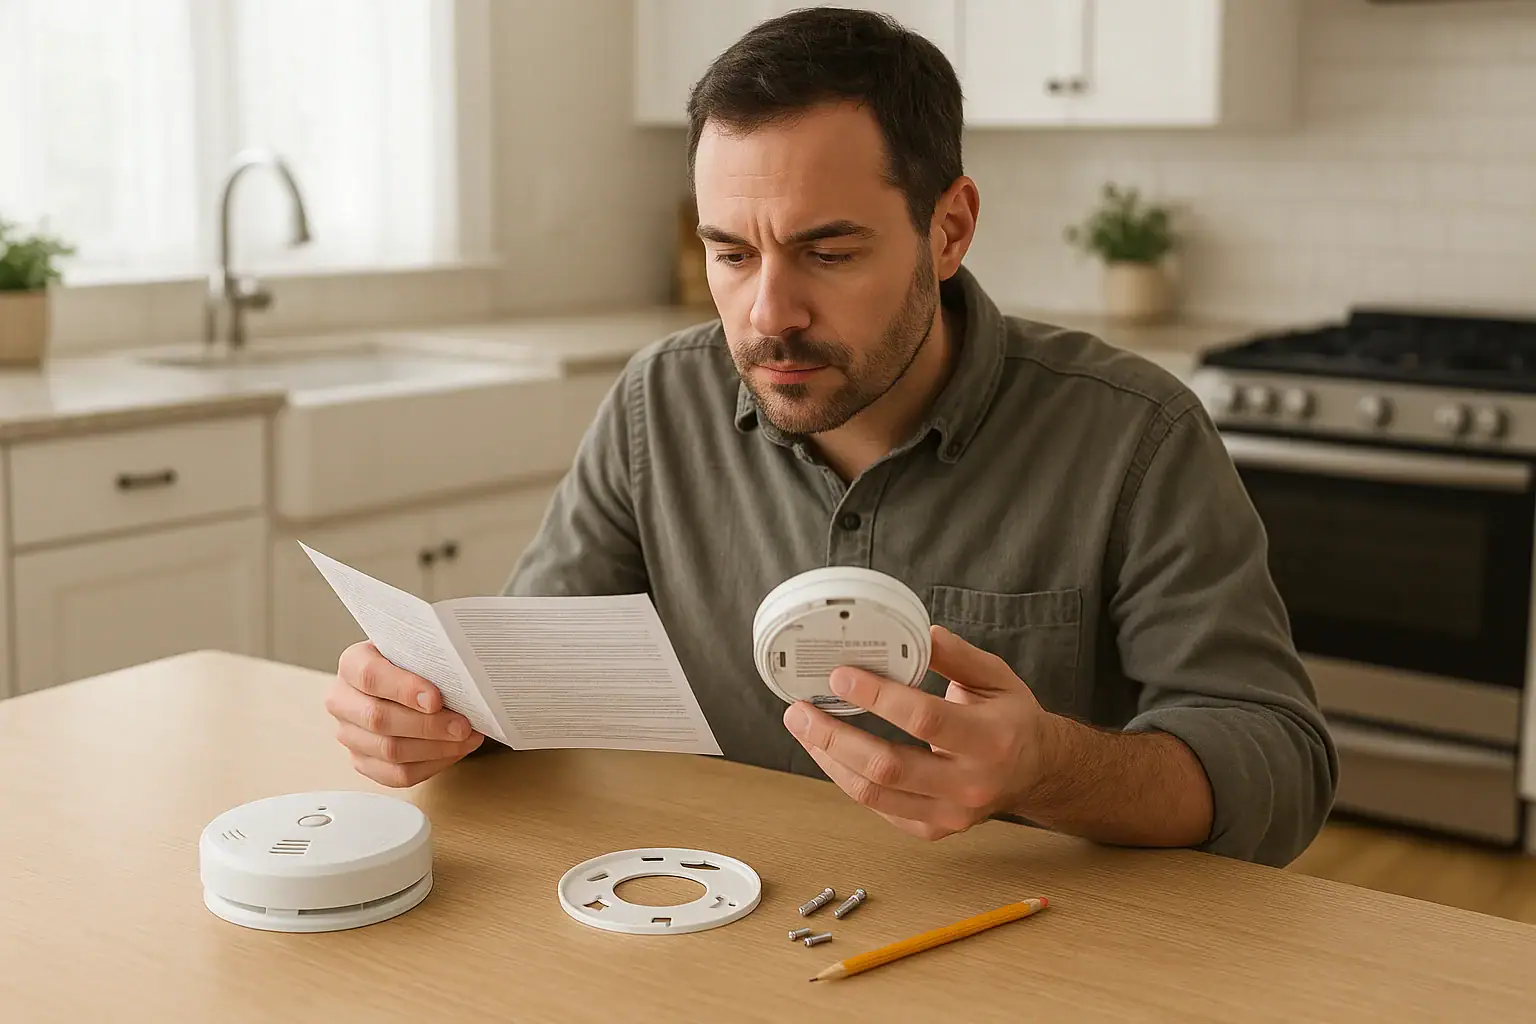
Quick answer: For smoke alarm installation, begin with the exact model manual and rear label. Identify whether the unit is battery powered, sealed-battery, hardwired, or interconnected; use only documented compatible parts; and check current safety notices. A homeowner may mount a battery alarm as its manual directs, while hardwired work belongs with a qualified electrician.
Start smoke alarm installation with the model manual
Before attaching a bracket, installing a battery, or connecting anything, identify the exact alarm. Photograph or record the model number and other information on the rear label, then locate the instructions for that specific model.
The manual should identify the alarm’s power source, mounting method, included parts, activation method, and any supported interconnection options. Keep the alarm, its bracket, and included hardware together until the installation is complete. Do not assume an existing bracket, plug, harness, or adapter is acceptable because it appears to fit.
It is also sensible to check the exact model against current manufacturer notices and Consumer Product Safety Commission information before putting it into service. For example, the CPSC warning for Shenzhen Lidingfeng model JSN-JY-909COM tells consumers to stop using that identified model. If an alarm is covered by a recall or warning, follow the remedy in that notice rather than installing it.
Identify the power and connection type
Use the rear label and model instructions, not the alarm’s appearance, to identify its type:
- Replaceable-battery alarm: The instructions identify the battery type and how it is installed.
- Sealed-battery alarm: The battery is integral to the unit and the instructions provide a model-specific activation method.
- Hardwired alarm: The alarm receives household AC power and may have backup power.
- Interconnected alarm: The alarm is designed to communicate with other compatible units through a documented wired or wireless system.
The U.S. Fire Administration describes battery, long-life battery, and hardwired alarms, advises following manufacturer mounting instructions, and states that hardwired alarms should be installed by qualified electricians.
Pre-installation condition and next action
| Condition found | Next action |
|---|---|
| Replaceable-battery alarm | Use the battery type and mounting parts identified in the model instructions, then activate and test the alarm as directed. |
| Sealed-battery alarm | Use only the model’s stated activation procedure. Do not open the case to substitute the battery. |
| Hardwired alarm | Use a qualified electrician for installation or replacement and ask the local authority having jurisdiction about applicable permit or inspection requirements. |
| Connector or adapter is not documented as compatible | Stop. Do not force, splice, or substitute it. Obtain an alarm or adapter documented by the manufacturer as compatible. |
| Wiring is damaged, loose, scorched, or unidentified | Do not connect the alarm. Have a qualified electrician assess the wiring. |
| Model is subject to a recall or safety warning | Do not commission it. Follow the current manufacturer or CPSC remedy for that exact model. |
Mount a battery alarm only as its manual directs
The following sequence is for a battery-powered alarm whose manufacturer instructions allow homeowner installation. The exact model instructions take precedence if they differ.
- Confirm the intended location. Use the alarm manual and locally applicable requirements. This installation process does not replace a room-by-room placement review. USFA advises checking local requirements with the fire marshal.
- Set out the documented parts. Identify the alarm, its matching bracket, included hardware, and the specified battery if the model uses a replaceable battery.
- Attach the supplied bracket. Follow the manual’s orientation and fastening instructions. If the mounting surface is damaged or the manual does not address the available fastening method, pause rather than improvising.
- Install or activate the power source. Install a replaceable battery exactly as shown in the instructions. For a sealed-battery unit, use its stated activation control without opening the case.
- Lock the alarm onto its bracket. Use the motion, latch, or alignment described for that model. Do not force a new alarm onto an old bracket.
- Run the prescribed test. Warn people nearby before sounding the alarm. Use the test control and interpret the tones, lights, or spoken indications only as the manual describes.
A test result should be evaluated according to the manufacturer’s instructions. If the documented result is not obtained, do not treat the installation as complete.
Keep hardwired work within a professional boundary
A hardwired alarm may involve household voltage, an electrical box, a power connector, an interconnect conductor, and backup power. There is no universal wire-color, connector, or replacement procedure that is safe for every alarm.
Use a qualified electrician for hardwired installation or replacement, connector changes, new electrical boxes, wiring extensions, unidentified circuits, or damaged conductors. The electrician can follow the alarm’s instructions and determine which locally adopted electrical and building requirements apply. Permit and inspection requirements depend on the jurisdiction and project details.
Model-specific instructions show why generic wiring advice is unsuitable. The First Alert SC6/SM6 instructions, for the named model family only, address electrical hazards, local-code compliance, backup-power variations, and interconnection testing.
Confirm compatible interconnection
A connector that physically fits does not establish that alarms can communicate properly. Before connecting units, find manufacturer documentation that identifies the exact compatible models or an approved adapter. Apply this check to both wired and wireless systems.
Kidde’s interconnectivity guidance warns that unspecified cross-brand connections can lead to nuisance alarms, failure to alarm, or equipment damage. Do not mix systems, reuse an unidentified harness, or splice a plug based only on its shape.
Follow the commissioning procedure for every affected model. For example, the cited First Alert instructions for the specified model family direct users to test alarms individually and confirm that interconnected alarms sound. Another system may require a different documented process.
Smoke alarm installation commissioning checklist
- The model number and other label information have been recorded.
- The correct model manual was used and retained.
- The bracket, battery, connector, adapter, and hardware are the supplied parts or are documented as compatible for the model.
- The alarm is securely attached to its matching bracket.
- The battery has been installed or activated as the instructions require.
- For electrician-installed hardwired units, the power indication is checked against the model manual after power is restored.
- The test control produces the documented result.
- For an interconnected system, the individual and system-wide tests required by the applicable manuals have been completed.
- Any alarms expected to respond to an interconnection test respond as documented.
- No unresolved fault, trouble, or low-power indication remains.
- The manual, receipt, compatibility records, and installation date are saved for future service or replacement.
Once installation is complete, use an ongoing test routine appropriate to the model. See the separate smoke alarm testing checklist for a maintenance-focused testing process.
Hypothetical example: replacing a standalone battery alarm
Example assumptions: A homeowner has a new sealed-battery alarm that is not hardwired or interconnected. Its instructions permit homeowner installation, and the package includes a matching bracket and hardware.
The homeowner records the model information, checks for applicable safety notices, and reads the location, mounting, and activation instructions. Although the previous bracket looks similar, the new manual does not identify it as compatible. The homeowner installs the supplied bracket, activates the alarm using the documented one-time method, attaches the alarm, and performs the prescribed test. The manual and installation date are then saved.
If a concealed power connector, damaged wiring, or an interconnection feature is discovered instead, the homeowner stops and follows the hardwired or compatibility path rather than proceeding with the battery-alarm example.
Save the information needed for the next replacement
Keep the model information, instructions, receipt, and compatibility documents where a future homeowner or electrician can find them. Those records help avoid an incompatible bracket, connector, adapter, or interconnection decision at the next replacement.
For broader planning around household alarms and connected safety devices, visit the Smart Home & Safety guide.
 How to Replace a Smoke Alarm Battery Safely
 How to Install a Smart Thermostat Safely