Smart thermostats have become a common upgrade for people who want better comfort, lower energy bills, and more control over their heating and cooling. Many newer models offer optional room sensors you can place around your home. These small devices promise to fix hot and cold spots and make every room more comfortable. But room sensors are not magic, and they do not solve every comfort problem. Used in the wrong way, they can even make things feel worse or waste energy.
On this page(click to collapse)
- What Smart Thermostat Room Sensors Actually Do
- How Room Sensors Communicate with Your Thermostat
- When Smart Thermostat Room Sensors Really Help
- When Room Sensors Do Not Help Much (or Can Make Things Worse)
- Best Practices for Placing Smart Thermostat Room Sensors
- How to Configure Room Sensors for Real-World Use
- Comfort vs. Energy Savings: Setting Realistic Expectations
- Common Problems and Simple Fixes
- Deciding Whether Room Sensors Are Worth It for Your Home
- Next Steps for Smarter, More Comfortable Heating and Cooling
- Related guides
This guide explains how smart thermostat room sensors work, when they truly help, and when they do not live up to the hype. You will learn how to place them, how to use their features, and how to avoid common mistakes that lead to frustration. By the end, you should know whether room sensors make sense for your home and how to set them up so they actually improve comfort instead of just adding another gadget to manage.
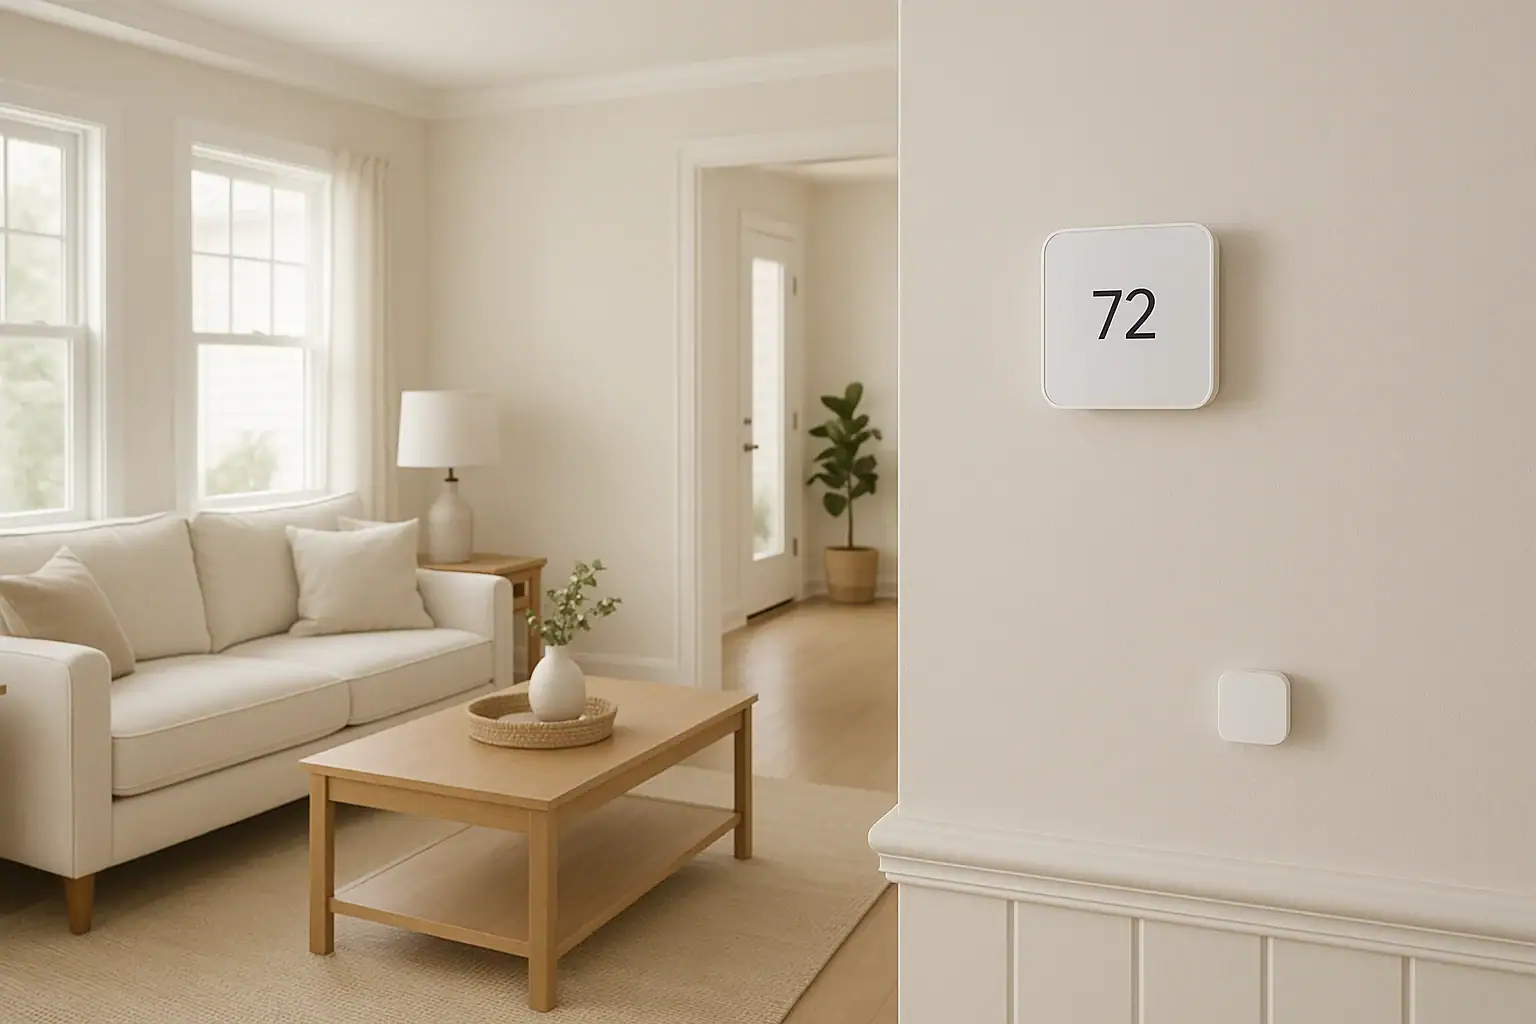
What Smart Thermostat Room Sensors Actually Do
Room sensors are small devices that communicate with your smart thermostat. Instead of relying only on the temperature where the thermostat is mounted, your system can also consider temperatures in other rooms.
Common sensor capabilities
Most room sensors offer some or all of these features:
- Remote temperature readings: Measure temperature in rooms far from the main thermostat.
- Occupancy or motion detection: Tell the thermostat which rooms are in use.
- Averaging or prioritizing rooms: Let you choose to average multiple rooms or focus on specific ones.
- Scheduling by room: Some systems let you change which rooms matter at different times of day.
The goal is simple: heat or cool the home based on where people actually spend time, not just where the thermostat happens to be mounted.
How Room Sensors Communicate with Your Thermostat
Understanding how sensors talk to your thermostat helps explain both their strengths and their limits.
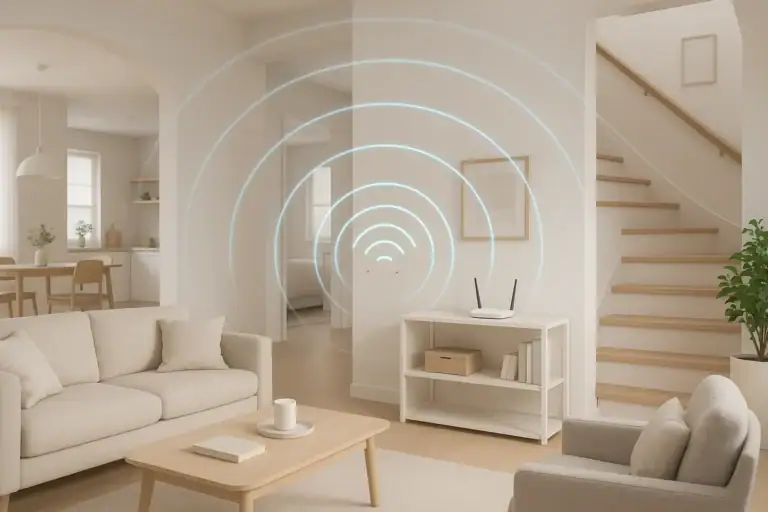
Wireless connection
Most room sensors connect wirelessly to the thermostat or to your home network. They send temperature and, if available, occupancy data at regular intervals. The thermostat then uses this information to decide when to turn your heating or cooling system on or off.
Control logic
Depending on your settings, your thermostat may:
- Average all selected sensors: Use the average temperature of the main thermostat plus one or more room sensors.
- Prioritize certain rooms: Focus on one or more “priority” rooms and ignore others.
- Follow occupancy: Give more weight to rooms that detect motion or occupancy.
These options sound powerful, but they only work well when your home’s ductwork, vents, and insulation can actually deliver the needed heating or cooling to those rooms.
When Smart Thermostat Room Sensors Really Help
Room sensors can be very effective in certain situations. If your expectations match what they can realistically do, you are more likely to be happy with them.
1. Fixing hot and cold spots in a mostly balanced home
Many homes have one or two rooms that are consistently a little warmer or cooler than the rest. If your system is generally sized and installed correctly, room sensors can help smooth out these small differences.
They are especially helpful when:
- The main thermostat is in a hallway that stays cooler than living spaces.
- Bedrooms are slightly hotter in summer or cooler in winter than the main floor.
- Sun-facing rooms heat up more during the day than the rest of the house.
By averaging or prioritizing these rooms, the thermostat can run a little longer or shorter to better match the spaces you actually use.
2. Improving comfort in bedrooms at night
Nighttime is one of the best use cases for room sensors. Many people want bedrooms cooler at night in summer and warmer in winter. If your thermostat is in a hallway or living room, it may not reflect what you feel in bed.
Room sensors can help by:
- Letting you prioritize bedroom sensors during sleep hours.
- Reducing the need to constantly adjust the thermostat at night.
- Helping maintain a more stable temperature where you actually sleep.
3. Adjusting comfort in a home office or main living area
If you work from home or spend most of your time in one main living area, a room sensor there can improve comfort without over-conditioning the rest of the house.
For example, you might:
- Prioritize a home office sensor during work hours.
- Switch priority to the family room or kitchen in the evening.
- Use occupancy data so the system focuses on rooms that are actually in use.
4. Supporting energy savings with realistic expectations
Room sensors can support energy savings, but usually in indirect ways:
- By making you more comfortable at a slightly wider temperature range.
- By allowing more aggressive setbacks when rooms are unoccupied.
- By reducing the temptation to overcool or overheat the entire home just to fix one room.
If you are already careful with thermostat settings, the savings may be modest. The bigger benefit is often comfort and control rather than dramatic bill reductions.
When Room Sensors Do Not Help Much (or Can Make Things Worse)
There are also clear situations where room sensors are not the right solution or may even create new problems.
1. Trying to fix serious HVAC design problems
Room sensors cannot overcome fundamental issues like:
- Undersized or oversized heating and cooling equipment
- Poorly designed or leaky ductwork
- Rooms without enough supply or return vents
- Major insulation or air sealing problems
In these cases, the thermostat may keep running the system longer to satisfy a problem room, which can overheat or overcool the rest of the house while still not fully fixing the target room.
2. Expecting independent temperatures in each room
Standard central heating and cooling systems treat the home as mostly one zone. Room sensors do not change that. They can only tell the system when to turn on or off based on different locations. They cannot send different temperatures to different rooms unless you also have a properly designed zoning system or separate equipment.
If you are hoping for true room-by-room temperature control, you will likely be disappointed with sensors alone.
3. Placing sensors in problem spots
Bad sensor placement is one of the most common reasons people feel like room sensors “do not work.” Poor locations include:
- Right next to exterior doors or drafty windows
- Directly in sunlight for part of the day
- Above or directly across from supply vents
- Near heat sources like lamps, electronics, or appliances
- In corners or behind furniture with poor air circulation
When a sensor reads a temperature that does not match what people feel in the room, the thermostat will chase that inaccurate reading and can overshoot or undershoot comfort.
4. Over-prioritizing a single small room
If you prioritize a small room with a sensor, the system may short-cycle or run in ways that feel odd. For example, a small office might heat up or cool down quickly, causing the system to shut off before the rest of the house catches up. Or the opposite can happen if that room is particularly hard to condition, causing the system to run longer than usual.
Best Practices for Placing Smart Thermostat Room Sensors
Thoughtful placement is critical to getting good results from room sensors.
General placement guidelines
- Height: Place sensors at about chest height when standing or sitting, similar to a standard thermostat.
- Airflow: Choose locations with decent air circulation, not tucked behind curtains or furniture.
- Sunlight: Avoid direct sunlight or places that get strong sun for part of the day.
- Drafts: Stay away from exterior doors, leaky windows, or obvious drafts.
- Heat sources: Do not mount near lamps, electronics, or appliances that give off heat.
Room-by-room suggestions
Bedrooms: Place sensors on an interior wall a few feet from the bed, away from windows and vents. Avoid placing them directly above the bed where body heat can skew readings.
Living rooms: Choose a central location where people actually sit, such as a wall near the main seating area, but not right above a vent or fireplace.
Home offices: Mount a sensor near your main work area, but not directly next to a computer or other electronics that can warm the air.
How to Configure Room Sensors for Real-World Use
Once sensors are placed, the next step is configuring how your thermostat uses them. The exact options vary by device, but most systems follow similar concepts.
Deciding between averaging and prioritizing
Many thermostats let you either average all selected sensors or prioritize specific rooms. Consider these approaches:
- Averaging: Good for smoothing out small differences across several rooms. Works best when all rooms are used regularly.
- Prioritizing: Best when you care most about comfort in one or two key areas, such as bedrooms at night or a home office during the day.
Using time-based schedules
To get the most value, match sensor priorities to your daily routine. For example:
- Early morning: Prioritize bedrooms and bathrooms.
- Daytime (work hours): Prioritize a home office or main living area.
- Evening: Focus on the kitchen, dining area, and family room.
- Night: Switch back to bedrooms.
Deciding whether to use occupancy features
If your sensors detect motion or occupancy, you can let the system focus on rooms that are actually in use. This can help avoid heating or cooling empty spaces, but it works best when:
- Rooms are used predictably, such as a home office or living room.
- You are comfortable with occasional delays while the system notices people entering a room.
- You do not mind if comfort is slightly less precise in rarely used rooms.
Comfort vs. Energy Savings: Setting Realistic Expectations
Many people buy room sensors expecting big energy savings. In practice, the main benefit is usually comfort and control, with modest savings as a bonus.
How sensors can support savings
- They can reduce the urge to overcool or overheat the entire home just to fix one room.
- They can make setback schedules more comfortable, encouraging you to use them consistently.
- They can help your system avoid unnecessary run time in unoccupied areas when occupancy features are enabled.
When savings may be limited
You may not see large bill reductions if:
- Your system was already running efficiently with a good schedule.
- Your home has major insulation or air sealing issues that dominate energy use.
- You use sensors mainly to increase comfort in more rooms, not to reduce overall usage.
Think of room sensors as a comfort and control upgrade first, and an energy tool second.
Common Problems and Simple Fixes
If you already have room sensors and are not happy with the results, a few adjustments often help.
Problem: The house feels too hot or too cold overall
Possible causes:
- A sensor is in an unusually hot or cold location.
- You are prioritizing a room that does not represent the rest of the home.
- Too many sensors are included in the average.
Fixes to try:
- Move sensors away from windows, vents, or heat sources.
- Reduce the number of sensors used in the average.
- Switch from averaging to prioritizing a main living area or bedroom.
Problem: One room is still uncomfortable
Possible causes:
- The room has poor airflow or insulation issues.
- The vent is closed or partially blocked.
- The room is at the end of a long duct run.
Fixes to try:
- Check that supply and return vents are open and unobstructed.
- Use a small fan to improve air circulation.
- Consider weatherstripping, added insulation, or a professional duct evaluation.
- Use the room sensor to prioritize the space during the hours you use it most, while accepting that it may never perfectly match other rooms.
Problem: System runs more often than before
Possible causes:
- Sensors are highlighting rooms that are harder to heat or cool.
- Your comfort expectations increased after adding sensors.
Fixes to try:
- Limit priority to certain times of day rather than 24/7.
- Use a slightly wider temperature range to reduce cycling.
- Review your schedule and occupancy settings to avoid over-conditioning empty rooms.
Deciding Whether Room Sensors Are Worth It for Your Home
Room sensors are not necessary in every home, but they can be very helpful in the right situations. They tend to be most worthwhile if:
- You have a generally well-functioning heating and cooling system with a few mild hot or cold spots.
- Your thermostat is in a hallway or other area that does not reflect where you spend most of your time.
- You care a lot about bedroom comfort at night or home office comfort during the day.
- You are willing to spend some time experimenting with placement and settings.
They may not be a good investment if:
- Your home has serious comfort problems that likely require duct or insulation work.
- You expect true room-by-room temperature control from a single central system.
- You prefer a simple “set it and forget it” approach and do not want to adjust settings.
Next Steps for Smarter, More Comfortable Heating and Cooling
Smart thermostat room sensors can be a useful tool when you understand what they can and cannot do. They extend your thermostat’s awareness beyond a single wall, letting you focus on the rooms that matter most at different times of day. When paired with reasonable expectations and good placement, they can noticeably improve comfort and support efficient operation.
If you are considering sensors, start small: add one or two in your most-used rooms, experiment with priority and scheduling, and see how your comfort changes over a few weeks. If you still have major hot or cold spots, it may be time to look at underlying issues such as ductwork, insulation, or zoning options.
For more ideas on creating a safer and smarter home, you can explore additional smart home and safety guides at Signature Home Guide.
Recommended next:
Related posts
Browse this topic →
Carbon Monoxide Alarm End-of-Life Beeps: Troubleshooting and Safe Replacement
Childproofing Doors, Windows, Locks, Alarms, and Blind Cords: A Complete Checklist
How to Keep Security Camera Footage Private Inside Your Home
Router Placement at Home for Better WiFi Without Extra Devices
Smart Thermostat Vacation Mode Settings: A Complete Homeowner Guide

Emergency Lighting Plan for Power Outages Without Candles: A Practical Checklist
Keep reading

About this site
Signature Home Guide publishes practical, independent home guides. We aim to be clear, helpful, and transparent.
Affiliate disclosure
As an Amazon Associate, we earn from qualifying purchases. Some links on this site may be affiliate links. If you buy through these links, we may earn a small commission at no extra cost to you. This helps support our content. Learn more.