Starting a smart home can feel overwhelming. There are dozens of device types, confusing technical terms, and endless opinions about what you “must” buy first. Instead of chasing every new gadget, you can build a calm, reliable, and secure home by choosing just three carefully selected devices that work together as a balanced starter kit. This guide walks you through those first three devices, why they matter, and how to connect them into a simple system you can grow over time.
On this page(click to collapse)
- Why Start With Just Three Smart Home Devices?
- The Best First 3 Devices for a Balanced Smart Home Starter Kit
- Device 1: Smart Video Doorbell for Front‑Door Awareness
- Device 2: Smart Thermostat for Comfort and Energy Awareness
- Device 3: Smart Plugs for Simple Automation and Control
- How These 3 Devices Work Together as a System
- Planning Your Starter Kit: Compatibility and Network Basics
- Security and Privacy Considerations for Your First Devices
- Growing Beyond the Starter Kit: Smart Next Steps
- Putting It All Together
- Related guides
The focus here is on a balanced setup for a typical home in the United States. That means combining safety, everyday convenience, and energy awareness without requiring advanced technical skills. You will learn how to choose compatible products, what features to look for, and how to avoid common beginner mistakes like buying devices that do not talk to each other. By the end, you will have a clear, step‑by‑step plan for your first smart home starter kit and a roadmap for future upgrades.
Why Start With Just Three Smart Home Devices?
It is tempting to buy a big box of gadgets and try to automate everything at once. In reality, starting small is usually smarter, safer, and less stressful. Focusing on three core devices helps you learn the basics without getting overwhelmed, while still delivering real benefits you will notice every day.
Benefits of a focused starter kit
- Lower cost: You can set a clear budget and avoid impulse purchases that do not fit your long‑term plan.
- Simpler setup: Fewer devices means fewer apps, fewer passwords, and fewer chances for something to go wrong.
- Better reliability: You can test your Wi‑Fi coverage, power backup, and automations before adding more complexity.
- Stronger security: It is easier to manage permissions, updates, and access when you start small and organized.
- Room to grow: Once your foundation is in place, you can expand with confidence instead of guessing.
The goal is a balanced setup that touches three key areas: home security, everyday comfort, and energy awareness. The devices below were chosen with those priorities in mind.
The Best First 3 Devices for a Balanced Smart Home Starter Kit
For most households, the best starting point is a combination of these three devices:
- A smart video doorbell
- A smart thermostat
- Smart plugs for key lamps or appliances
Together, they create a strong foundation that improves safety, comfort, and control without requiring major rewiring or renovation. Let us look at each device in more detail.
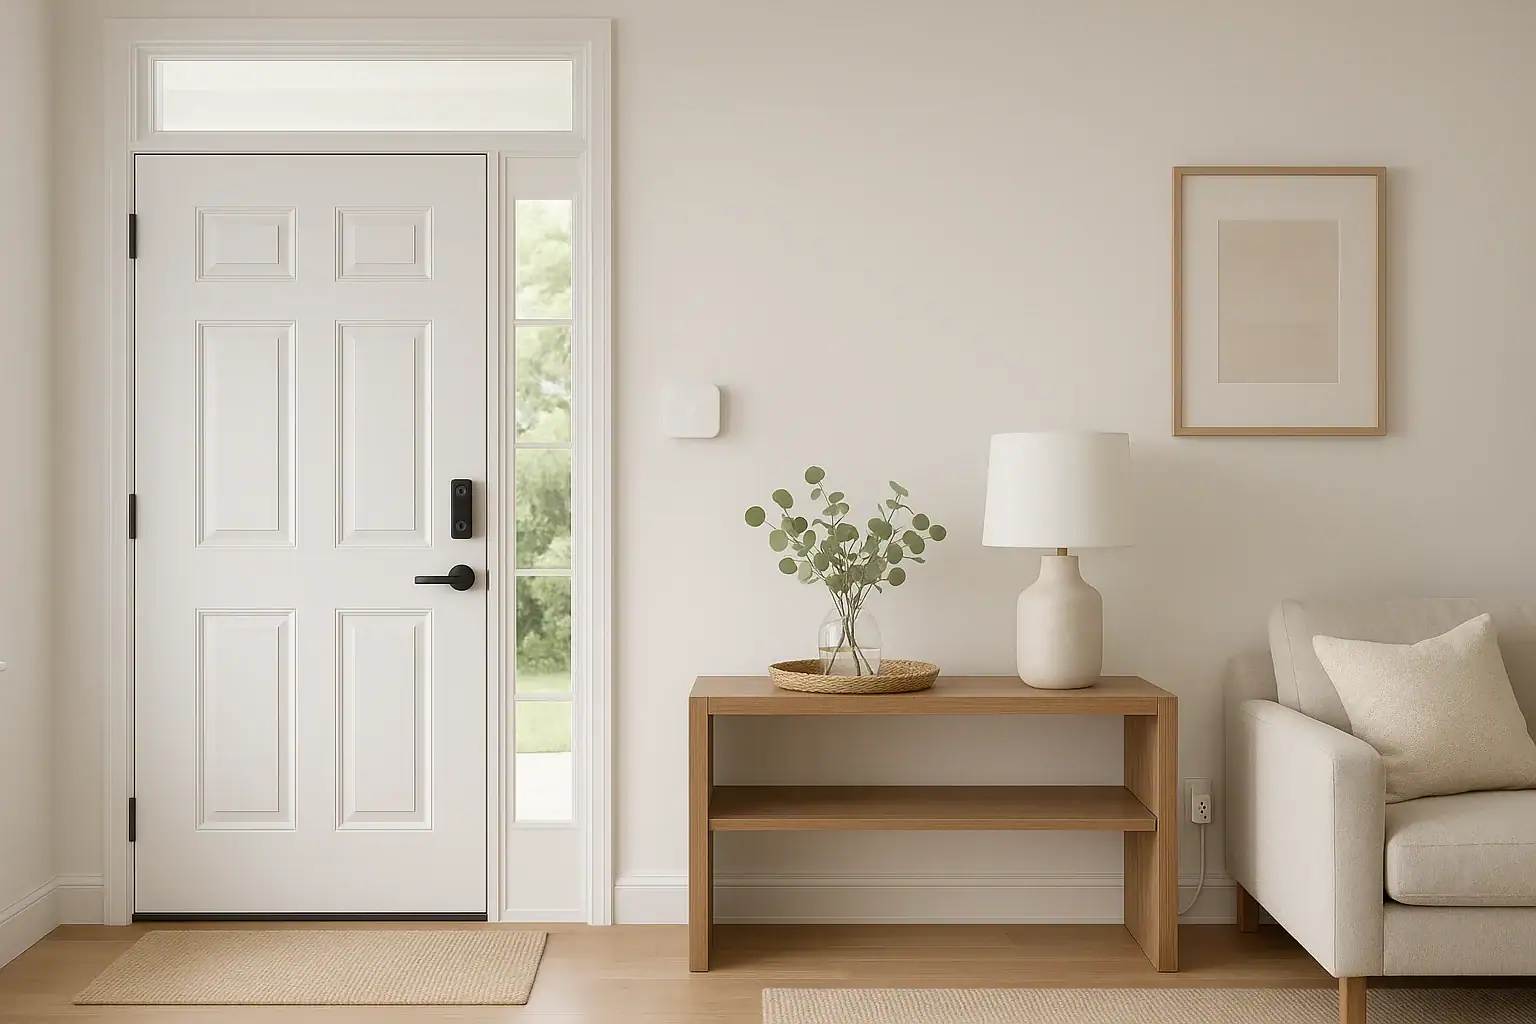
Device 1: Smart Video Doorbell for Front‑Door Awareness
Your front door is the main gateway to your home. A smart video doorbell gives you eyes and ears there, whether you are on the couch, at work, or traveling. It is often the single most impactful device you can add for peace of mind.
Key benefits of a smart video doorbell
- See who is there, anytime: Get live video on your phone when someone rings or when motion is detected.
- Talk without opening the door: Two‑way audio lets you speak to visitors, delivery drivers, or unexpected guests from anywhere.
- Package awareness: Motion alerts help you know when packages arrive and reduce the risk of missed deliveries.
- Recorded clips: Many models offer cloud or local storage so you can review events later if something seems suspicious.
Features to look for
When choosing a smart video doorbell for your starter kit, pay attention to:
- Power source: Decide between battery‑powered (easier to install) and hardwired (no recharging, often more reliable).
- Video resolution: Look for at least 1080p for clear faces and details.
- Field of view: A wider angle helps capture packages on the ground and people standing off to the side.
- Night vision: Infrared or low‑light performance is important for evening and overnight events.
- Motion detection controls: Adjustable zones and sensitivity help reduce false alerts from cars or sidewalk traffic.
- Storage options: Compare cloud plans, local storage, and how long clips are kept.
- App quality: Read reviews about notification speed, reliability, and ease of use.
Installation and placement tips
- Mount the doorbell at about chest level for most adults, usually 48–52 inches from the ground.
- If your existing doorbell is off to the side, consider a wedge mount to angle the camera toward visitors.
- Test Wi‑Fi signal at your front door with your phone; if it is weak, plan to add a Wi‑Fi extender or better router later.
- Turn on notifications, then fine‑tune motion zones after a few days to cut down on unnecessary alerts.
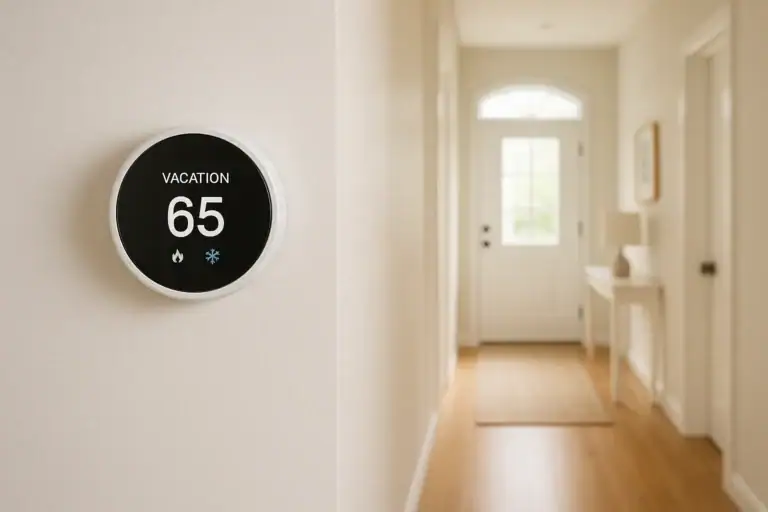
Device 2: Smart Thermostat for Comfort and Energy Awareness
Heating and cooling are some of the largest energy costs in a typical US home. A smart thermostat helps you manage comfort and energy use more intelligently, often saving money over time while making your daily routine easier.
Why a smart thermostat belongs in your starter kit
- Remote control: Adjust the temperature from your phone, whether you are in bed or away from home.
- Scheduling: Set automatic schedules for weekdays, weekends, vacations, and sleep times.
- Energy insights: Many models show usage patterns and estimate how your settings affect costs.
- Comfort zones: Some thermostats can work with remote sensors to reduce hot and cold spots.
- Integration: Thermostats often integrate well with other smart home devices and voice assistants.
What to check before you buy
Smart thermostats are powerful, but they must be compatible with your existing heating and cooling system. Before purchasing, check:
- System type: Identify whether you have central air, heat pump, boiler, or another type of system.
- Wiring: Remove your old thermostat cover and note how many wires you have and whether there is a common (C) wire.
- Voltage: Most smart thermostats are designed for low‑voltage systems, not high‑voltage baseboard heaters.
- Wi‑Fi network: Confirm you have a stable 2.4 GHz or dual‑band network near the thermostat location.
Features that matter most
- Intuitive app: Look for clear scheduling, easy manual overrides, and simple energy reports.
- Adaptive learning (optional): Some models learn your routine and adjust automatically, which can be helpful but is not required.
- Geofencing: Location‑based features can adjust the temperature when everyone leaves or returns home.
- Safety alerts: Notifications for extreme temperatures or system issues can help protect pets and pipes.
Basic setup steps
- Turn off power to your heating and cooling system at the breaker panel.
- Label each wire on the old thermostat before disconnecting it.
- Mount the new thermostat base and connect wires according to the instructions.
- Restore power and follow the in‑app setup wizard to connect to Wi‑Fi and create schedules.
- Test heating and cooling modes to confirm everything works correctly.
Device 3: Smart Plugs for Simple Automation and Control
Smart plugs are small, affordable devices that turn regular outlets into connected, controllable power sources. They are one of the easiest ways to bring non‑smart lamps and small appliances into your new system.
Why smart plugs are ideal for beginners
- No tools needed: Just plug them into a wall outlet, connect to Wi‑Fi, and you are ready to go.
- Instant results: Automate lamps, fans, coffee makers, or holiday lights without rewiring.
- Flexible placement: Move them between rooms as your needs change.
- Energy awareness: Some models show energy usage for connected devices.
Best early uses for smart plugs
To keep your starter kit balanced, focus on a few high‑impact uses:
- Living room lamps: Create a schedule so lights turn on around sunset and off at bedtime.
- Bedroom lamps: Use timers or routines for gentle wake‑up lighting in the morning.
- Entryway lighting: Combine with motion or time‑based rules so you never walk into a dark home.
- Fans or air purifiers: Run them only when needed or during certain hours to save energy.
Safety and selection tips
- Check the maximum load rating and only use smart plugs with devices that fall within those limits.
- Avoid using smart plugs with space heaters or other high‑draw heating devices unless the plug is specifically rated for them.
- Choose plugs that support your preferred voice assistant or smart home platform for easier integration.
- Label each plug in the app with a clear name like “Living Room Lamp” instead of generic labels.
How These 3 Devices Work Together as a System
Individually, each device is useful. Together, they begin to act as a simple, coordinated system. This is where the “smart” part of smart home really starts to show.
Creating basic routines and automations
Once all three devices are set up in their apps, you can use your chosen smart home platform to link them with simple rules, such as:
- Evening arrival routine: When your phone location shows you arriving home after dark, turn on entryway lamps via smart plugs and adjust the thermostat to your preferred comfort setting.
- Goodnight routine: At a set time each night, lower the thermostat a few degrees and turn off all living room smart plugs.
- Vacation mode: When you enable an “away” scene, set the thermostat to an energy‑saving temperature, turn off smart plugs, and increase doorbell motion alerts.
Choosing a smart home platform
To make devices work together, you need a common platform or ecosystem. Many homes use a combination of:
- A mobile app provided by the device maker
- A central smart home app on your phone
- A voice assistant speaker or display
When shopping, look for devices that support at least one widely used platform and a common standard such as Wi‑Fi or a modern smart home protocol. This increases your options for future devices and reduces the risk of getting stuck with isolated products that cannot integrate well.
Planning Your Starter Kit: Compatibility and Network Basics
Before you buy anything, it helps to do a quick check of your home’s network and electrical setup. A little planning avoids headaches later.
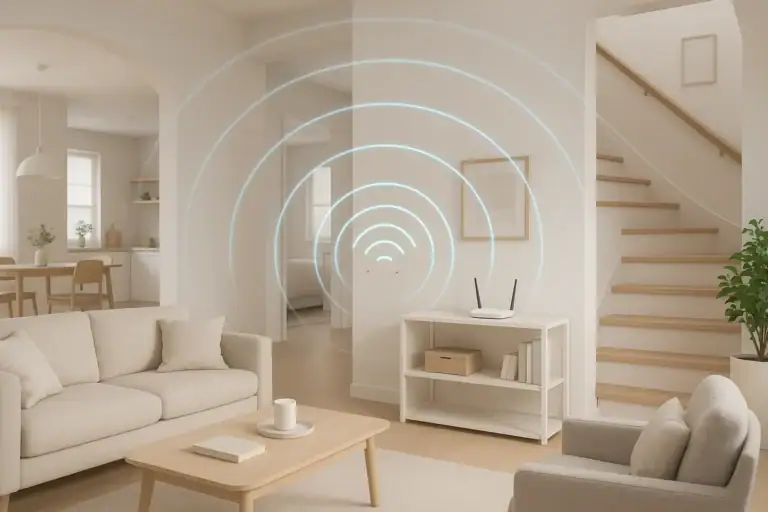
Check your Wi‑Fi coverage
- Walk around your home with your phone and note where the signal feels weak or drops.
- Pay special attention to your front door, thermostat location, and outlets where you plan to use smart plugs.
- If you see frequent buffering or dropped connections, consider upgrading your router or adding a mesh system over time.
Decide where to place each device
Sketch a simple floor plan and mark:
- Your front door location for the video doorbell
- Where your existing thermostat is mounted
- Outlets for lamps or appliances you want on smart plugs
This quick map helps you estimate how many plugs you need and whether you might want additional devices later, such as sensors or cameras.
Plan your account and password strategy
- Create a dedicated email address for smart home accounts if you want to keep things organized.
- Use a password manager to store strong, unique passwords for each device or platform.
- Enable two‑factor authentication wherever it is offered.
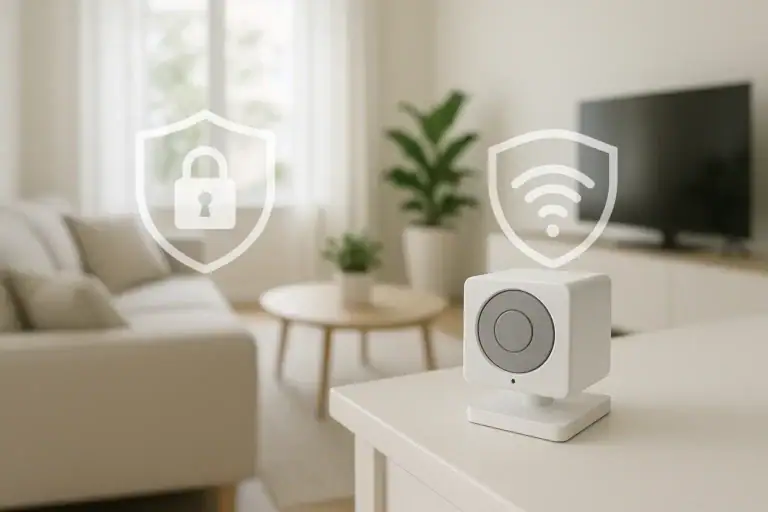
Security and Privacy Considerations for Your First Devices
Smart home devices add convenience, but they also connect your home to the internet. Taking a few basic security steps early on helps protect your privacy and your network.
Essential security steps
- Change default passwords: Never leave devices or routers on factory passwords.
- Keep firmware updated: Turn on automatic updates if available, or check for updates every few months.
- Review app permissions: Only grant access to your camera, microphone, and location when truly needed.
- Use guest access: If friends or family need temporary access, use guest accounts or shared access features instead of sharing your main login.
Privacy settings to review
Each device and app will offer privacy options. Take time to:
- Adjust how long video clips are stored and whether they can be shared automatically.
- Disable unnecessary data sharing or marketing options in app settings.
- Turn off audio recording features if you are not comfortable with them.
Growing Beyond the Starter Kit: Smart Next Steps
Once your smart video doorbell, thermostat, and plugs are running smoothly, you will have a solid foundation. From there, you can expand in a way that fits your home and budget rather than chasing every new gadget.
Popular additions after the first three devices
- Smart locks: Keyless entry, temporary guest codes, and better control over who can get in.
- Indoor security cameras: Extra awareness for high‑traffic areas, garages, or basements.
- Smart lighting: Bulbs and switches that offer dimming, color control, and advanced scenes.
- Water leak sensors: Early warnings for leaks near water heaters, washing machines, or sinks.
- Smoke and carbon monoxide detectors: Alerts to your phone if alarms sound while you are away.
How to decide what to add next
Use your first few months with the starter kit as a test period. Ask yourself:
- Which routines save me the most time or reduce stress?
- Where do I still feel unsafe or uninformed about what is happening at home?
- Which rooms or tasks would benefit most from automation?
Let your real‑world experience guide your next purchases instead of buying everything at once. This approach keeps your smart home focused, reliable, and aligned with your lifestyle.
Putting It All Together
A smart home does not have to be complicated or expensive to be effective. By starting with a smart video doorbell, a smart thermostat, and a few well‑placed smart plugs, you create a balanced starter kit that touches the most important areas of modern living: safety at the front door, comfort throughout the home, and convenient control of everyday devices.
From there, you can gradually build out your system with additional devices that match your priorities, whether that is enhanced security, better energy management, or more personalized lighting. The key is to focus on compatibility, network strength, and simple routines that genuinely improve your daily life. With a thoughtful plan and these first three devices in place, you are well on your way to a smart home that feels both powerful and easy to live with.
For more ideas on expanding your setup and keeping your home safe as you add new devices, explore additional smart home and safety guides at Signature Home Guide.
Recommended next:
Related posts
Browse this topic →
Carbon Monoxide Alarm End-of-Life Beeps: Troubleshooting and Safe Replacement
Childproofing Doors, Windows, Locks, Alarms, and Blind Cords: A Complete Checklist
How to Keep Security Camera Footage Private Inside Your Home
Router Placement at Home for Better WiFi Without Extra Devices
Smart Thermostat Vacation Mode Settings: A Complete Homeowner Guide
Emergency Lighting Plan for Power Outages Without Candles: A Practical Checklist
Keep reading
About this site
Signature Home Guide publishes practical, independent home guides. We aim to be clear, helpful, and transparent.
Affiliate disclosure
As an Amazon Associate, we earn from qualifying purchases. Some links on this site may be affiliate links. If you buy through these links, we may earn a small commission at no extra cost to you. This helps support our content. Learn more.