A home emergency contact station is a small, organized spot in your house where everyone can quickly find critical phone numbers, instructions, and tools during an emergency. In stressful moments, even basic information can be hard to remember. Having everything clearly posted and easy to reach can save precious time, reduce panic, and help every family member know exactly what to do. You do not need a complicated setup or expensive equipment. With a few basic supplies and a clear checklist, you can create a simple and effective emergency contact station in a single afternoon. This guide walks you through each step so your household is better prepared for power outages, medical issues, severe weather, and other unexpected situations.
On this page(click to collapse)
- Why You Need a Home Emergency Contact Station
- Step 1: Choose the Best Location
- Step 2: Gather Basic Supplies
- Step 3: Create Your Essential Contact List
- Step 4: Add Key Household Information
- Step 5: Post Simple Emergency Instructions
- Step 6: Include Backup Tools and Supplies
- Step 7: Make It Kid-Friendly
- Step 8: Add a Simple Smart Home Layer (Optional)
- Step 9: Keep Information Updated
- Step 10: Walk Your Household Through the Station
- Printable Checklist: Home Emergency Contact Station
- Bringing It All Together
- Related guides
Why You Need a Home Emergency Contact Station
Emergencies rarely happen when you feel calm and prepared. People forget phone numbers, misplace devices, or freeze under pressure. A home emergency contact station solves several problems at once.
- Centralizes important phone numbers and instructions
- Helps children, guests, and caregivers know who to call
- Provides backup information if phones are lost or batteries die
- Reduces confusion when seconds matter
- Supports first responders with quick access to key details
Think of your station as a low-tech backup for your digital life. Even in a power outage or when cell service is limited, a printed, well-organized contact board is still available.
Step 1: Choose the Best Location
The first step is deciding where your emergency contact station will live. Location is critical to making sure everyone can find it quickly.
What to Look For in a Good Location
- Centrally located: Near the kitchen, main hallway, or family room where people naturally gather.
- Easy to see: At eye level for adults, with a lower copy or step stool if you have younger children.
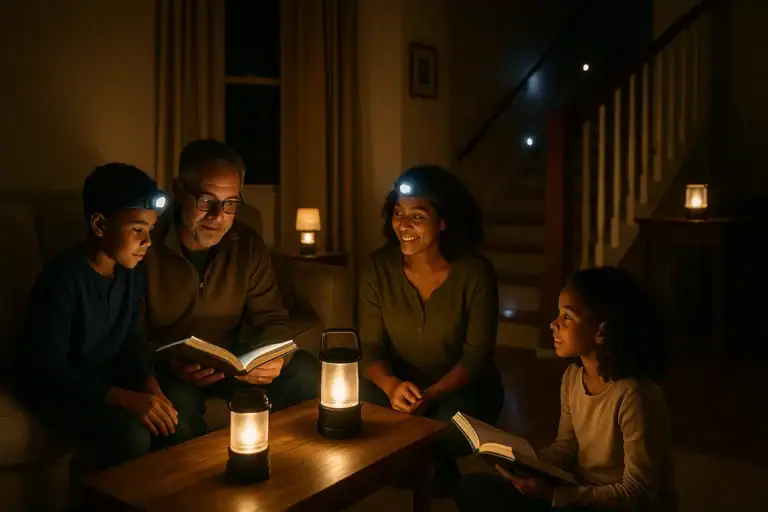
- Accessible in the dark: Near a nightlight, flashlight, or backup light source.
- Away from clutter: On a clear wall or cabinet door, not buried under mail or papers.
Common spots include a wall near the main landline phone, a bulletin board by the kitchen, or the inside of a pantry or hallway closet door. Choose a place that every family member can describe easily, even to a 911 operator if needed.
Step 2: Gather Basic Supplies
You can keep this simple. Most homes already have what is needed to build a basic station.
- Letter-size paper or index cards
- Permanent markers or dark pens
- Clear sheet protectors or a simple plastic folder
- Sticky notes or labels
- Tape, push pins, or magnets (depending on the surface)
- A small notepad and pen for updates or notes
If you want your station to be more durable, you can laminate key pages or use a dry-erase board for frequently changing details, such as temporary caregivers or travel dates.
Step 3: Create Your Essential Contact List
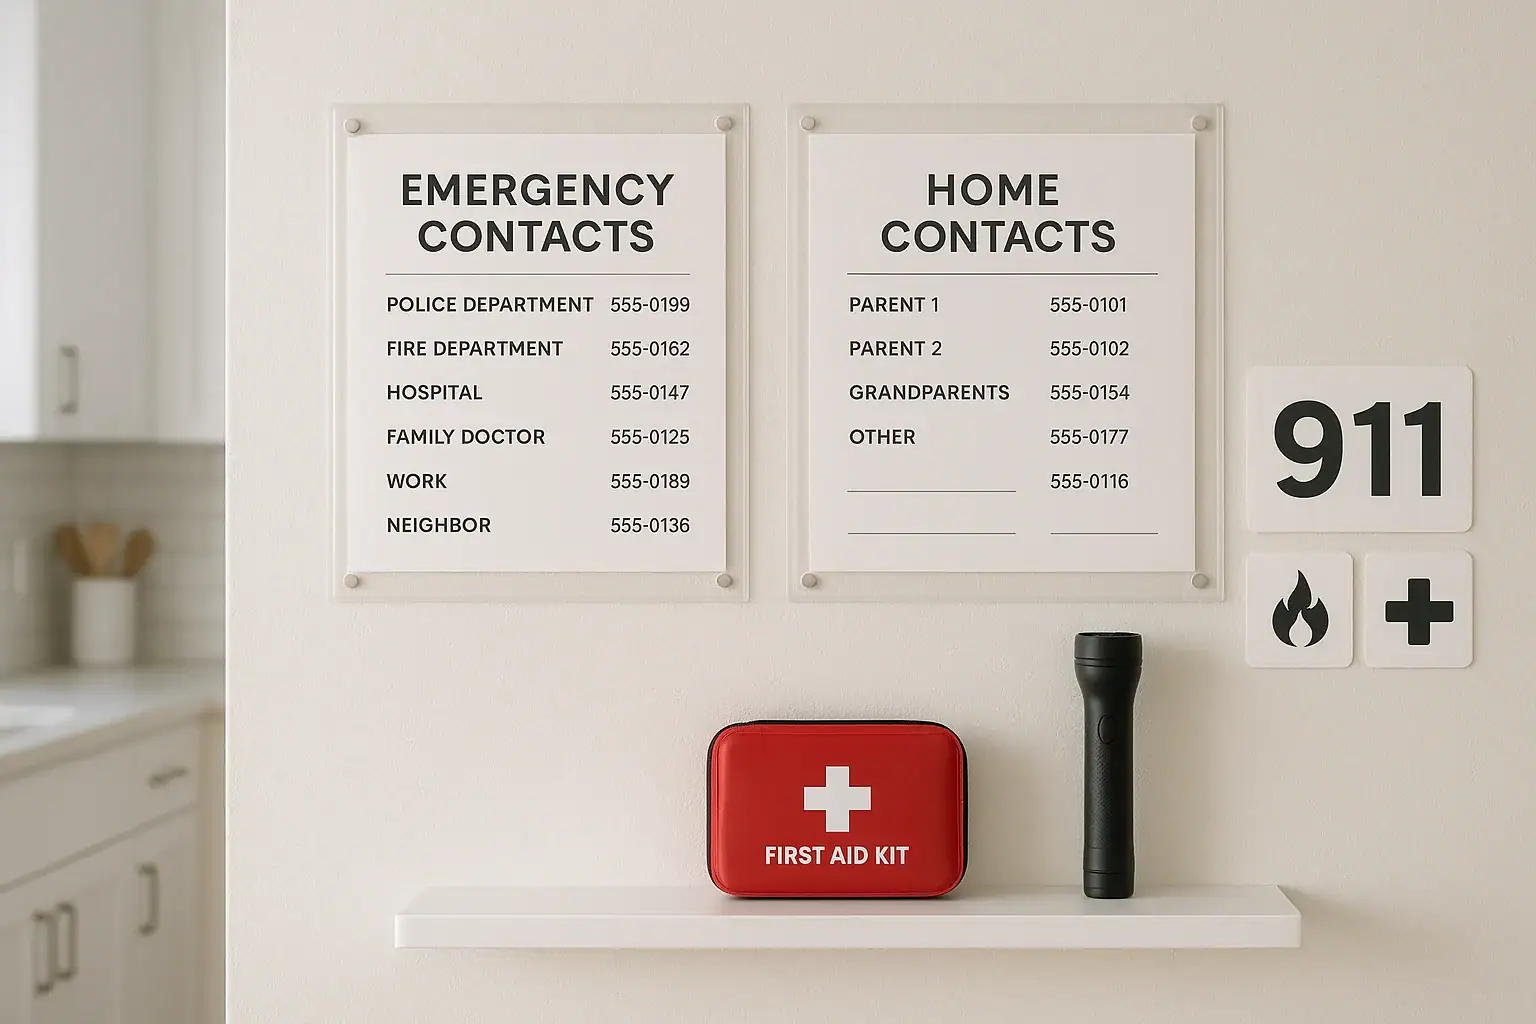
The heart of your station is a clear, easy-to-read list of contacts. Focus on the numbers and details you would want in front of you during a stressful situation.
Must-Have Emergency Numbers
Start with the most critical contacts. Write them in large, bold letters.
- Emergency services (911)
- Local police (non-emergency line)
- Local fire department (non-emergency line)
- Poison control center
- Nearest urgent care or emergency room
Include both phone numbers and, when helpful, addresses. This can be useful if someone needs to navigate or share directions with a driver or ride service.
Family and Household Contacts
Next, list the people who should be notified quickly or who can help in a crisis.
- Parents or primary guardians (cell and work numbers)
- Nearby relatives or close friends
- Trusted neighbors
- Regular babysitters or caregivers
For each person, include:
- Full name
- Relationship (for example, neighbor, aunt, friend)
- Primary phone number
- Backup phone number if available
Medical and Special Care Contacts
If anyone in your household has ongoing medical needs, this section is especially important.
- Primary care doctor
- Pediatrician
- Specialists (for example, cardiology, allergy, behavioral health)
- Preferred pharmacy
- Health insurance nurse line or advice line
Include office hours if they are limited, and note any after-hours or on-call numbers that differ from daytime contacts.
Step 4: Add Key Household Information
In an emergency, responders may ask for basic information about your home and family. Keeping this written down can help you answer quickly or allow another adult or older child to help.
Essential Household Details
- Home address (exactly as it appears on mail or utility bills)
- Nearest major intersection or landmark
- Gate codes or entry instructions, if applicable
- Location of main water shutoff
- Location of electrical panel and main breaker
- Location of gas shutoff (if applicable)
Write these details clearly and keep them updated if you remodel, add security features, or change your home layout.
Family and Pet Information
Consider including a simple one-page summary that covers:
- Names and birth years of household members
- Known allergies or major medical conditions
- Regular medications and where they are stored
- Number and type of pets, plus where carriers and leashes are kept
This information can help emergency personnel make safer, faster decisions if someone is unable to communicate clearly.
Step 5: Post Simple Emergency Instructions
Along with phone numbers, your station should include short, clear instructions for common emergencies. Aim for simple steps that older children or a visiting relative can follow.
General Emergency Script
Post a short script near the top of your station:
- Stay calm and move to a safe place.
- Call 911 for life-threatening emergencies.
- State your name, address, and what is happening.
- Follow the operator’s instructions.
- Do not hang up until told to do so.
Situation-Specific Checklists
Consider adding brief checklists for situations most likely in your area or household.
Medical Emergency
- Check for breathing and responsiveness.
- Call 911 if there is trouble breathing, chest pain, or severe bleeding.
- Know where the first aid kit is located.
- Know where any rescue medications are stored.
Fire or Smoke
- Leave the home immediately; do not stop for belongings.
- Crawl low under smoke if needed.
- Meet at the pre-planned outdoor meeting spot.
- Call 911 from outside the home.
Severe Weather
- Move to an interior room away from windows.
- Grab flashlights and a charged phone if available.
- Listen to local alerts or weather updates.
Step 6: Include Backup Tools and Supplies
Your emergency contact station works best when paired with a few basic tools. You do not need a full emergency kit at this location, but a few items can make a big difference.
- Flashlight with fresh batteries or a rechargeable light
- Battery-powered or hand-crank radio (if available)
- Small first aid kit or at least bandages and gloves
- List of where the main emergency kit is stored
- Portable phone charger and cable
Store these items on a nearby shelf, in a labeled basket, or in a small wall-mounted organizer. Label the area clearly so everyone knows where to find them.
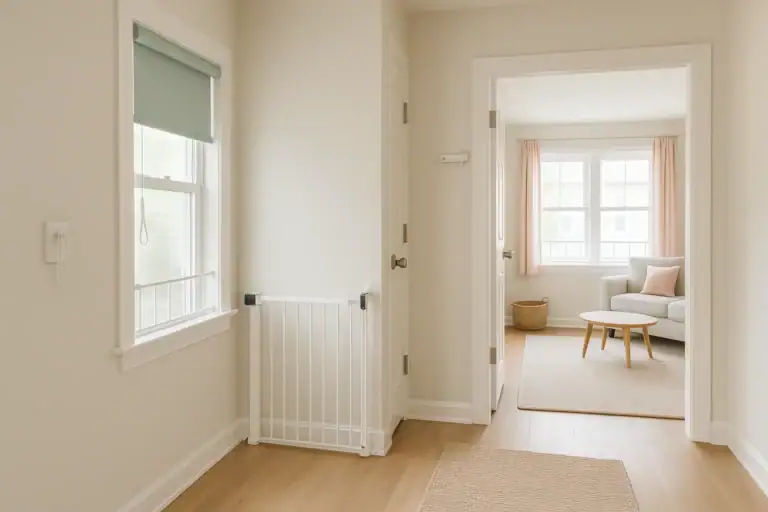
Step 7: Make It Kid-Friendly
If you have children, your emergency contact station should be easy for them to understand and use with guidance. Even younger children can learn simple steps.
Tips for Child-Friendly Design
- Use large, clear print and simple language.
- Highlight the 911 number in big, bold text.
- Use color-coding or symbols for different emergencies.
- Post a simple diagram showing the family meeting spot outside.
Practice role-playing with children so they know how to describe an emergency, say their address, and follow instructions from an adult or dispatcher.
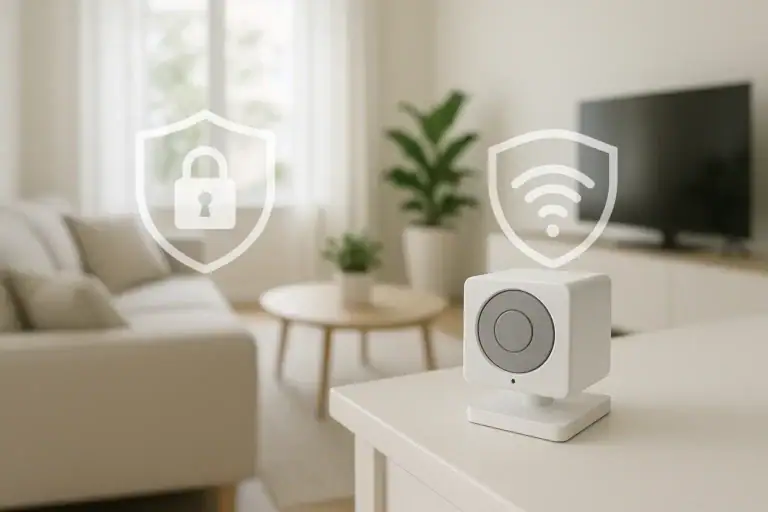
Step 8: Add a Simple Smart Home Layer (Optional)
You can keep your station entirely low-tech, or you can add a few simple smart home touches to support it. The goal is to improve safety, not to complicate things.
- Store a digital copy of your contact list in your phone and cloud storage.
- Use reminders to review and update your contacts every few months.
- If you use voice assistants, teach family members basic emergency phrases.
- Consider smart lighting that stays on during power interruptions, if available.
Always assume that power or internet might be unavailable during an emergency. Your printed station should still function on its own without any devices.
Step 9: Keep Information Updated
An outdated emergency station can be almost as frustrating as having none at all. Build a simple routine to keep everything current.
Update Checklist
- Review contact numbers every three to six months.
- Update addresses if doctors or clinics move.
- Adjust for new medications or medical conditions.
- Revise caregiver and neighbor contacts as relationships change.
- Check flashlights and replace or recharge batteries.
Consider tying your review to another regular task, such as changing smoke alarm batteries or the start of a new school term.
Step 10: Walk Your Household Through the Station
Once your emergency contact station is set up, walk every member of your household through it. A quick tour helps ensure that everyone knows where it is and how to use it.
- Show the exact location and how to access each page.
- Explain which numbers to call first in different situations.
- Point out where flashlights and first aid supplies are stored.
- Practice stating your address out loud.
- Review your outdoor meeting spot for fire or evacuation.
Repeat this walk-through with new babysitters, visiting relatives, and older children as they gain more responsibility.
Printable Checklist: Home Emergency Contact Station
Use this condensed checklist as you set up or review your station:
- Choose a central, visible location.
- Gather paper, pens, tape, and protectors.
- Post emergency services and local non-emergency numbers.
- List family, neighbors, and caregiver contacts.
- Add medical providers and pharmacy information.
- Write your full address and nearest intersection.
- Note shutoff locations for water, gas, and electricity.
- Include allergies, medications, and pet details.
- Post simple step-by-step emergency instructions.
- Store a flashlight, notepad, and basic first aid nearby.
- Review and update the station regularly.
- Teach all household members how to use it.
Bringing It All Together
Creating a simple home emergency contact station does not require special skills or advanced technology. It is about gathering the information you already have, organizing it clearly, and placing it where everyone can find it in a hurry. By following this checklist, you give your household a calm, reliable reference point in the middle of stressful situations. Take an hour to set up your station, schedule regular check-ins to keep it current, and encourage every family member to learn how to use it. A little preparation now can make a major difference when you need it most.
If you want to continue strengthening your home safety plan, explore additional resources on emergency kits, communication plans, and smart home tools designed to support safety and peace of mind.
Recommended next:
Related posts
Browse this topic →
Carbon Monoxide Alarm End-of-Life Beeps: Troubleshooting and Safe Replacement
Childproofing Doors, Windows, Locks, Alarms, and Blind Cords: A Complete Checklist
How to Keep Security Camera Footage Private Inside Your Home
Router Placement at Home for Better WiFi Without Extra Devices
Smart Thermostat Vacation Mode Settings: A Complete Homeowner Guide
Emergency Lighting Plan for Power Outages Without Candles: A Practical Checklist
Keep reading
About this site
Signature Home Guide publishes practical, independent home guides. We aim to be clear, helpful, and transparent.
Affiliate disclosure
As an Amazon Associate, we earn from qualifying purchases. Some links on this site may be affiliate links. If you buy through these links, we may earn a small commission at no extra cost to you. This helps support our content. Learn more.