A home emergency contact station is a small, organized spot in your home where every family member can quickly find the information they need in a crisis. Instead of searching through phones, paperwork, or junk drawers, you have one clear place for emergency numbers, medical details, and basic instructions. Setting this up does not require special equipment or a big budget. With a little planning and a simple checklist, you can create a station that gives your household peace of mind and helps everyone respond calmly when something unexpected happens.
On this page(click to collapse)
- What Is a Home Emergency Contact Station?
- Step 1: Choose the Best Location
- Step 2: Gather Basic Supplies
- Step 3: Create Your Main Emergency Contact List
- Step 4: Add Key Home Information
- Step 5: Include Essential Medical Information
- Step 6: Add Simple Step-by-Step Instructions
- Step 7: Organize Everything at the Station
- Step 8: Make It Kid-Friendly
- Step 9: Add Pet and Special Needs Information
- Step 10: Set a Schedule to Review and Update
- Optional: Add a Simple Digital Backup
- Walk Through a Practice Scenario
- Bringing It All Together
- Related guides
This guide walks you through exactly how to create a simple home emergency contact station from start to finish. You will learn what information to include, how to organize it, where to place it, and how to keep it updated. You will also find tips for helping kids, older adults, and visitors use the station confidently. Use this as a step-by-step checklist you can complete in one afternoon and then maintain with quick seasonal check-ins.
What Is a Home Emergency Contact Station?
A home emergency contact station is a clearly marked area that holds all the key information and basic tools you might need in an urgent situation. Think of it as your household command center for emergencies, scaled down to something simple and easy to manage.
Instead of relying only on phones or memory, your station keeps important details visible and accessible, even if power or internet are out or a guest is the one calling for help.
Core goals of your station
- Make it fast and easy to call for help.
- Provide clear information for emergency responders.
- Help family members know what to do first.
- Keep critical medical and contact details in one place.
- Work for adults, kids, and visitors alike.
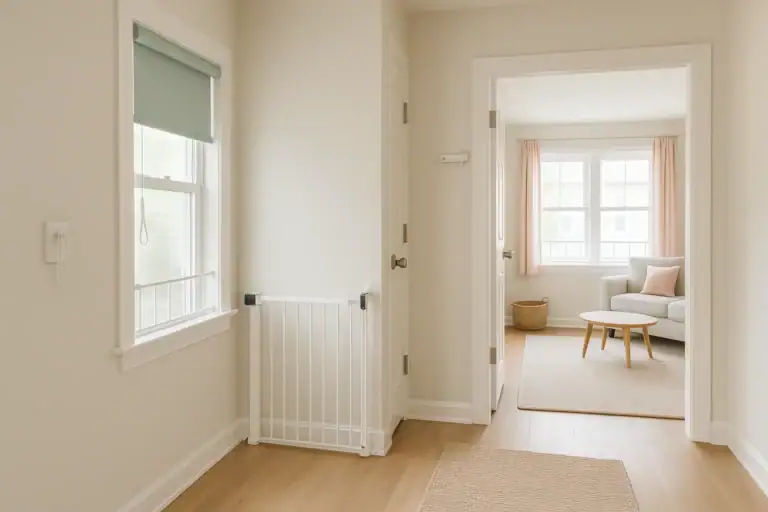
Step 1: Choose the Best Location
The first step is deciding where your emergency contact station will live. Location matters because people must be able to find it quickly, even in stressful situations.
Checklist: What to look for in a location
- Central area: Choose a spot everyone passes daily, such as the kitchen, main hallway, or near the front entry.
- Visible but not cluttered: The station should be easy to see but not buried under mail or paperwork.
- Accessible to kids: If you have children old enough to call for help, place items at a height they can reach.
- Near a landline (if you have one): If there is a home phone, the wall or area next to it is ideal.
- Away from obvious hazards: Avoid placing it directly over the stove, near open flames, or where smoke or water might damage it.
Once you choose a location, commit to it. Tell everyone in the household, and do not move it around. Consistency is key in an emergency.
Step 2: Gather Basic Supplies
You can keep your station very simple. Most homes already have what is needed to get started.
Checklist: Simple supplies to collect
- One or two sheets of sturdy paper or card stock for your main contact list
- Clear plastic sheet protector or a simple folder to keep papers clean and dry
- Pen or fine-tip marker for writing clearly
- Sticky notes or small labels for quick updates or reminders
- Adhesive hooks, magnets, or pushpins, depending on your wall or surface
- Small notepad for taking notes during a call
- Basic flashlight or small battery light stored nearby
If you want to keep it extra organized, you can use a simple clipboard or a small wall-mounted file, but it is not required. The most important thing is that information is clear, readable, and easy to reach.
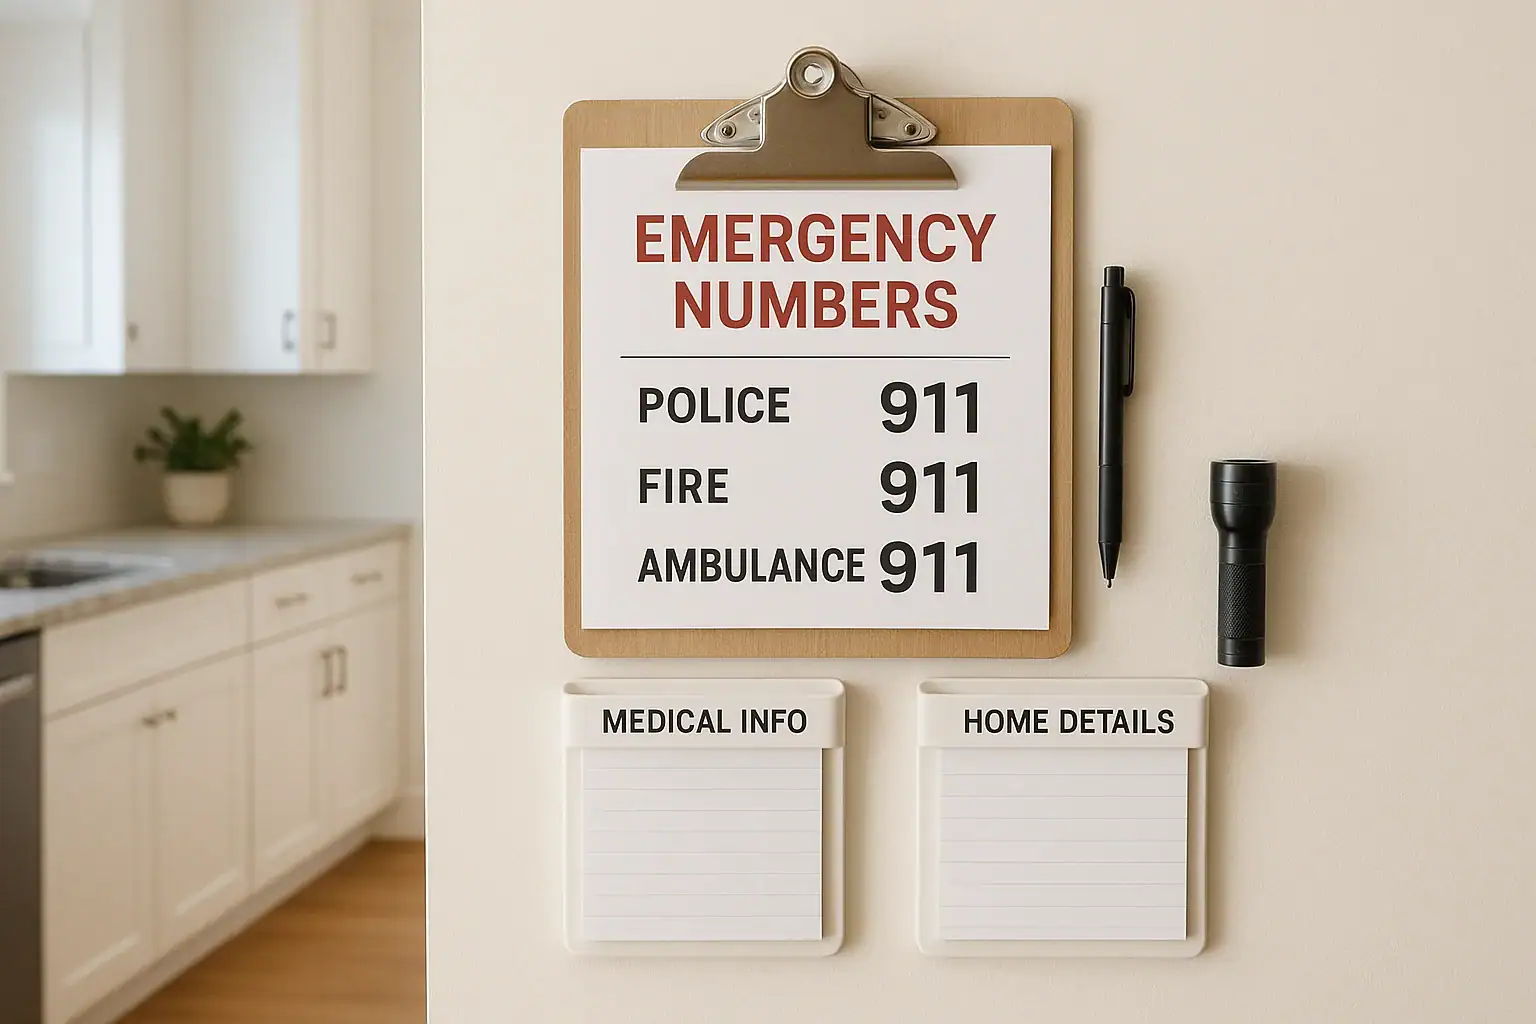
Step 3: Create Your Main Emergency Contact List
Your main contact list is the heart of your station. It should be simple enough that anyone can use it quickly, even if they are unfamiliar with your home.
Checklist: Must-have emergency numbers
- Emergency services (911) in large, bold print at the top
- Local non-emergency police number
- Local non-emergency fire department number
- Nearest urgent care or emergency room phone and address
- Poison control center number
- Local animal control or emergency vet (if you have pets)
Checklist: Family and household contacts
- Primary contact person in the home (name and cell number)
- Second adult in the home (name and cell number)
- Trusted nearby neighbor or friend
- Out-of-area emergency contact (someone in another city or state)
- Work numbers for adults, if helpful
- School or daycare main office number
Write these clearly in large print. Use simple labels like “Mom,” “Dad,” or “Neighbor” along with names, so kids and visitors can understand quickly who is who.
Step 4: Add Key Home Information
In an emergency, responders may ask for details that are easy to forget when you are stressed. Adding this information to your station can save time and reduce confusion.
Checklist: Home details to include
- Home address, written exactly as it appears on mail
- Nearest major cross street or landmark
- Gate code or building entry instructions, if any
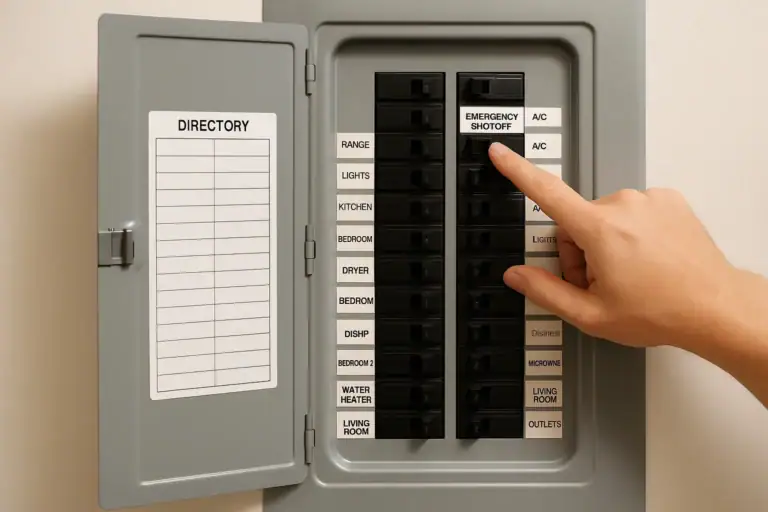
- Location of main electrical panel
- Location of main water shutoff valve
- Location of gas shutoff (if applicable)
Consider adding a simple sketch or small printed floor plan marking the location of the main shutoffs and the easiest way for responders to reach your front door. Keep it very simple so it can be understood at a glance.
Step 5: Include Essential Medical Information
Medical details help responders make safer, faster decisions. You do not need to share full medical histories, but a few key points can be very helpful.
Checklist: Basic medical notes
- Names and birthdates of each household member
- Known allergies (especially to medications, foods, or insect stings)
- Serious medical conditions that responders should know about
- Regular medications that are critical and must not be missed
- Preferred hospital, if you have one
- Primary care or pediatric office phone numbers
Keep medical information brief and factual. If you prefer to keep certain details more private, you can place medical pages in a labeled envelope or folder at the station, clearly marked for responders.
Step 6: Add Simple Step-by-Step Instructions
Even adults can freeze up in a crisis. Simple written steps can guide someone through the first moments of an emergency, especially if they are panicked or unfamiliar with your home.
Checklist: Basic emergency steps to post
Consider a short list such as:
- Stay as calm as you can.
- Call 911 for any life-threatening emergency.
- State your name, your phone number, and your home address.
- Describe what happened in simple, clear words.
- Follow the dispatcher’s instructions and do not hang up until told to.
- If safe, unlock the front door and turn on outside lights to guide responders.
You can also add short, separate instructions for specific situations, such as fire, severe weather, or power outages. Keep each list brief and easy to read.
Step 7: Organize Everything at the Station
Now that you have your information written out, it is time to set up the physical station so it is neat and easy to use.
Checklist: How to arrange your station
- Place the main emergency contact list at eye level.
- Keep home address and 911 instructions at the very top.
- Put medical information in a clearly labeled folder or envelope directly below.
- Attach a pen and small notepad with string, tape, or a clip so they do not wander off.
- Store a small flashlight or battery light nearby in case of power loss.
- Use clear labels like “Emergency Numbers,” “Medical Info,” and “Home Details.”
Step back and look at your station from a distance. Ask yourself if a guest could walk in and figure out how to use it in less than a minute. If not, simplify and rearrange until it feels obvious.
Step 8: Make It Kid-Friendly
If you have children who are old enough to stay home briefly or use a phone, your emergency contact station should be designed with them in mind.
Checklist: Kid-focused additions
- Post the numbers in large print with simple words like “Call this number for an emergency.”
- Use color or symbols to highlight the most important information.
- Include a brief script they can follow when calling for help, such as: “My name is ____. I am at ____. The emergency is ____.”
- Show them how to unlock your phone or use a landline, if you have one.
- Practice mock calls (without actually dialing) so they feel more confident.
Revisit the station with your kids a few times a year. As they grow, you can add more responsibility and detail.
Step 9: Add Pet and Special Needs Information
Many households include pets or family members who need extra support. Your station can help responders understand these needs quickly.
Checklist: Pet details
- Number and type of pets in the home
- Any important behavior notes, such as “nervous around strangers”
- Location of leashes, carriers, or crates
- Contact information for your regular or emergency vet
Checklist: Special needs information
- Note if anyone in the home has mobility challenges, uses a wheelchair, or needs assistance moving
- Note if anyone is hard of hearing, blind, or has limited vision
- Note communication needs, such as nonverbal communication or use of assistive devices
- Location of critical equipment, such as oxygen or power-dependent devices
Keep this information respectful and brief. The goal is to help responders support your household safely and effectively.
Step 10: Set a Schedule to Review and Update
An emergency contact station only works if the information is current. Build a simple habit of checking it on a regular schedule.
Checklist: When to update your station
- Every three to six months as a routine check
- When someone gets a new phone number
- When you change doctors, schools, or daycare
- After moving, remodeling, or changing entry codes
- When medical conditions or medications change
- After any emergency where you used the station and noticed gaps
Set a reminder on your calendar or tie updates to seasonal tasks, such as changing smoke alarm batteries or adjusting clocks. During each review, confirm that numbers work, information is readable, and supplies like flashlights and pens are still in place.
Optional: Add a Simple Digital Backup
Your physical emergency contact station should always be the primary tool, since it works even without power or cell service. However, a digital backup can be helpful if you are away from home.
Checklist: Easy digital backup ideas
- Take clear photos of your main contact sheet and medical summary.
- Save them in a secure folder on your phone labeled “Emergency Info.”
- Share copies with trusted family members or an out-of-area contact.
- Consider printing a mini version for your wallet or bag.
Make sure any digital information is password-protected and shared only with people you trust. The goal is to have a backup, not to replace your physical station.
Walk Through a Practice Scenario
Once your station is set up, test it. A short practice session helps you notice missing details and gives everyone more confidence.
Checklist: How to run a quick practice
- Gather everyone in the household at the station.
- Explain what the station is for and when to use it.
- Walk through a pretend emergency, such as someone feeling very sick or seeing smoke.
- Have one person act as the caller, reading from the station to give address and details.
- Ask kids to point to the 911 number and the home address.
- Note anything that feels confusing or hard to read and adjust.
Practicing once or twice a year keeps the information fresh and helps everyone feel more prepared.
Bringing It All Together
A home emergency contact station does not need to be fancy to be effective. With a central location, a clear contact list, basic medical and home details, and simple instructions, you give your household a powerful tool to use when seconds matter. Use the checklists in this guide to build your station step by step, and schedule quick updates so it stays accurate over time.
Once your station is in place, let trusted neighbors, babysitters, and frequent visitors know where it is and how to use it. A few minutes of preparation now can make a stressful moment safer and more manageable for everyone in your home.
If you would like to explore more ways to improve safety and organization at home, you can continue with related smart home and safety resources here: Smart Home & Safety Hub.
Related posts
Browse this topic →
Carbon Monoxide Alarm End-of-Life Beeps: Troubleshooting and Safe Replacement
Childproofing Doors, Windows, Locks, Alarms, and Blind Cords: A Complete Checklist
How to Keep Security Camera Footage Private Inside Your Home
Router Placement at Home for Better WiFi Without Extra Devices
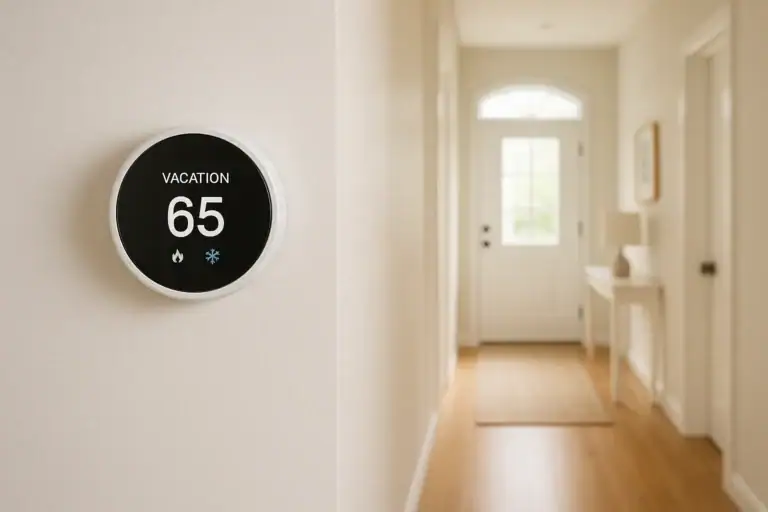
Smart Thermostat Vacation Mode Settings: A Complete Homeowner Guide
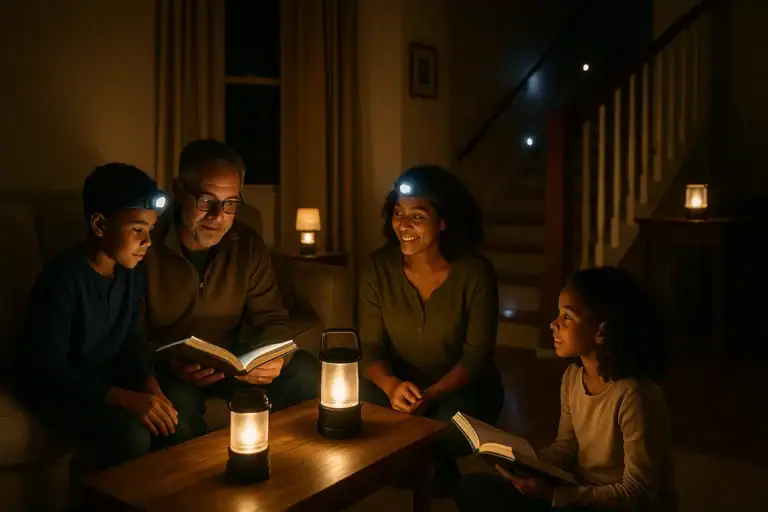
Emergency Lighting Plan for Power Outages Without Candles: A Practical Checklist
Keep reading
About this site
Signature Home Guide publishes practical, independent home guides. We aim to be clear, helpful, and transparent.
Affiliate disclosure
As an Amazon Associate, we earn from qualifying purchases. Some links on this site may be affiliate links. If you buy through these links, we may earn a small commission at no extra cost to you. This helps support our content. Learn more.