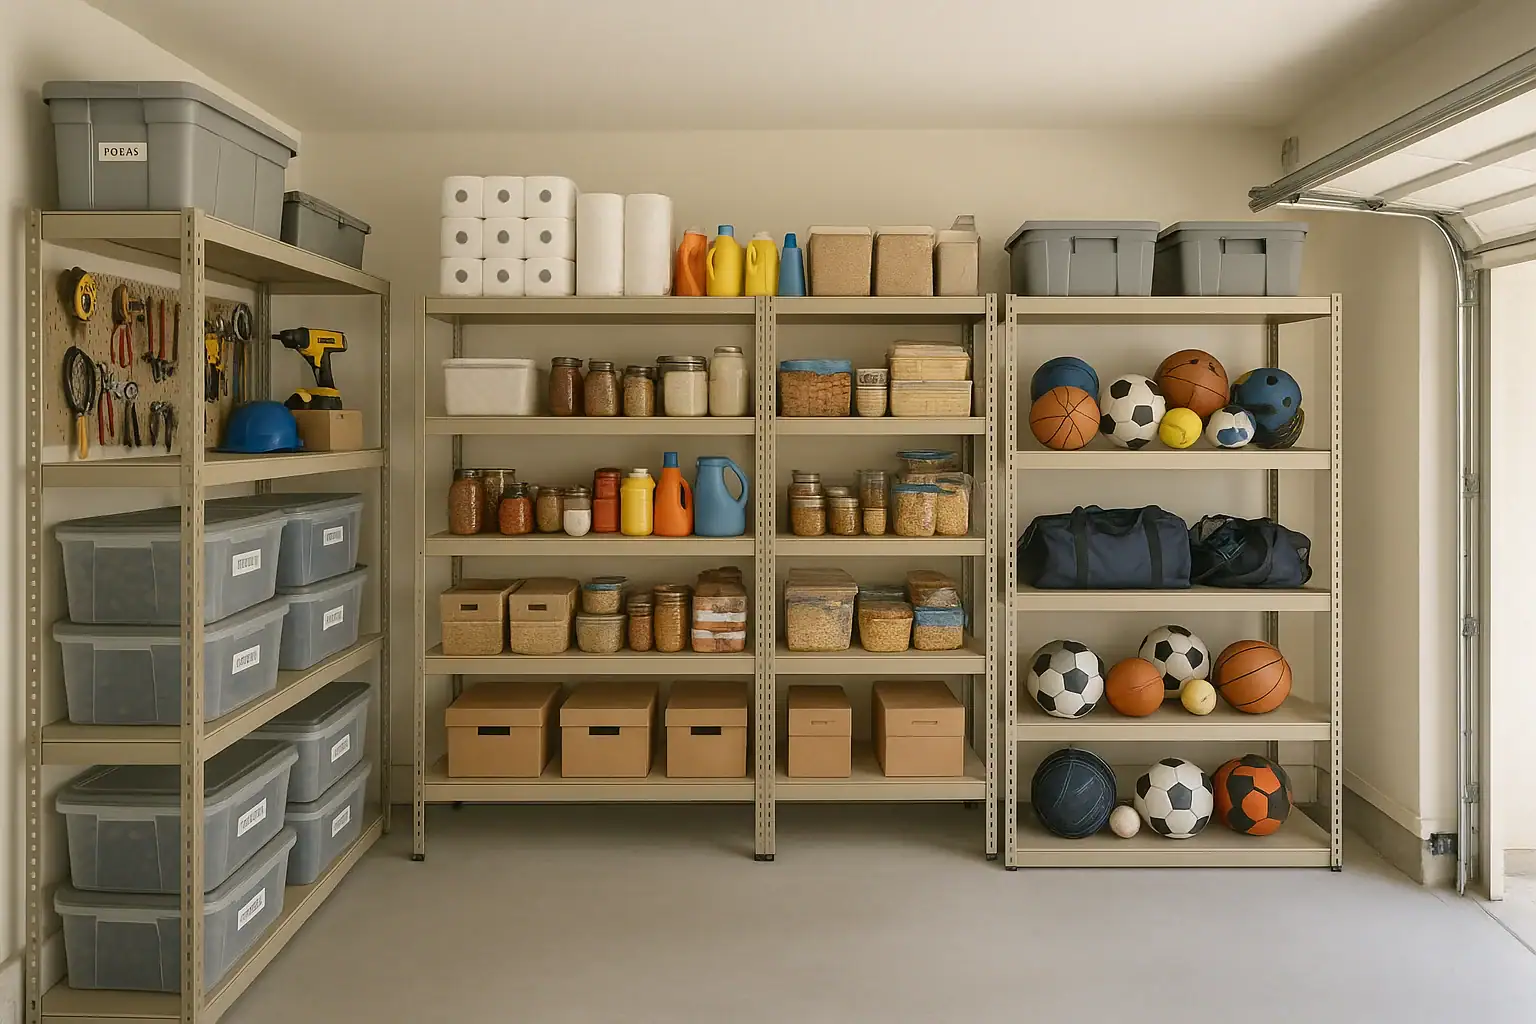
When the garage becomes a catch‑all for everything that does not fit in the house, it can quickly turn into a messy maze of boxes, half‑used supplies, and scattered gear. Setting up clear garage shelf zones is one of the simplest ways to bring order back. With a little planning, you can create a system where tools, sports gear, and household backstock each have a dedicated home, so you are not digging through random piles every time you need something.
This guide walks you through how to plan your garage layout, choose the right shelving, and set up practical zones that work for real life. You will learn how to group items by purpose, keep daily essentials within easy reach, and store bulk household supplies safely and efficiently. The goal is not a picture‑perfect showroom, but a functional space where everything is visible, accessible, and easy to put away again. Once your zones are in place, quick cleanups become simple, and the garage can finally support your home instead of stressing you out.
Step 1: Plan Your Garage Shelf Zones Before You Start Moving Anything
Before you buy new shelves or start shuffling boxes, take a few minutes to plan. A simple plan prevents you from creating more clutter and helps you use every inch of wall space wisely.
Walk the space and list what you store
Grab a notepad or your phone and walk through the garage. Write down the main categories of items that live there. For most households, the list includes:
- Hand tools and power tools
- Yard and garden tools
- Sports gear and outdoor recreation items
- Seasonal decor and holiday items
- Automotive supplies and car care products
- Household backstock (paper goods, cleaning products, pantry overflow)
- Home improvement supplies (paint, hardware, leftover materials)
Do not worry about being perfect. The goal is to see the big picture so you can assign each category to a logical zone.
Map out your walls and traffic paths
Next, think about how you move through the garage and which doors you use most. Ask yourself:
- Where is the door to the house?
- Where do vehicles park, and how much clearance do you need?
- Which areas feel safest for heavy or bulky storage?
- Where do kids usually drop bags or sports gear?
Sketch a quick layout of the walls and note the best spots for shelving. Reserve the safest, most accessible areas for items you use often, like household backstock and daily tools. Higher or harder‑to‑reach spots can hold seasonal or rarely used items.
Step 2: Choose Shelving That Fits Your Garage and Your Stuff
Strong, well‑sized shelves are the backbone of an organized garage. The right shelving makes it easy to create clear zones and keep items visible instead of buried.
Freestanding vs. wall‑mounted shelves
Both freestanding and wall‑mounted shelving can work well. Consider these points when deciding:
- Freestanding shelves: Flexible and easy to reposition. Good if you rent or expect to rearrange often. Make sure they are stable and rated for the weight you plan to store.
- Wall‑mounted shelves: Great for maximizing vertical space and keeping the floor clear. Best for permanent zones you do not plan to move.
Depth, height, and weight capacity
Match your shelving to what you will store in each zone:
- Tools: Medium‑depth shelves (16–18 inches) work well for toolboxes, bins, and small cases. Deeper shelves can cause items to get lost in the back.
- Sports gear: Deeper shelves (18–24 inches) help hold bulky items like helmets, balls, and totes of seasonal gear.
- Household backstock: Shallow to medium‑depth shelves (12–18 inches) keep food, paper goods, and cleaning supplies visible and easy to rotate.
Always check the weight rating of your shelves. Tools, paint, and bulk liquids are heavier than they look. Place the heaviest items on the lowest shelves to reduce tipping risk.
Safety considerations
Safety should shape how you set up your shelving:
- Secure tall shelves to the wall to prevent tipping, especially if children use the garage.
- Keep flammable products away from water heaters, furnaces, and other heat sources.
- Avoid stacking heavy bins above shoulder height.
- Leave enough space around vehicles so doors can open without hitting shelves.
Step 3: Create a Dedicated Tool Zone
A well‑planned tool zone saves time on every project. Instead of hunting through random boxes, you will know exactly where to find the drill, tape measure, or garden gloves.
Choose the best location for tools
Place your tool zone near where you typically start projects or near the workbench if you have one. Ideal characteristics include:
- Close to an outlet for charging batteries and running power tools
- Good lighting so you can see small parts
- Easy access from the house for quick fixes
Set up tool shelves and vertical storage
Use a combination of shelving and wall space to organize tools:
- Reserve one or two shelves for toolboxes, power tools in cases, and larger items.
- Use clear bins or labeled containers for small hand tools, sanding supplies, and painting tools.
- Install hooks or rails above the shelves for items like extension cords, levels, and frequently used tools.
- Keep a small bin or tray for hardware you reach for often, such as screws, nails, and anchors.
Organize by task, not just by type
Instead of sorting every single item by strict category, think in terms of tasks. For example:
- Hang‑and‑repair kit: hammer, nails, picture hangers, tape measure, small level
- Painting kit: brushes, rollers, trays, painter’s tape, drop cloths
- Yard care kit: gloves, hand trowel, pruners, small rake, plant ties
Store each task kit together in a bin or caddy on your tool shelves. When a project comes up, you can grab one container instead of ten separate items.
Step 4: Design a Sports Gear Zone That Kids Can Actually Use
Sports equipment has a way of multiplying and spreading across the whole garage. A dedicated sports gear zone helps contain it and makes it easier for kids and adults to put things back.
Pick a kid‑friendly spot
Place the sports zone near the garage door or the path you use to head outside. This makes it easy to grab what you need on the way to practice or a game. Prioritize:
- Low shelves or bins that children can reach
- Clear walkways for rolling bikes or carrying bags
- Space for tall items like bats, sticks, and nets
Use shelves to separate types of gear
On your sports shelves, give each category a clear home:
- One shelf for balls and general outdoor toys
- One shelf for sport‑specific gear (helmets, pads, gloves)
- One shelf for bags, folding chairs, and coolers
Use open bins or baskets for loose items like balls and smaller accessories. Label bins with simple, large text so kids know where things go.
Plan for seasonal rotation
Sports and outdoor activities change with the seasons. Build rotation into your system:
- Keep in‑season gear on the middle shelves at eye level.
- Move off‑season items to higher shelves or farther corners of the sports zone.
- Do a quick sort at the start and end of each season to donate, toss, or repair items.
This keeps your most‑used gear front and center and prevents shelves from becoming overloaded with items no one is using.
Step 5: Build a Household Backstock Zone That Works Like a Mini Store
Many homes use the garage to store bulk household supplies, extra pantry items, and cleaning backstock. When this area is organized, you avoid buying duplicates and can see at a glance what you have on hand.
Choose a cool, dry area away from fumes
Household backstock does best in a stable environment. When possible, choose a wall that:
- Stays relatively cool and dry
- Is away from direct sunlight
- Is not right next to lawn chemicals, paint, or fuel
Use shallow shelves for visibility
Shallow to medium‑depth shelves are ideal for backstock because they prevent items from hiding in the back. Set up your shelves like a small store:
- Group like with like: paper goods, cleaning supplies, pantry overflow, pet supplies.
- Keep heavier items such as large detergent jugs on lower shelves.
- Place lighter items and paper goods higher up.
- Use bins for small items that tend to tip over, like travel‑size products or small snacks.
Rotate stock to avoid waste
To prevent expired or stale items, use a simple rotation system:
- When you bring in new items, place them behind the older ones.
- Keep a marker nearby to write purchase dates on bulk packages.
- Do a quick shelf check before grocery shopping to see what you truly need.
This small habit saves money and keeps your shelves from filling with forgotten products.
Step 6: Assign Clear Zones and Labels Across the Whole Garage
With your main areas planned, it is time to formalize your zones so everyone in the household understands the system.
Give each wall or section a purpose
Instead of mixing everything together, dedicate specific areas to specific categories:
- Wall A: Tools and home improvement supplies
- Wall B: Sports gear and outdoor recreation
- Wall C: Household backstock and pantry overflow
- High shelves: Seasonal decor and rarely used items
Even if your garage is small, assigning a clear purpose to each section makes it easier to decide where new items should go.
Label shelves and bins clearly
Labels are what turn a one‑time cleanup into a lasting system. Simple, clear labels help everyone know where things belong. Tips for effective labeling:
- Use large, easy‑to‑read text.
- Label both shelves and bins, not just one or the other.
- Use broad categories such as “Yard Tools,” “Paper Goods,” or “Game Balls.”
- For kids, consider using simple icons along with words.
Step 7: Keep Your Garage Shelf Zones Organized Over Time
Once your zones are set up, a little maintenance keeps them working. You do not need marathon cleaning sessions; short, regular check‑ins are enough.
Build a quick reset routine
Choose a simple routine that fits your household:
- Spend 5–10 minutes each week returning items to their zones.
- After big projects or busy sports weekends, do a fast reset of the tool and sports zones.
- Once a month, glance through the backstock shelves and adjust as needed.
Adjust zones as your life changes
Your needs will change over time. Kids grow out of certain sports, hobbies shift, and you may start or finish long‑term projects. Make it normal to adjust your zones:
- Retire unused categories and free up shelf space.
- Expand zones that are always overflowing, such as sports gear during school years.
- Revisit safety: ensure heavy items stay low and hazardous products remain secure.
Think of your garage as flexible storage that can adapt with you instead of a fixed layout you can never change.
Sample Layout: Putting It All Together
To visualize how garage shelf zones can work, imagine this simple layout for a typical two‑car garage:
- Left wall: Tool zone with a work surface, medium‑depth shelves for tools and hardware, and hooks for extension cords and frequently used items.
- Back wall: Household backstock zone with shallower shelves for paper goods, pantry overflow, and cleaning supplies, plus a top shelf for seasonal decor.
- Right wall near the garage door: Sports gear zone with deeper shelves, open bins for balls, and space for bags and outdoor chairs.
- High shelves around the perimeter: Rarely used or seasonal items stored in clearly labeled bins.
This kind of layout keeps everyday items close to doors and walking paths while pushing long‑term storage higher and farther out of the way.
Benefits of Garage Shelf Zones for Everyday Life
When your garage is divided into clear, labeled zones, you gain more than just a tidy space. You also get:
- Less stress: You know where to look for tools, sports gear, and extra supplies.
- More time: No more last‑minute searches before practice or a project.
- Better safety: Hazardous items are stored securely, and heavy items stay low.
- Smarter spending: You can see backstock at a glance, so you avoid buying duplicates.
- Easier cleanups: Clear homes for everything make it simple to put items away.
With a bit of planning and a few sturdy shelves, your garage can shift from a cluttered catch‑all to a well‑organized extension of your home. Start with one wall or one zone at a time, and build from there. Over a few weekends, you can create a garage that finally works for the way your household really lives.
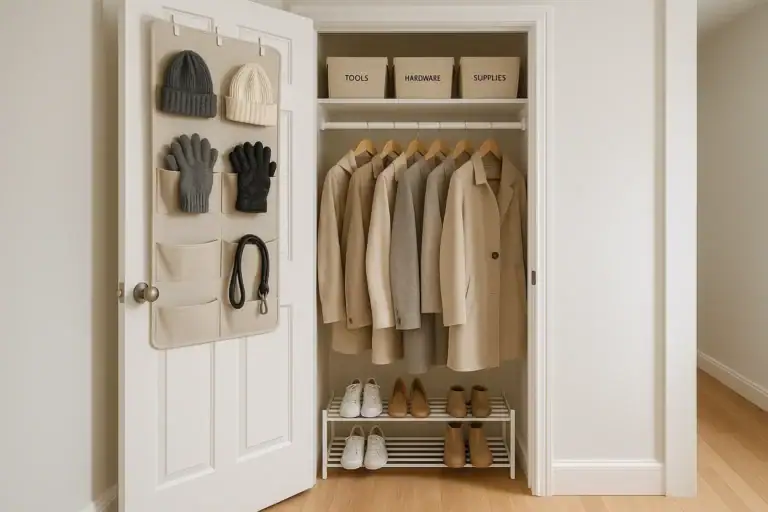 How to Organize a Hall Closet for Coats, Tools, and Everyday Items
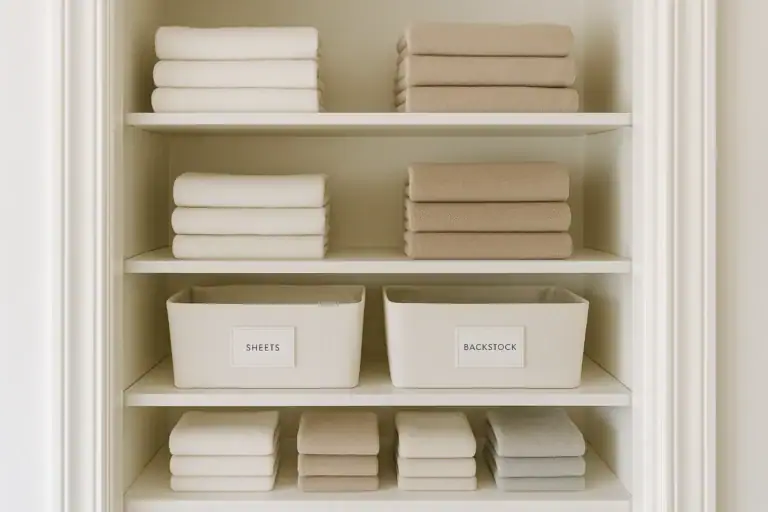 Linen Closet Organization: Simple Zones for Sheets, Towels, and Backstock
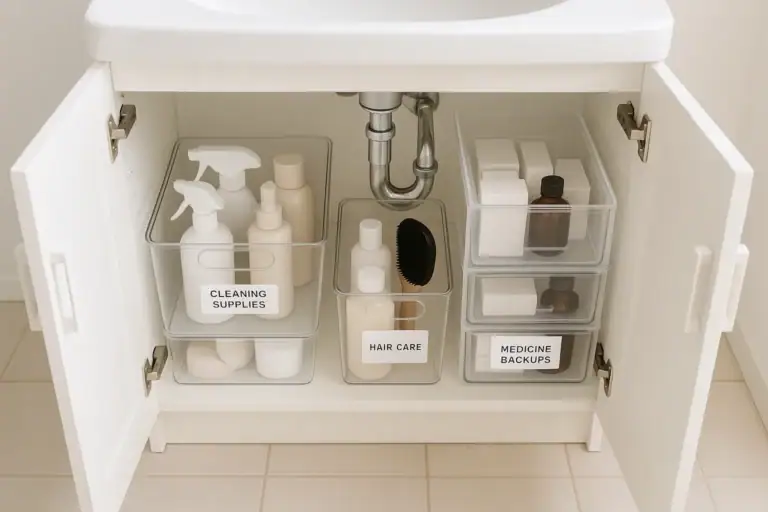 Smart Bathroom Cabinet Organization for Under-Sink Drawers and Medicine Backups