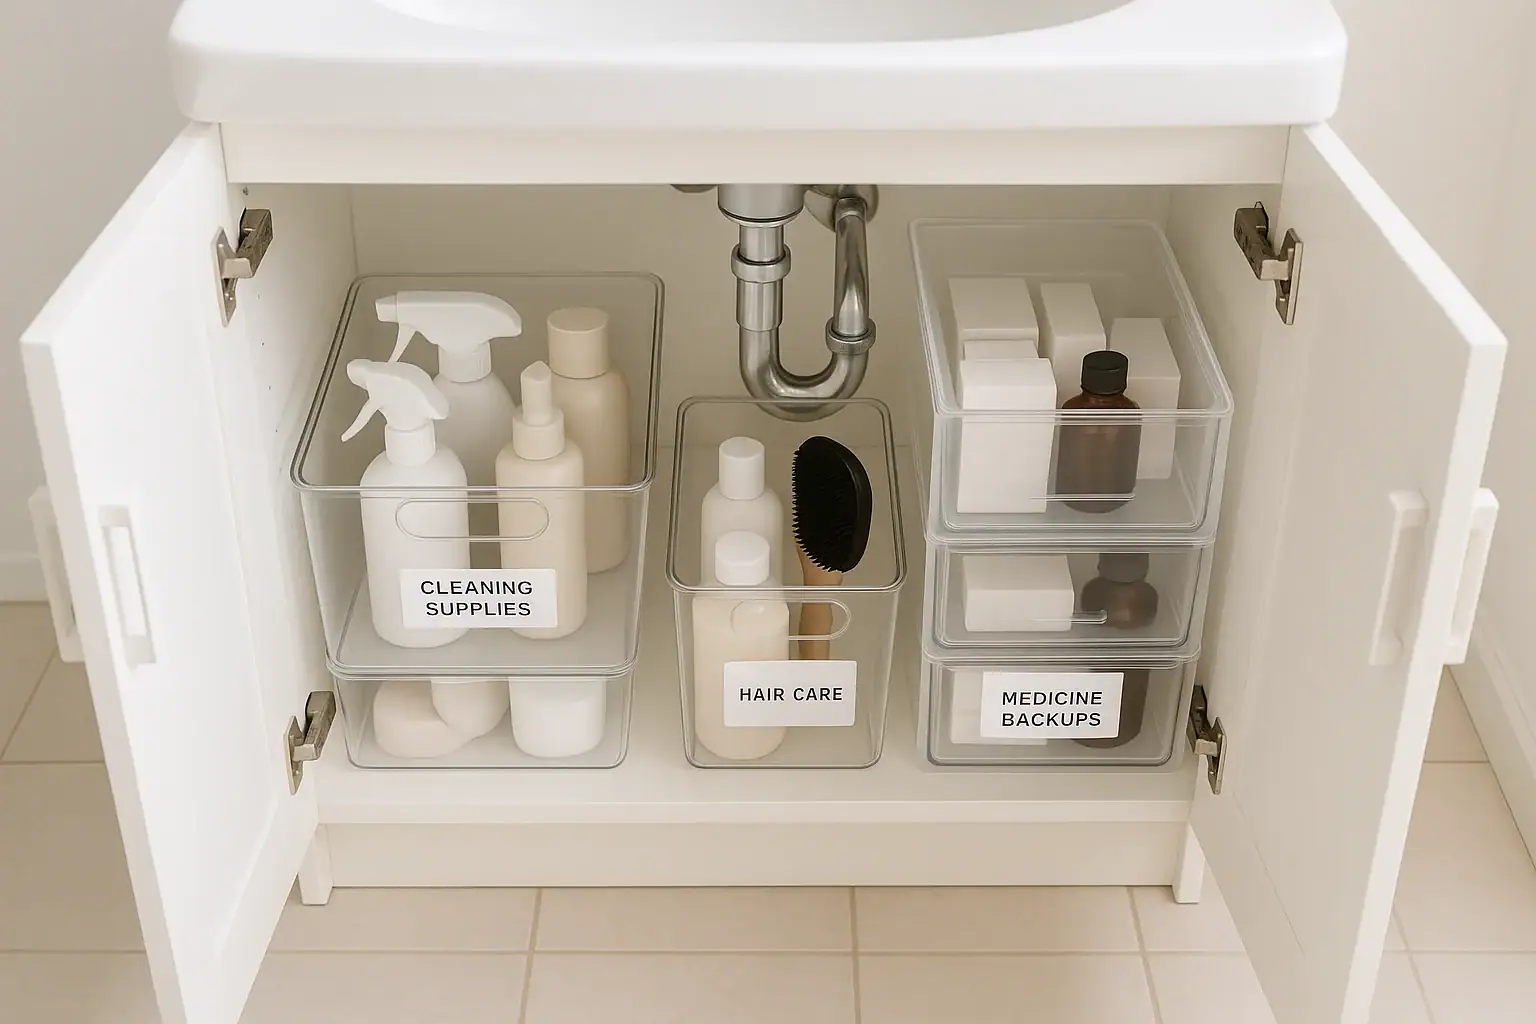
A cluttered bathroom cabinet can make even a quick morning routine feel stressful. Bottles tip over, you buy duplicates of items you already own, and you can never find what you need when you are in a hurry. With a few simple strategies, you can turn the chaos under your sink and inside your drawers into a calm, organized space. Thoughtful bathroom cabinet organization helps you see what you own, avoid waste, and keep medicines and backups safely stored and easy to reach. This guide walks you through decluttering, setting up zones, organizing under-sink drawers, and creating a smart system for medicine backups so your bathroom stays tidy with minimal effort.
Step 1: Declutter Before You Organize
Before adding containers or labels, start by clearing everything out of your bathroom cabinets and drawers. This gives you a clean slate and helps you see exactly what you own.
Empty Every Space
- Remove everything from under the sink, drawers, and medicine storage areas.
- Wipe down shelves, cabinet walls, and drawer interiors with a mild cleaner.
- Dry surfaces completely to prevent moisture damage or mold.
Sort Into Simple Categories
As you empty each space, sort items into broad categories. This makes it easier to decide what to keep and where it should live.
- Daily essentials (toothpaste, deodorant, face wash)
- Occasional items (hair masks, specialty skincare, bath salts)
- Tools (hair tools, razors, nail care, grooming tools)
- Cleaning supplies (bathroom cleaners, sponges, gloves)
- Medicine and first aid (pain relief, allergy relief, bandages)
- Backups and extras (extra soap, shampoo, toothpaste)
Check Expiration Dates
Bathroom products and medicines do not last forever. Take a few minutes to check dates and condition.
- Discard expired medicines according to local guidelines. Many pharmacies or community programs accept returns.
- Toss products that have changed color, smell odd, or separated.
- Let go of items you tried once and did not like. Keeping them only adds clutter.
Once you have decluttered, you will be left with items you actually use and need. Now you can design a storage system that truly fits your bathroom.
Step 2: Plan Zones for Your Bathroom Cabinets
Zones are the backbone of bathroom cabinet organization. A zone is simply a dedicated spot for a specific type of item. When everything has a home, it is easier to put things away and avoid clutter.
Common Bathroom Cabinet Zones
Consider creating these zones inside your cabinets and drawers:
- Daily routine zone: Items you reach for every morning and night.
- Hair care zone: Shampoo backups, styling products, brushes, and tools.
- Body care zone: Lotions, shaving supplies, body wash, and scrubs.
- Cleaning supply zone: Bathroom spray, wipes, sponges, and gloves.
- Medicine and first aid zone: Everyday medicines and first aid basics.
- Backup stock zone: Extra toothpaste, soap, cotton products, and refills.
Place Zones by Frequency of Use
Store items based on how often you use them:
- Keep daily essentials at eye level or in the easiest-to-reach drawer.
- Place occasional items slightly higher, lower, or toward the back.
- Store rarely used items and large backups in the least accessible spots.
Planning zones first helps you decide what type of organizers you need and where to place them.
Step 3: Under-Sink Bathroom Cabinet Organization
The space under the bathroom sink is tricky because of pipes, limited height, and awkward corners. With the right layout, you can still create a functional storage area that keeps everything visible and easy to grab.
Measure and Map Around the Pipes
Start by measuring the width, depth, and height of your under-sink cabinet. Note where pipes and the drain sit so you can work around them.
- Measure the distance from the cabinet floor to the bottom of the sink bowl.
- Measure the depth from the front edge to the back wall.
- Measure the width between the side walls and around the pipes.
Use these measurements when choosing bins, small drawers, or shelf risers so you do not waste space or block plumbing access.
Create Levels to Maximize Space
Under-sink cabinets often have a lot of unused vertical space. Creating levels helps you store more without stacking items directly on top of each other.
- Use a small freestanding shelf or riser on one side for lighter items.
- Place shorter bins under the riser for items you do not reach for every day.
- Keep taller bottles on the open side where they can stand upright.
Think of your under-sink area as a mini closet: a mix of shelves, bins, and open space works best.
Use Bins and Containers for Categories
Open bins and small containers keep similar items together and prevent things from tipping over.
- One bin for cleaning products (bathroom spray, glass cleaner, sponges).
- One bin for body care backups (extra soap, body wash, razors).
- One bin for hair care backups (extra shampoo, conditioner, styling products).
- One small container for travel-size items and samples.
Choose containers with handles when possible so you can slide them out like drawers. Clear or lightly tinted containers make it easier to see what is inside.
Protect the Cabinet Base
Water drips and cleaning products can damage the bottom of your cabinet over time. Add a protective layer to extend the life of the cabinet.
- Use a waterproof mat or liner on the cabinet floor.
- Place cleaning products in a bin with a lip to catch spills.
- Check occasionally for leaks around pipes so you can catch issues early.
Step 4: Organizing Bathroom Drawers
Bathroom drawers can quickly become junk drawers if you do not divide the space. Drawer organization is about creating small sections that match how you use items each day.
Assign Each Drawer a Purpose
If you have multiple drawers, give each one a clear job:
- Top drawer: Daily essentials like toothbrushes, toothpaste, face products, and deodorant.
- Middle drawer: Hair tools, brushes, combs, and styling products.
- Bottom drawer: Bulkier items, backups, or less frequently used products.
Even if you only have one or two drawers, you can still divide them into smaller zones using organizers.
Use Drawer Dividers and Small Trays
Without dividers, small items slide around and get lost. Drawer inserts keep everything in place.
- Use narrow trays for toothbrushes, floss, and razors.
- Use small square or rectangular cups for cotton swabs, cotton pads, and hair ties.
- Use longer trays for tubes and bottles that you lay flat.
Arrange organizers so there is a clear front-to-back flow: daily items in front, occasional items in the back.
Think in Routines
Organize your drawers based on the order you use items:
- Group morning items together: cleanser, moisturizer, sunscreen.
- Group evening items together: makeup remover, night cream, treatments.
- Keep grooming tools together: nail clippers, tweezers, small scissors.
This routine-based layout saves time and makes it easier to put things back where they belong.
Step 5: Safe and Simple Medicine Organization
Medicine storage deserves special attention. You want to keep items safe, clearly labeled, and easy to find when someone is not feeling well.
Choose the Right Location
Humidity and heat can affect some medicines, so consider storing them in a cool, dry cabinet rather than directly above a steamy shower. Safety also matters.
- Store medicines in a cabinet that is out of reach of children and pets.
- Use a latch or child-resistant container if needed.
- Avoid storing medicine near harsh cleaning chemicals.
Create Clear Medicine Categories
Instead of mixing all medicines together, divide them into simple, easy-to-understand groups.
- Everyday pain and fever relief.
- Allergy and sinus relief.
- Digestive support and stomach relief.
- Cold and flu care.
- First aid supplies (bandages, ointments, wraps).
Place each category in its own small bin or container. Label the front so anyone in your home can quickly find what they need.
Set Up a Medicine Backup System
Medicine backups help you avoid last-minute trips when someone is sick, but they can easily get lost in the back of a cabinet. A simple backup system keeps extras visible and safe.
- Designate one bin or shelf as the medicine backup zone.
- Store unopened boxes and bottles there, grouped by category.
- Keep opened, in-use medicine in a separate, front-facing bin.
When you open a new medicine from the backup zone, move it into the everyday bin and add the item to a small restock list. This prevents overbuying and ensures you always know what you have on hand.
Track Expiration Dates
Expired medicine should not be used. Set up a quick system for checking dates:
- Once or twice a year, pull out all medicines and check dates.
- Place items that expire soon toward the front so they are used first.
- Dispose of expired items according to local guidelines. Do not flush unless the label specifically allows it.
Step 6: Organizing Backups and Refills
Backups are helpful, but too many extras can overwhelm your cabinets. A simple structure for storing backups keeps your bathroom organized and your budget in check.
Decide How Many Backups You Need
Think realistically about how much storage space you have and how quickly your household uses products.
- For everyday items like toothpaste or soap, aim for one or two backups.
- For specialty items, one backup is usually enough.
- Avoid stocking more than you can reasonably use before expiration.
Create a Dedicated Backup Zone
Instead of scattering backups throughout the bathroom, group them together.
- Use a labeled bin under the sink or on a higher shelf for backups.
- Group backups by type: oral care, hair care, body care, paper goods.
- Place the oldest backups in front so they are used first.
When you finish a product, check the backup zone first before adding it to your shopping list. This habit prevents duplicates and saves money.
Step 7: Labeling for Long-Term Organization
Labels are a small step that make a big difference. They remind everyone in the home where items belong and make it easier to maintain order.
What to Label
- Bins and baskets under the sink (cleaning, hair care, body care, backups).
- Drawer organizers (daily routine, grooming tools, dental care).
- Medicine bins (pain relief, allergy, cold and flu, first aid, backups).
Use simple, clear wording so anyone can understand at a glance.
Simple Labeling Options
- Adhesive labels or tape with neat handwriting.
- Clip-on tags for baskets.
- Removable labels if you like to rearrange often.
Labels do not have to be fancy to be effective. Consistency matters more than appearance.
Step 8: Keeping Your Bathroom Cabinets Organized
Once your bathroom cabinets, under-sink drawers, and medicine backups are set up, a few small habits will keep them organized over time.
Adopt a One-In, One-Out Rule
To prevent clutter from building up again, try a simple rule:
- When a new product comes in, an old or unused product goes out.
- Finish open items before starting a new one when possible.
- Resist impulse purchases of products you do not truly need.
Do Quick Monthly Check-Ins
A short monthly reset keeps your system working smoothly.
- Scan drawers and cabinets for items that have drifted out of place.
- Wipe down surfaces and organizers as needed.
- Move backups forward and update your restock list.
Adjust as Your Needs Change
Your bathroom routines may change over time. Be willing to adjust your zones and containers.
- If a drawer feels crowded, split the category or move some items under the sink.
- If you rarely use an item, move it to a less accessible spot or let it go.
- If a bin is always overflowing, reconsider how many backups you store.
Putting It All Together
Bathroom cabinet organization does not have to be complicated. By decluttering first, planning clear zones, and using simple containers, you can turn under-sink chaos and messy drawers into calm, efficient storage. A thoughtful system for medicine and backups keeps your household prepared without wasting space or money. Start with one cabinet or drawer at a time, work through the steps, and adjust the layout until it fits your routines. With a few labels and quick monthly check-ins, your bathroom will stay organized and functional, making every morning and evening a little easier.
If you want to continue improving your home, explore more ideas for cleaning and organization to create simple systems that are easy to maintain.
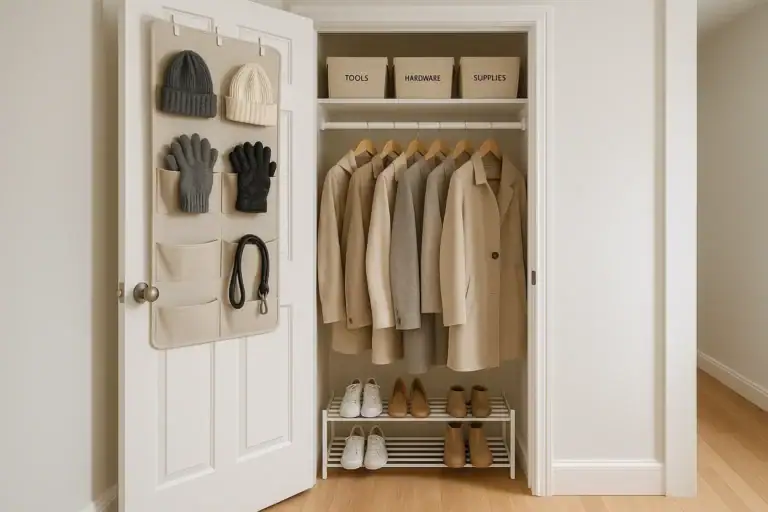 How to Organize a Hall Closet for Coats, Tools, and Everyday Items
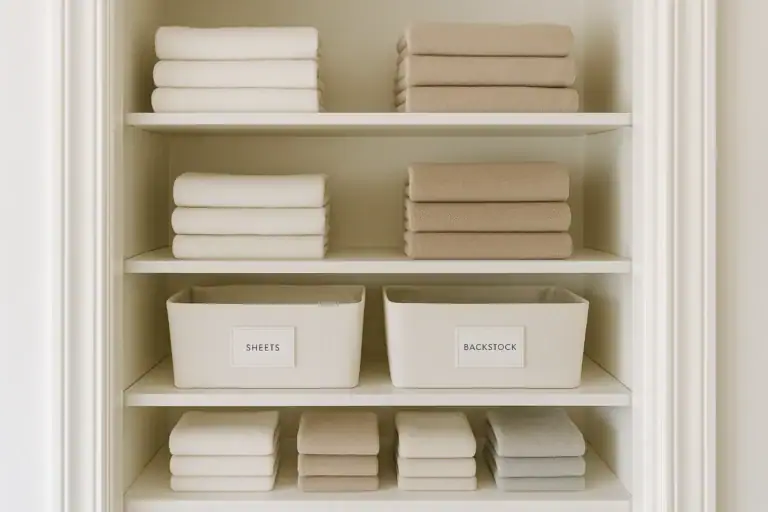 Linen Closet Organization: Simple Zones for Sheets, Towels, and Backstock
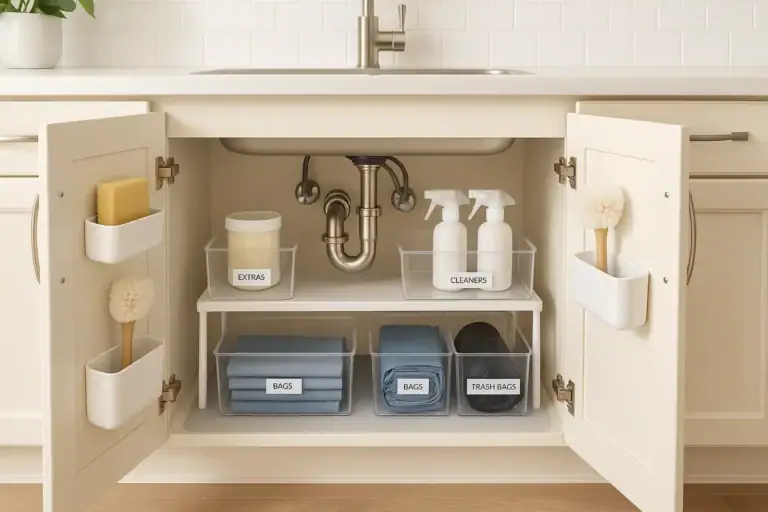 Under-Sink Organization Ideas That Prevent Clutter, Leaks, and Mildew