
The space under the sink is one of the hardest-working spots in any home, but it is also one of the easiest to ignore. Pipes, cleaning products, trash bags, and random tools all end up crammed together in a dark cabinet. That mix can quickly turn into clutter, and if there is even a small drip, you can also end up with water damage, mildew, and musty odors. With a bit of planning, you can turn that messy area into a safe, organized, and easy-to-clean storage zone that actually works for you instead of against you.
On this page(click to collapse)
- Step 1: Prep the Space and Check for Moisture Problems
- Step 2: Add Protection Against Leaks and Mildew
- Step 3: Decide What Should (and Should Not) Live Under the Sink
- Step 4: Plan Around Pipes and Odd Angles
- Step 5: Create Clear Zones to Prevent Clutter
- Step 6: Use Vertical Space and Door Storage
- Step 7: Keep Cleaning Tools Dry and Mildew-Free
- Step 8: Choose Safe, Practical Containers
- Step 9: Build a Simple Maintenance Routine
- Kitchen vs. Bathroom: Adjusting for Each Space
- Putting It All Together
- Related guides
This guide walks you through how to organize under-sink cabinets in both kitchens and bathrooms with a focus on three things: preventing clutter, spotting and containing leaks, and stopping mildew before it starts. You will learn how to prep the space, what to store there (and what to move elsewhere), and how to choose containers and layouts that keep everything visible, dry, and easy to reach. Use these ideas as a step-by-step plan or pick the tips that fit your home best.
Step 1: Prep the Space and Check for Moisture Problems
Before you buy containers or rearrange anything, take time to completely clear and inspect the space under your sink. This gives you a clean slate and helps you catch any hidden issues.
Empty and Sort Everything
- Remove every item from the cabinet, including small tools, sponges, and loose trash bags.
- Group like items together: cleaning sprays, dish supplies, trash bags, pet products, and extras.
- Set aside anything expired, leaking, or that you no longer use so you can discard or recycle it.
Inspect for Leaks and Water Stains
Even a slow drip can create long-term damage and mildew. Use this chance to look closely at everything inside the cabinet.
- Check all visible pipes, joints, and valves for moisture, rust, or mineral buildup.
- Look at the cabinet floor and back wall for swelling, discoloration, or soft spots.
- Run the faucet and disposal while you watch for drips under the sink.
If you find any active leaks, address the repair before you put items back. Organizing on top of a leak will only trap moisture and create mildew and odor problems later.
Clean and Disinfect the Cabinet
Once the space is empty and checked, give it a thorough cleaning.
- Vacuum or sweep out dust, crumbs, and debris.
- Wipe all surfaces with a mild cleaner or a mix of warm water and dish soap.
- Disinfect the cabinet floor and walls, especially if there were leaks or mildew spots.
- Allow the cabinet to dry completely with the doors open before you move on.
Step 2: Add Protection Against Leaks and Mildew
Protecting the cabinet itself is the foundation of an under-sink setup that can handle spills, drips, and humidity. A few simple additions can save you from costly repairs and musty smells later.
Use a Waterproof Liner or Tray
Instead of placing items directly on the cabinet floor, add a barrier that can catch small spills and make cleanup easier.
- Choose a waterproof mat, liner, or tray that covers as much of the cabinet floor as possible.
- Look for something with a raised edge or lip so minor leaks stay contained.
- Cut the liner around pipes and supports so it lays flat without bunching.
A removable tray is especially useful under kitchen sinks because you can slide it out to wipe up spills or check for moisture.
Elevate Items Off the Cabinet Floor
Keeping bottles and tools slightly raised allows air to circulate and makes it easier to spot water before it spreads.
- Use low, sturdy risers or shallow bins with solid bottoms to lift items off the surface.
- Avoid placing paper goods, cloths, or cardboard boxes directly on the cabinet floor.
- Reserve the very bottom center area for water-sensitive items only if they are in waterproof containers.
Control Humidity and Odors
Even without leaks, under-sink areas can feel damp. Reducing moisture helps prevent mildew, mold, and musty smells.
- Place a small moisture absorber or desiccant product in the back corner of the cabinet.
- Leave the doors open occasionally to let fresh air circulate, especially after running hot water or the dishwasher.
- Wipe up any spills or damp spots as soon as you notice them.
Step 3: Decide What Should (and Should Not) Live Under the Sink
Not everything belongs under the sink. Being selective about what you store there is one of the easiest ways to prevent clutter and keep the space safe.
Items That Work Well Under the Sink
Focus on items you reach for often in that specific room.
- Everyday cleaning sprays and surface cleaners.
- Dish soap, dishwasher detergent, and rinse aids near the kitchen sink.
- Sponges, scrub brushes, and dishcloths (stored so they can dry between uses).
- Trash bags, small recycling bags, and compost liners.
- Rubber gloves and cleaning cloths.
- Bathroom cleaners, toilet bowl cleaner, and tub scrubbers under bathroom sinks.
Items to Store Elsewhere
Some items are better off in a hall closet, laundry room, or higher shelf for safety and to reduce moisture damage.
- Bulk paper towels, tissues, and toilet paper that could absorb moisture.
- Delicate tools, electronics, or anything easily damaged by water.
- Harsh chemicals, solvents, or products that should be kept out of reach of children or pets.
- Rarely used supplies that take up valuable space.
If you live with children or pets, consider storing any potentially harmful cleaners in a locked cabinet higher up, or add child-safety latches to under-sink doors.
Step 4: Plan Around Pipes and Odd Angles
Under-sink spaces are rarely simple rectangles. Pipes, garbage disposals, and water filters create obstacles. Instead of fighting them, design your layout around them.
Map Out the Space
- Measure the width, depth, and height of the cabinet, including the narrowest points.
- Note where pipes, valves, and disposal units are located so you know which areas are off-limits for tall bins.
- Sketch a simple layout to help you visualize where containers will fit.
Use Modular Bins and Open-Sided Organizers
Flexible storage pieces make it easier to work around plumbing.
- Choose narrow, open-top bins that can slide in and out around pipes.
- Use stackable drawers or shelves on one side of the cabinet where height allows.
- Leave clear space directly under the sink drain so you can access plumbing if needed.
Think of the cabinet in zones: one side for taller items, one side for drawers or baskets, and the center back for items you rarely use.
Step 5: Create Clear Zones to Prevent Clutter
Clutter builds up when everything is mixed together. Creating simple zones helps you put things back where they belong and makes it easier to see what you have.
Common Kitchen Under-Sink Zones
- Daily dish zone: Dish soap, hand soap refill, sponges, scrub brushes, and dishcloths.
- Cleaning zone: All-purpose cleaner, glass cleaner, degreaser, and cleaning cloths.
- Trash and recycling zone: Trash bags, recycling bags, and compost liners.
- Backup supplies zone: Extra sponges, gloves, and refills stored toward the back.
Common Bathroom Under-Sink Zones
- Surface cleaning zone: Sink and counter spray, glass cleaner, and microfiber cloths.
- Toilet and tub zone: Toilet bowl cleaner, brush, tub and tile cleaner, and scrub pads.
- Personal care overflow zone: Extra soap, shampoo, or tissue boxes in lidded bins.
- Linen or towel zone: Rolled hand towels or washcloths in a basket, kept away from damp pipes.
Label for Easy Maintenance
Labels are a simple way to keep your zones from slowly turning into a jumble again.
- Label the front of each bin or drawer with its category, such as “Dish Supplies” or “Bathroom Cleaners.”
- Use clear, easy-to-read wording so everyone in the home knows where items go.
- Update labels if your system changes, so you are not locked into a setup that no longer fits.
Step 6: Use Vertical Space and Door Storage
Under-sink cabinets often have plenty of unused vertical space. Using height wisely keeps the floor clear and reduces clutter.
Add a Small Shelf or Tiered Organizer
A low shelf or tiered organizer can double your storage without blocking pipes.
- Place a short shelf over part of the cabinet floor to hold smaller items on top and larger bottles underneath.
- Use tiered racks for sprays and cleaners so labels are visible and easy to grab.
- Keep the tallest items toward the sides so they do not interfere with the sink basin above.
Use the Inside of Cabinet Doors
Cabinet doors are ideal for storing lightweight items you reach for often.
- Hang slim caddies for sponges, scrub brushes, and gloves.
- Use adhesive hooks for dish brushes, cleaning cloths, or small dusters.
- Mount a narrow rack to hold cutting boards, baking sheets, or cleaning bottles if space allows.
When adding door storage, close the cabinet slowly to make sure nothing hits the pipes or items inside.
Step 7: Keep Cleaning Tools Dry and Mildew-Free
Wet sponges and cloths are one of the biggest sources of mildew and odor under the sink. A few simple habits can keep them fresher and safer.
Let Items Dry Before Storing
- Rinse sponges and cloths thoroughly and wring them out well.
- Hang them to dry over the sink or on a hook until they are mostly dry before returning them to the cabinet.
- Avoid sealing damp items in airtight containers where moisture can build up.
Designate a “Drying” Area
If you prefer to keep sponges out of sight, create a small drying zone inside the cabinet.
- Use a shallow tray or slotted holder mounted high on the side of the cabinet where air can circulate.
- Leave the cabinet door slightly open for a short time after putting away damp items.
- Replace sponges and scrubbers regularly to prevent buildup of odors and bacteria.
Step 8: Choose Safe, Practical Containers
The right containers make it easier to keep things tidy and protect the cabinet from leaks.
Prioritize Easy-to-Clean Materials
- Select bins and trays made from materials that can be wiped down quickly.
- Avoid containers that absorb water or stain easily.
- Choose smooth surfaces without deep grooves where grime can collect.
Use Lidded Bins for Certain Items
Lidded bins are useful for items you want to protect from moisture or keep contained.
- Store extra sponges, gloves, and cloths in lidded bins to keep them clean and dust-free.
- Place small tools, lightbulbs, or miscellaneous items in a labeled container so they do not roll around.
- Keep pet supplies or personal care backups in separate bins to avoid mixing with cleaning chemicals.
Step 9: Build a Simple Maintenance Routine
Even the best under-sink organization can slide back into clutter without a little routine maintenance. The good news is that a few minutes each month is usually enough.
Quick Monthly Check
- Remove the front row of items and feel around the liner for damp spots.
- Look at pipes and fittings for new drips or mineral deposits.
- Wipe up dust, crumbs, or spills and replace the moisture absorber if needed.
Seasonal Declutter
Every few months, do a slightly deeper reset.
- Pull out each bin and check for products that are nearly empty or expired.
- Combine duplicates when appropriate and recycle empty containers.
- Adjust zones if your habits have changed, such as adding new cleaning tools or supplies.
Kitchen vs. Bathroom: Adjusting for Each Space
While the same principles apply across your home, a few small adjustments can make your under-sink organization even more effective in each room.
Kitchen Under-Sink Tips
- Keep dishwashing items front and center since they are used multiple times a day.
- Store trash bags near the front or on a roll so you can change the bag quickly.
- If you keep a small trash can or compost pail under the sink, use a waterproof tray underneath it to catch drips.
- Consider a small fire extinguisher nearby, stored upright and easy to access.
Bathroom Under-Sink Tips
- Separate cleaning products from personal care items to avoid confusion.
- Use clear bins so you can see backup toiletries without digging around.
- Place items used less often, such as extra razors or travel kits, toward the back.
- Keep towels and linens in a dry zone away from pipes and valves.
Putting It All Together
Under-sink spaces do not have to be cluttered, damp, or forgotten. By starting with a thorough cleanout, protecting the cabinet from leaks and moisture, and creating simple zones with the right containers, you can turn that hidden area into a reliable storage workhorse. Focus on visibility, easy access, and airflow so you can spot problems early and keep mildew at bay.
Once your system is in place, a quick monthly check is usually enough to keep everything in order. Over time, you will spend less time hunting for supplies and more time enjoying a cleaner, fresher kitchen and bathroom. If you are ready to continue improving your home, explore more cleaning and organization ideas that build on this under-sink reset and help every corner of your space work better for you.
Recommended next:
Related posts
Browse this topic →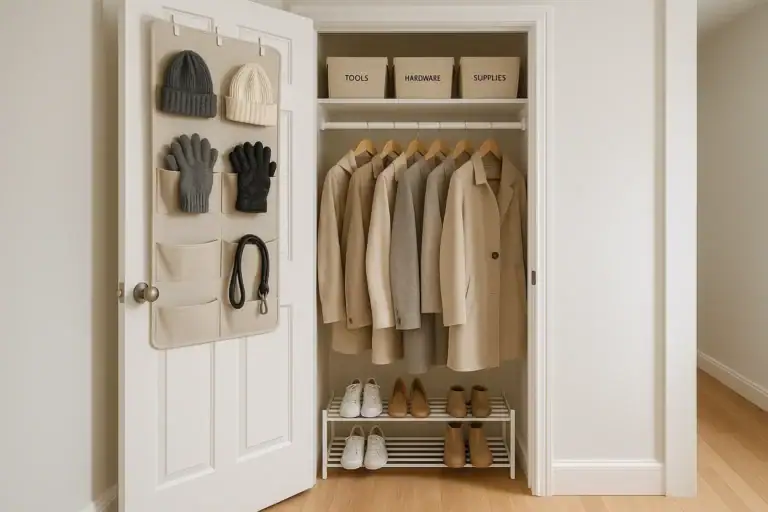
How to Organize a Hall Closet for Coats, Tools, and Everyday Items

How to Remove Dust From Walls Before Painting: A Step-by-Step Guide
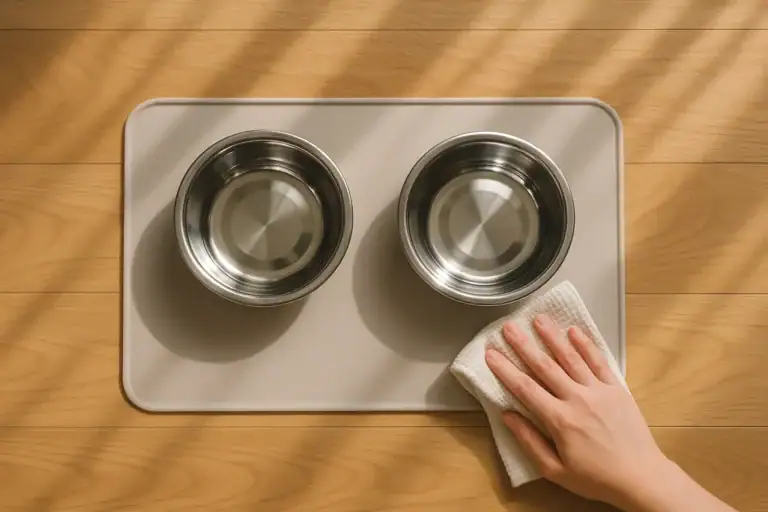
How to Clean Pet Bowls, Mats, and Feeding Areas Safely
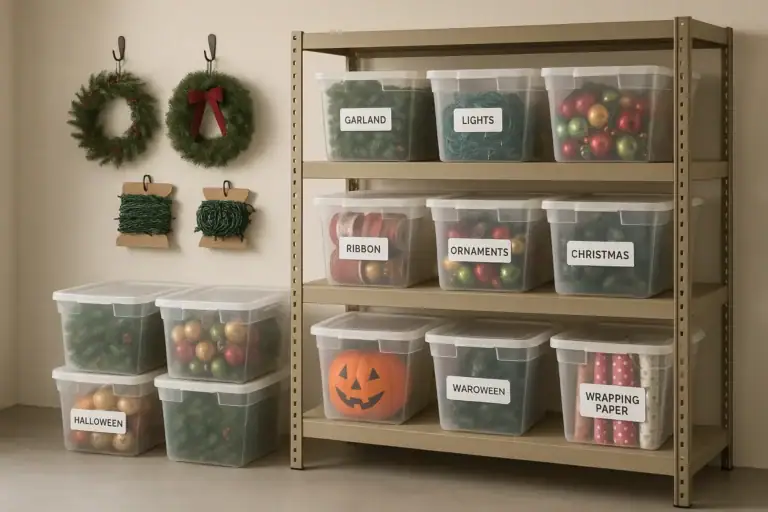
How to Store Holiday Decorations Without Adding Basement Clutter

How to Create a Toy Rotation System for Small Living Rooms

How to Clean Lampshades and Fabric Light Fixtures: A Complete Guide
Keep reading
About this site
Signature Home Guide publishes practical, independent home guides. We aim to be clear, helpful, and transparent.
Affiliate disclosure
As an Amazon Associate, we earn from qualifying purchases. Some links on this site may be affiliate links. If you buy through these links, we may earn a small commission at no extra cost to you. This helps support our content. Learn more.