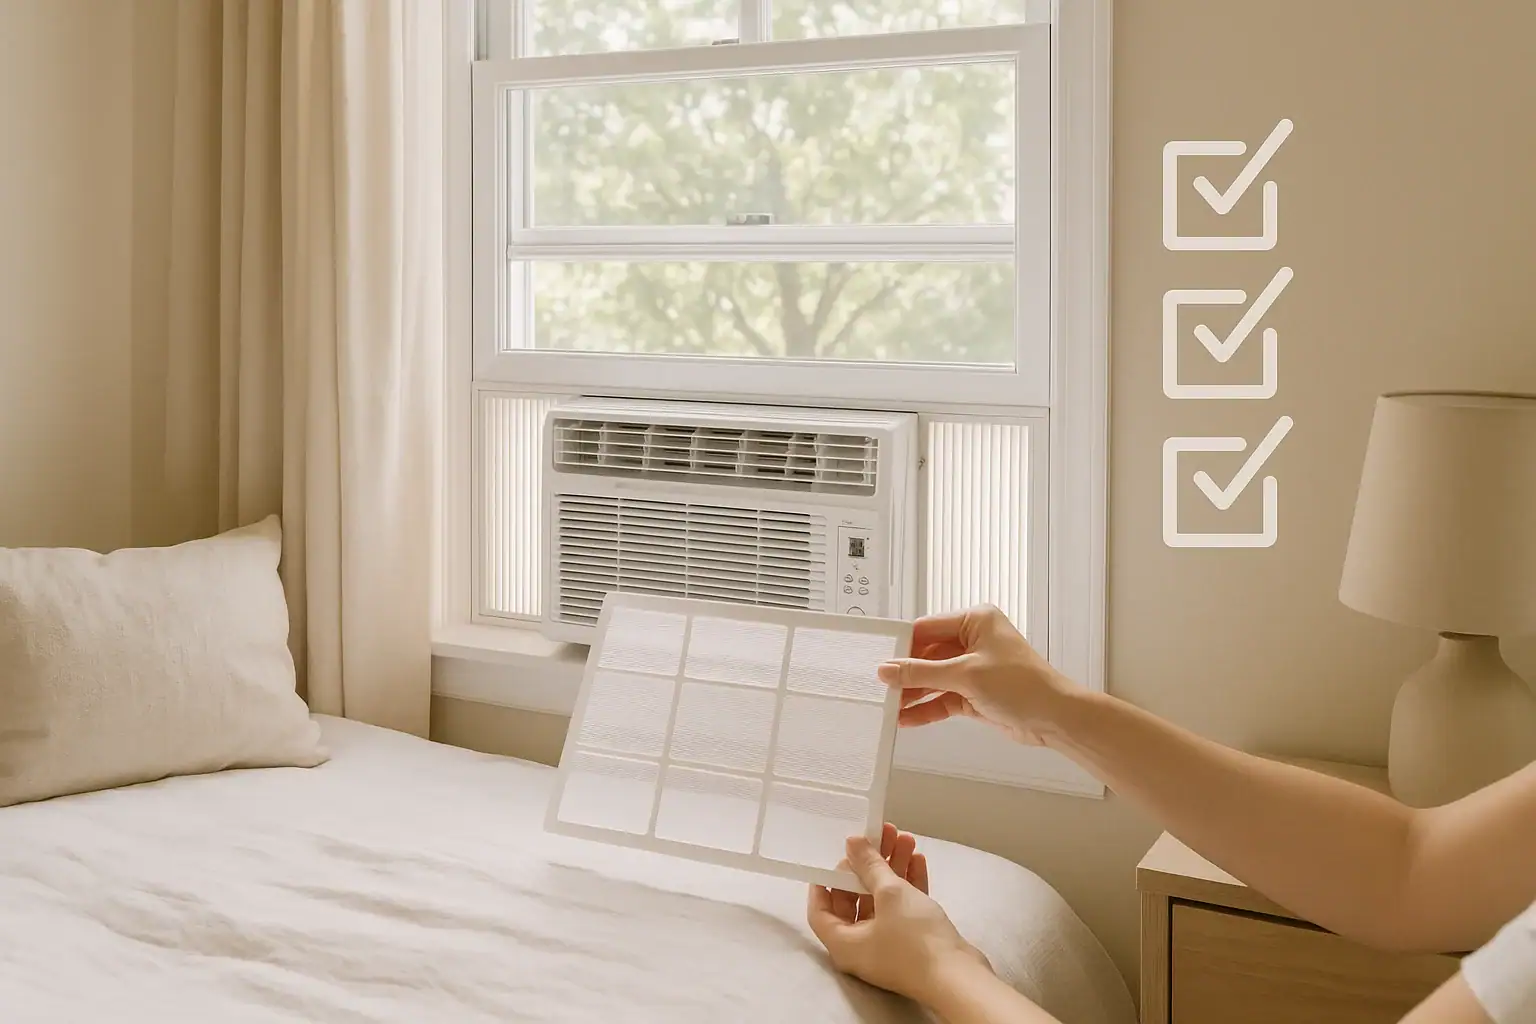
Preparing your window air conditioner before the first real heat wave can make the difference between a cool, comfortable home and a sweaty, frustrating summer. A little attention now helps your unit run more efficiently, keeps your energy bills in check, and reduces the chance of mid-season breakdowns. This step-by-step window AC maintenance checklist walks you through what to inspect, clean, and test before you switch your unit to full-time duty.
You do not need to be an expert to follow this guide. Most tasks require only basic tools, a bit of time, and some attention to safety. By working through this checklist room by room and component by component, you will help your window unit cool better, last longer, and operate more safely all season long.
Safety First: Before You Start Any Window AC Maintenance
Before you touch any part of your window air conditioner, take a few simple safety steps. This protects both you and the unit from avoidable damage.
Basic safety checklist
- Unplug the unit: Always disconnect power at the outlet before cleaning or removing panels.
- Check the cord and plug: Look for cracks, fraying, burn marks, or loose prongs. If you see damage, stop and contact a qualified technician.
- Use a stable step stool: If your window unit is high, avoid stretching or leaning over furniture.
- Avoid water near electrical parts: Use a damp cloth, not a dripping one. Never spray water directly into the control panel or outlet.
- Wear basic protection: Light gloves and safety glasses can help if you are sensitive to dust or cleaning products.
Step 1: Inspect the Window and Support Structure
A window AC unit is only as secure and efficient as the opening it sits in. Before you think about filters and coils, make sure the window frame and mounting are in good shape.
Window and frame checklist
- Check the sill and frame for rot or damage: Wood should be solid, not soft, cracked, or crumbling.
- Confirm the window locks and slides smoothly: The sash should close firmly against the unit and side panels.
- Look for gaps around the frame: Note any visible light or drafts where outside air can sneak in.
- Verify support brackets (if used): Make sure brackets are tight, level, and not rusted or bent.
If your unit is heavy or on an upper floor, consider having a second person help when you adjust or reinstall it. A stable, level installation helps the unit drain properly and reduces vibration and noise.
Step 2: Clean or Replace the Air Filter
The air filter is the easiest and most important maintenance item on your window AC. A clogged filter forces the unit to work harder, reduces cooling power, and can increase energy use.
How to service the filter
- Remove the front grille: Most grilles either lift off or release with small tabs. Check your manual if you are unsure.
- Slide out the filter: It is usually a thin mesh panel located right behind the grille.
- Inspect the filter: Hold it up to the light. If you cannot see light through it, it needs cleaning or replacement.
- Clean or replace:
- Washable filter: Rinse gently with lukewarm water until the water runs clear. Let it dry completely before reinstalling.
- Disposable filter: Replace with a new filter of the same size and type if it is damaged or heavily soiled.
- Reinstall the filter and grille: Make sure everything snaps back securely in place.
During summer, plan to check the filter every 2 to 4 weeks, especially if you run the unit often or have pets or allergies.
Step 3: Vacuum and Wipe the Interior Surfaces
Dust and debris can collect inside the front of the unit, blocking airflow and spreading particles into your room. A quick cleaning keeps air moving freely.
Interior cleaning checklist
- Vacuum the intake and outlet grilles: Use a brush attachment to remove dust from vents and louvers.
- Wipe the plastic surfaces: Use a soft cloth dampened with mild soapy water, then wipe with a clean, damp cloth.
- Clean the control panel gently: Wipe with a slightly damp cloth, avoiding excess moisture around buttons or knobs.
- Clear any visible debris: If you can see leaves, pet hair, or dust clumps near the filter area, remove them carefully.
Do not use harsh chemicals or abrasive pads inside the unit, as they can damage plastic parts and finishes.
Step 4: Clean the Evaporator and Condenser Coils
The coils are where the real cooling happens. Dust and dirt on these metal fins act like a blanket, trapping heat and forcing the unit to run longer for the same cooling effect.
Understanding the two coil sets
- Evaporator coil: Located behind the front panel inside your room. It gets cold and absorbs heat from indoor air.
- Condenser coil: Located on the back or outside portion of the unit. It releases heat outdoors.
Coil cleaning steps
- Unplug the unit: Confirm there is no power.
- Remove the front cover: This may involve a few screws or clips. Set them aside where they will not get lost.
- Vacuum gently: Use a soft brush attachment to remove loose dust from the visible coil fins.
- Straighten bent fins: If you see flattened or bent fins, use a fin comb or a blunt plastic tool to gently straighten them.
- Clean the outside coil: From the exterior, vacuum dust, leaves, and cobwebs from the rear grille and coils.
- Lightly wipe if needed: Use a slightly damp cloth on accessible metal surfaces, avoiding bending the fins.
If the coils are heavily coated with grime or oily residue, consider a coil-cleaning spray designed for air conditioners and follow the directions carefully. Allow everything to dry fully before restoring power.
Step 5: Clear and Test the Drainage System
Proper drainage keeps condensation from pooling inside the unit or dripping into your room. Before summer, make sure water can flow where it is supposed to.
Drainage checklist
- Check the tilt of the unit: The unit should tilt slightly downward toward the outside so water flows out, not in.
- Inspect the drain holes: Look for small openings at the bottom of the outer case. Clear any dirt, leaves, or insect debris with a small brush or pipe cleaner.
- Look for signs of past leaks: Check the interior wall and window sill for water stains or peeling paint that might indicate poor drainage.
- Test with a small amount of water: With the unit unplugged, pour a small amount of water into the drain pan area and confirm it exits outdoors.
Good drainage not only protects your window and walls but also reduces the chance of musty odors and mold growth inside the unit.
Step 6: Seal Air Gaps to Improve Efficiency
Even a well-functioning window AC wastes energy if hot outdoor air leaks around it. Sealing gaps improves comfort and helps your unit cool more evenly.
Where to look for leaks
- Around the side panels: Check the accordion-style panels for tears, cracks, or gaps where they meet the window frame.
- Top and bottom edges: Look for daylight between the unit and the sill or sash.
- Between the sash and frame: Make sure the window closes firmly on top of the unit without wobbling.
Simple sealing steps
- Use foam weatherstripping: Apply it along the top and sides where the window sash meets the unit.
- Seal gaps with removable caulk: For larger gaps, consider a temporary, peelable sealant that can be removed at the end of the season.
- Reinforce side panels: If they are loose, add foam strips or insulation tape along the edges.
Once sealed, you should feel less warm air around the unit and notice more consistent cooling in the room.
Step 7: Check Controls, Thermostat, and Modes
Before the hottest days arrive, test the settings and controls so you know everything responds as expected. This helps you avoid surprises when you really need cooling.
Control and thermostat checklist
- Plug the unit back in: After all cleaning is complete and surfaces are dry.
- Test the power button or dial: Confirm the unit turns on and off smoothly.
- Cycle through modes: Try cool, fan-only, and any energy-saving settings to ensure each one works.
- Adjust the thermostat: Set it a few degrees below room temperature and confirm the compressor turns on and off in response.
- Check the remote (if applicable): Replace batteries if buttons respond slowly or inconsistently.
Let the unit run for at least 15 to 20 minutes on a warm day. The air coming from the vents should feel noticeably cooler than the room air, and the unit should not make unusual noises or emit strange odors.
Step 8: Listen for Unusual Noises and Vibrations
Sounds can tell you a lot about the health of your window AC. Some noise is normal, but new or loud sounds may point to problems that need attention.
Noise and vibration checklist
- Rattling: Often caused by loose panels, screws, or objects touching the unit. Tighten hardware and move nearby items.
- Buzzing or humming: May indicate an issue with the fan motor or compressor. If it is loud or irregular, consider professional service.
- Grinding or squealing: Could mean a failing fan motor or worn bearings. Turn off the unit and seek help if this continues.
- Excessive vibration: Check that the unit is level, properly supported, and not pressing against the window frame unevenly.
Addressing minor noises early can prevent more serious damage and extend the life of your window AC.
Step 9: Improve Airflow Around the Unit
Even a clean, well-maintained window AC will struggle if air cannot circulate freely around it. Good airflow on both the indoor and outdoor sides is essential for efficient cooling.
Indoor airflow tips
- Clear at least 2 to 3 feet in front of the unit: Move furniture, curtains, and large plants away from the air stream.
- Use the adjustable louvers: Aim cool air toward the center of the room, not directly at walls or heavy furniture.
- Consider a small fan: A gentle fan can help distribute cool air to the far corners of the room.
Outdoor airflow tips
- Remove obstructions: Trim back shrubs, move storage bins, and clear away anything blocking the rear of the unit.
- Maintain clearance: Aim for at least 12 inches of open space behind and around the outside of the unit.
- Avoid covering the unit while in use: Do not drape cloths, tarps, or decorative covers over the exterior when operating.
Step 10: Address Odors and Basic Mold Prevention
If your window AC smells musty or stale when you first turn it on, it may have moisture and dust buildup inside. While deep cleaning is sometimes needed, you can often improve odors with a few simple steps.
Odor reduction checklist
- Run the fan-only mode: After cooling, let the fan run for 15 to 30 minutes to help dry out internal moisture.
- Keep the filter clean: A dirty filter can trap odors and spread them back into the room.
- Check for standing water: Inspect the drain pan and outdoor section for pooled water that is not draining.
- Wipe accessible surfaces: Use a mild cleaning solution on plastic parts you can safely reach.
If you notice visible mold inside the unit or persistent strong odors, it is wise to consult a professional or consider replacing an older unit, especially if anyone in the home has allergies or respiratory issues.
When to Call a Professional for Window AC Service
Many maintenance tasks are safe for homeowners, but some issues are better handled by a trained technician. Knowing when to ask for help can save time and protect your equipment.
Signs you may need professional service
- The unit runs constantly but barely cools the room, even after cleaning.
- You see ice forming on the coils or dripping from unusual places.
- There is a burning smell, smoke, or frequent tripping of the circuit breaker.
- You suspect a refrigerant leak or notice oily spots on the coils.
- Electrical components, wiring, or internal parts appear damaged.
Technicians can check refrigerant levels, test electrical parts, and perform deep internal cleanings that go beyond basic homeowner maintenance.
Quick Reference: Window AC Maintenance Checklist Before Summer
Use this condensed checklist as a seasonal reference. You can print it and keep it near your unit for a fast tune-up each year.
- Unplug the unit and inspect the power cord and plug.
- Check the window frame, sill, and support brackets for damage.
- Remove, clean, or replace the air filter.
- Vacuum and wipe interior grilles and plastic surfaces.
- Gently clean evaporator and condenser coils and straighten bent fins.
- Confirm proper tilt and clear all drain holes and the drain pan.
- Seal gaps with weatherstripping or removable caulk.
- Test all modes, fan speeds, and thermostat settings.
- Listen for unusual noises and correct minor vibrations.
- Improve airflow by clearing space around the unit indoors and outdoors.
- Address odors with good drainage, filter care, and fan-only drying.
- Call a professional for persistent cooling problems or electrical concerns.
By following this window AC maintenance checklist before summer, you set your home up for a cooler, more comfortable season. A few hours of preparation can reward you with better performance, lower energy use, and fewer unexpected repairs when the temperature climbs.
If you want to explore more ways to keep your home comfortable in every season, you can find additional air and comfort guides at Signature Home Guide.
 HVAC Condensate Drain Line Maintenance Checklist for a Dry, Healthy Home
 Portable AC Hose Insulation Placement Tips for Better Cooling
 Ceiling Fan Direction for Summer vs Winter: A Clear Homeowner’s Guide