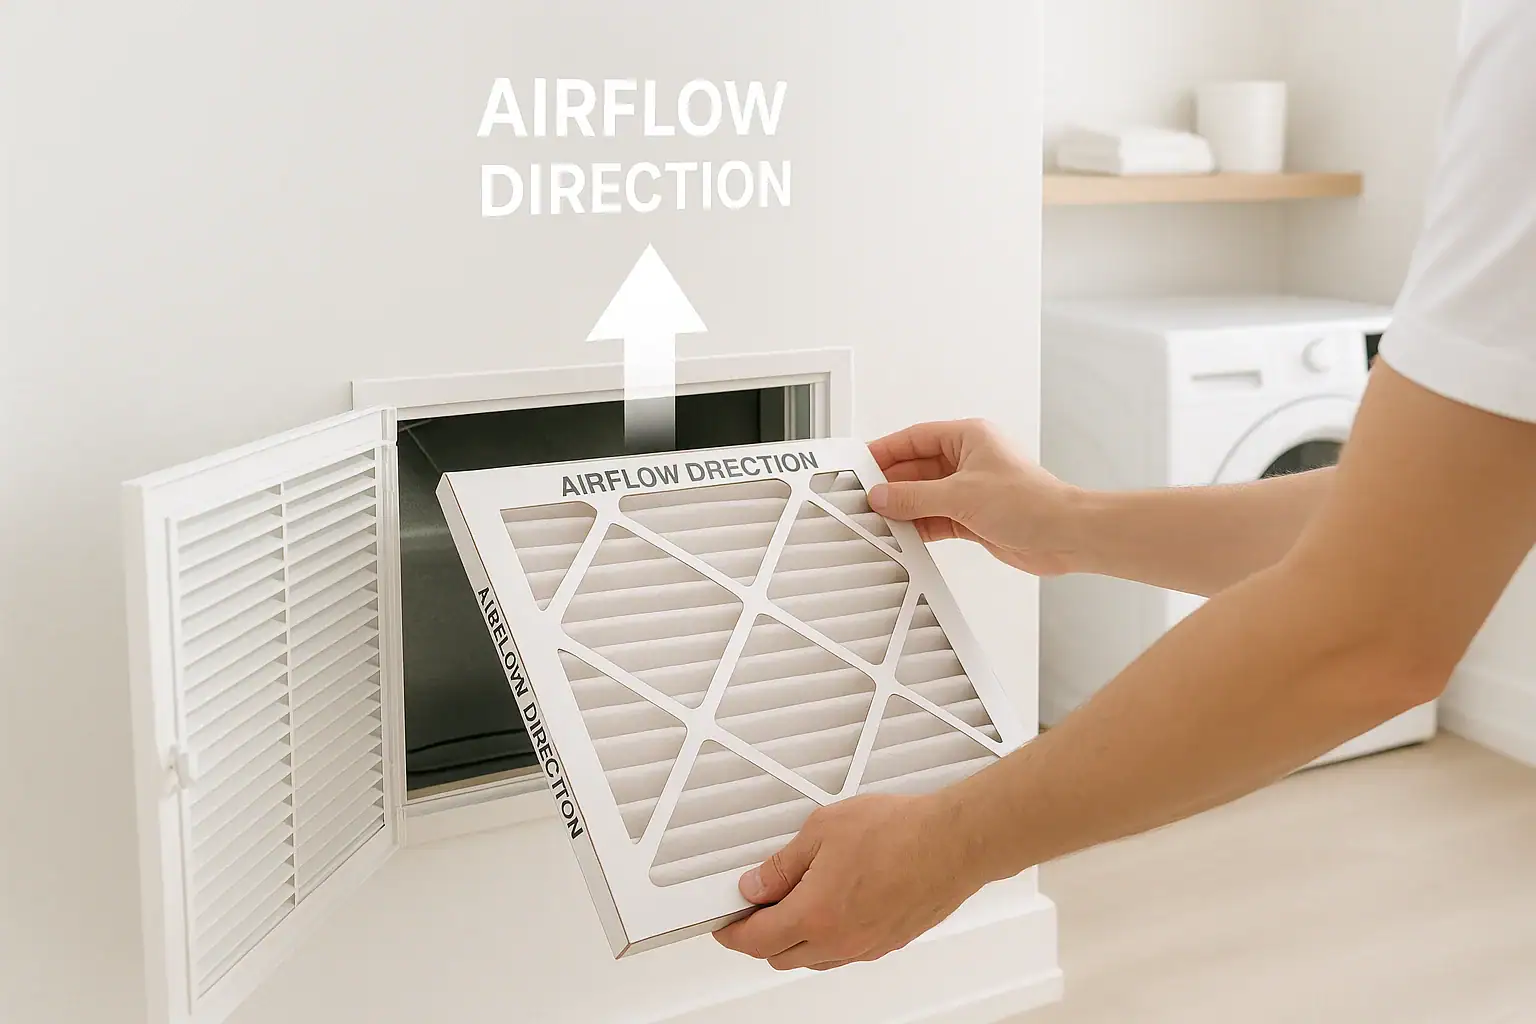
That little arrow on your HVAC filter matters more than most people realize. When the filter is installed backward, your system has to work harder, airflow drops, dust builds up, and your home can feel less comfortable. The good news is that once you understand what the arrow means and how to line it up correctly, you can avoid many common problems and even extend the life of your heating and cooling equipment. This guide walks you through the right way to install a filter, the mistakes homeowners make, and how to troubleshoot issues that might be caused by a filter facing the wrong direction.
Whether you are changing a filter for the first time or trying to solve weak airflow, strange noises, or uneven temperatures, this step-by-step explanation will help you feel confident. You will learn how to locate the airflow direction, recognize signs of a backward filter, and protect both your energy bill and indoor air quality.
What the HVAC Filter Arrow Really Means
The arrow printed on the side of an HVAC filter is not a suggestion. It shows the direction air should flow through the filter and into your system. Air is pulled from your home through return vents, passes through the filter, and then moves into the blower and coil before being pushed back into your living spaces.
The arrow should always point in the same direction as the airflow: from the return side toward the blower or furnace cabinet. In simple terms:
- Arrow points toward the equipment (furnace, air handler, or blower compartment)
- Arrow points away from the return grille or duct where air is coming from your home
Filters are built with a specific structure. One side is designed to face incoming air, and the other side is meant to face the equipment. When reversed, the filter media and frame do not perform as intended, which can cause several issues over time.
How to Find the Correct Airflow Direction
Before you can line up the arrow, you need to know which way the air is moving. This depends on where your filter is installed in the system.
Filters at a Wall or Ceiling Return Vent
If your filter is located behind a grille on a wall or ceiling, air is being pulled from the room into the ductwork. In this case:
- The room side is the return side (air entering the system)
- The duct side is the equipment side (air going toward the blower)
Install the filter so the arrow points into the duct and away from the room. When you close the grille, the arrow should point toward the opening of the duct behind it.
Filters at the Furnace or Air Handler
Many systems have the filter in a slot or cabinet near the furnace or air handler. You will usually see a metal slot, a removable door, or a small panel where the filter slides in.
To find the airflow direction:
- Look for a label or sticker on the equipment showing an airflow arrow
- Check which side has the return duct (larger duct bringing air from the home)
- Remember that air moves from the return duct, through the filter, into the blower
Install the filter so the arrow points toward the furnace or air handler cabinet and away from the return duct opening.
Simple Airflow Test With a Tissue
If you are still unsure, you can use a small piece of tissue paper:
- Turn your system on at the thermostat so the fan is running
- Hold the tissue near the opening where the filter goes
- Watch which direction the tissue is pulled
The tissue will be drawn toward the return side. The filter arrow should point in the opposite direction, toward the blower or equipment.
Common HVAC Filter Installation Mistakes
Many airflow and comfort complaints start with simple filter mistakes. Here are the most frequent problems homeowners run into when changing filters.
Mistake 1: Installing the Filter Backward
This is the most common issue. When the arrow points against the airflow, the filter media can collapse or bow, and the frame may not seal properly. This can lead to:
- Reduced airflow and weak air coming from supply vents
- Increased strain on the blower motor
- More dust bypassing the filter and entering the system
- Higher energy use and uneven temperatures
Mistake 2: Using the Wrong Filter Size
For a filter to work correctly, it must fit snugly in the slot or grille. Common sizing mistakes include:
- Filter too small, leaving gaps around the edges
- Filter forced into place, bending or crushing the frame
- Mixing up nominal size (printed on the filter) and actual size
Gaps allow unfiltered air, dust, and debris to bypass the filter and collect inside your ducts and equipment.
Mistake 3: Forgetting to Replace the Filter on Time
Even if the arrow is correct, a clogged filter can cause the same symptoms as a backward one. When the filter is packed with dust, air cannot pass through easily. This can result in:
- Hot or cold spots in the home
- Longer run times for heating and cooling cycles
- Frost or ice on the cooling coil in extreme cases
Mistake 4: Stacking or Doubling Filters
Some homeowners try to improve filtration by stacking two filters or combining different types. This increases resistance to airflow and can significantly stress the system. Your equipment is designed for a single filter of a specific size and rating.
Mistake 5: Blocking Return Vents
Even with a correctly installed filter, blocking return vents with furniture, curtains, or storage boxes restricts airflow. The system struggles to pull in enough air, which can mimic the effects of an incorrectly installed or clogged filter.
How to Install an HVAC Filter the Right Way
Following a simple routine each time you change your filter can prevent most installation problems.
Step 1: Turn Off the System
Before changing the filter, switch your system to “Off” at the thermostat. This prevents the blower from pulling in dust while the filter is removed and keeps you safe while working near moving parts.
Step 2: Remove the Old Filter
Open the return grille or filter slot and gently slide the old filter out. Pay attention to:
- The direction of the arrow on the old filter
- Which side was facing the equipment or duct
- Any notes or arrows on the metal frame or cabinet
Use the old filter as a reference if it was installed correctly. If you suspect it was backward, rely on the airflow direction instead.
Step 3: Confirm the Filter Size
Check the size printed on the frame of the old filter. It usually appears as three numbers, such as width by height by thickness. Match these dimensions on your replacement filter so it fits properly.
Step 4: Align the Arrow With Airflow
Hold the new filter so that the arrow on the frame points in the direction of airflow. Remember:
- At a wall or ceiling return, the arrow points into the duct
- At the furnace or air handler, the arrow points toward the unit
Slide the filter into place gently, making sure it sits flat and snug without bending.
Step 5: Secure the Grille or Panel
Close the return grille, filter door, or panel. Make sure it latches or screws back into place. A loosely closed door can allow air to bypass the filter.
Step 6: Turn the System Back On
Restore power by turning the system back on at the thermostat. Check a few supply vents to confirm that airflow feels normal and consistent.
Troubleshooting Problems Caused by Wrong Filter Direction
If you suspect the filter arrow has been wrong for a while, you may notice several symptoms. Use this troubleshooting checklist to narrow down the cause and decide what to do next.
Symptom: Weak Airflow From Vents
Possible causes related to filter direction include:
- Filter installed backward, causing higher resistance to airflow
- Filter clogged from extended use
- Filter too restrictive for your system
What to do:
- Turn off the system and remove the filter
- Check the arrow and reinstall correctly, or replace if dirty
- Run the system again and compare airflow at several vents
Symptom: More Dust Around the Home
If dust seems to build up quickly on furniture and surfaces, the filter may not be catching particles effectively.
Possible causes:
- Filter installed backward, allowing dust to bypass the media
- Filter not sealing properly due to wrong size or bent frame
- Filter overdue for replacement
What to do: Confirm the arrow direction, check for gaps around the filter, and replace with a properly sized filter installed in the correct orientation.
Symptom: Unusual Noises From the System
A backward or clogged filter can cause whistling, whooshing, or straining sounds as the blower struggles to pull air.
What to do:
- Turn off the system and inspect the filter orientation
- Check that the filter door or grille is fully closed and sealed
- Replace the filter if it looks heavily loaded with dust
Symptom: System Shutting Off or Short Cycling
In more severe cases, restricted airflow can cause safety switches to trip, leading to the system turning on and off frequently.
What to do:
- Correct the filter direction immediately
- Use a fresh filter with the proper rating and size
- If the problem continues, contact a qualified technician to inspect the equipment
How Often to Replace Your HVAC Filter
Even when installed correctly, a filter must be replaced on a regular schedule to protect your system and maintain comfort.
General guidelines:
- Every 1 to 3 months for most disposable filters
- Monthly checks during peak heating and cooling seasons
- More frequent changes if you have pets, allergies, or a dusty environment
A simple habit is to mark the installation date on the filter frame with a permanent marker. You can also set reminders on your phone or calendar so filter changes do not get overlooked.
When to Call a Professional
Correcting the arrow direction and replacing a filter are tasks most homeowners can handle. However, there are times when professional help is the safest choice.
Consider calling a licensed technician if:
- Airflow remains weak after installing a new filter correctly
- You notice ice on refrigerant lines or the indoor coil
- The system makes loud or unusual noises even with a clean filter
- The equipment shuts off repeatedly or trips breakers
A professional can check for deeper issues such as duct blockages, blower problems, or undersized return ducts that may be contributing to airflow restrictions.
Key Takeaways for Trouble-Free Filter Changes
Getting the arrow direction right is a small step with a big impact on your home comfort and energy use. To recap:
- The arrow on your HVAC filter should always point in the direction of airflow
- At returns, the arrow points into the duct; at the furnace or air handler, it points toward the unit
- Installing a filter backward can reduce airflow, increase dust, and strain your system
- Correct size, proper sealing, and regular replacement are just as important as arrow direction
- If problems continue after fixing the filter, have a professional inspect the system
By paying attention to the filter arrow and avoiding common installation mistakes, you can keep your system running more efficiently, improve indoor air quality, and enjoy more consistent comfort throughout your home.
For more tips on keeping your home comfortable and your air clean, explore additional air and comfort resources at Signature Home Guide.
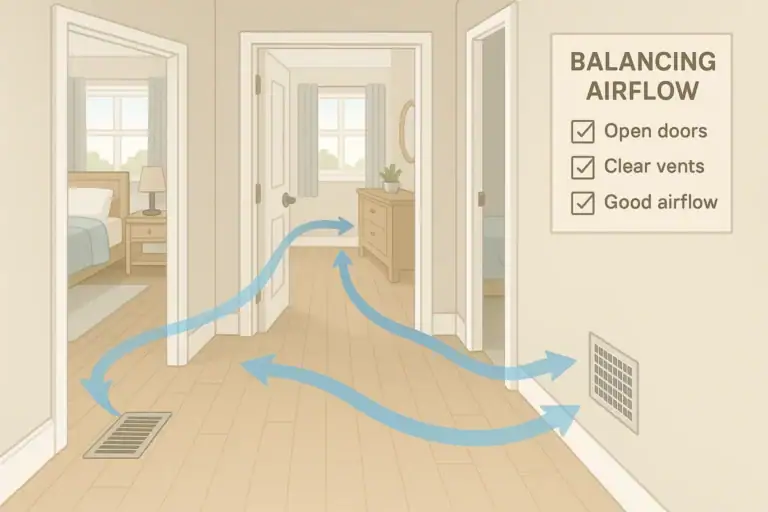 How to Balance Airflow Between Rooms at Home: A Practical Checklist
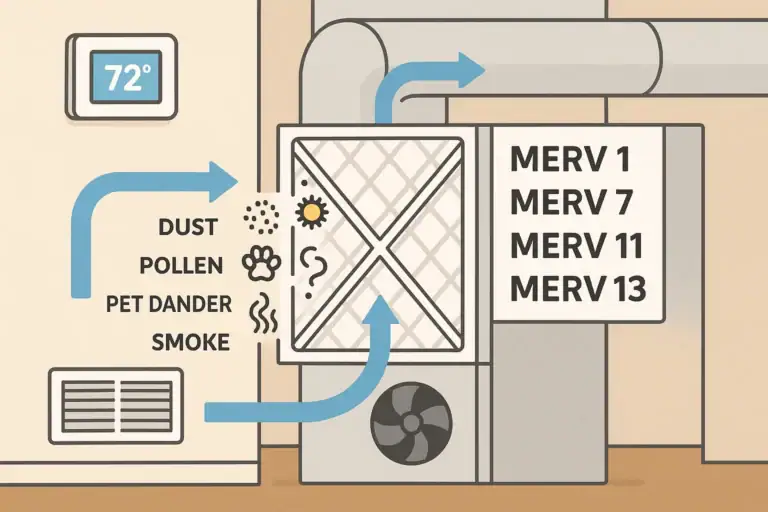 Understanding MERV Filter Ratings for Your Home HVAC System
 Humidifier Placement in a Bedroom: Where It Works Best and What to Avoid