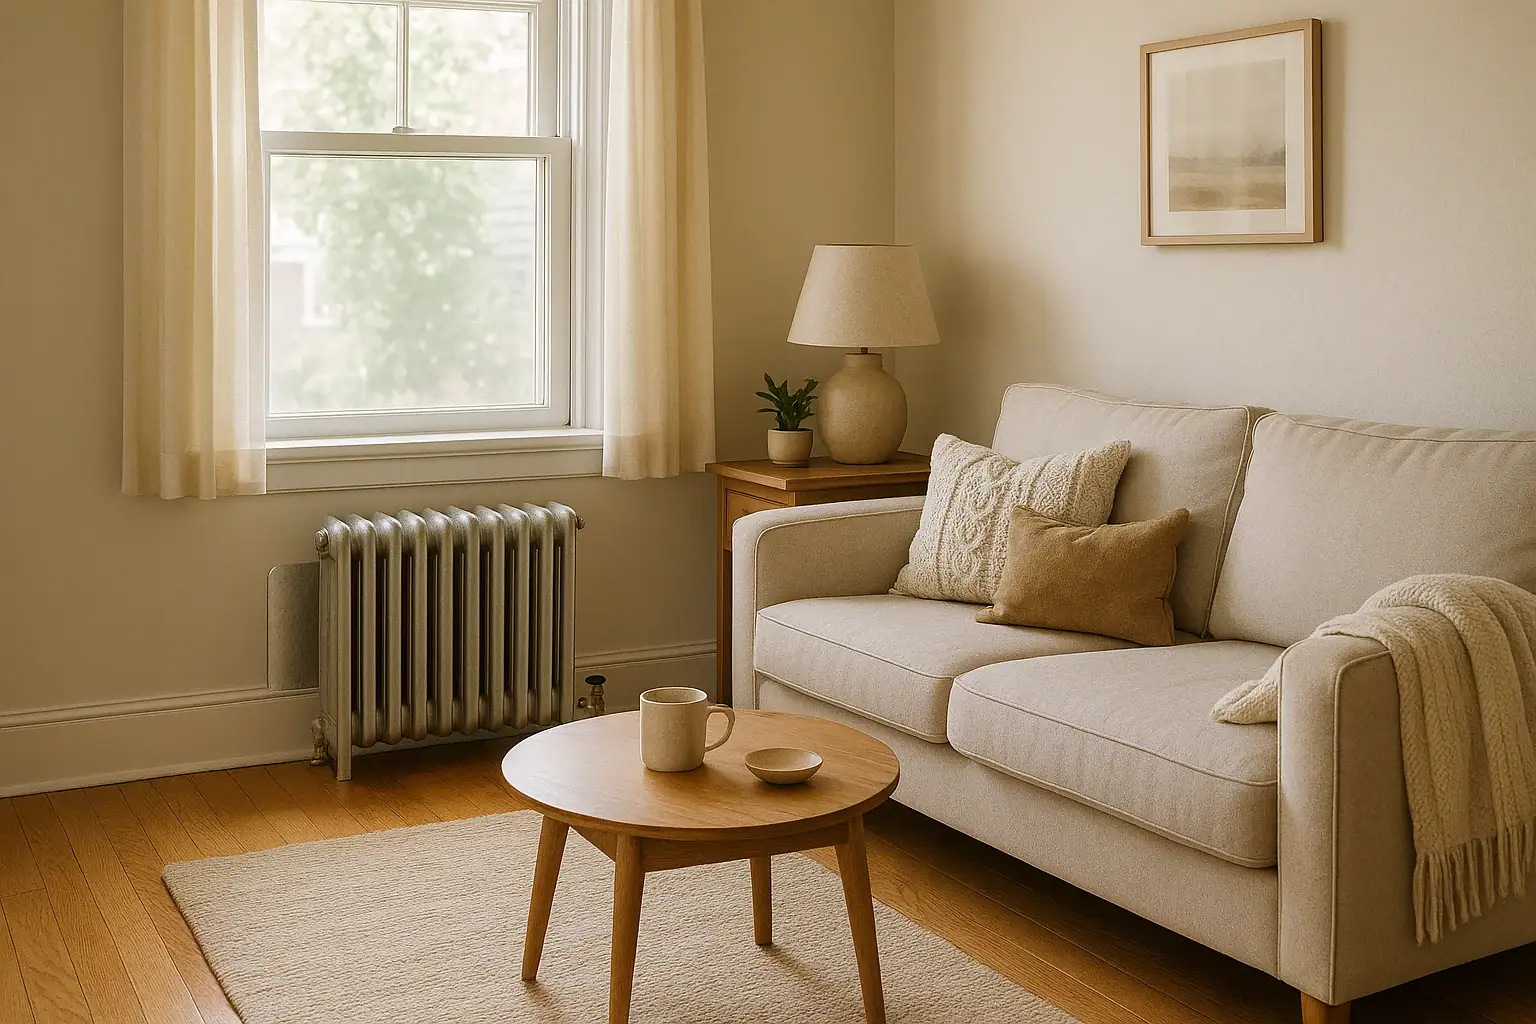
What radiator reflector panels actually do
Radiator reflector panels are thin sheets of reflective material that sit on the wall behind a hot-water or steam radiator. Their goal is simple: reduce heat lost into the wall and reflect more warmth back into the room.
They do not make a weak heating system powerful, but in many homes they can:
- Cut down on heat absorbed by cold exterior walls
- Make rooms with radiators on outside walls feel more comfortable
- Help older systems work a bit more efficiently when used correctly
Think of them as a low-cost efficiency tweak, not a full heating upgrade. If your home has bigger comfort or heating issues, you’ll likely need broader improvements such as air sealing, insulation, or system tuning. You can explore those topics in the broader Air & Comfort guides on Signature Home Guide.
When radiator reflector panels make sense
Radiator reflectors tend to be most useful when:
- The radiator is on an exterior wall, especially uninsulated or poorly insulated walls
- The wall behind the radiator feels noticeably cold to the touch in winter
- The radiator is close to the wall, so a lot of radiant heat is hitting that surface
- You want a low-cost, low-disruption improvement before considering bigger projects
They are less likely to matter when:
- Radiators are on interior walls between rooms
- The wall behind them is already well insulated
- You have deep radiator covers or built-ins that already redirect heat
Types of radiator reflector panels
Most products fall into a few basic categories. The right choice depends on your wall type, budget, and how permanent you want the installation to be.
Foil-faced foam boards
These combine a thin layer of insulation with a reflective foil surface.
- Pros: Adds both reflection and some insulation; usually rigid and easy to cut; can help if walls are very cold.
- Cons: Thicker than plain foil; may be visible from the side on shallow radiators; some foams are not rated for high temperatures.
Check the manufacturer’s temperature rating and follow any guidance about clearances from hot surfaces. For general background on insulation and heat flow, the U.S. Department of Energy offers consumer information on home insulation and energy savings.
Foil on cardboard or thin board
These are simple panels made from cardboard or thin board with a reflective foil face.
- Pros: Inexpensive; easy to trim with a utility knife; often sold specifically as radiator reflectors.
- Cons: Cardboard is combustible; must be kept at a safe distance from very hot radiators and piping; can warp if exposed to moisture.
Because cardboard and some boards are flammable, it’s important to keep them from touching hot pipes or radiator fins and to follow the product’s safety instructions.
Foil sheets or rolls
These are thin reflective foils, sometimes with a bubble or fabric backing, sold in rolls.
- Pros: Flexible; can be cut to any size; easy to slip behind some radiators without removing them.
- Cons: Can wrinkle or sag; may need adhesive or tape; offers little or no insulation value on its own.
How to choose panels for your home
Use these practical checks before buying or installing anything:
- Confirm your radiator type. This guide focuses on hot-water and steam radiators. Electric baseboard heaters and electric wall heaters have different safety and clearance requirements. If you have electric heat, review the manufacturer’s instructions or consult a qualified electrician before adding anything nearby.
- Check wall condition. If the wall behind the radiator is damp, crumbling, or moldy, address that problem first. Trapping moisture behind a reflector can make damage worse.
- Measure the space. Measure the width and height of the radiator and the gap between the radiator and wall. This tells you how thick a panel can be without touching hot parts.
- Look for temperature and fire information. Choose products that clearly state they are suitable for use behind radiators or high-temperature applications, and follow any listed clearances.
- Decide on permanence. If you rent or may remodel soon, choose something that can be removed without damaging the wall, such as taped or lightly adhered foil.
Safety basics before you start
Radiators and their pipes can become very hot. To reduce risk of burns or fire:
- Turn the heating system off and let the radiator cool fully before working behind it.
- Do not allow reflector materials to touch hot pipes or radiator surfaces, especially if they contain cardboard, foam, or plastic.
- Keep combustible items (curtains, furniture, paper) away from radiators and hot pipes. The U.S. Consumer Product Safety Commission offers general guidance on home heating safety.
- If you are unsure about clearances or your system’s condition, consult a licensed heating contractor.
Step-by-step: installing radiator reflector panels
The exact method depends on your product and radiator style, but this general process works for many homes.
1. Plan the panel size and layout
- Measure the width of the radiator and add a small margin (often 1–2 inches) on each side, as long as it stays hidden.
- Measure the height from just above the floor to slightly above the top of the radiator.
- Check for obstructions such as pipes, outlets, or trim that the panel must fit around.
2. Prepare the wall
- Turn off the heat and allow the radiator to cool.
- Gently vacuum or wipe dust from the wall behind and around the radiator.
- If the paint is flaking or the wall is damp, repair or dry it before installing anything that could trap moisture.
3. Cut the panels
- Mark your measurements on the panel with a pencil.
- Use a straightedge and a sharp utility knife or scissors (depending on the material) to cut.
- Dry-fit the panel behind the radiator to confirm it fits and stays clear of hot pipes and fins.
4. Attach the panels to the wall
How you attach the panel depends on wall finish and whether you want a removable installation.
- Removable options: Use small pieces of double-sided tape, removable mounting strips rated for the panel’s weight, or a few small dabs of removable adhesive putty near the corners.
- More permanent options: Use construction adhesive suitable for your wall type, following the product’s instructions. Avoid excessive adhesive that could squeeze out and show.
Press the panel to the wall with the reflective side facing the radiator. Make sure it is flat and secure.
5. Re-check clearances and restart the system
- Confirm the panel does not touch the radiator or pipes and that there is still space for air to move around the radiator.
- Turn the heat back on and monitor the area during the first heating cycle.
- Check for any signs of overheating, discoloration, or odor from the new material. If anything seems unsafe, turn the system off and remove or adjust the panel.
Common mistakes to avoid
- Blocking airflow: Do not run panels or covers so close that they block air circulation around the radiator. Radiators need air movement to distribute heat.
- Covering valves or vents: Keep access to radiator valves, air vents, and bleed points clear so the system can be serviced and adjusted.
- Ignoring moisture: If condensation or leaks are present, address those issues first. Reflectors can hide problems that may worsen over time.
- Using random materials: Household foil, cardboard, or foam not intended for high temperatures may not be safe. Use materials designed for heating applications whenever possible.
What to expect after installation
After installing radiator reflector panels, most homeowners notice changes in comfort rather than dramatic drops in fuel use. You may find that:
- The wall behind the radiator feels less cold.
- The room warms more evenly, especially near exterior walls.
- You can maintain comfort at a slightly lower thermostat setting in some cases.
Actual energy savings depend on many factors: wall insulation, climate, radiator size, and how you operate your heating system. If you want to go further, consider pairing reflector panels with broader air sealing and insulation work. The U.S. Department of Energy’s guidance on home energy efficiency measures can help you prioritize projects.
When to call a professional
Radiator reflector panels are usually a do-it-yourself project, but it’s wise to involve a pro when:
- You see leaks, corrosion, or damaged valves on your radiators or piping.
- Radiators are extremely hot to the touch and you are unsure about safe clearances.
- You plan to move radiators, change piping, or make other system modifications.
- You suspect your home has asbestos-containing insulation or other hazardous materials near the radiators.
A licensed heating contractor or home energy professional can also help you decide whether reflector panels, insulation upgrades, or system adjustments will make the biggest difference in your comfort. For more context on balancing comfort, air quality, and efficiency, you can review the broader Air & Comfort resources on Signature Home Guide.
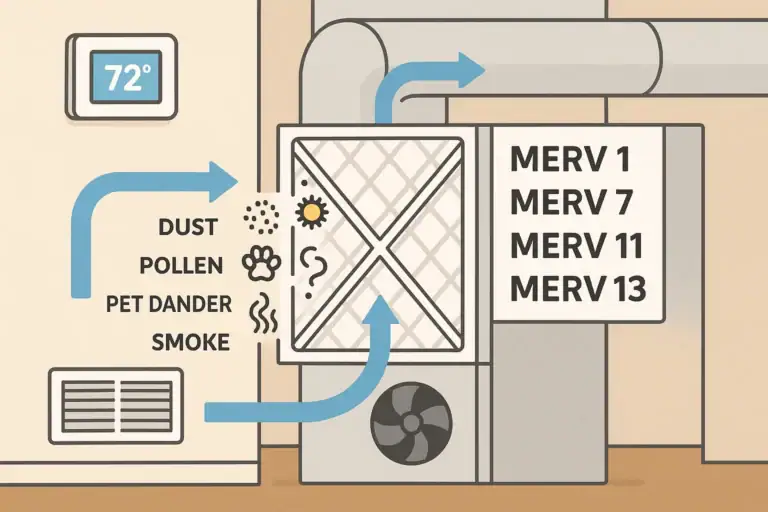 Understanding MERV Filter Ratings for Your Home HVAC System
 Why Your Dehumidifier Makes the Room Feel Warmer
 Radiator Heat Balancing Tips for Older Homes: A Practical Guide