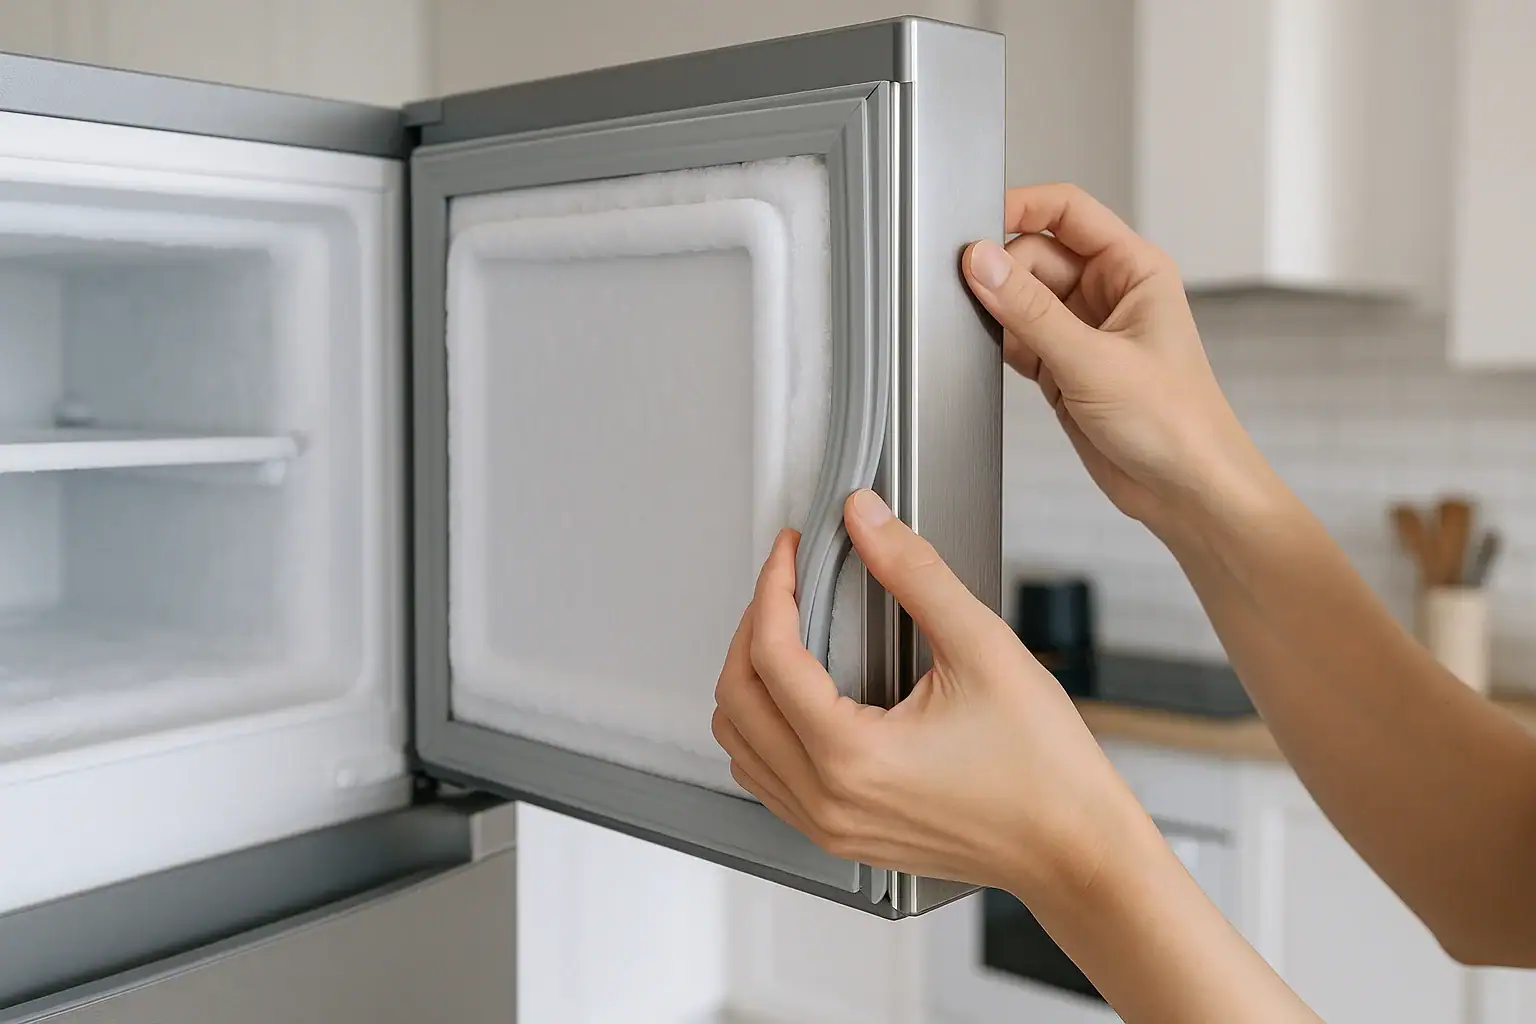
Why frost forms around your freezer door
Frost around the freezer door almost always means warm, humid air is leaking into the compartment and freezing on contact. The leak is usually from a worn or dirty door gasket, a door that isn’t closing squarely, or frequent/long door openings. Less often, hinge or alignment issues, blocked vents, or a failing defrost system make the problem worse.
In many homes you can reduce or stop the frost by cleaning and inspecting the gasket, adjusting how the door closes, and improving how the freezer is loaded. The steps below walk through the easiest checks first, then the repairs that may need parts or a technician.
Step 1: Confirm the frost is really from a door leak
Before you focus on the seal, make sure the frost pattern points to a door problem:
- Door-area frost: Heavy frost along the door frame, gasket, or just inside the front edge usually means air is leaking at the door.
- Even frost on back wall or floor: This can point more to defrost or temperature issues than a door leak.
- Frost only on items near the door: Often caused by frequent opening or a door that doesn’t fully close.
If most of the ice is concentrated around the door perimeter, continue with the gasket and alignment checks below.
Step 2: Check for obvious door closing problems
Start with simple things that can keep the door from sealing:
- Look for obstructions: Make sure food packages, ice bins, or shelves are not sticking out and touching the door when you try to close it.
- Check door bins: Overloaded door shelves can make the door sag or bounce back open slightly.
- Listen and feel: Close the door slowly. You should feel a gentle pull from the magnetic gasket in the last inch or so. If the door feels springy or bounces, something is pushing back.
Fix any obvious obstructions and see if the door now closes more firmly. If frost returns after a day or two, move on to the gasket.
Step 3: Inspect and clean the door gasket
The gasket is the soft, usually rubbery strip that runs around the edge of the freezer door. Dirt, food residue, and damage here are the most common causes of frost around the door.
How to inspect the gasket
- Look for cracks, tears, or hardened spots along the entire gasket.
- Check for gaps where the gasket doesn’t touch the cabinet frame when the door is closed.
- Pay extra attention to the bottom edge, which often collects crumbs and spills.
How to clean the gasket
- Mix a small amount of mild dish soap and warm water.
- Wipe the gasket and the mating surface on the cabinet with a soft cloth or sponge.
- Use a soft brush or an old toothbrush to clean in the folds.
- Wipe everything dry with a clean towel so moisture doesn’t freeze and create new gaps.
A clean, flexible gasket can often seal much better and reduce frost without any parts replacement.
Step 4: Test the gasket seal
After cleaning, use a simple paper test to check for leaks:
- Place a thin strip of paper (like a dollar bill or receipt) between the gasket and the frame.
- Close the door on the paper.
- Gently pull the paper out.
You should feel some resistance as you pull. Repeat this test around the entire door:
- If the paper slides out easily or falls out in certain spots, the gasket is not sealing well there.
- If the paper is firmly held all the way around, the gasket seal is likely okay.
Minor gaps can sometimes be improved with adjustment; large gaps, cracks, or hardened rubber usually mean the gasket needs replacement.
Step 5: Check door alignment and hinges
A door that is out of alignment can pull the gasket away from the frame on one side, causing frost at the top, bottom, or hinge side.
- Stand back and look at the door edges relative to the refrigerator or freezer body. The gaps should be even all the way around.
- Gently lift up on the open door. Excessive play can mean worn hinge parts.
- Make sure the appliance is level and slightly tilted back (front a bit higher than the back) so gravity helps the door close. Most units have adjustable front feet for this.
If your model allows, small hinge adjustments can bring the door back into square. For built-in units or doors that feel loose or sagging, it is often safer to have a qualified appliance technician handle hinge repairs.
Step 6: Consider gasket replacement
If the gasket is cracked, warped, or fails the paper test in multiple spots even after cleaning and leveling, replacement is usually the long-term fix.
General tips:
- Use the exact model number from your appliance label to order the correct gasket.
- Follow the manufacturer’s installation instructions closely; some gaskets press into a track, others screw in place.
- Many new gaskets seal better if they are warmed slightly (for example, laid flat in a warm room) so they relax and sit flat. Avoid high heat sources that could damage the material.
If you are not comfortable removing the door or gasket, a service technician can usually replace it quickly.
Step 7: Check temperature and defrost settings
Even with a good seal, very cold settings or defrost problems can increase frost buildup. The U.S. Department of Energy recommends setting freezers at about 0°F (-18°C).
- Too cold: If your freezer is set well below 0°F, try raising it slightly. Extremely cold air can cause moisture to freeze faster around small leaks.
- Defrost cycle: For frost-free models, a failed defrost heater, timer, or sensor can let frost accumulate more quickly. If you see heavy frost on the back wall or around vents in addition to the door, this may be part of the issue.
Defrost system repairs usually require electrical testing and are best handled by a trained technician following the manufacturer’s service information.
Step 8: Improve how you use and load the freezer
How you use the freezer can make a big difference in frost around the door, even when everything is working correctly.
- Limit door openings: Plan what you need before opening the door and close it promptly to reduce humid air entering.
- Cool food before freezing: Let hot foods cool to room temperature first so they don’t add extra moisture inside.
- Avoid blocking air vents: Keep vents inside the freezer clear so cold air circulates and frost doesn’t concentrate near the door.
- Don’t overpack the door: Heavy or overfilled door bins can stress hinges and affect the seal.
These habits, combined with a good gasket, usually keep frost around the door to a minimum.
When to defrost and when to call for help
If frost has already built up into thick ridges around the door, you may need to defrost the freezer so you can start fresh:
- Unplug the appliance or turn off the freezer section.
- Move food to a cooler or another freezer if possible.
- Let the ice melt naturally or place shallow pans of warm (not boiling) water inside to speed melting.
- Never chip ice with sharp tools, which can puncture liners or damage coils.
Once the frost is gone, clean and dry all surfaces, then work through the gasket and alignment steps above.
Consider calling a qualified appliance technician if:
- You see persistent frost around the door even after cleaning, leveling, and replacing the gasket.
- The door is bent, badly misaligned, or damaged.
- You suspect a defrost system failure or internal air leak you can’t access.
Keeping the rest of your kitchen running smoothly
Managing frost around the freezer door is part of broader kitchen maintenance: keeping seals clean, checking temperatures, and watching for early signs of wear. For more practical tips on caring for your refrigerator, freezer, and other kitchen systems, you can explore additional guides in the Water & Kitchen section of Signature Home Guide.
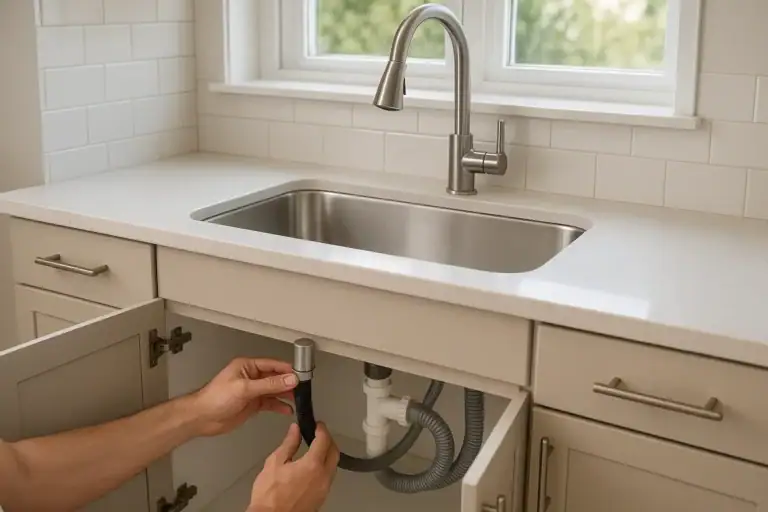 Dishwasher Air Gap Leaking: How to Find and Fix the Cause
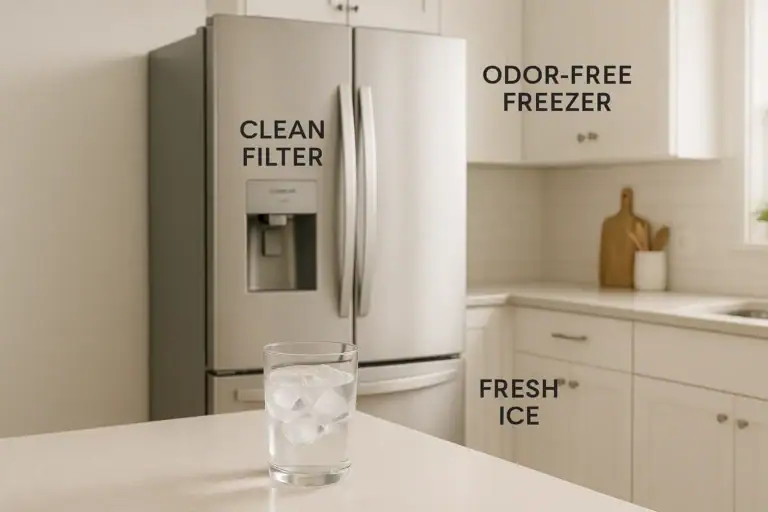 Ice Maker Water Tastes Bad: Common Causes and Easy Fixes
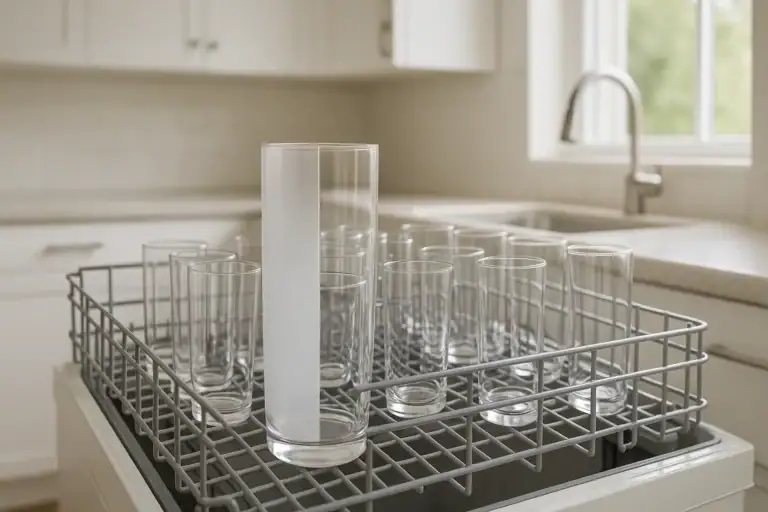 Cloudy Glasses From the Dishwasher: Causes and Simple Fixes